
Seek Outside Redcliff Part 1: Maiden Voyage
Affiliate Disclosure Statement: Some of the links below are affiliate links, meaning at no additional cost to you, I will earn a commission if you click through and make a purchase.
Transitioning from a traditional backpacking tent to an ultralight tipi can be somewhat of a daunting task. I've known about these tipis for a while now and had contemplated purchasing one for myself but just didn't know if I'd like not having a floor. I continued going back and forth on the matter in my head and finally realized that if I were to spend a week in the backcountry during hunting season, I wanted to be as comfortable as possible and that was only going to happen in an ultralight tipi. With that, I purchased the Seek Outside Redcliff and began my journey into this new style of tent living.
One word; Livability. The Redcliff is in my opinion a 4-6 man shelter and at about 5 lbs is capable of going anywhere with me.
Order and Delivery
I considered all the major tipi manufacturers but kept coming back to Seek Outside time after time. I'm not sure I can put my finger on it exactly, but it was a gut feeling and when I saw the new Redcliff was about to make its debut, I knew it was the right one for me and eagerly snapped it up.
First pitch in the back yard. Not bad for a rookie!
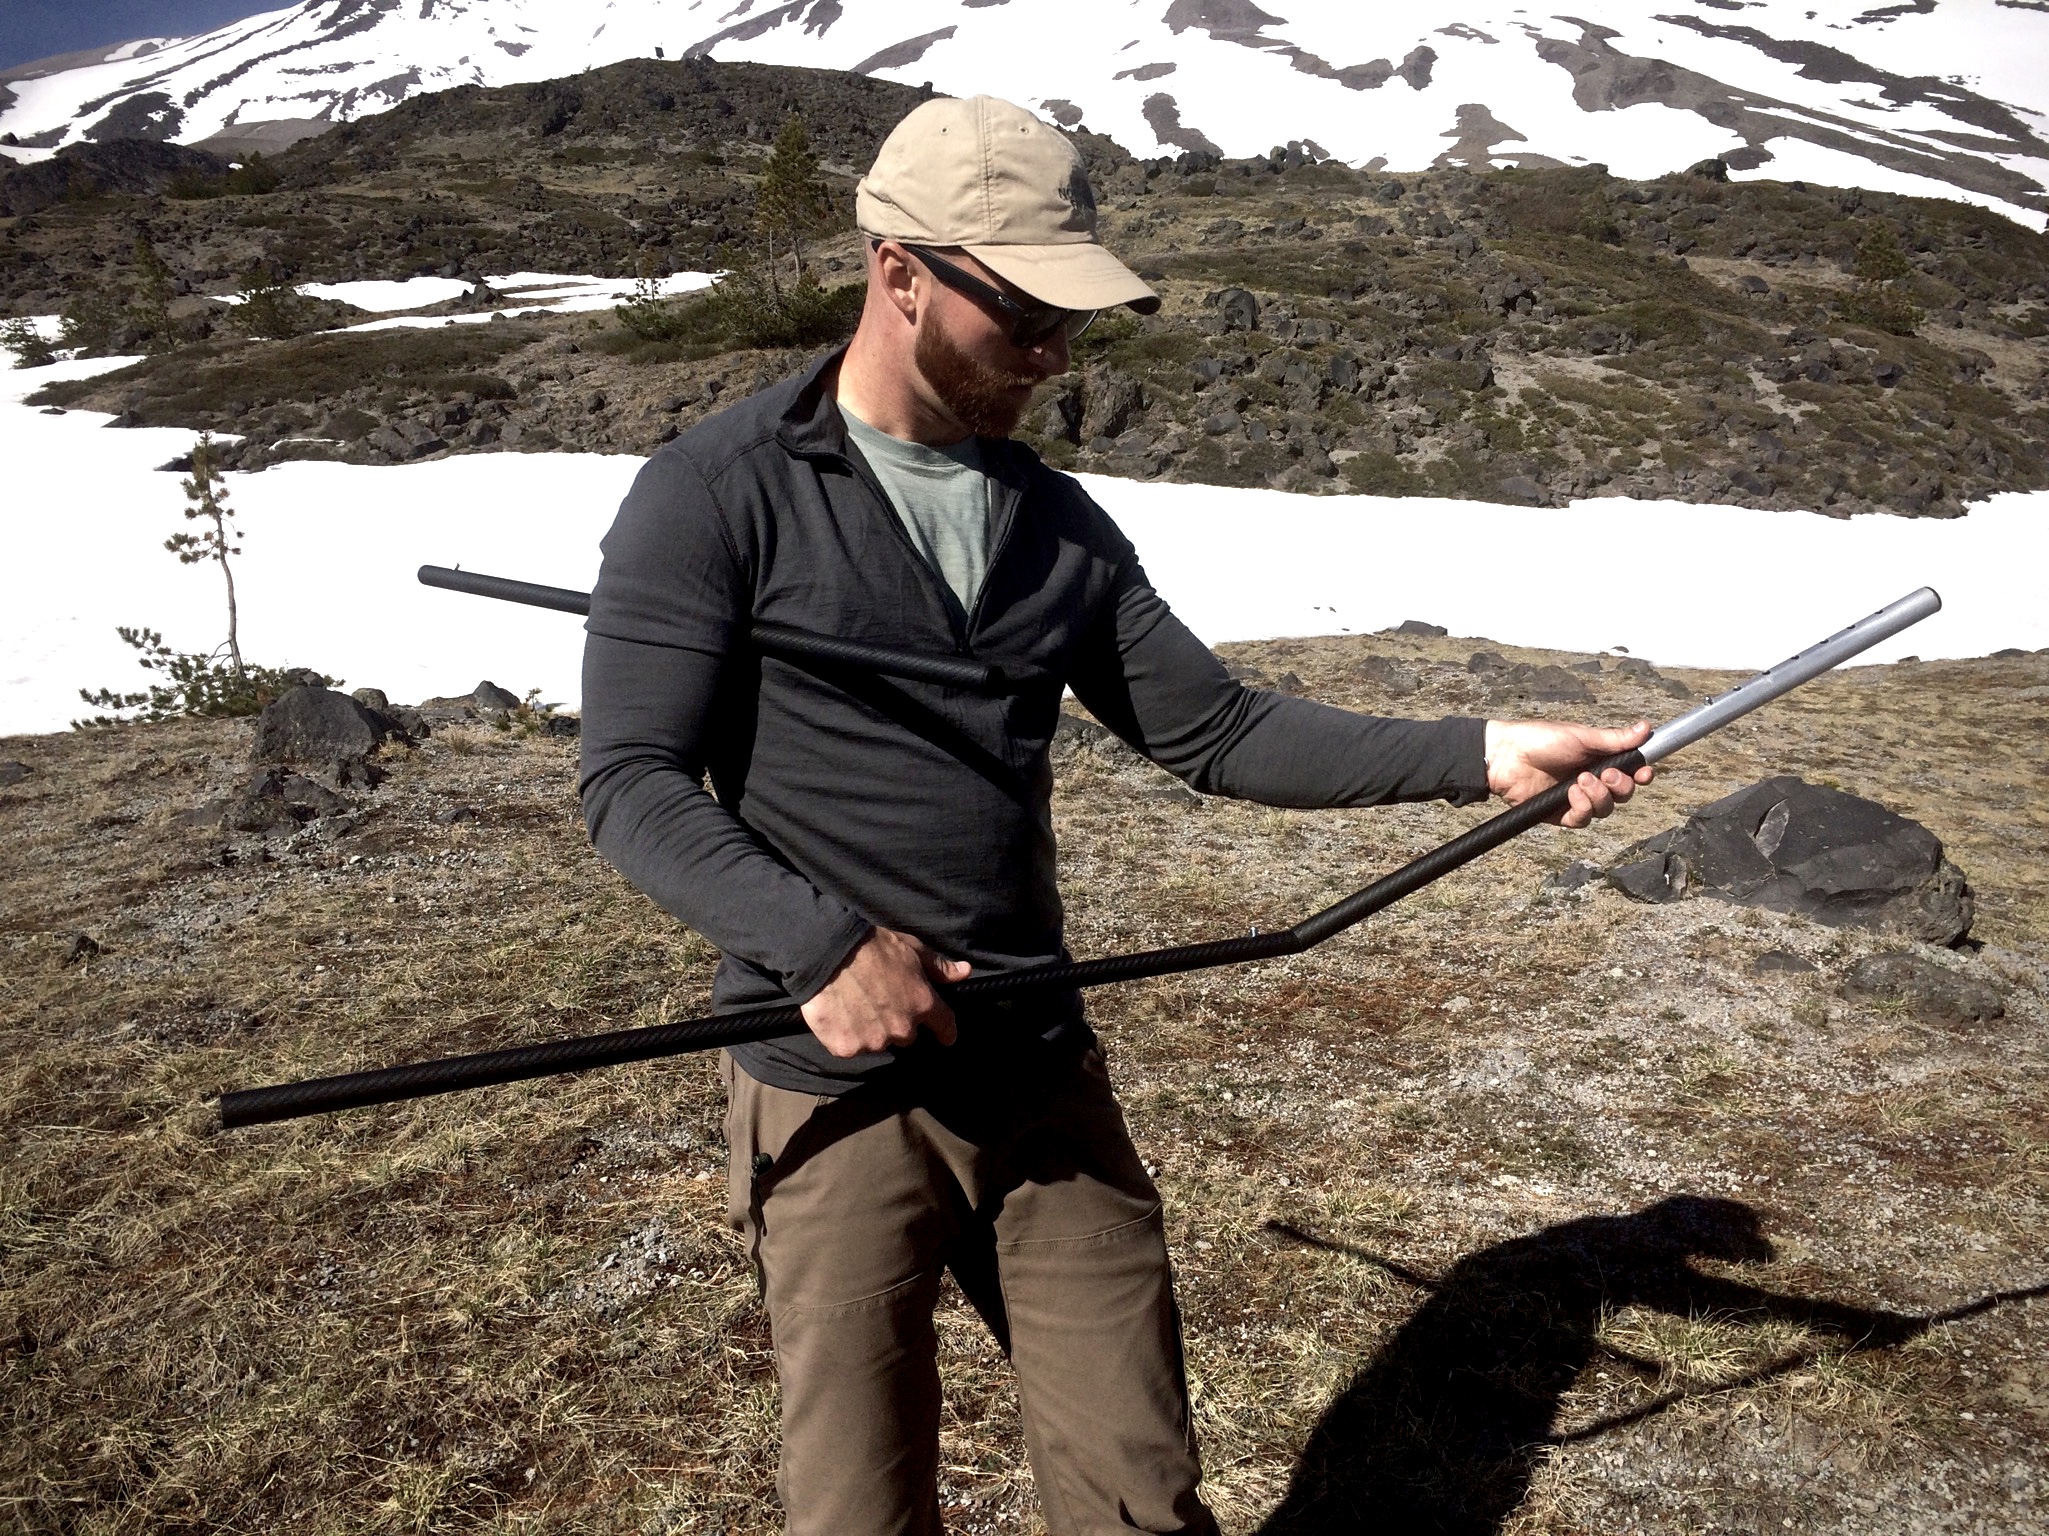
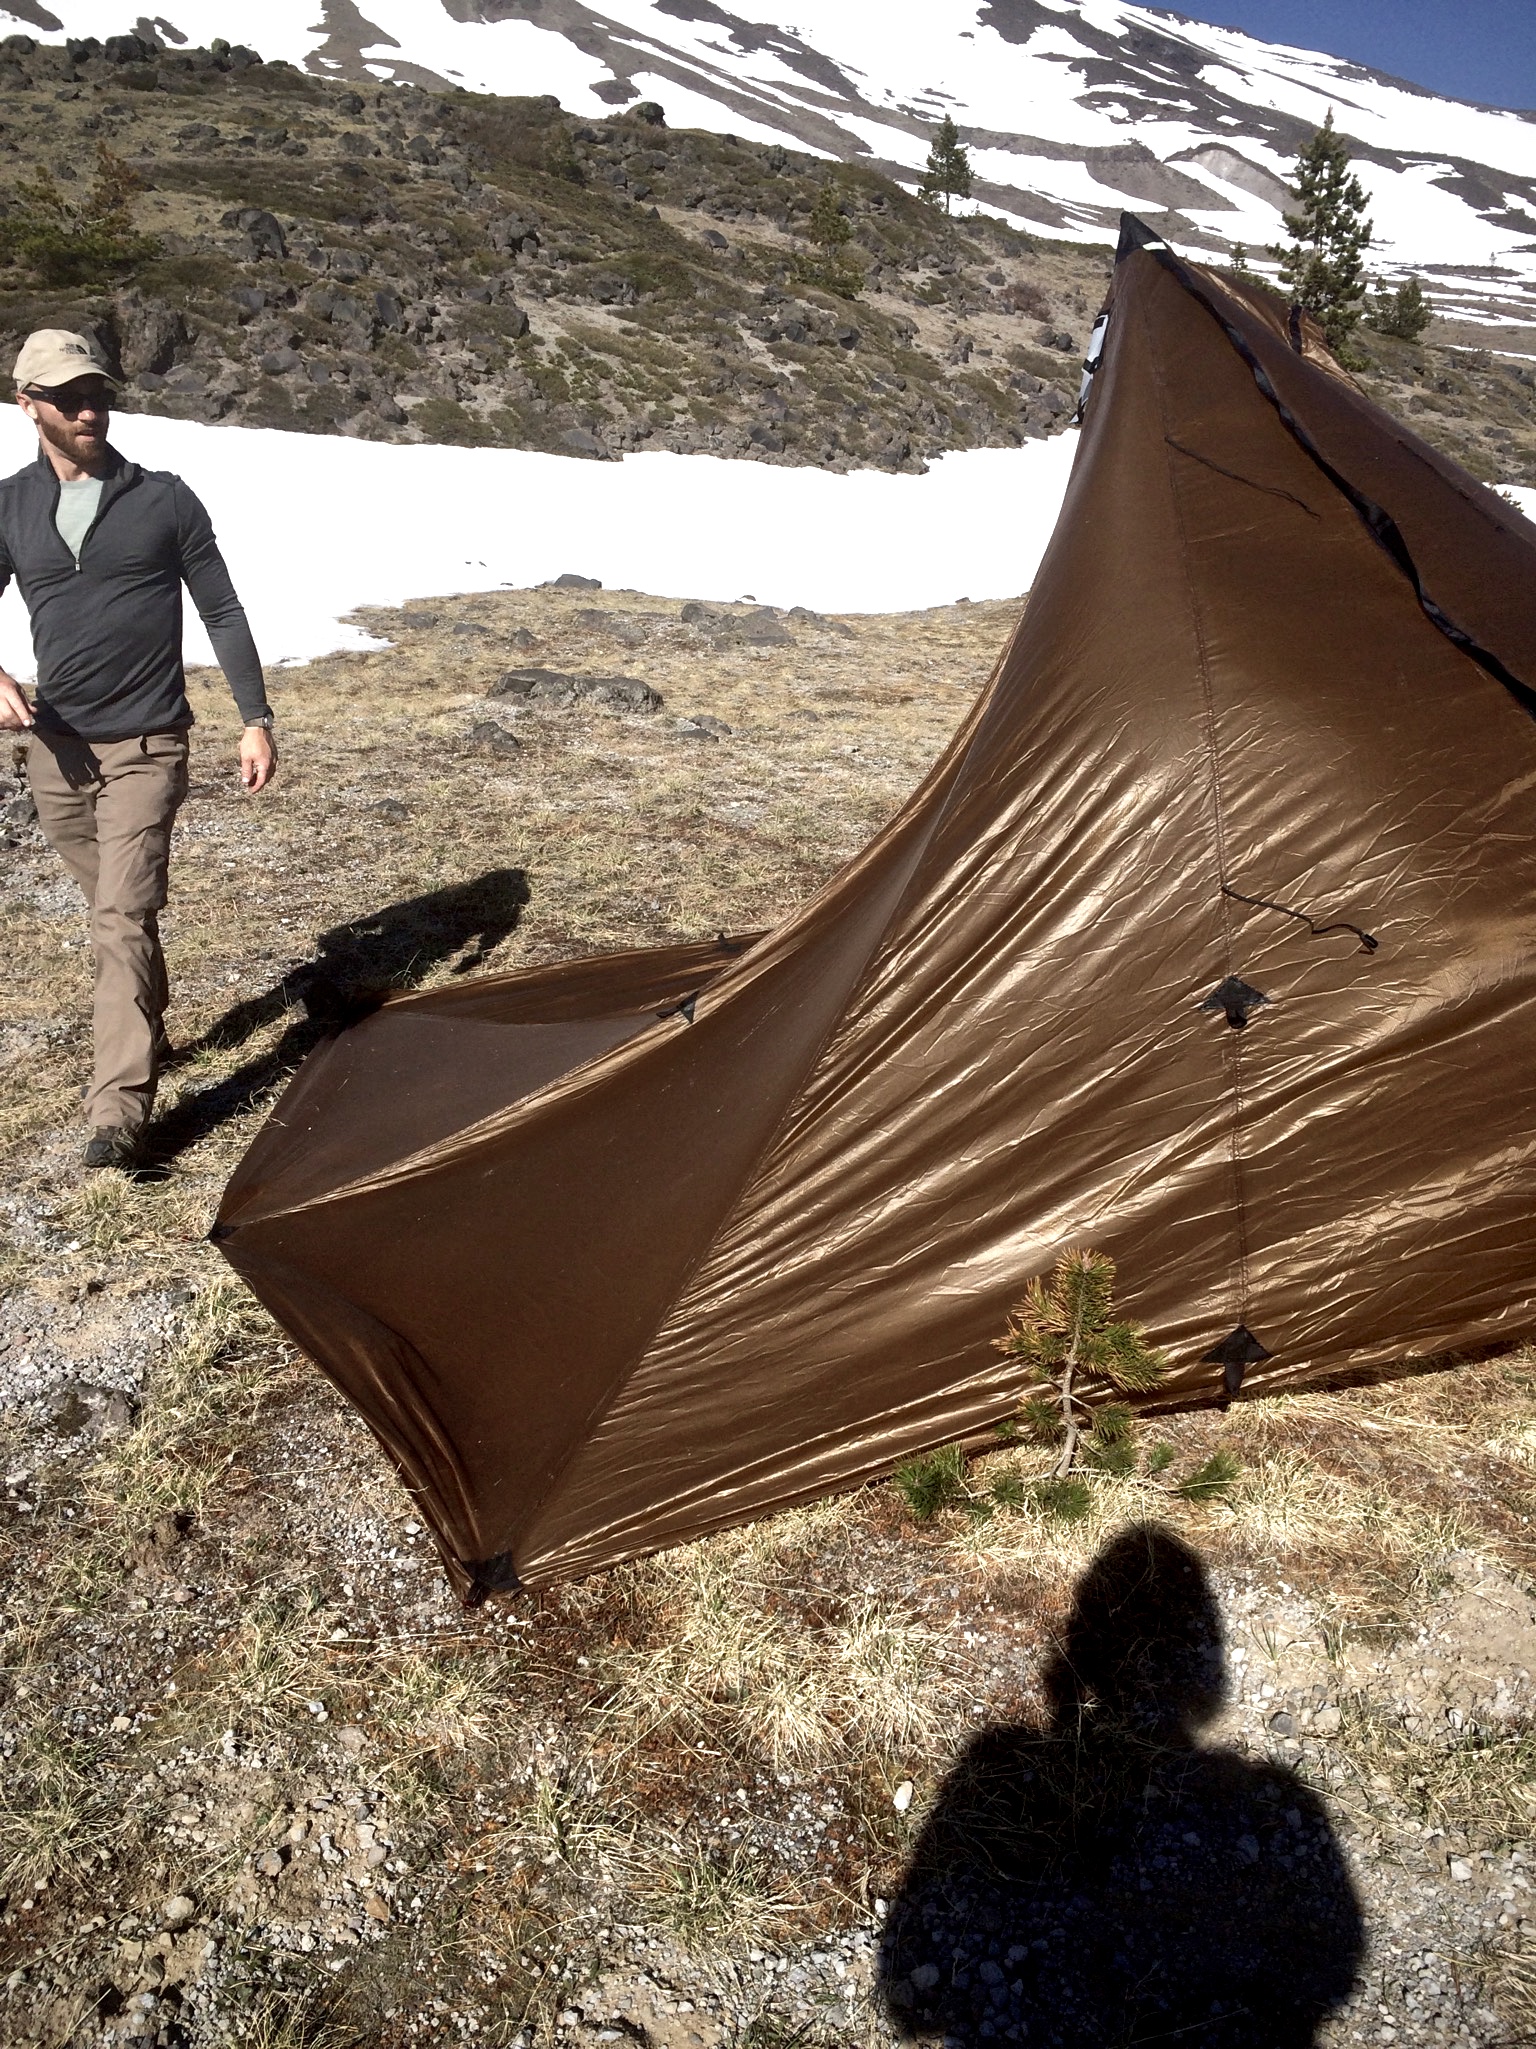
Seek Outside was great to work with and ordering over the phone was a breeze (which I highly suggest so you get what you need). Because these tents are made to order, I had to wait about 3-4 weeks before it showed up at my door. The day I came home from work to see my package had arrived, I immediately brought it into the backyard and pitched it for the first time in about 5 minutes. Keep in mind, I've never owned a tipi and pitching instructions were not provided so it was pretty clear to me right off the bat that the Redcliff was designed to make pitching it an intuitive process. Set four corner stakes, assemble the pole and run it up the middle, then simply add the rest of the stakes and make minor adjustments from there. I was pleased at how simple it was to pitch and when I went to seam seal it a couple weeks later, my pitch time was even faster.
Seam Sealing
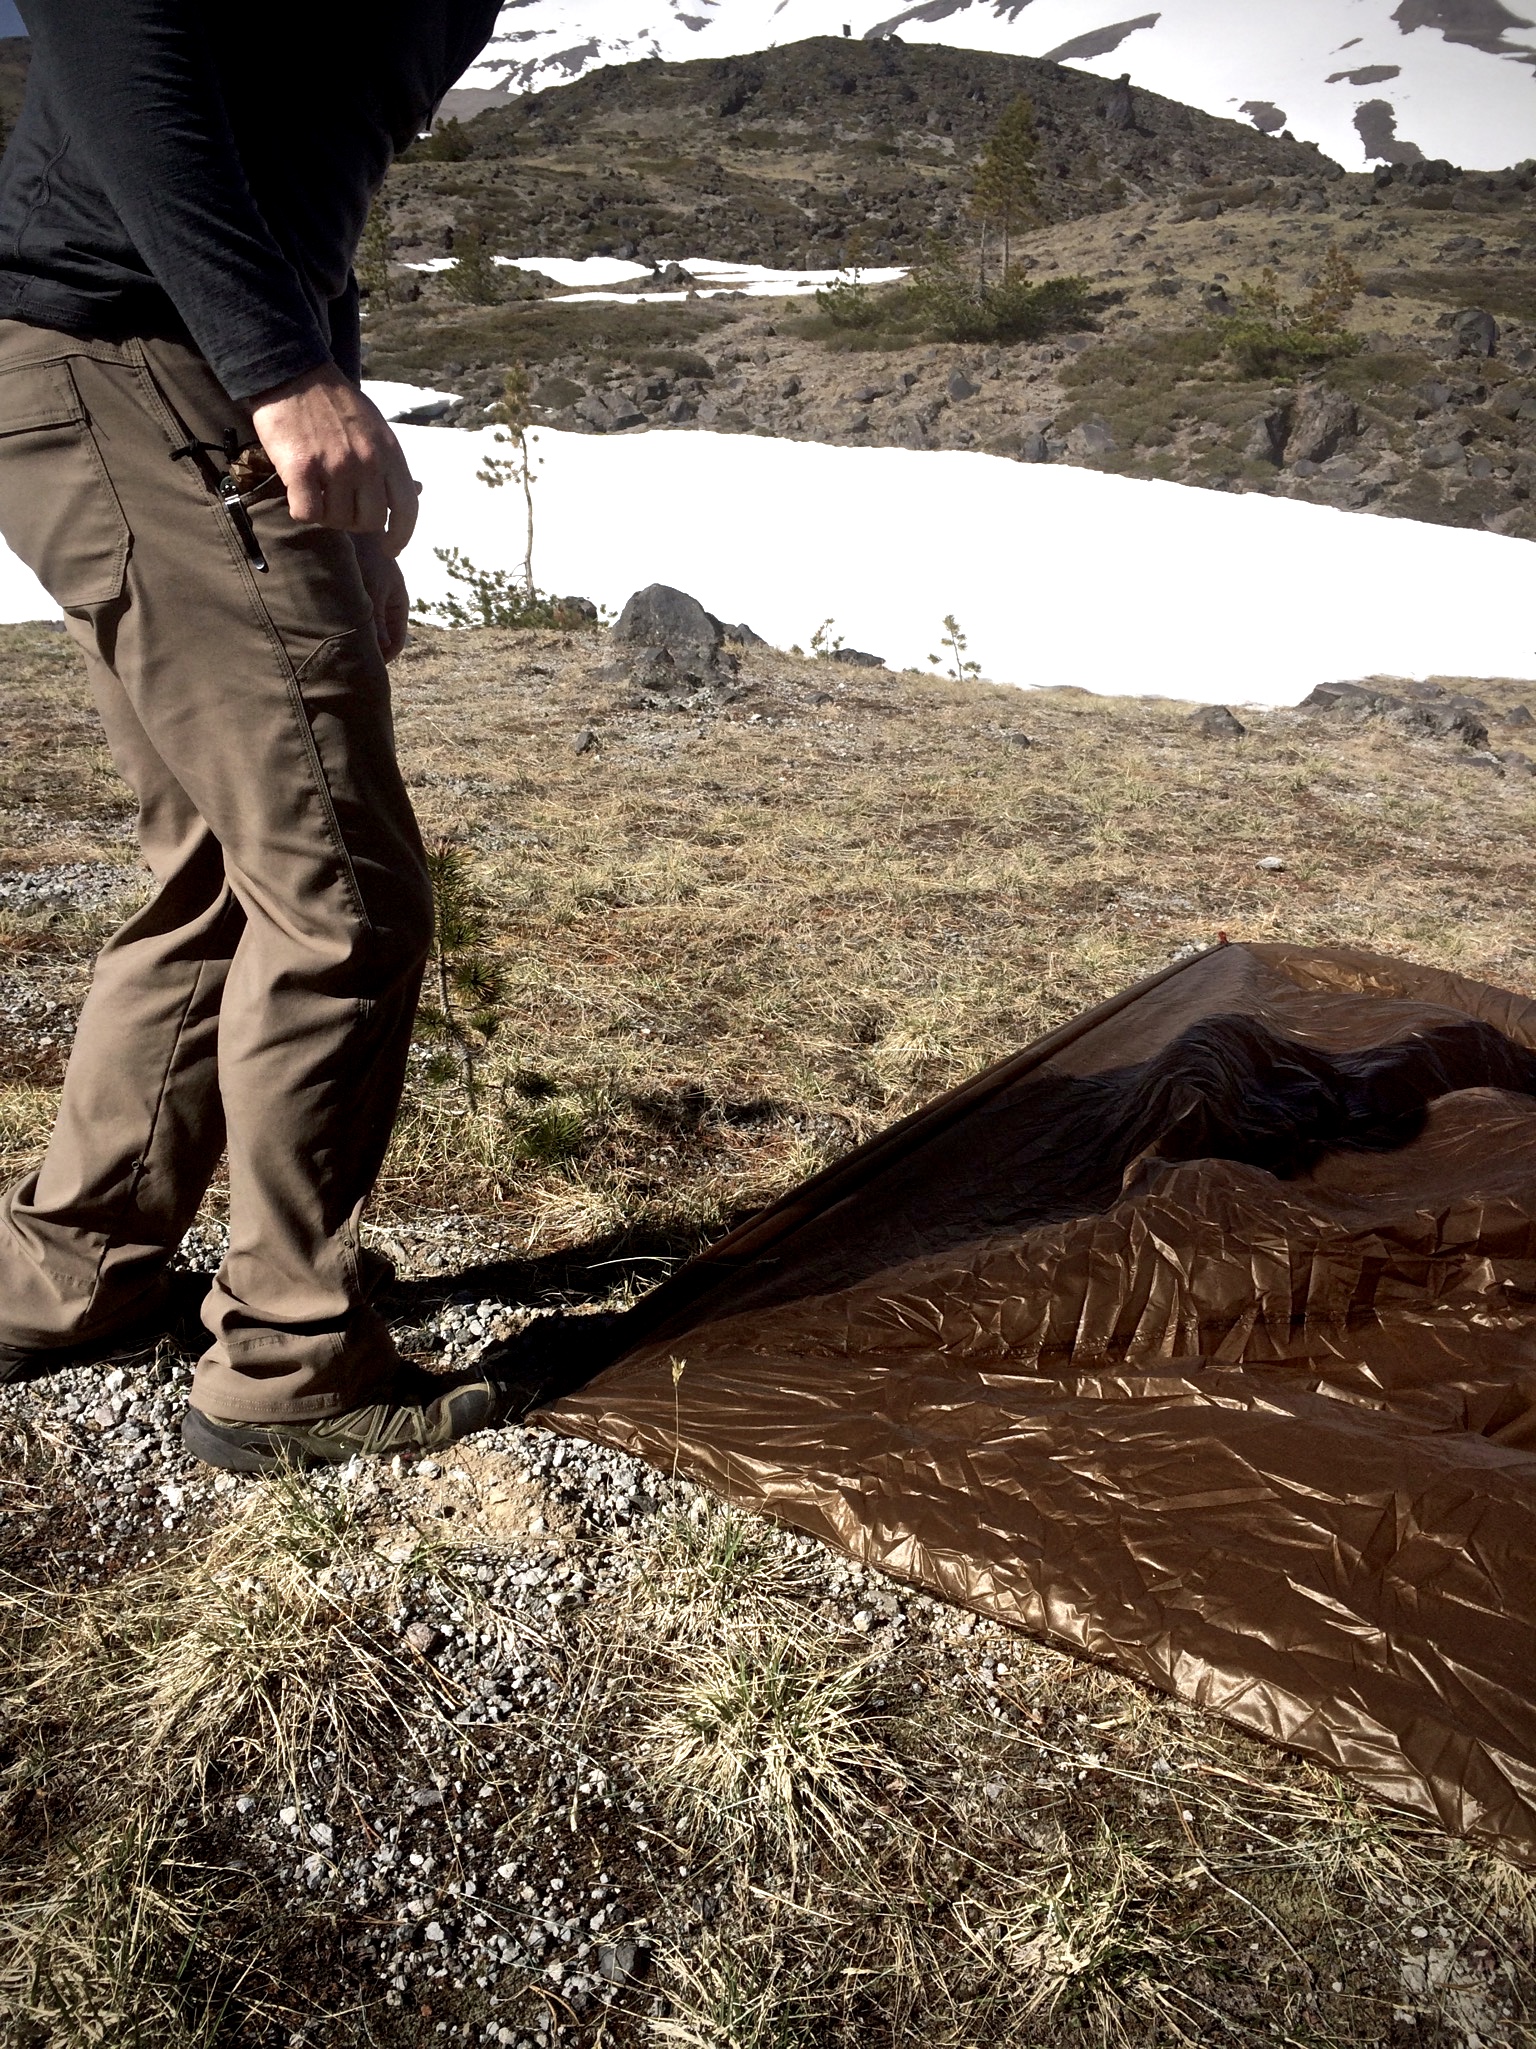
Seam sealing is something I've never done but after I switched methods, it was a breeze.
Seek Outside provides a small tube of seam sealer with the tipi that I attempted to use until I found myself frustrated with the process. I had recently purchased a Sheep Tarp from Kifaru that also came with a seam a sealing product of it's own and decided I'd go that route by mixing 50/50 paint thinner to silicone in a cup and painting it on the seams. In the time it took me to seal two seams with what Seek Outside provided, I had the entire tipi done and drying in the yard. My only negative mention at this point in my time spent with Seek Outside is that I wish pitching instructions and seam sealing instructions had come in the box with the tent. Had I not had a Kifaru tarp or known of how they seam seal tents, I would have been extremely frustrated with the process.
Maiden Voyage
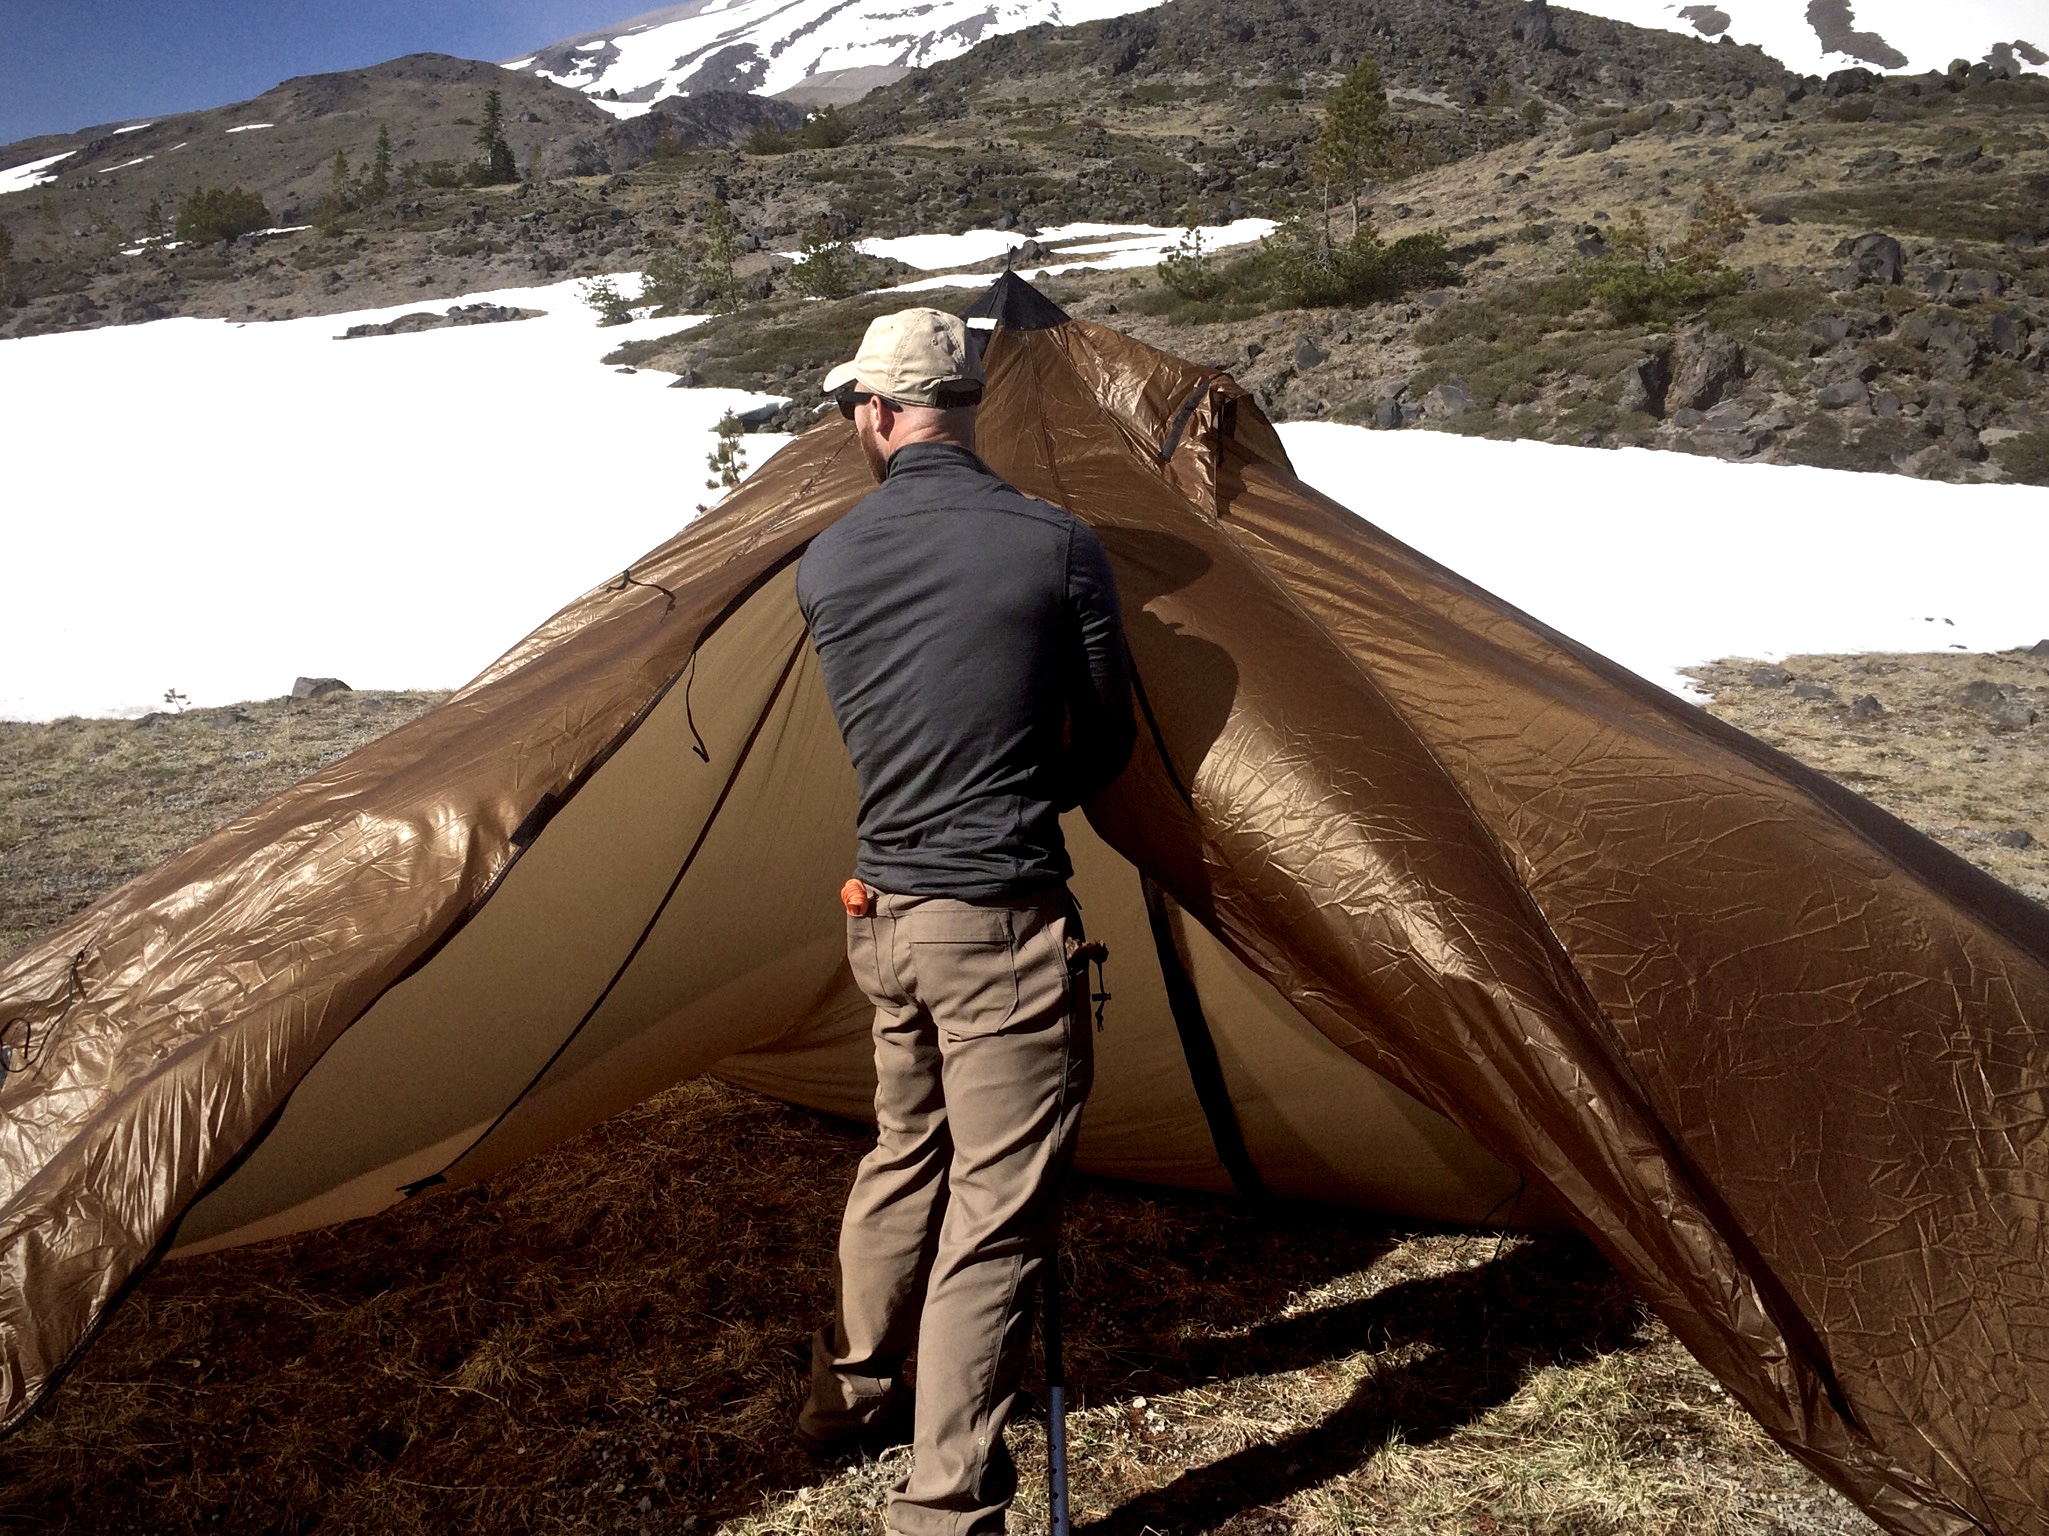
Over this past Mothers Day weekend, I took a group of friends up to Mount St. Helens for an over night trip. What began as a big group trip, eventually dwindled down to be me with 4 of my friend’s wives, all of whom are incredible people and amazing trail companions. The plan was to hike in 4 miles to where we could have a grand view of both the mountain and the surrounding areas. Our choice in camp location was limited due to snow covering most of the ground. The only concern was the wind but it wasn't too bad and finding a wind break was near impossible.
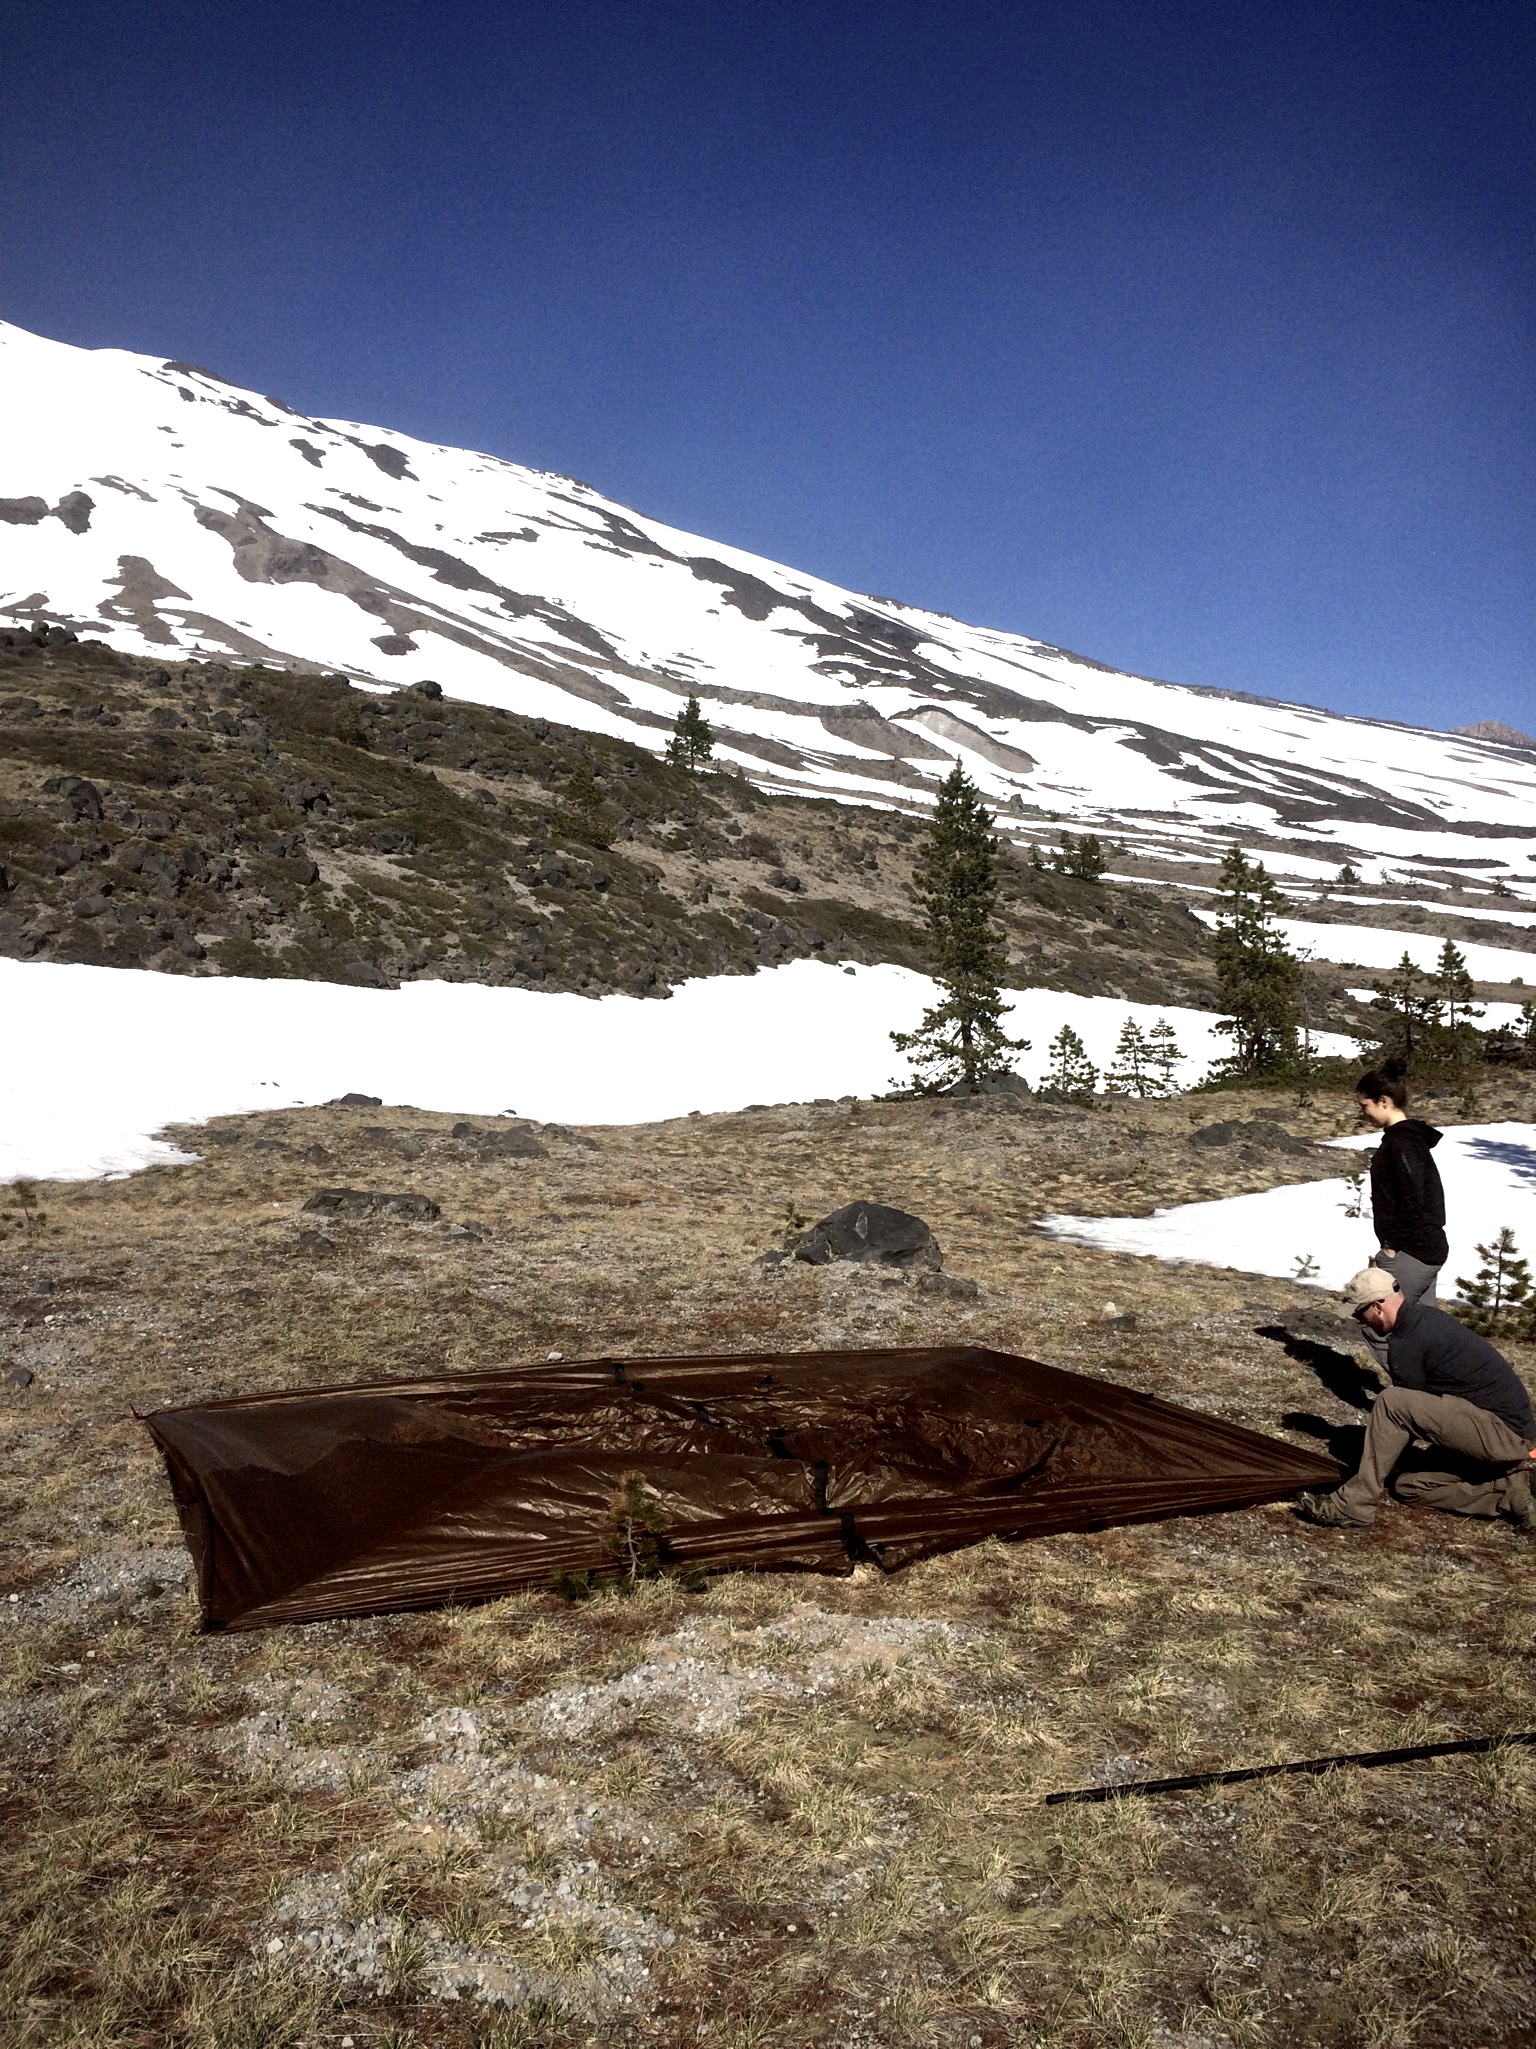
The Opening Pitch
Pitching in the wind is a group event. I was up and going in about 10 minutes due to the difficulty with the wind.
I learned right away that pitching a tipi in the wind is a challenge. I staked out the windward corners first then the far corners, but when I went to raise the tent, the stakes would pull out from the tension, wind, and soft earth. I had the girls hold the corners down until I could get the rest of the stakes in the ground and when I did, the tent was fine.
With the wind blowing how it was, I knew I needed to use the added guy line points by anchoring them to rocks so we set out to find the biggest ones we could. I anchored the windward side of the tipi but left the other side alone since it wasn't getting blasted as hard. Looking back now, I wish I would have.
Love at First Sight
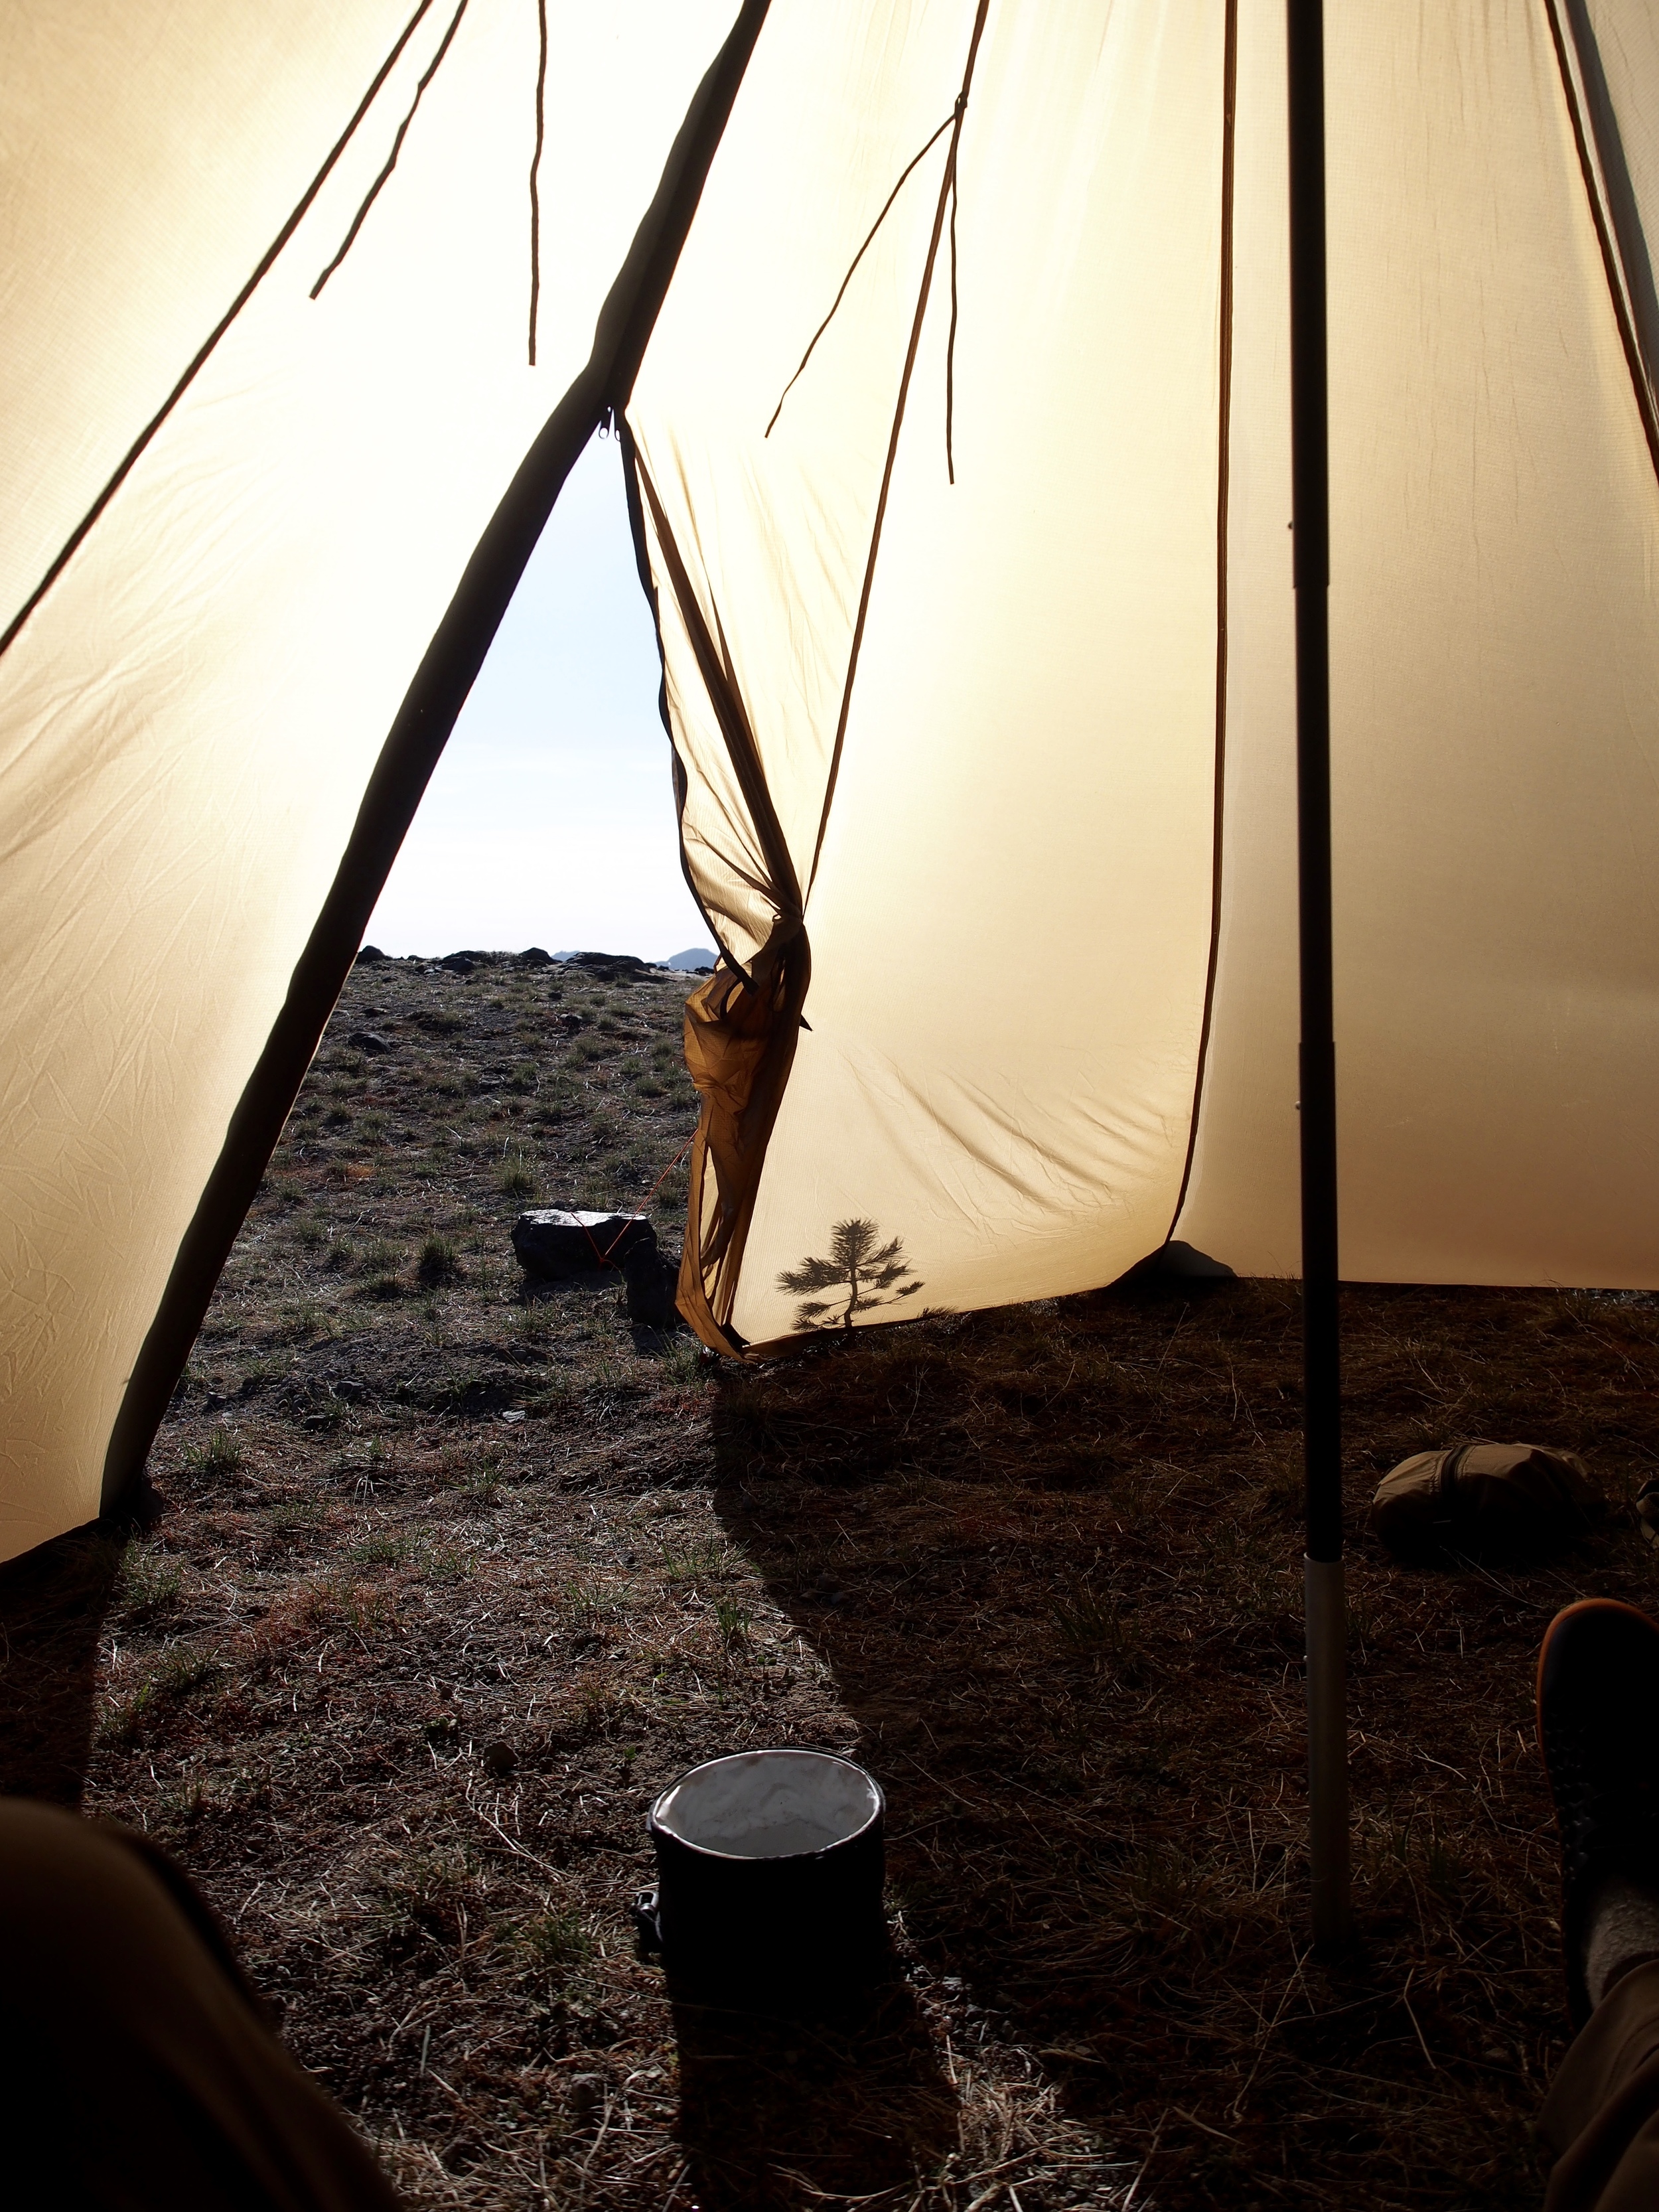
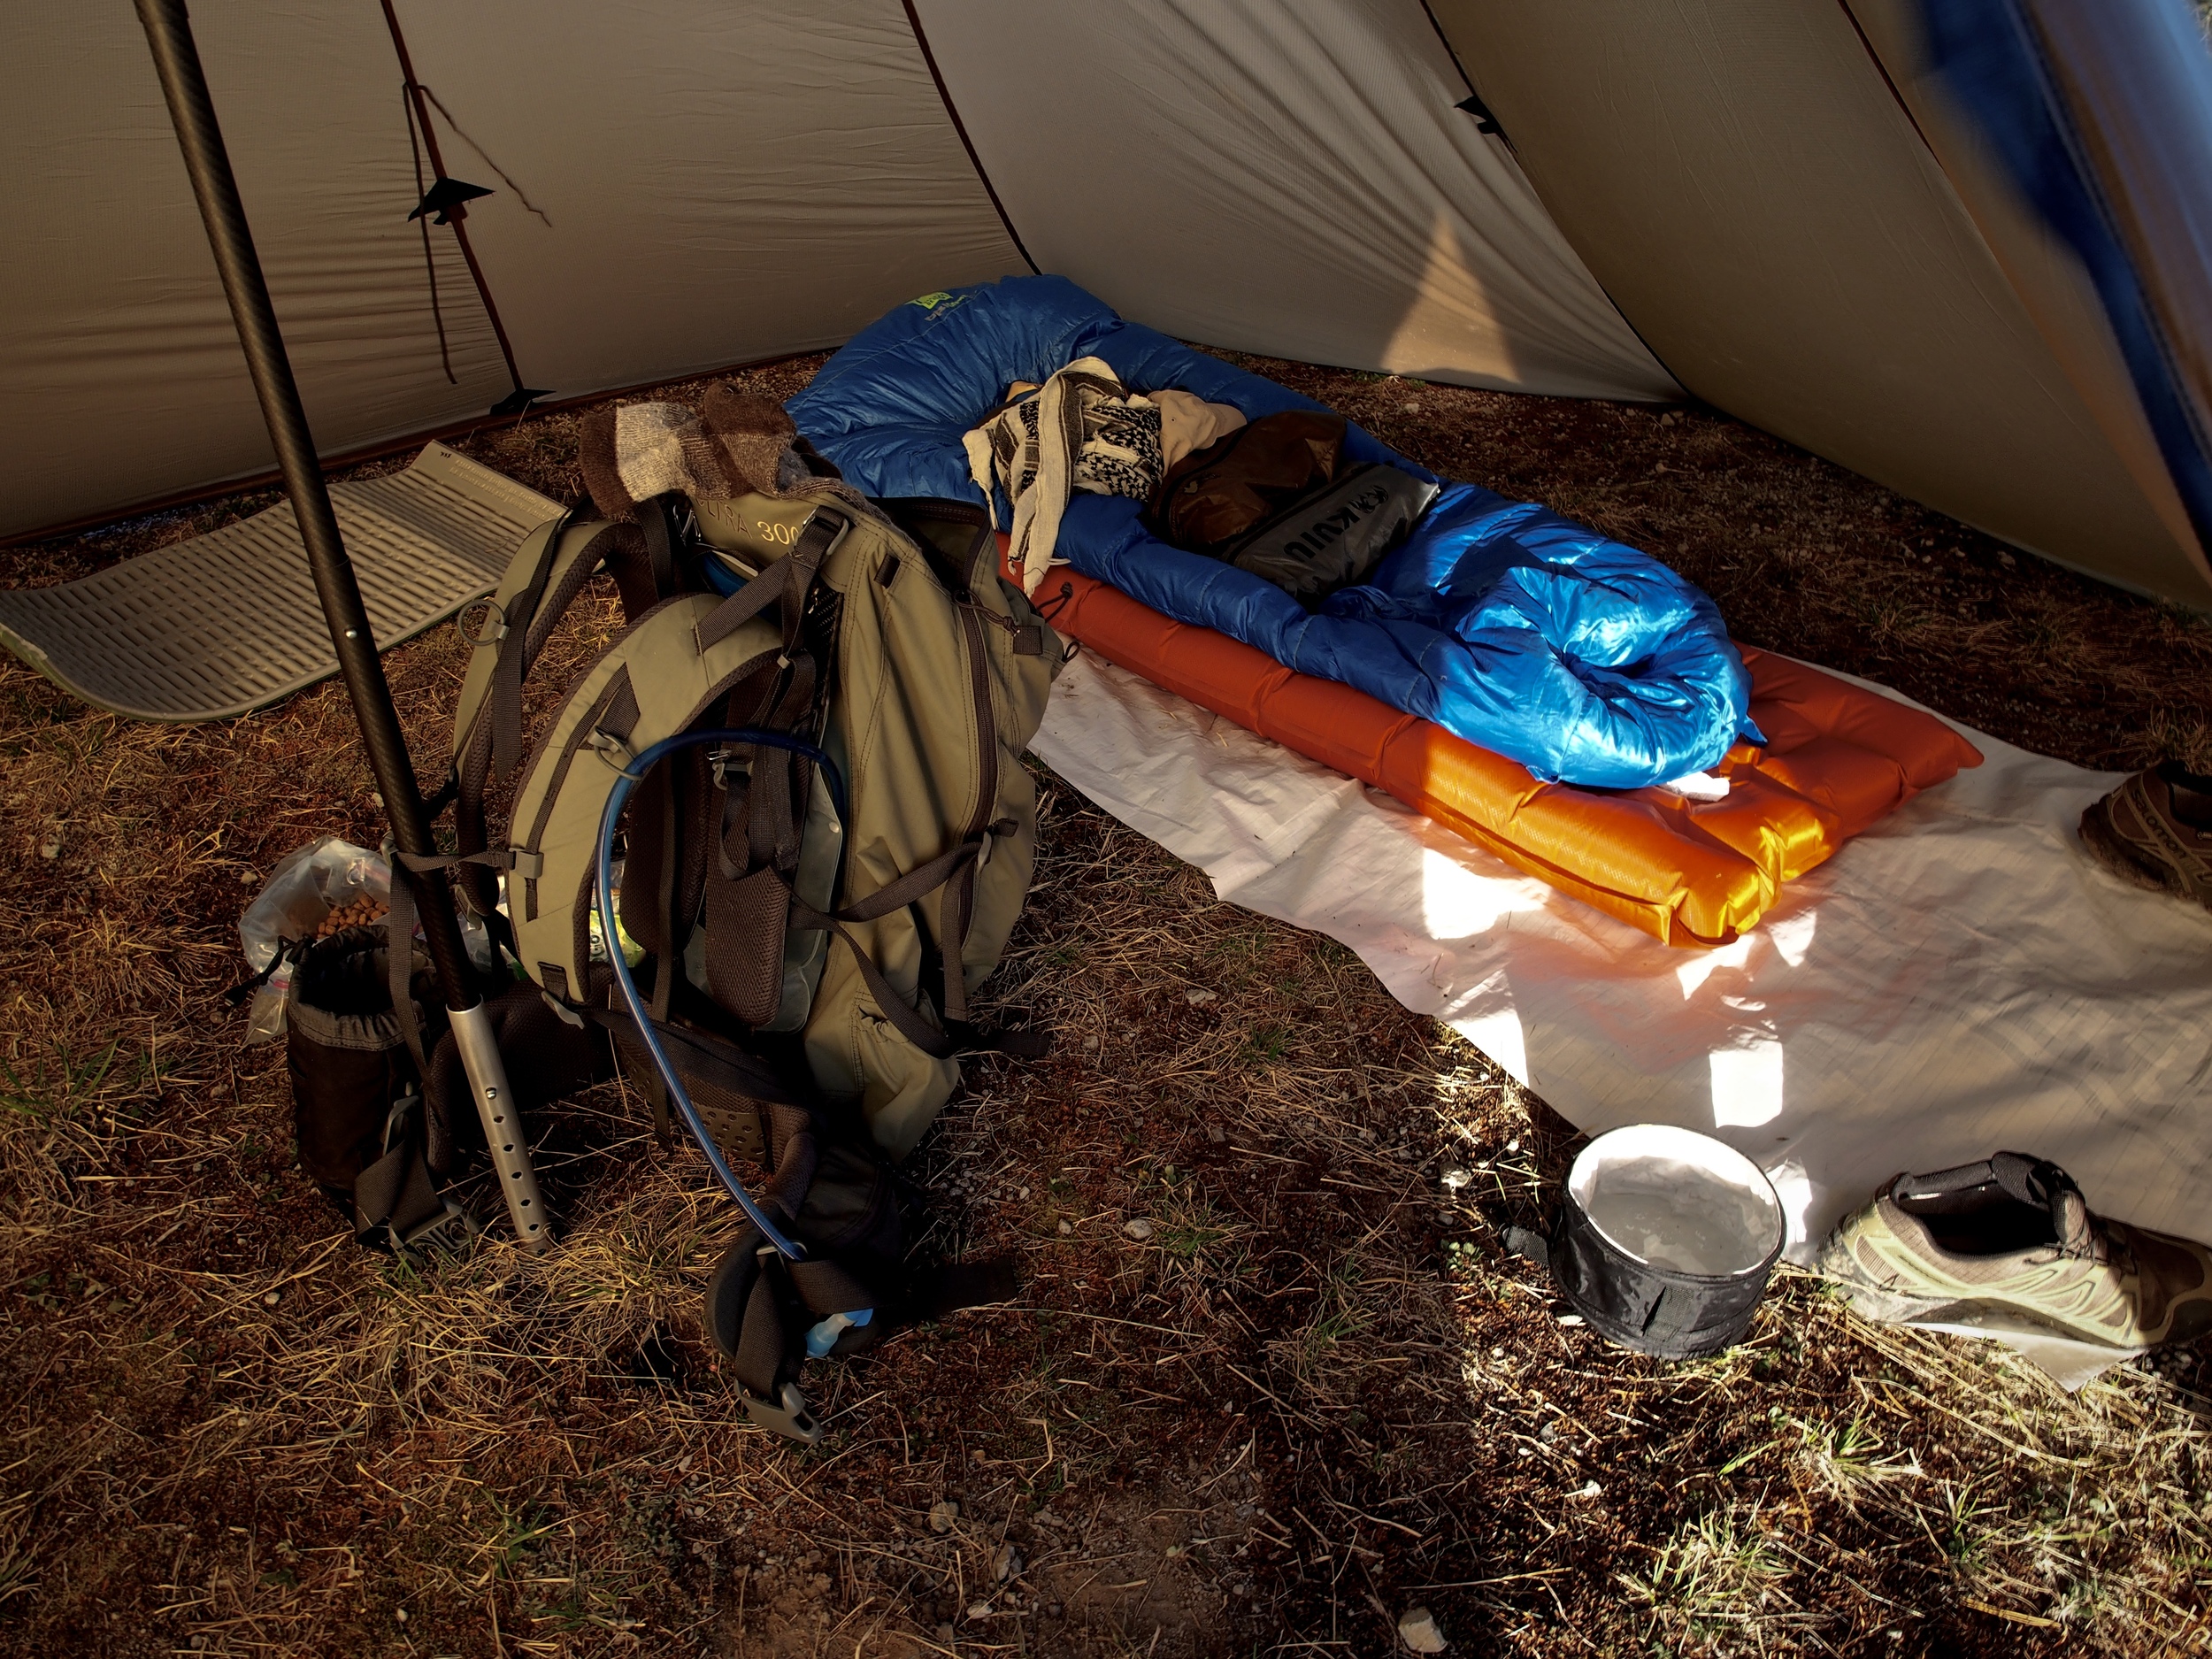
Once the tipi was up, I fell in love. A tear may have even formed… The girls were impressed with what I was about to live in for the night and I was too. I loved that I could walk in to my tent, change standing up, chill in a camp chair, and easily hide from the wind without feeling like I was in a coffin. The livability of a tipi this size is just incredible, not to mention being able to cook inside of it. I'm officially spoiled and can't help but find myself thinking of how much better life will be in the backcountry with this Redcliff tipi. Once you experience it for the first time, you'll wonder why you ever wanted to crawl into a tent in the past.
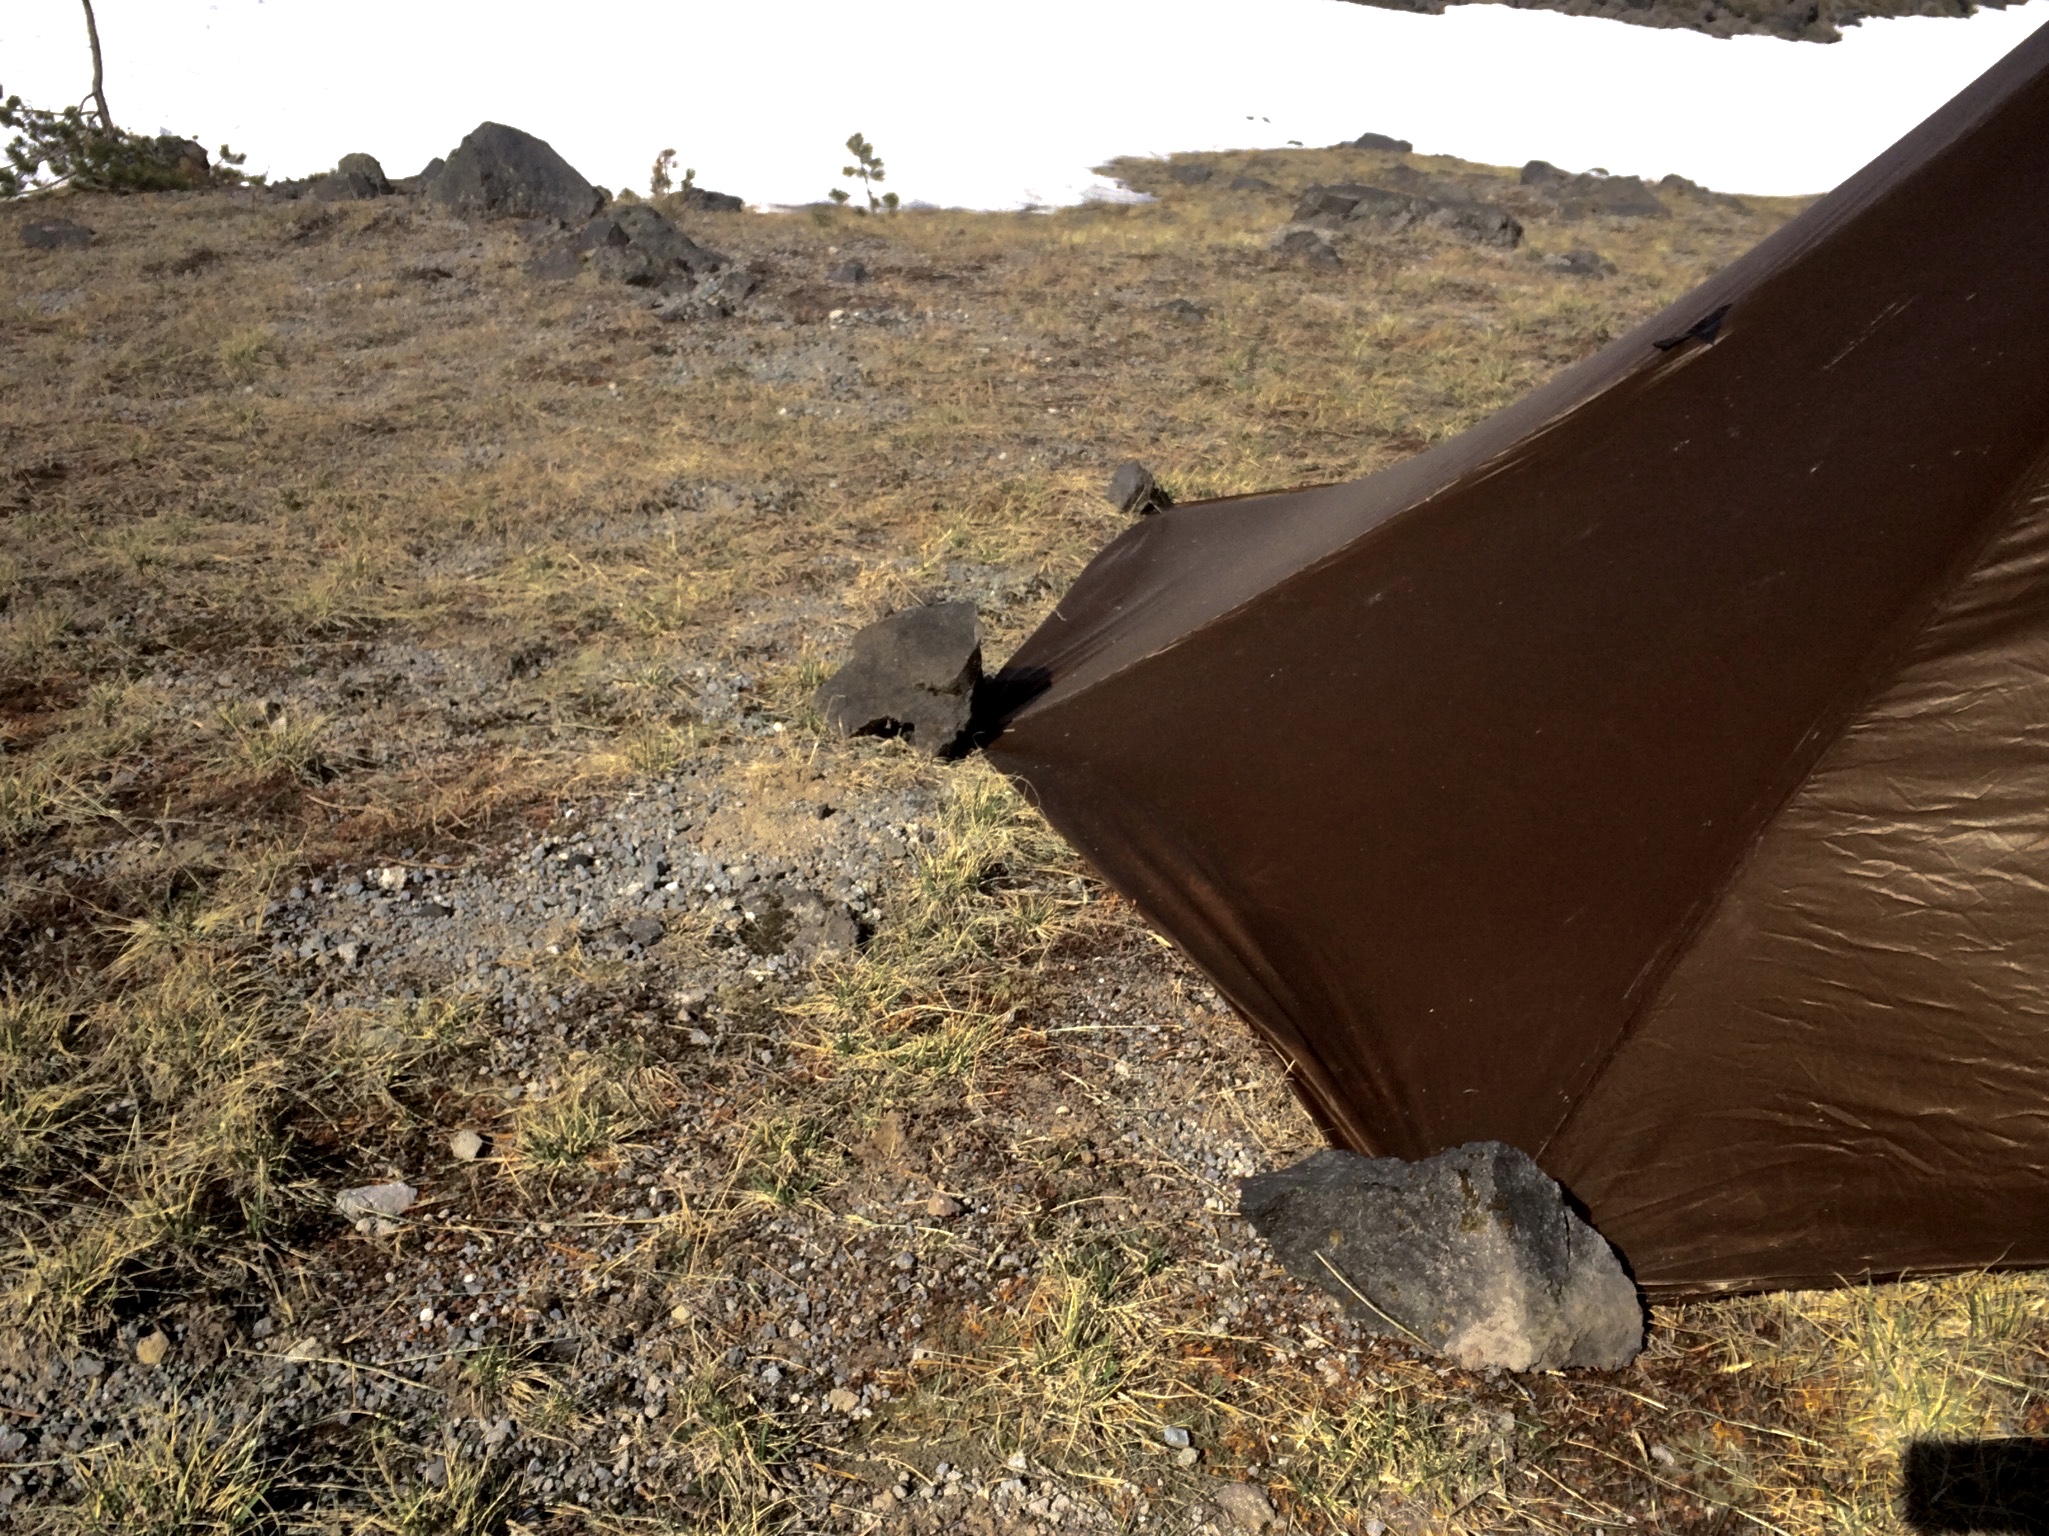
To help secure the stakes, I gathered as many large rocks as I could to help keep them tight.

Weathering the Storm and Bonding with My RedCliff Tipi
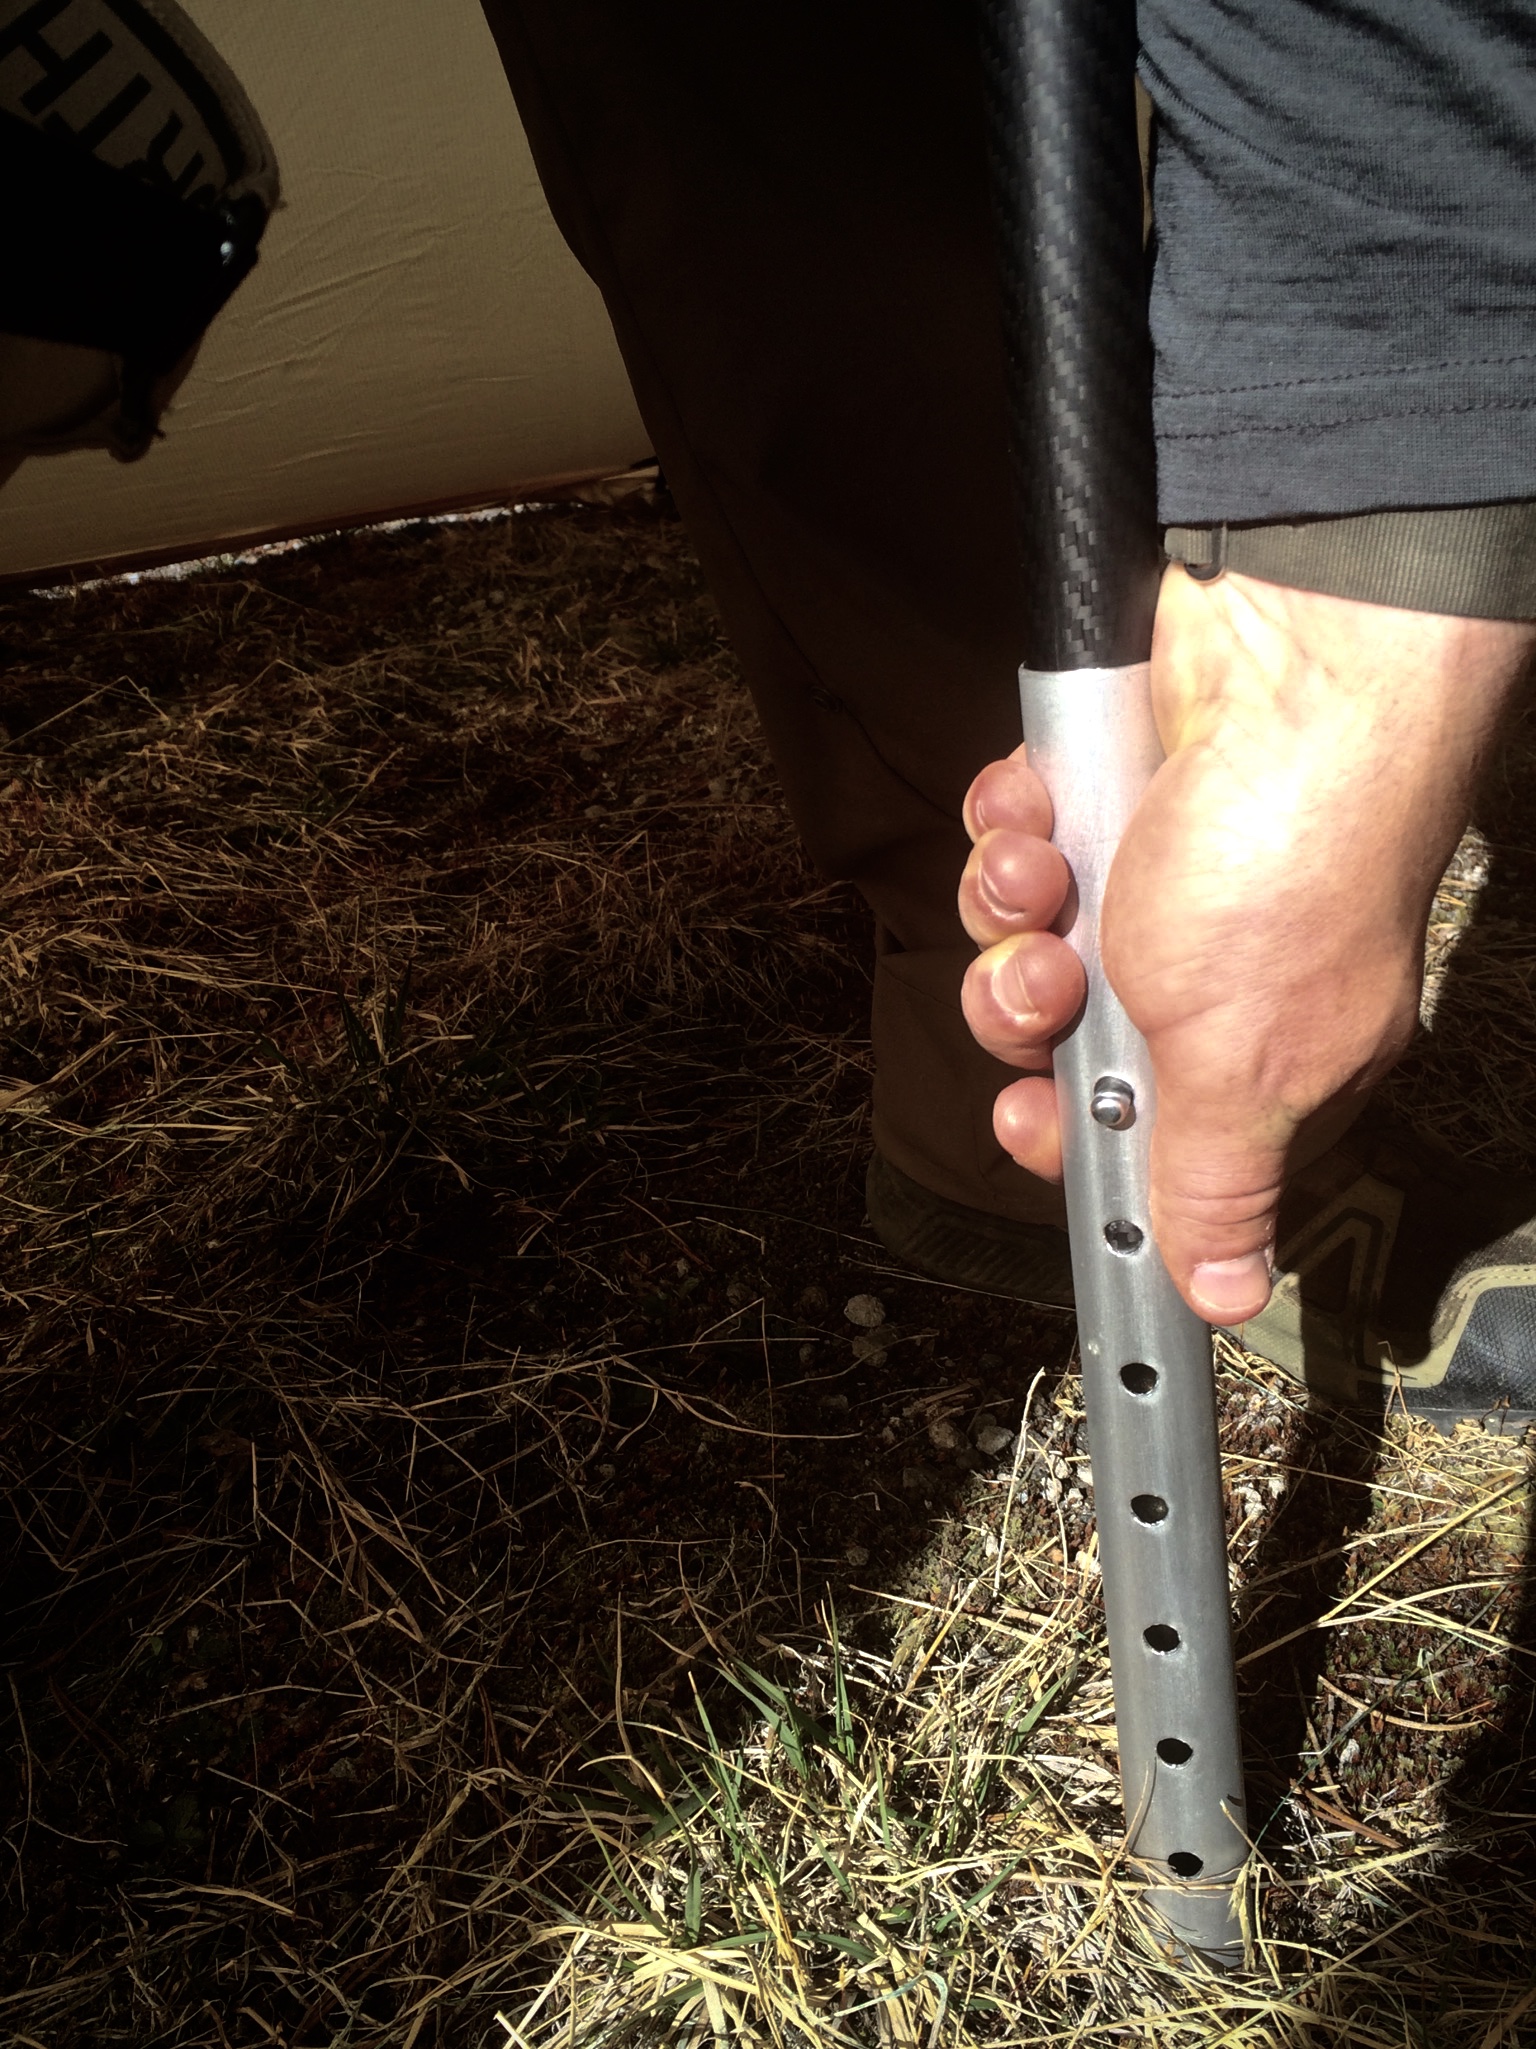
I knew when we made camp that it was going to be a windy location, but I didn't know it was going to turn out to be one of those nights where you wondered if the entire tent might actually blow away and leave you sitting there on my sleeping pad hugging my dog. The minute the sun went down, Mother Nature kicked it up a notch and I spent the entire night comforting my dog who probably thought the world was ending with the noise coming from the flapping tent. Throughout the night, I would get up and check the stakes and guy lines to make sure everything was okay and I wasn't about to loose my shelter. The carbon fiber pole would bend and sway to the point where at one point, I got up to stabilize it even though it probably didn't do anything but bring me comfort knowing I was at least trying to save it from breaking in half. After an hour or so of being pounded by wind, my confidence in the stakes and guy lines was a good enough to where I could settle in and try to sleep. My new concern turned now towards the actual material of the tent holding up. I wish I had video of this night because it was the worst wind I've ever experienced. I'm not a mountaineer so for me this was bad. It had to have been blowing up to 30mph or more with gusts of 15mph or added on top of that. The tent would shake, bend, rattle, flap, and everything else you could think of. The noise was intense! I actually started to fear that the seams would rip and turn my tent into a sail. Backup plans started to form in my head just in case.
I left the back side of the tipi free standing since it wasn't getting hit with as much wind, but looking back now, I should have staked it all out.
Excellent camp spot with the Redcliff acting as the mothership.
The next morning, I went out to check for damage and found that everything held up just fine. The only thing that broke was a single guy line that was taking the full brunt of the wind. It had a strength rating of up to 275lbs and snapped right in half. I think it's safe to say that the wind was whipping that night! All the stakes were in the dirt and the world was somehow right again.
When the girls eventually woke up, they all came into the tipi for coffee and breakfast. The Redcliff afforded five of us the space to enjoy the morning as a group while being protected from the wind that was still howling outside. It was clear to me in those moments that my decision to own a tipi would never be regretted. For the next couple of hours, we sat there warming up, swapping stories about the sleepless night, and reenergizing for the hike out. My Redcliff tipi made all the difference in the world and was worth every ounce carried and every dollar spent.
Final Thoughts
This may be the first post I write about the Seek Outside Redcliff, but it most certainly will not be the last. My maiden voyage with my tipi proved to be a major confidence builder both in showing me it's strength in the wind and its overall livability. I simply cannot wait to bring it with me into the backcountry again and am completely satisfied with my decision to purchase an ultralight tipi. From it's ease of use, to its livability, and finally to its durability, it is by far one of the best purchases I've made.
These tipis just look natural in the backcountry. How much better can this get?
As I learn more about making the transition to a floorless ultralight tipi, I'll continue to write about it so please check back often to find out more about my experiences.
Stay safe out there!