Rebuilding My Bergara Mountain Rifle 2.0: Three Years Later
A year or so after purchasing my Bergara Mountain Rifle 2.0, I started wondering about potential upgrades. The rifle didn’t necessarily need anything, but I wanted to improve two or three things, and I figured it might be a fun little project.
Fast-forward three years, and I’ve been using my Bergara Mountain Rifle in its upgraded configuration ever since, with zero regrets.
I had hoped to put this update together sooner, but I wanted to spend real time with the rifle before writing about it. That meant taking it hunting, carrying it through the mountains, and putting it through a few seasons of real-world use.
In my mind, there’s value in waiting. If a piece of equipment is still on the market after I’ve used it year after year, it’s likely a pretty good product. More importantly, I’ll have enough experience to know whether it’s worth recommending.
That’s what happened here.
I love the additions I’ve made to this rifle and haven’t found a compelling reason to change anything.
Here’s how the project came together, what worked, what didn’t, and where things stand three years later.
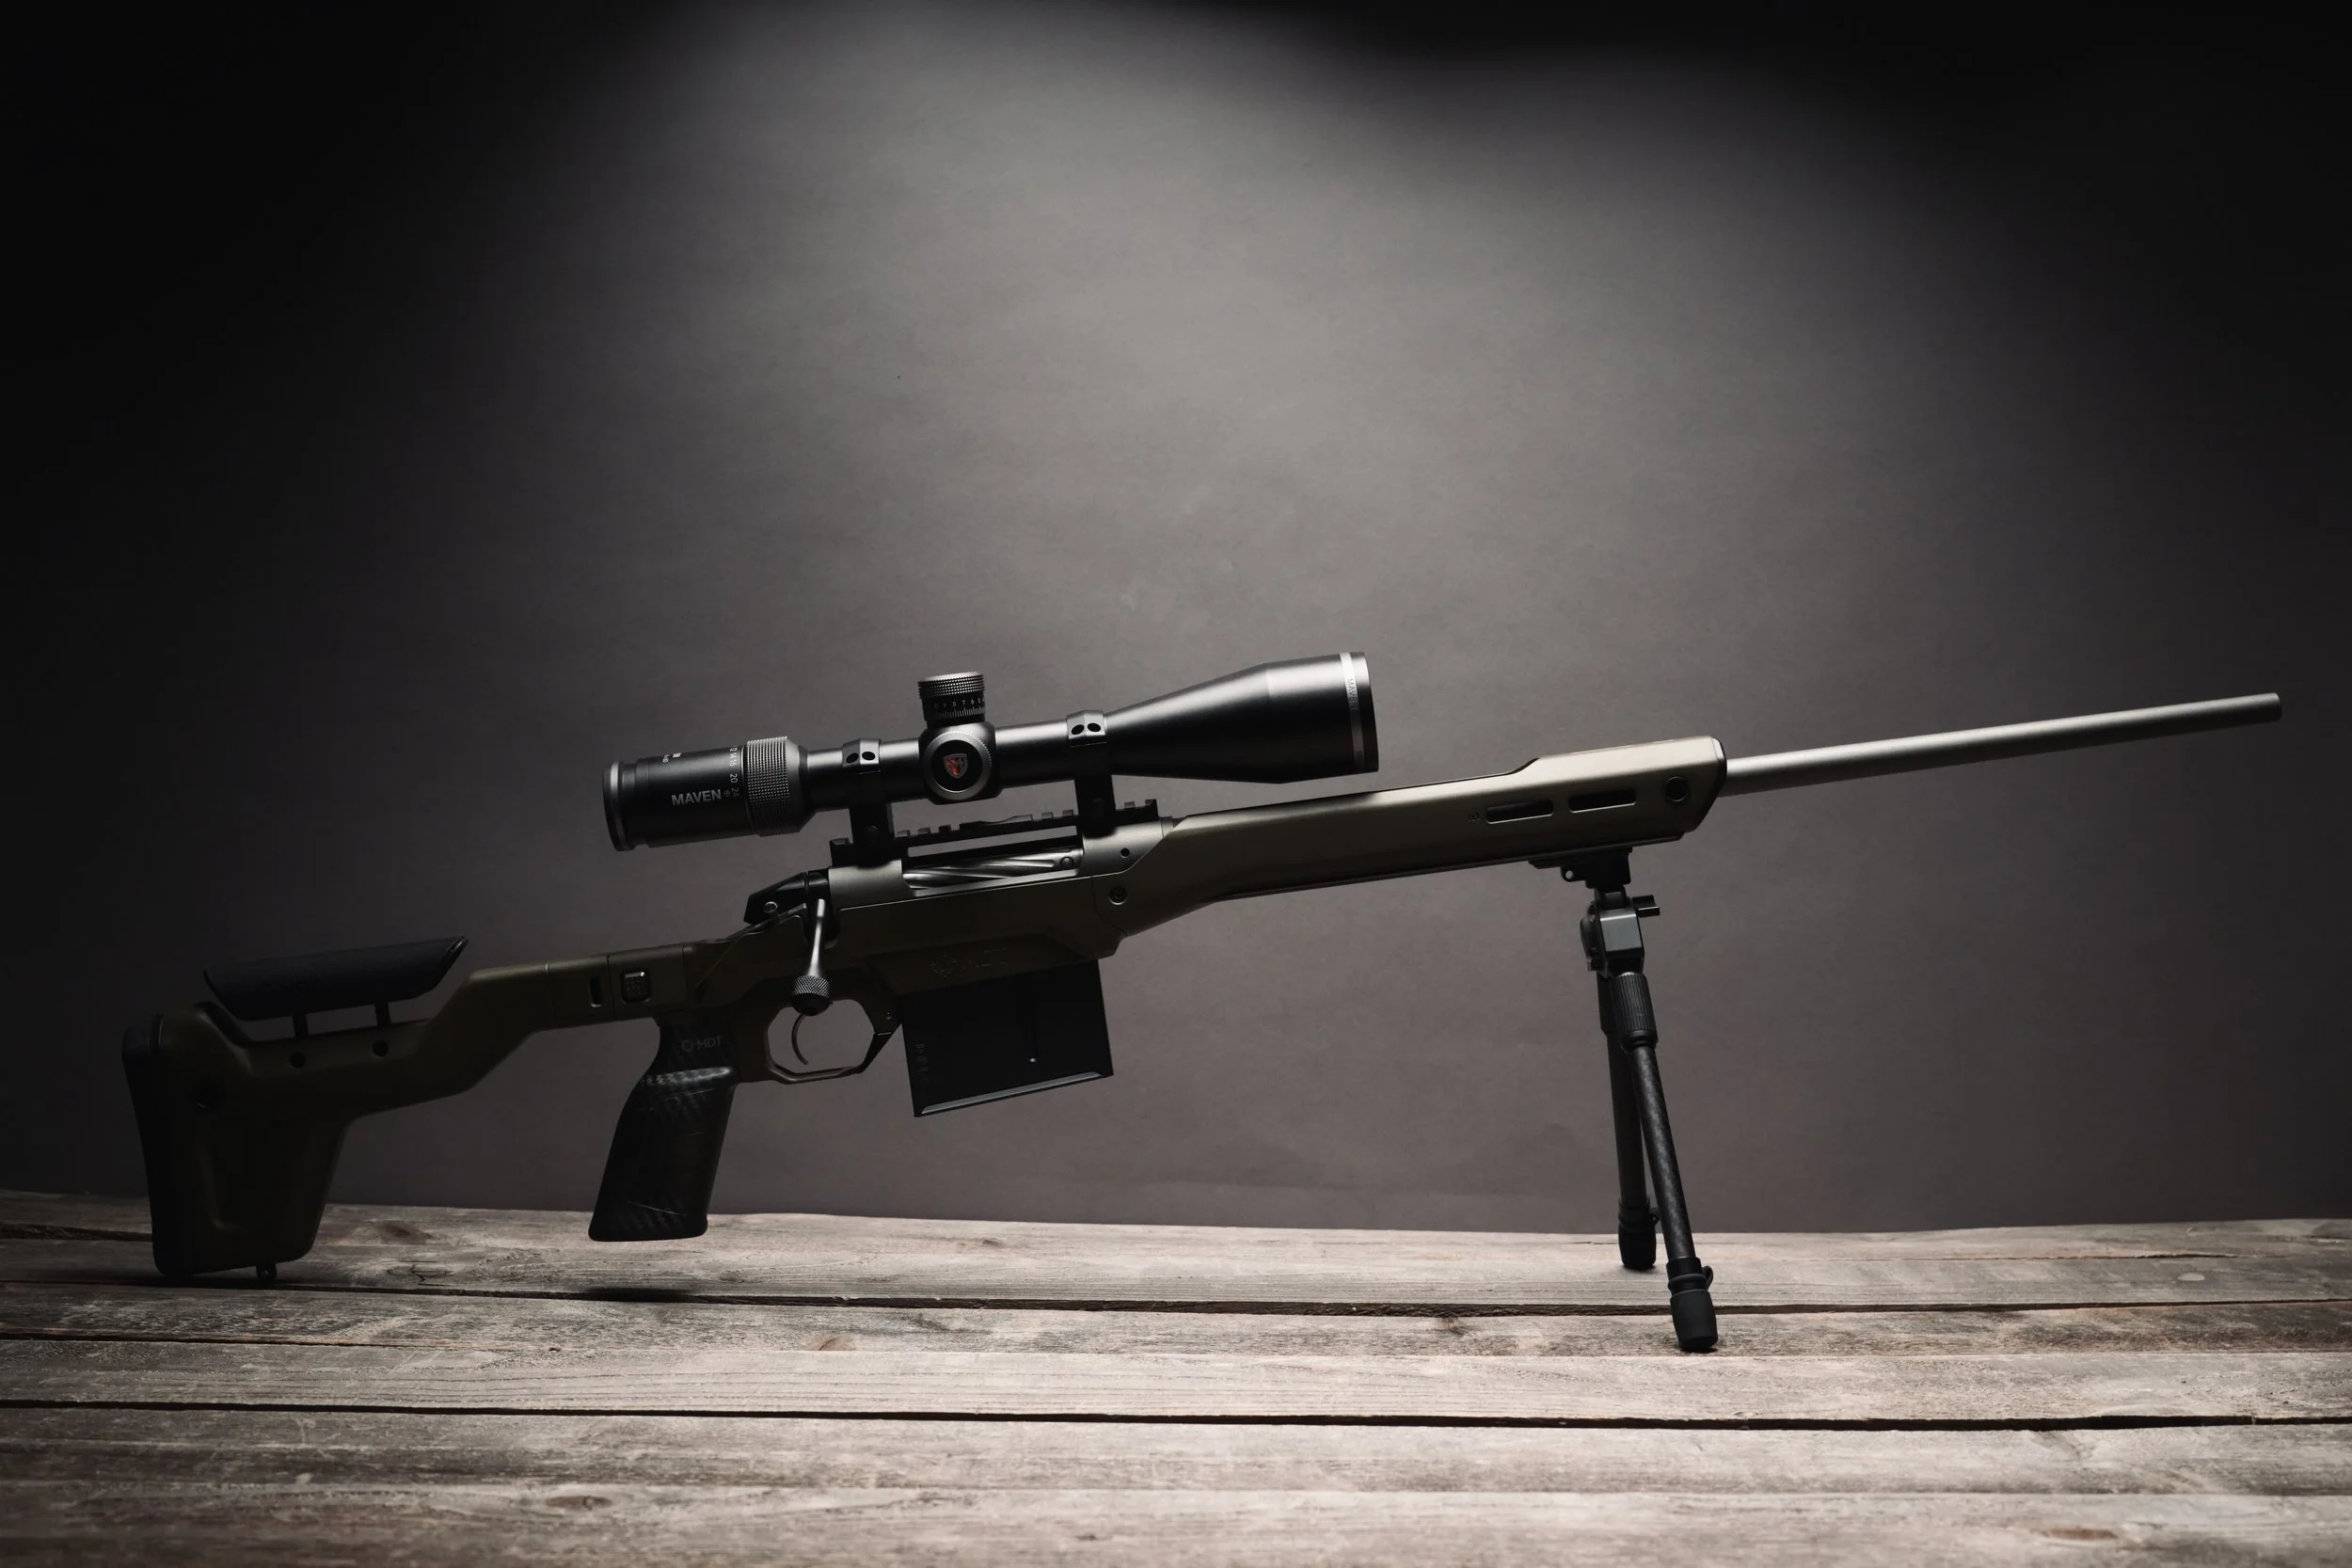
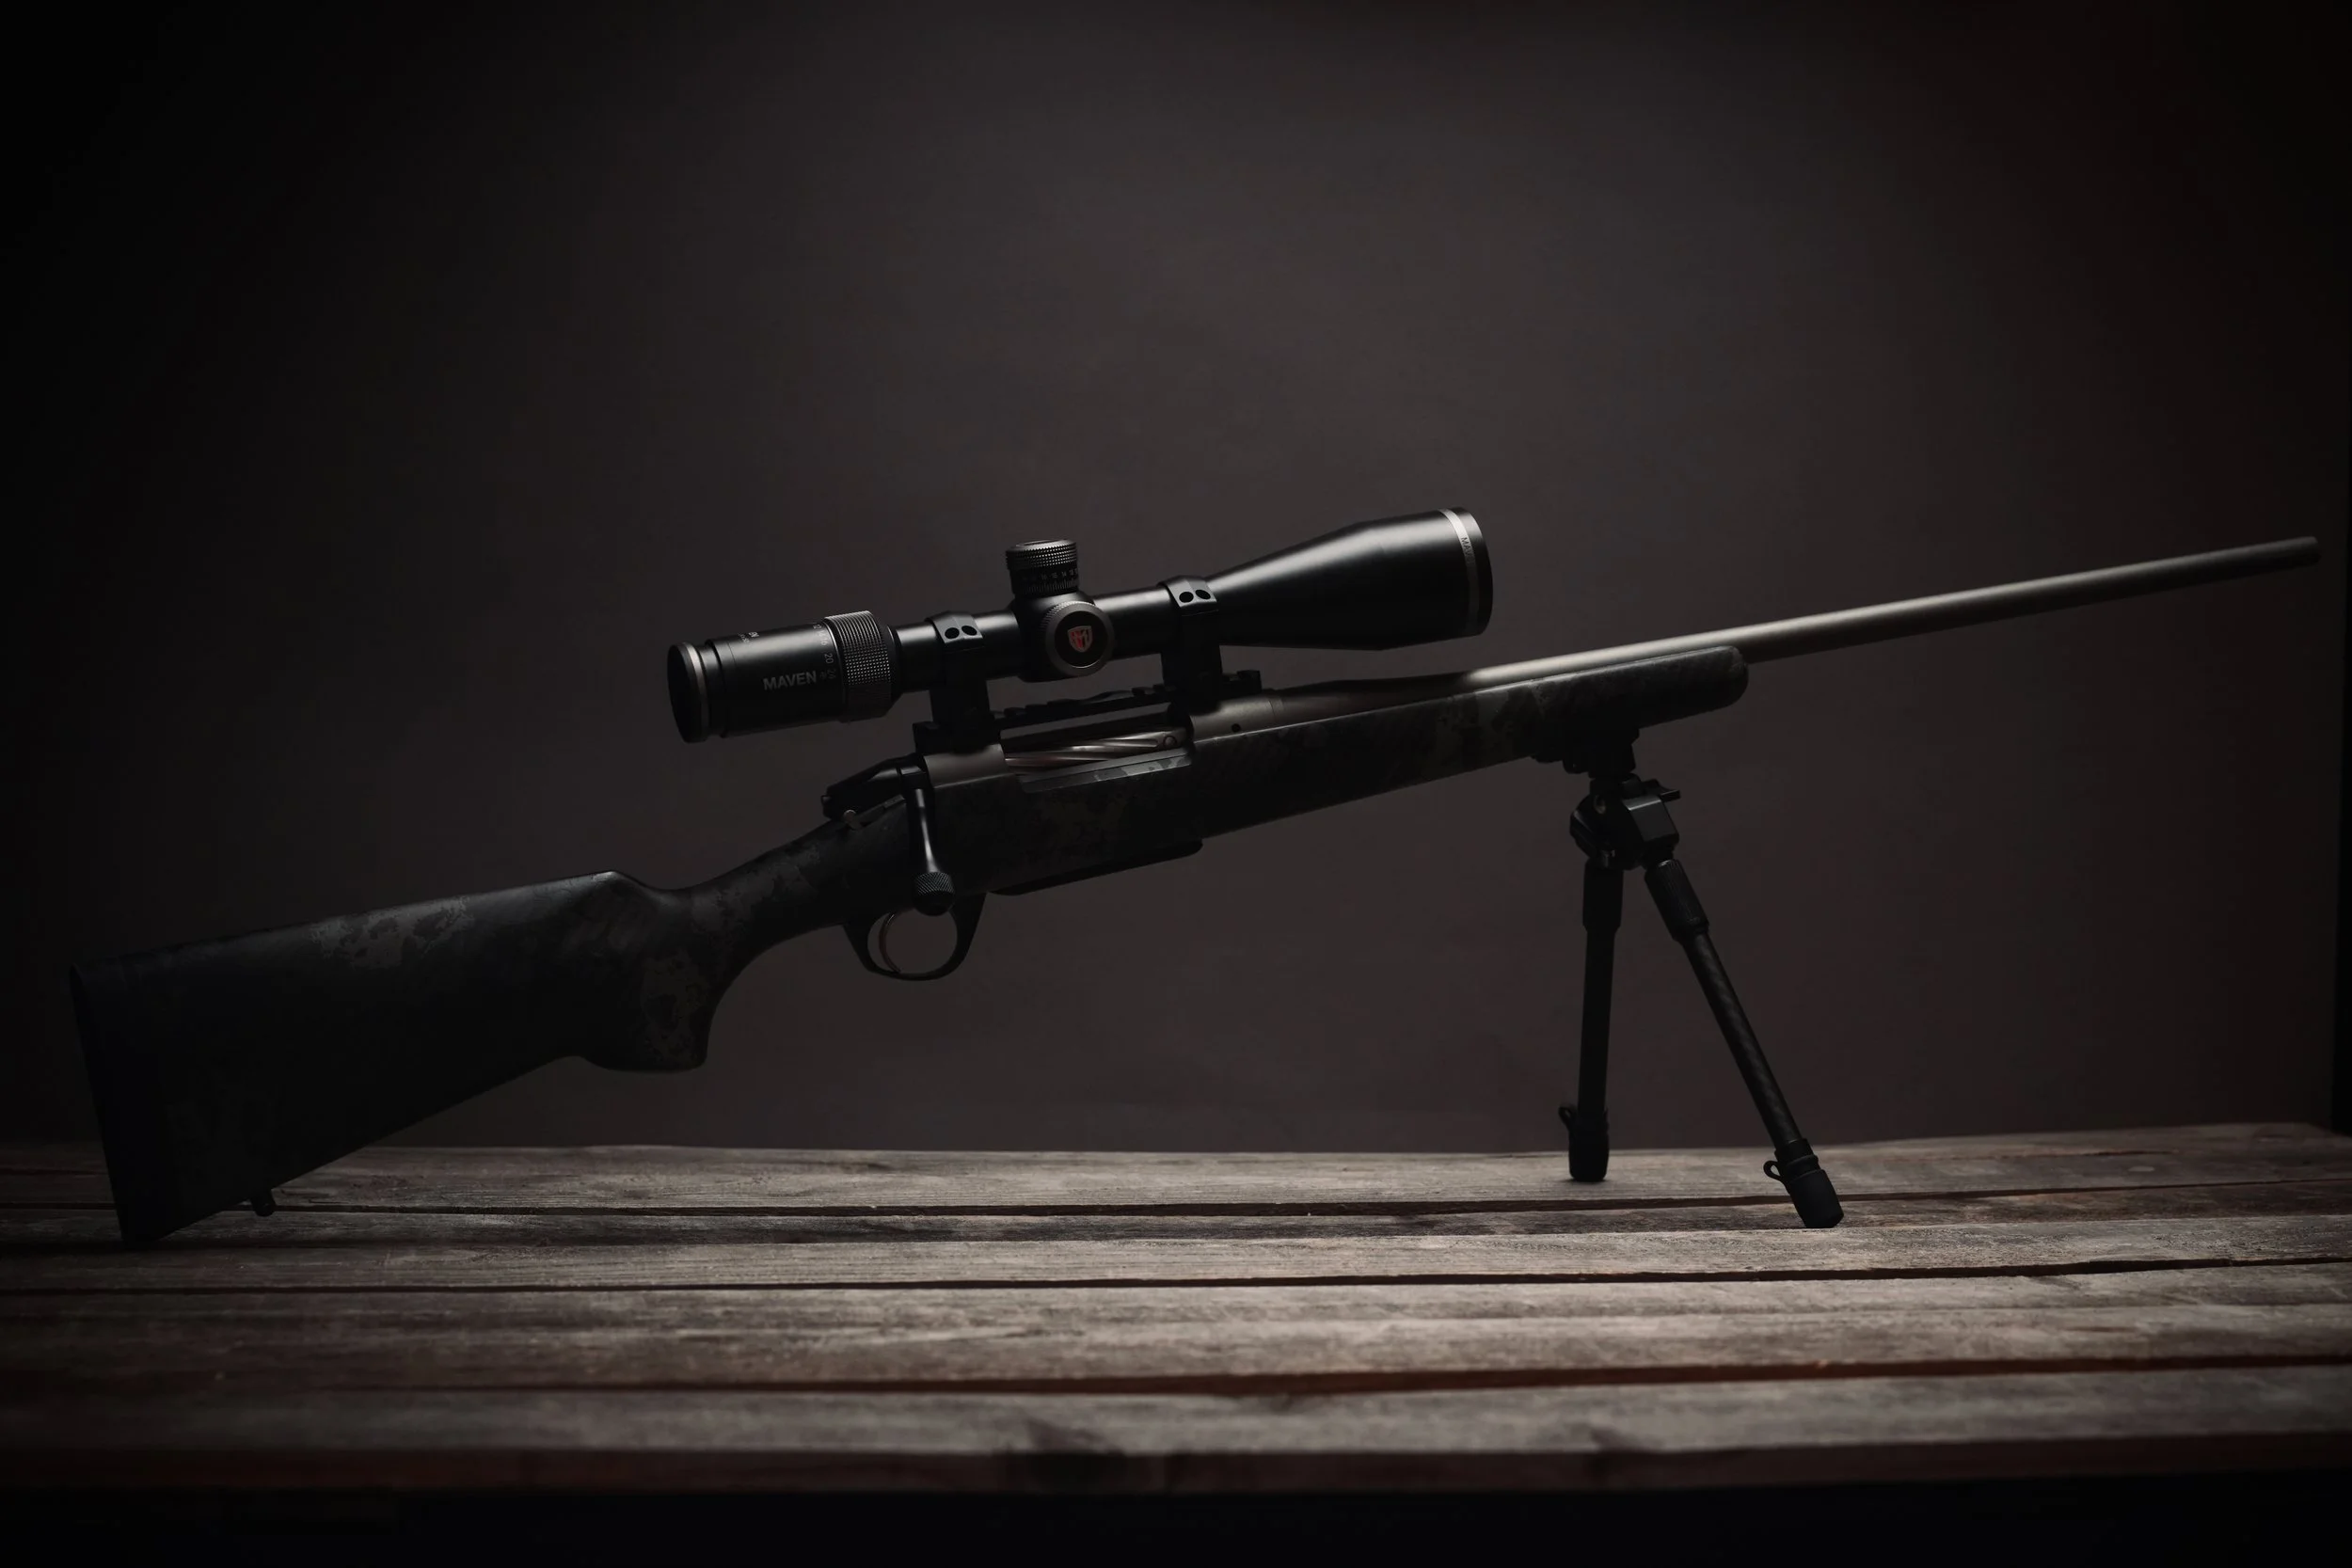
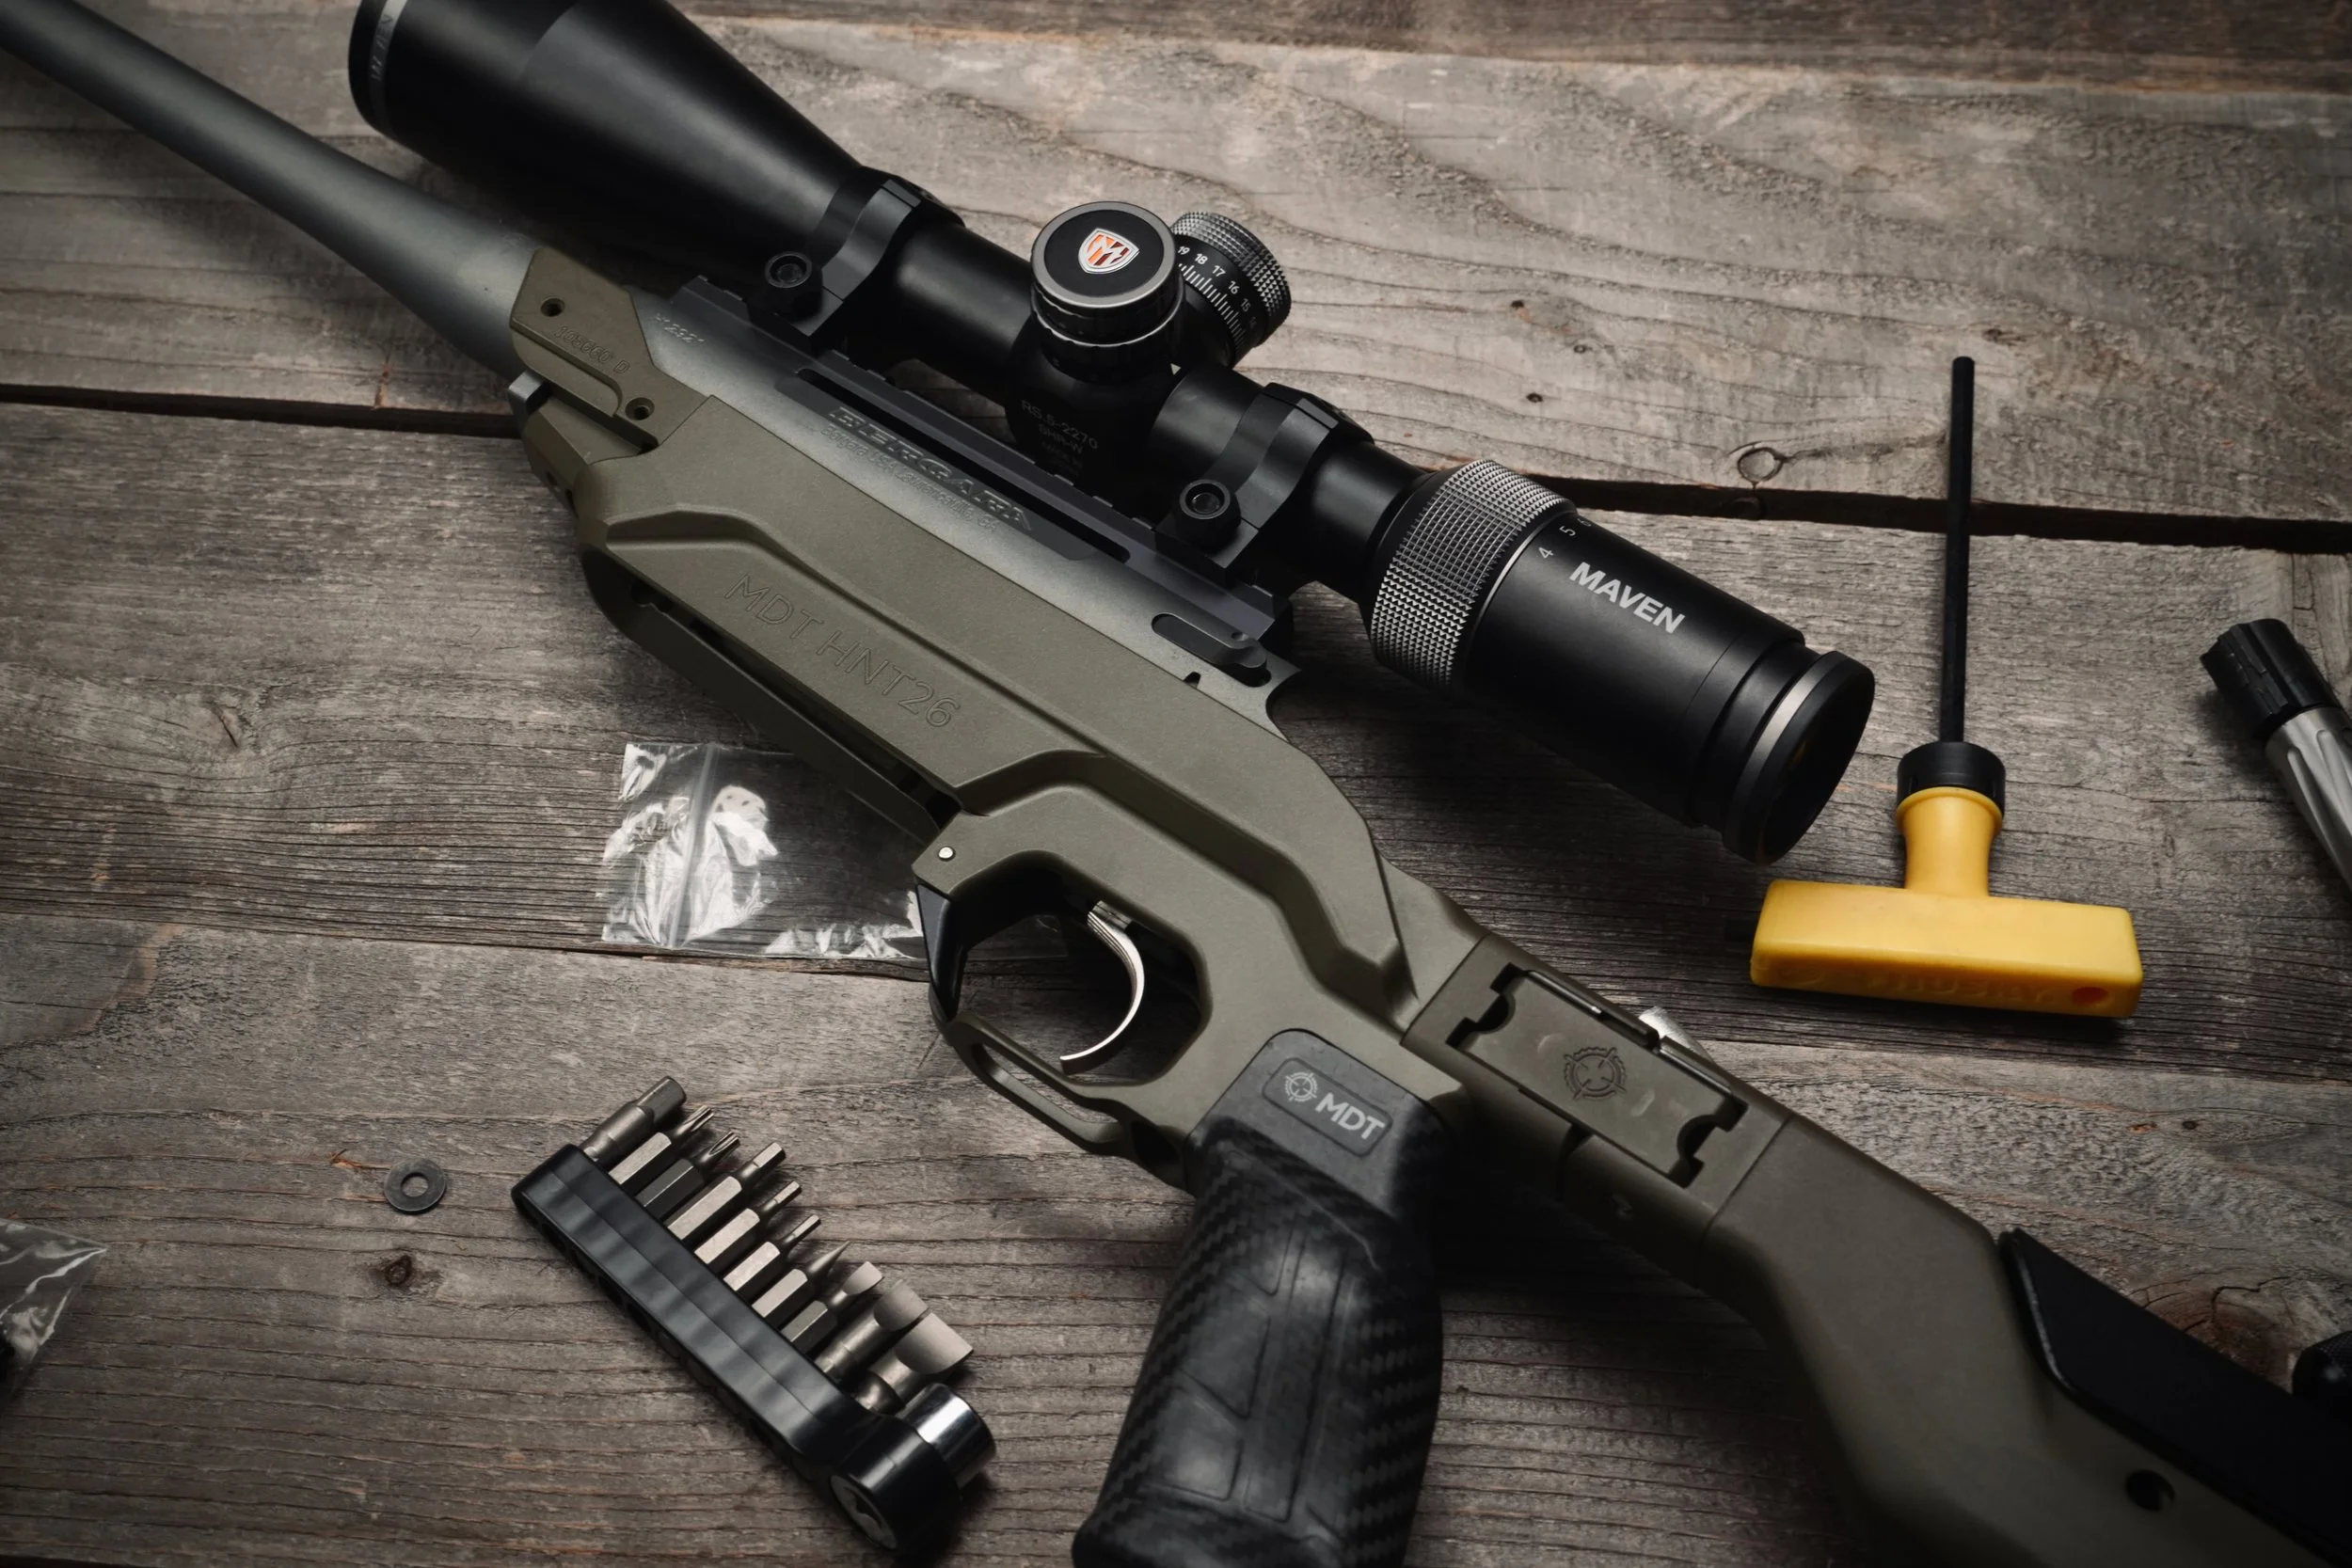
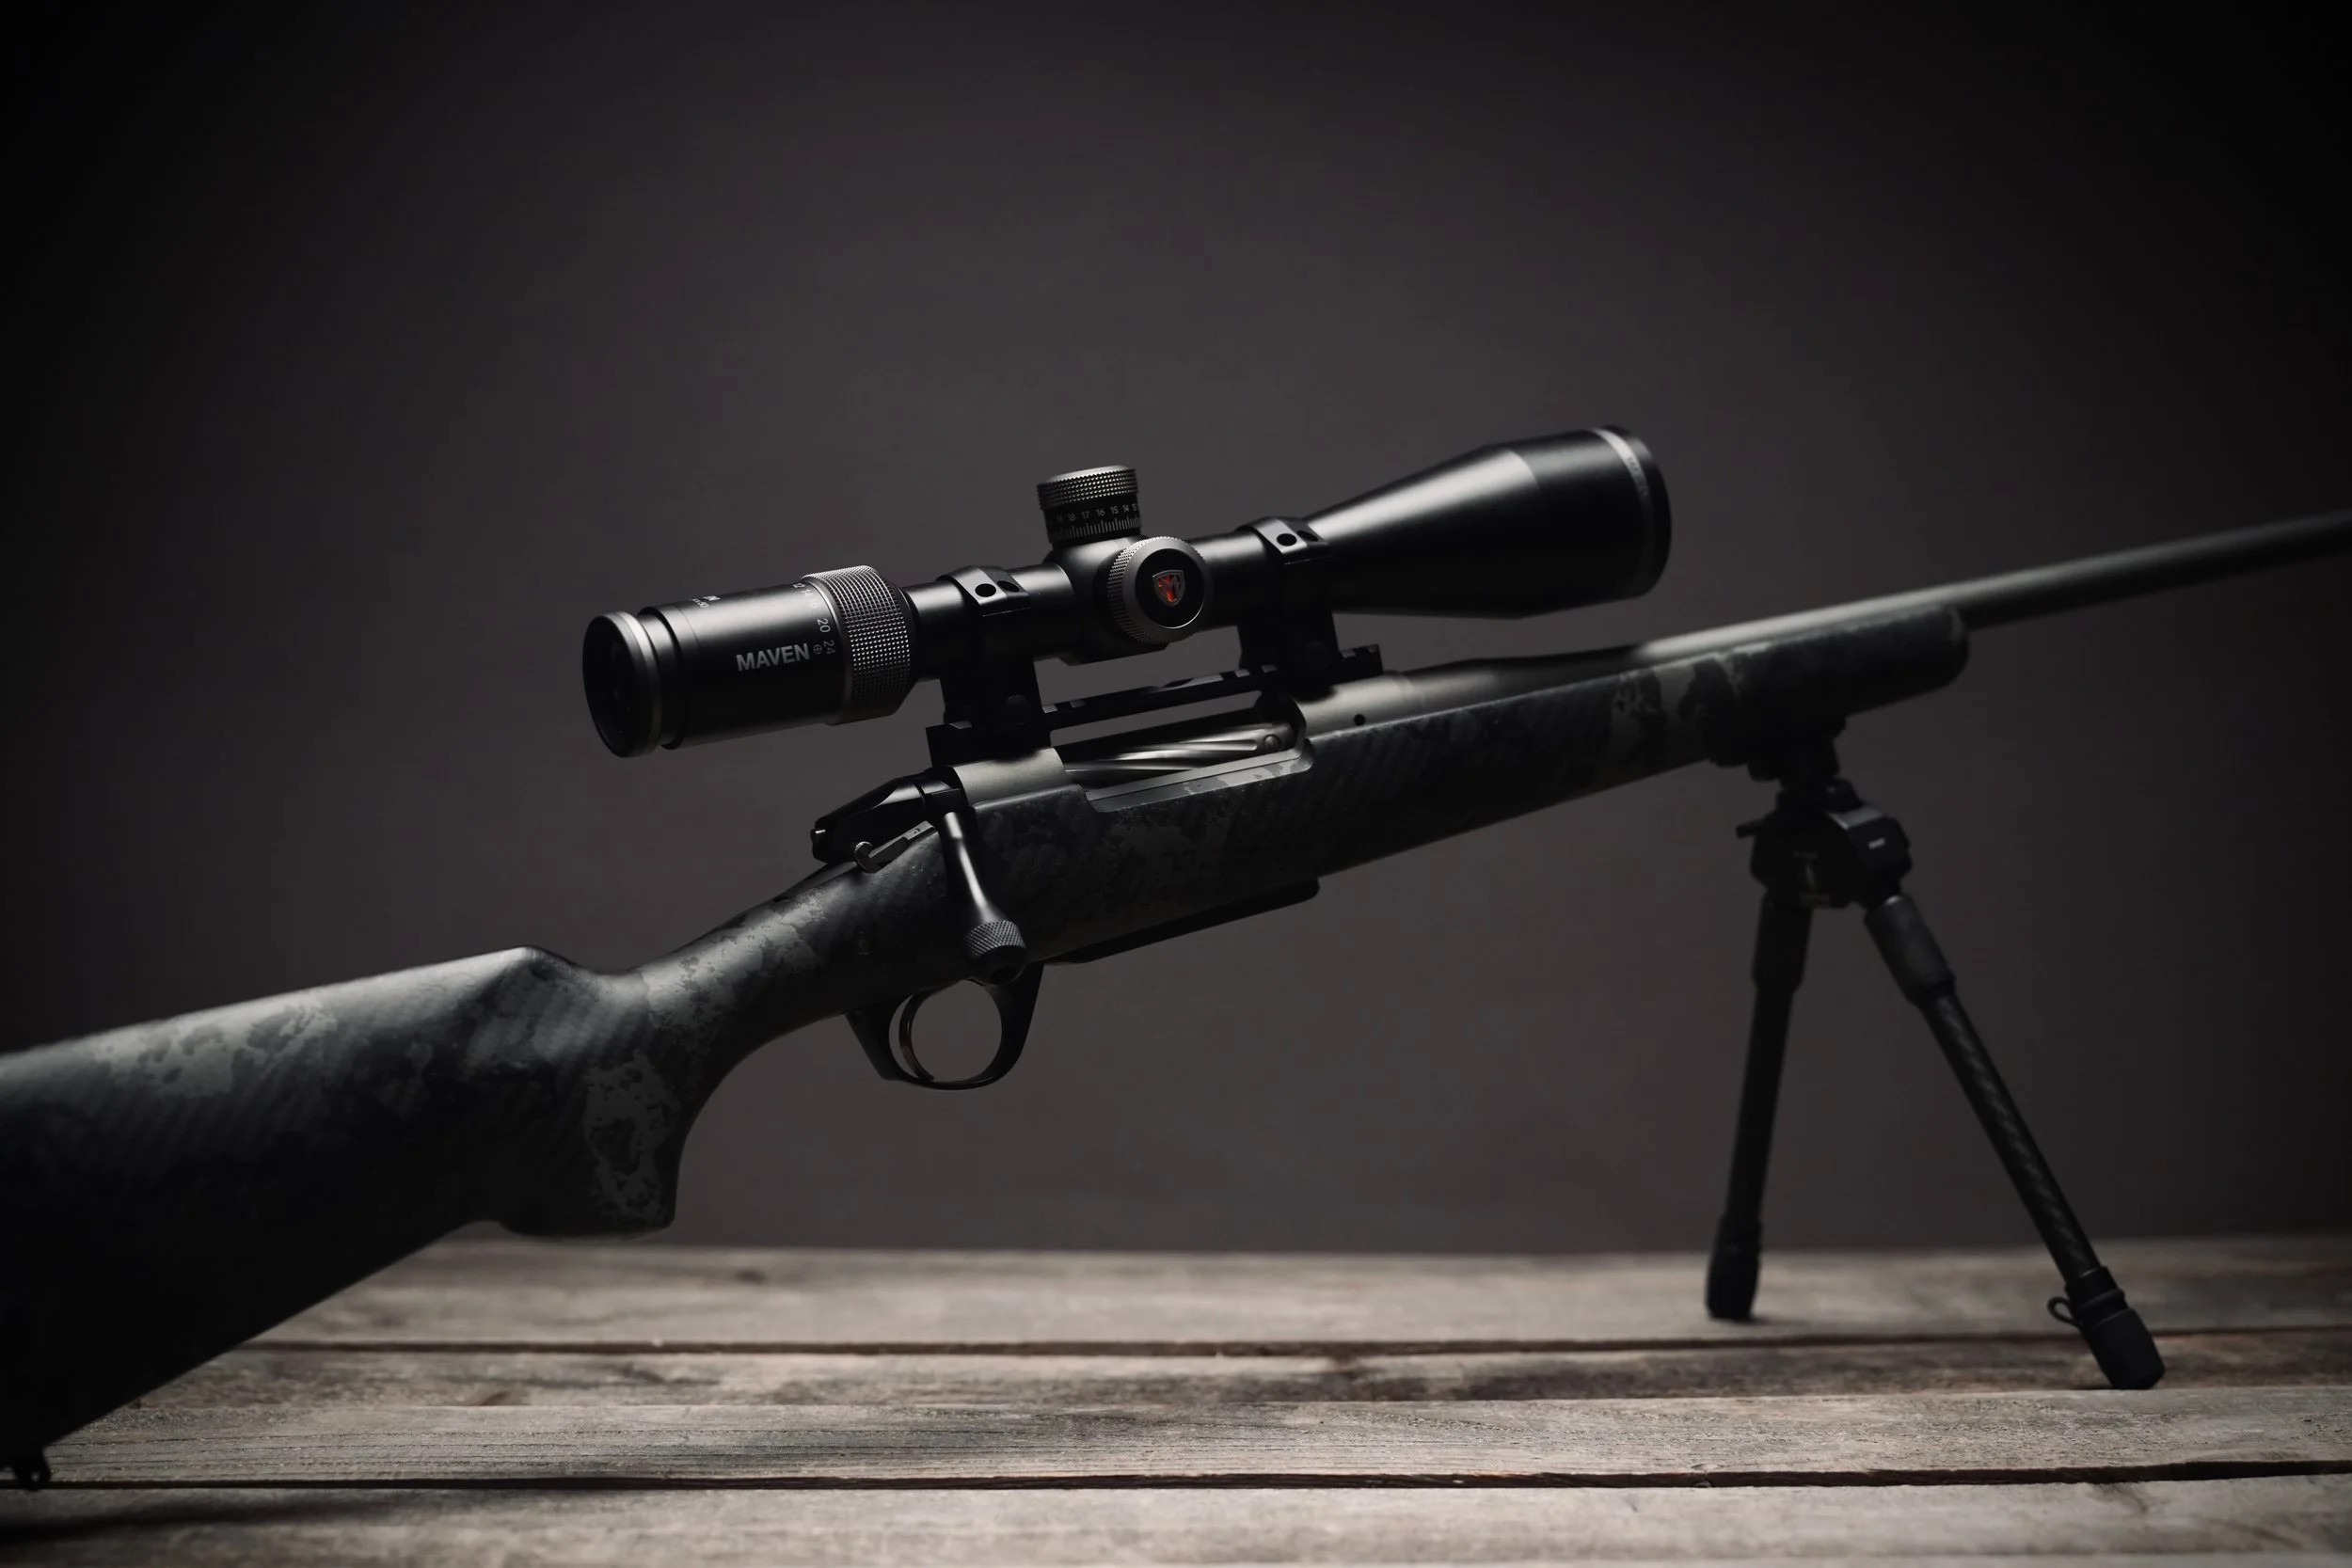
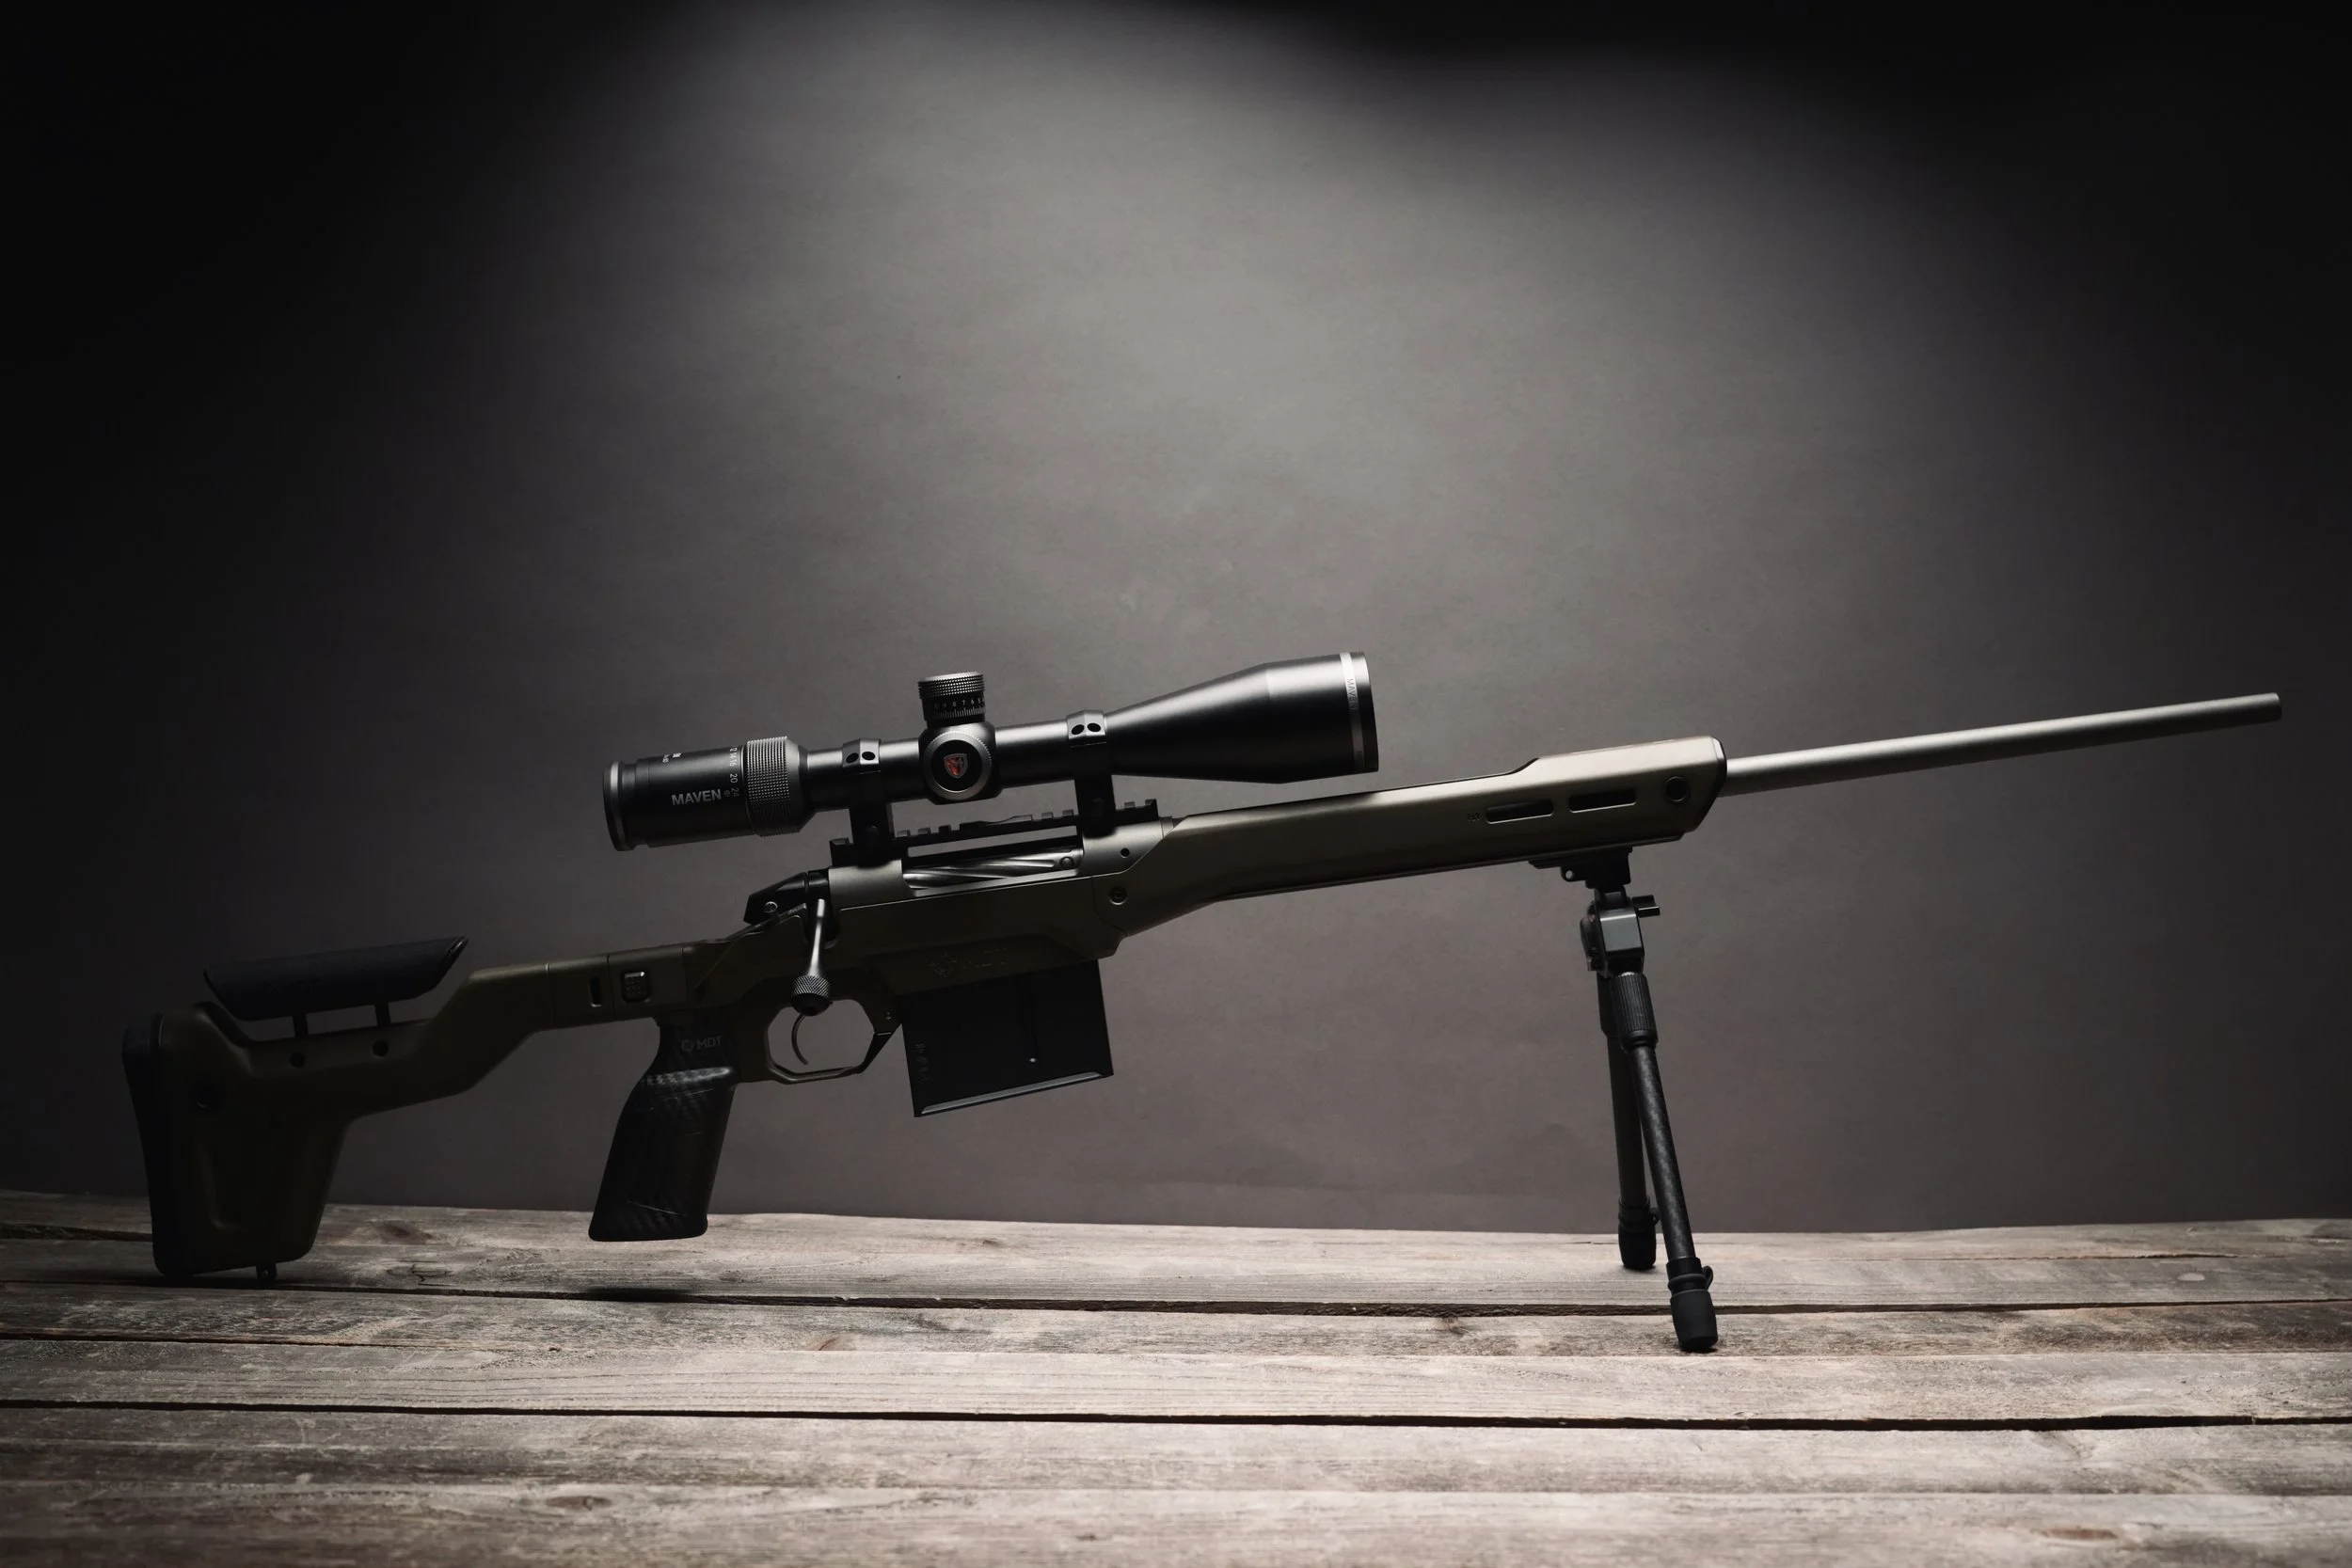
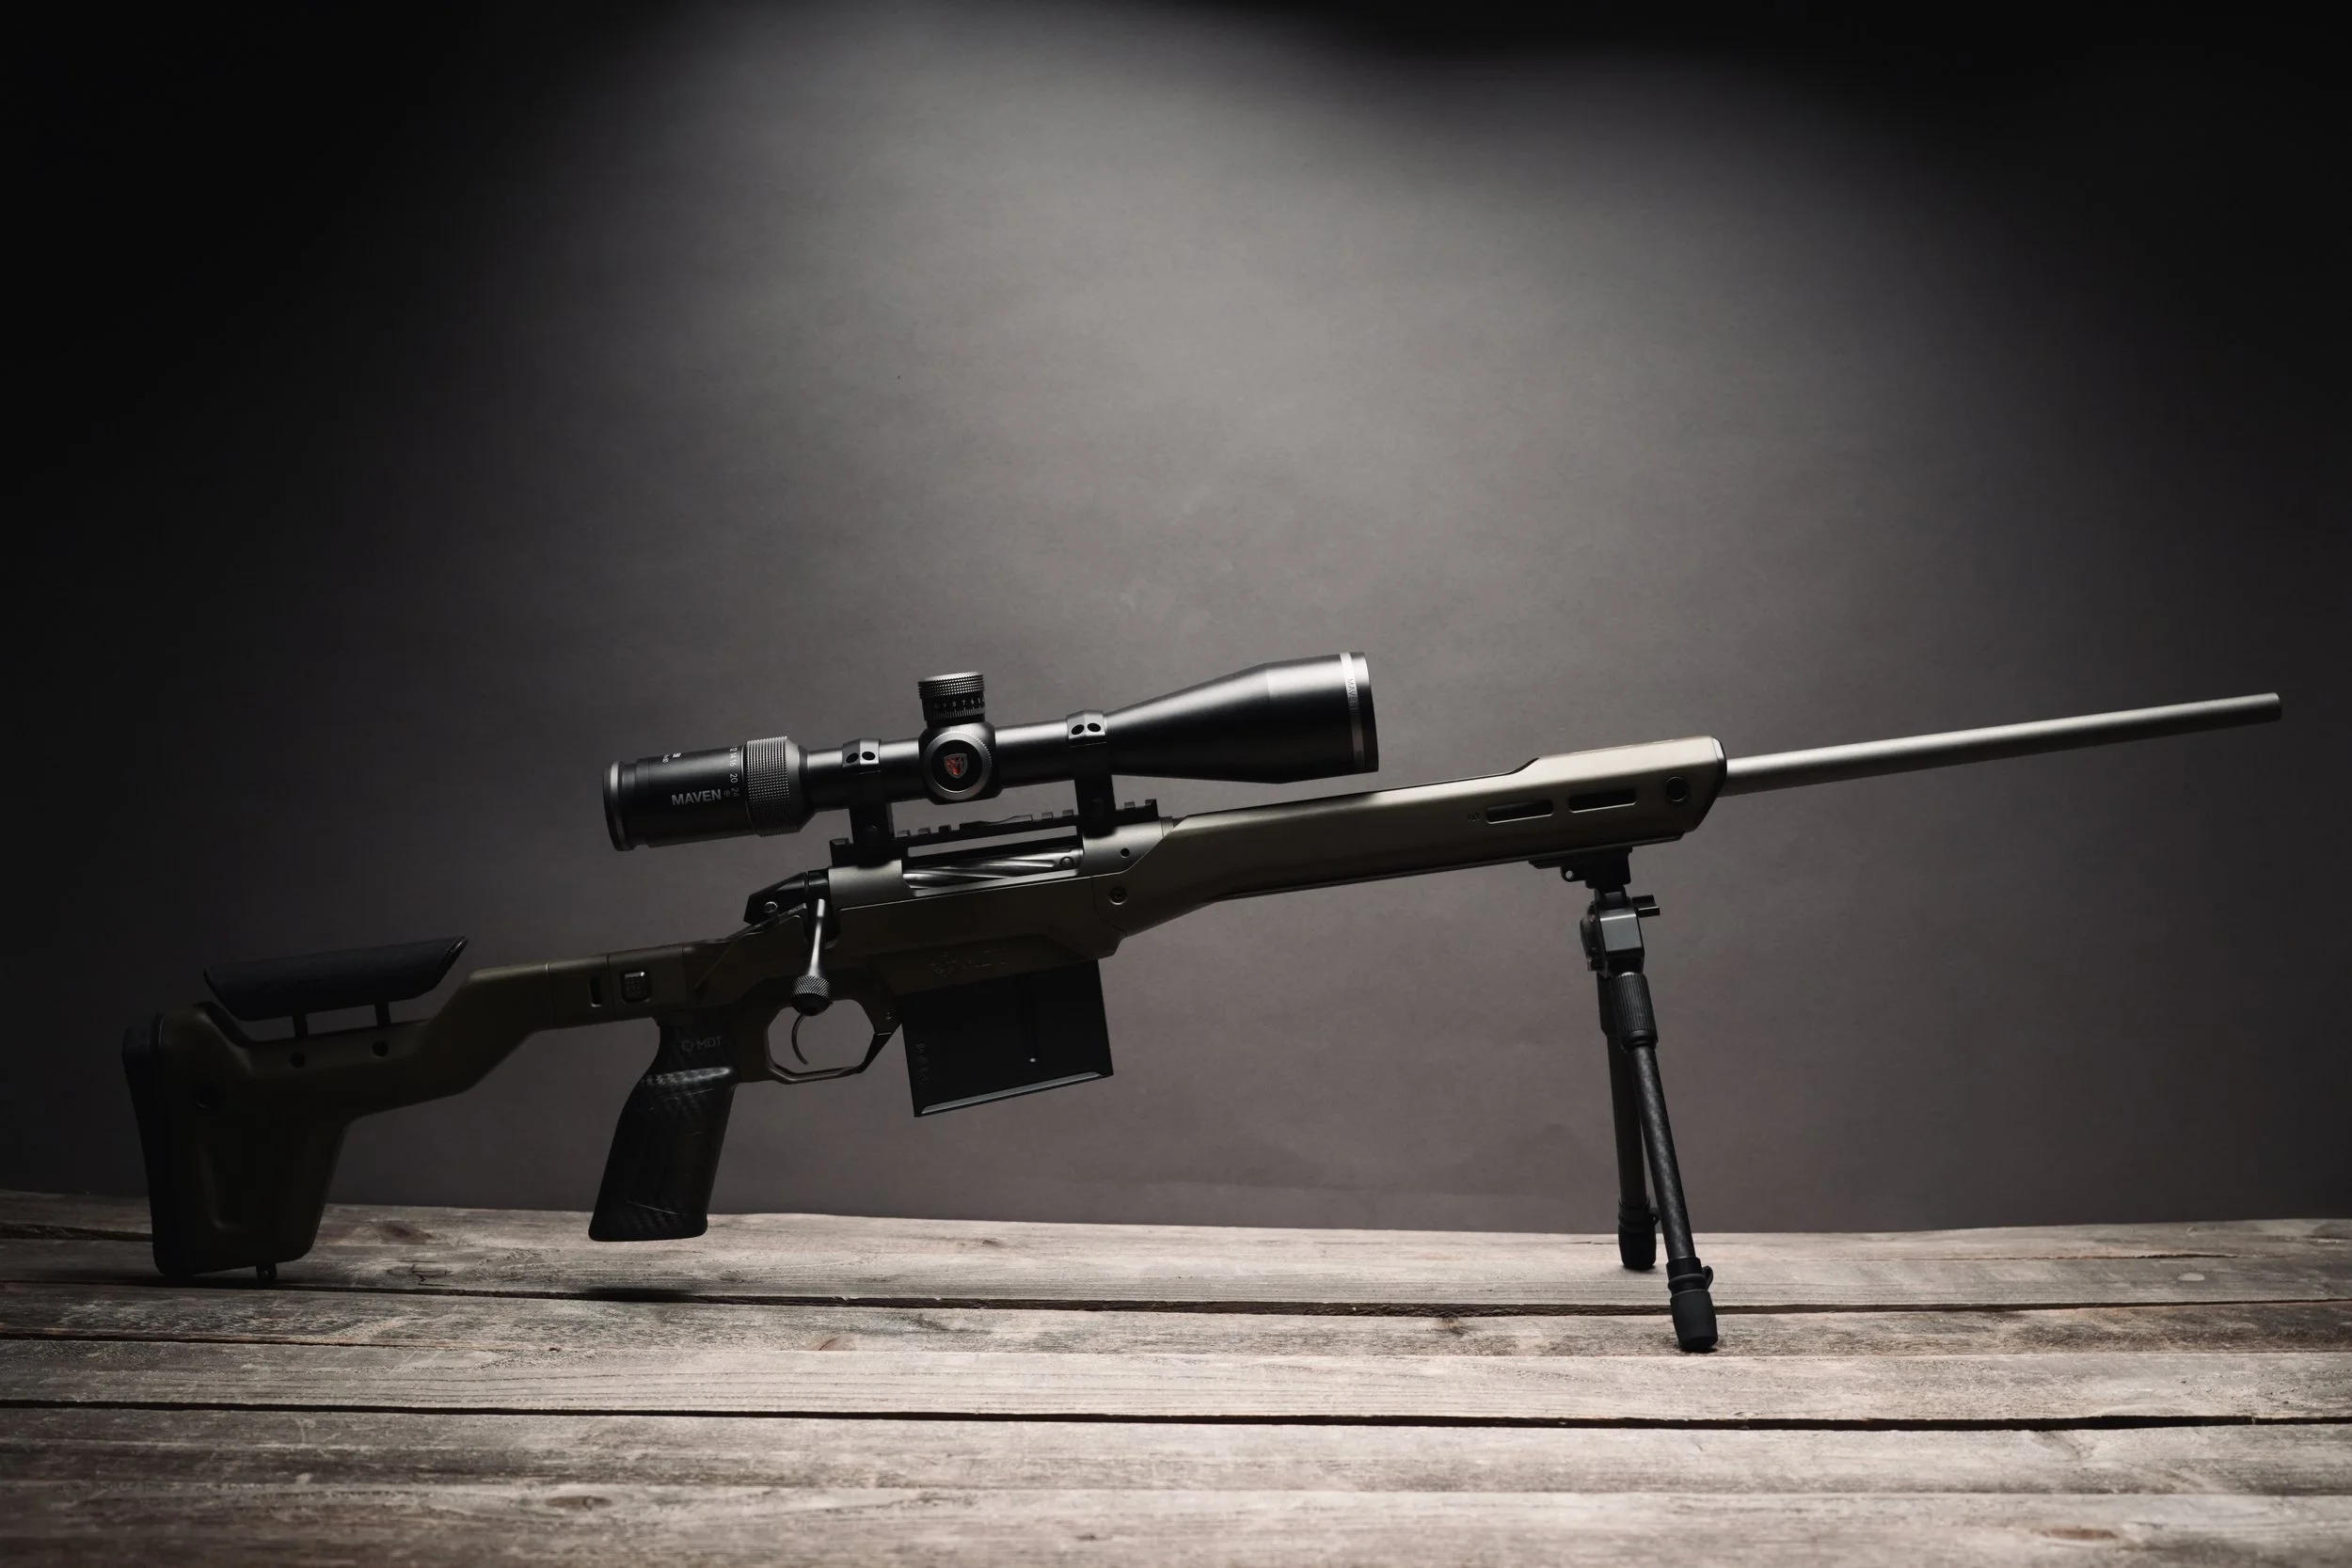
My Bergara Mountain Rifle 2.0 chambered in .270 installed on an MDT HNT26 chassis with Maven RS.5 scope and a Spartan Precision Bipod
Contents
The Mountain Rifle 2.0 Project Begins
Maven RS.5 Scope Review
MDT HNT26 Chassis Review
Spartan Javelin Pro Hunt Tac Bipod
Performance at the Range
Three Years of Performance in the Field (Likes, Dislikes, Performance, etc)
Final Thoughts: Three Years Later
Why I Wanted to Upgrade My Bergara Mountain Rifle
If you read my original Bergara Mountain Rifle 2.0 review, you’ll know I was very happy with the rifle right out of the box. It’s lightweight, comfortable to carry, and shoots well. I bought it as a dedicated mountain hunting rifle to replace my aging 30.06 from the 1980s, and that’s exactly what I got.
But after spending some time with it, I found three things I wanted to address.
Upgrade #1: A Detachable Magazine
First, I swapped the hinged floorplate magazine setup for an actual detachable magazine.
This is entirely personal preference, but I really don’t like the hinged floorplate design. Removing rounds from this rifle was also oddly difficult and was driving me nuts.
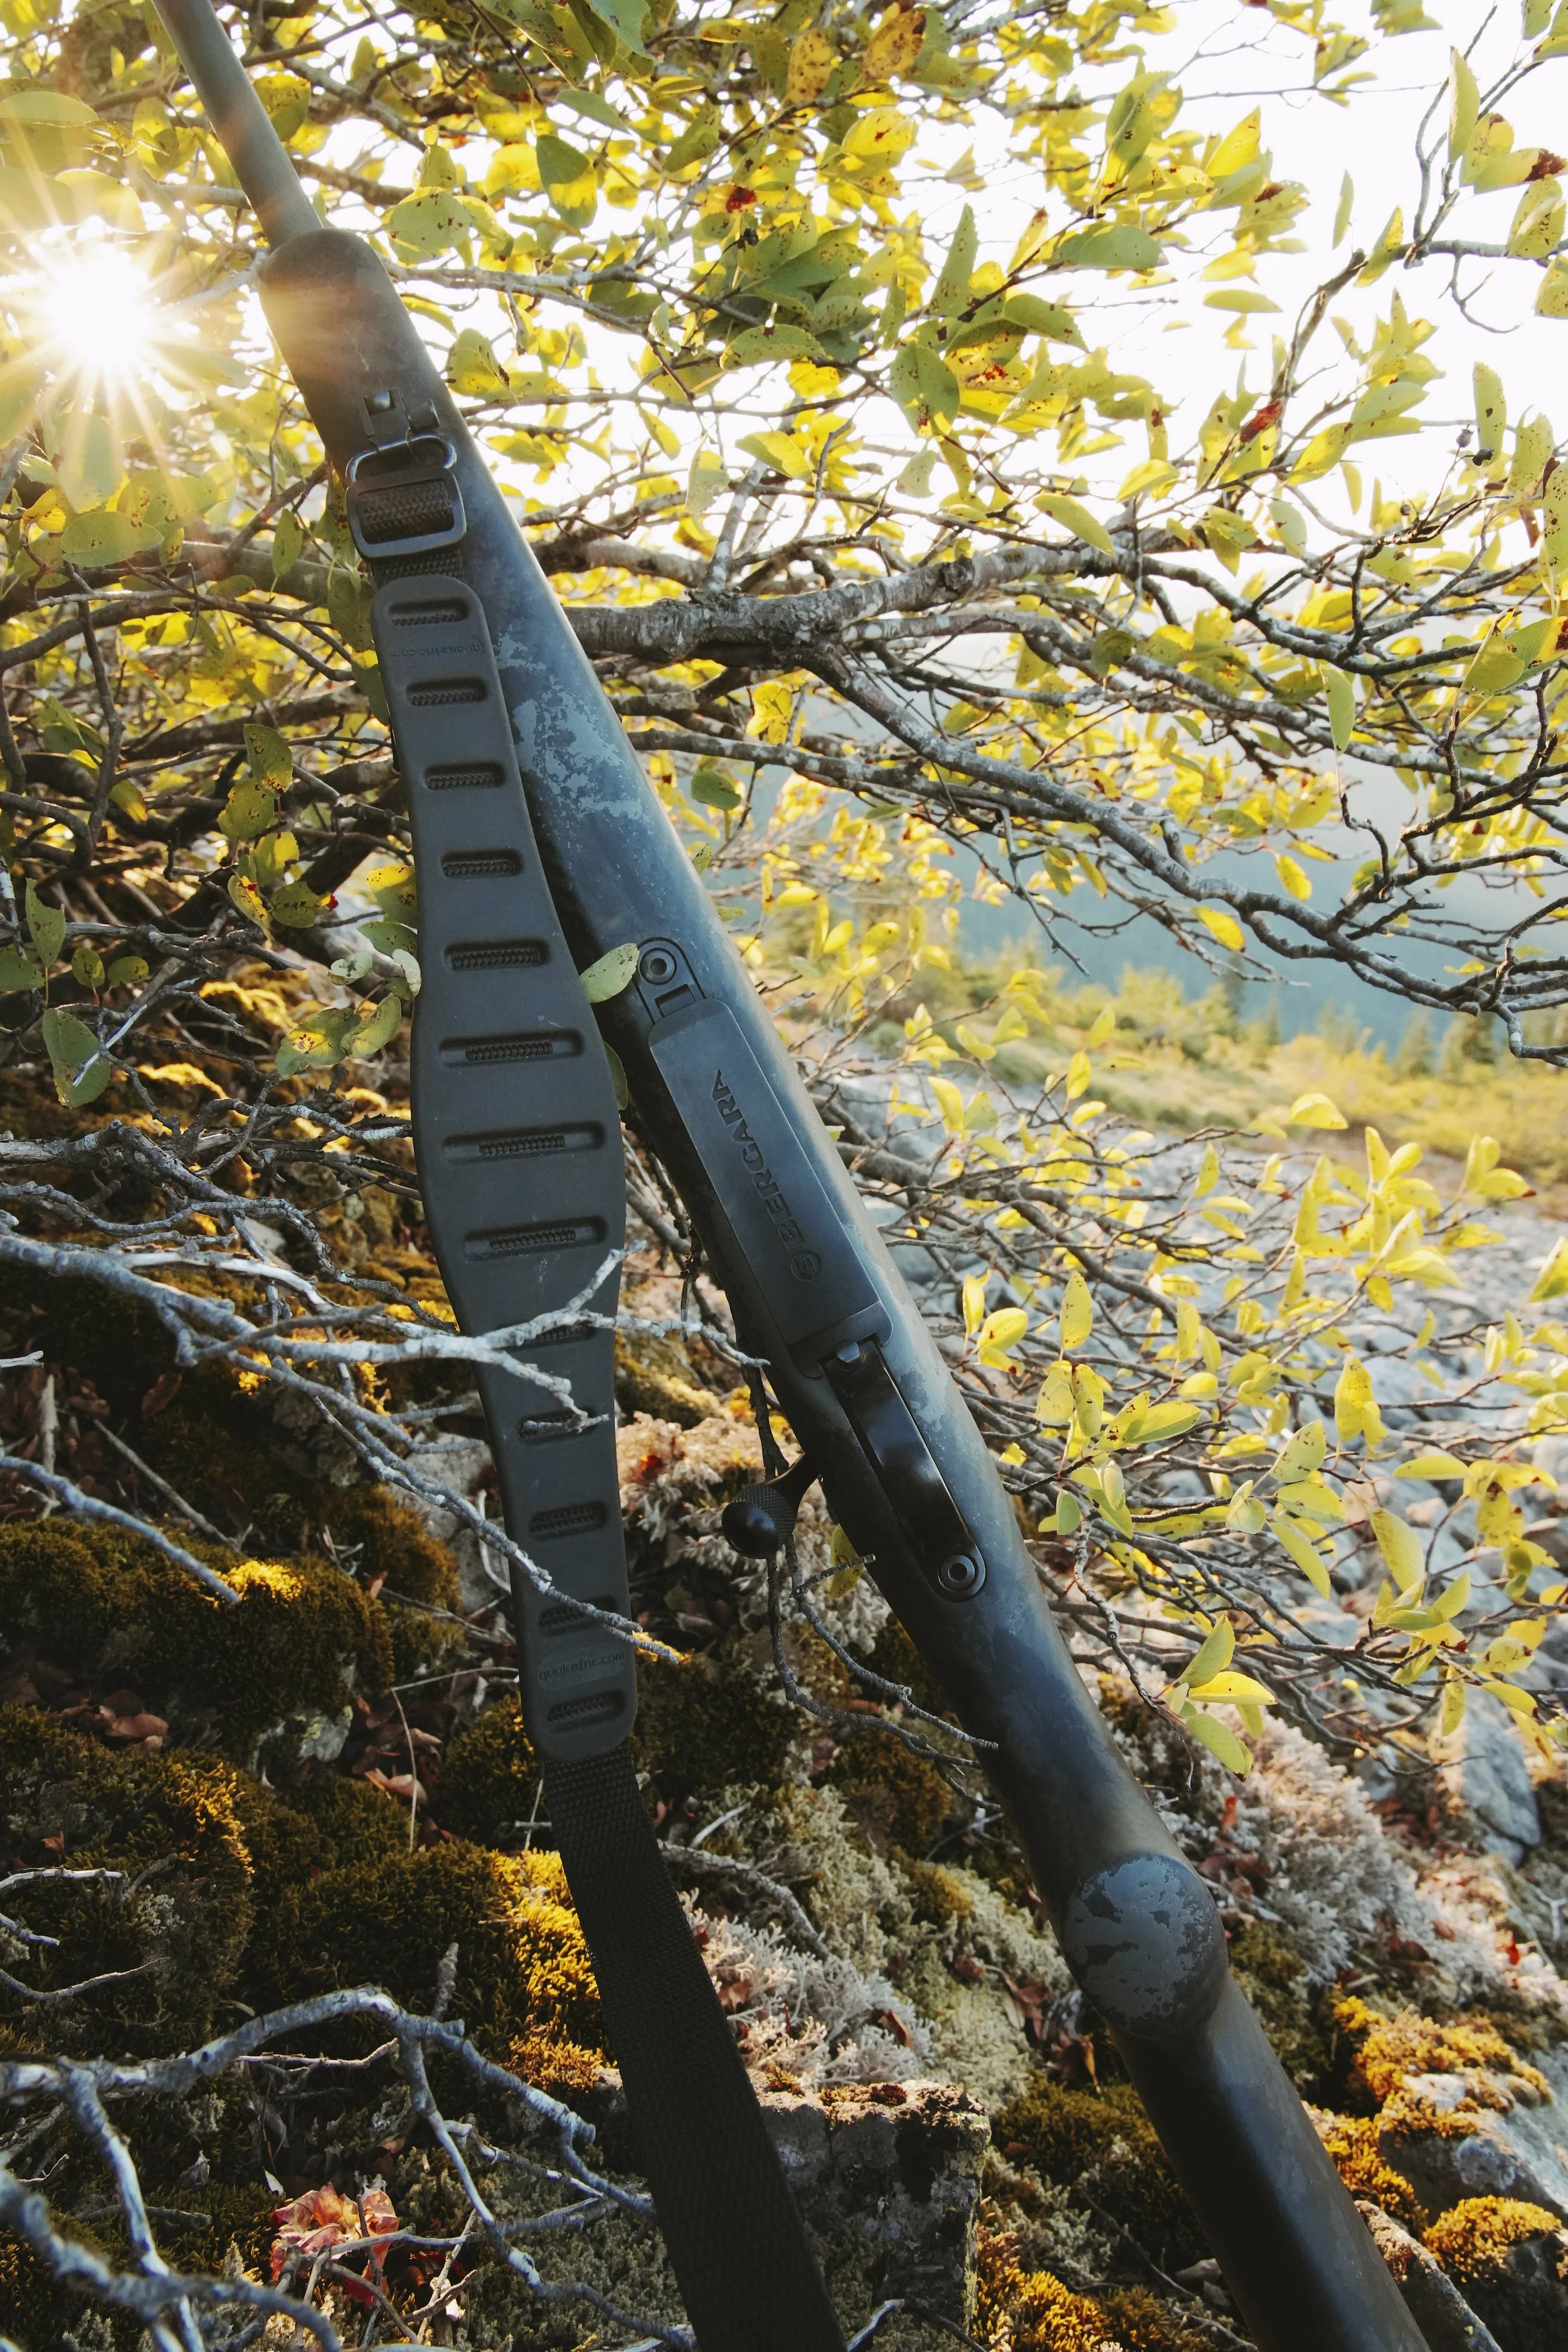
To unload it, you either have to cycle the rounds through the action and eject them or pop open the floorplate and let everything spill out.
I like neither option.
I started researching and eventually learned I could convert the rifle to accept a detachable magazine. Problem solved.
Upgrade #2: A Better Scope
The second thing I wanted to upgrade was the scope.
The one I originally mounted on the rifle was something I had lying around. It worked fine, but it wasn’t anything to write home about. I’m not much of an optics person, but I’ve been familiar with the folks at Maven for a while, so I started looking through what they offered.
I found a few scopes that caught my attention, but I couldn’t decide whether spending that kind of money was worth it.
Upgrade #3: A Folding Rifle Chassis
While I was shopping for scopes, I started looking into the MDT HNT26 folding rifle chassis.
A friend had shown me one of his, and as a backpacker, I immediately saw the value.
One of the biggest issues with attaching a rifle to a backpack is how far it sticks out above your pack. That might not sound like a big deal, but when you’re moving through thick timber or brush, having a rifle sticking up above your head isn’t ideal.
The MDT HNT26 has a folding stock that makes the rifle much more compact for carrying.
It also addresses something I’ve never liked about traditional rifle stocks: ergonomics.
I’ve never loved how my shooting hand feels on a conventional hunting rifle stock. I much prefer a pistol grip, and that’s exactly what the HNT26 offers.
From what I could tell, swapping the factory stock for an MDT chassis looked relatively straightforward, but I’m not a gunsmith, and I wanted to be sure I could actually pull it off.
That’s when I had an idea.
The Mountain Rifle 2.0 Project Begins
Between the scope and the chassis, I realized I had a pretty fun project on my hands. One that might actually be worth writing about.
So I reached out to Maven and MDT to see if they’d be interested in providing their products for the project and they both agreed.
For transparency, Maven and MDT provided the equipment discussed here, and in return, I agreed to write about the build, my findings, and what I thought about it when it was all said and done. The observations and opinions in this article are my own, based on three years of using the rifle. Neither brand had any input and, honestly, didn’t even reach back out to check in. They’re only seeing this when I send them the link to the published article.
I planned to install a Maven RS.5 scope and an MDT HNT26 chassis on my Bergara Mountain Rifle 2.0 and see whether those upgrades made a meaningful difference in the backcountry.
Along the way, I also added a Spartan Precision Javalin Pro Hunt Tac Bipod, but I bought it myself.
What follows is how everything came together, including a few unexpected problems, some amateur gunsmithing, and time in the field.
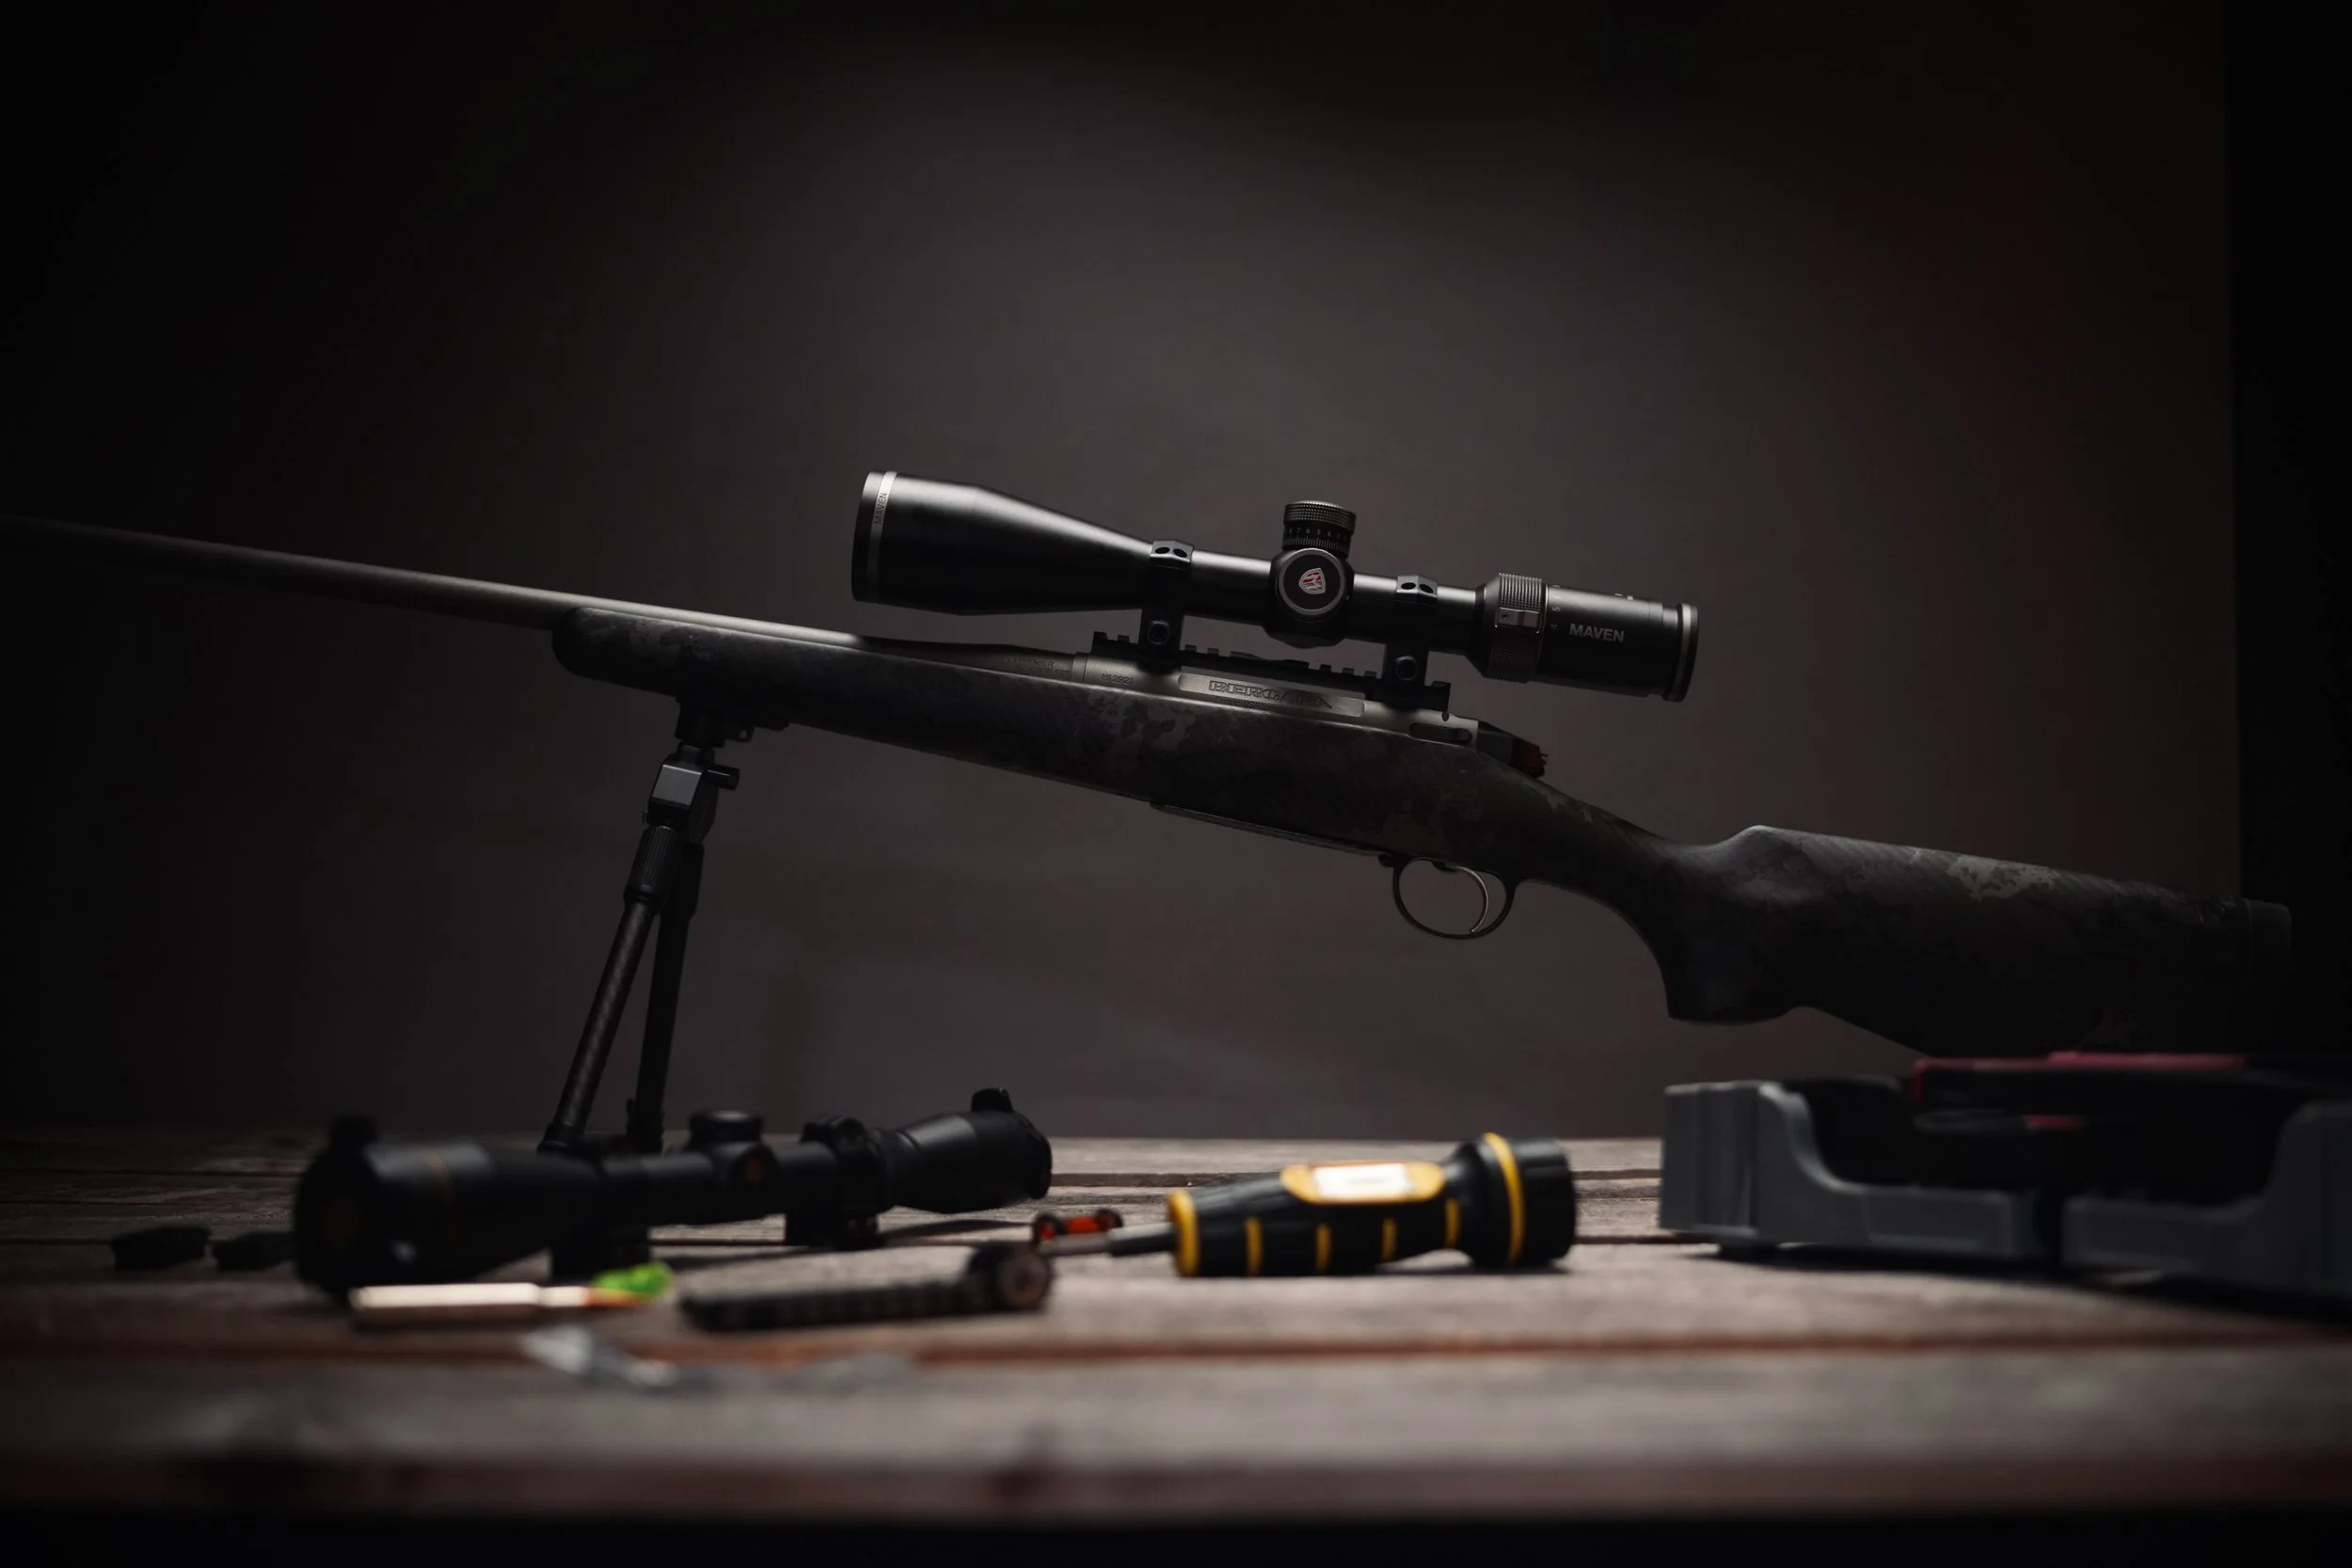
Ready to assemble the detachable magazine on t
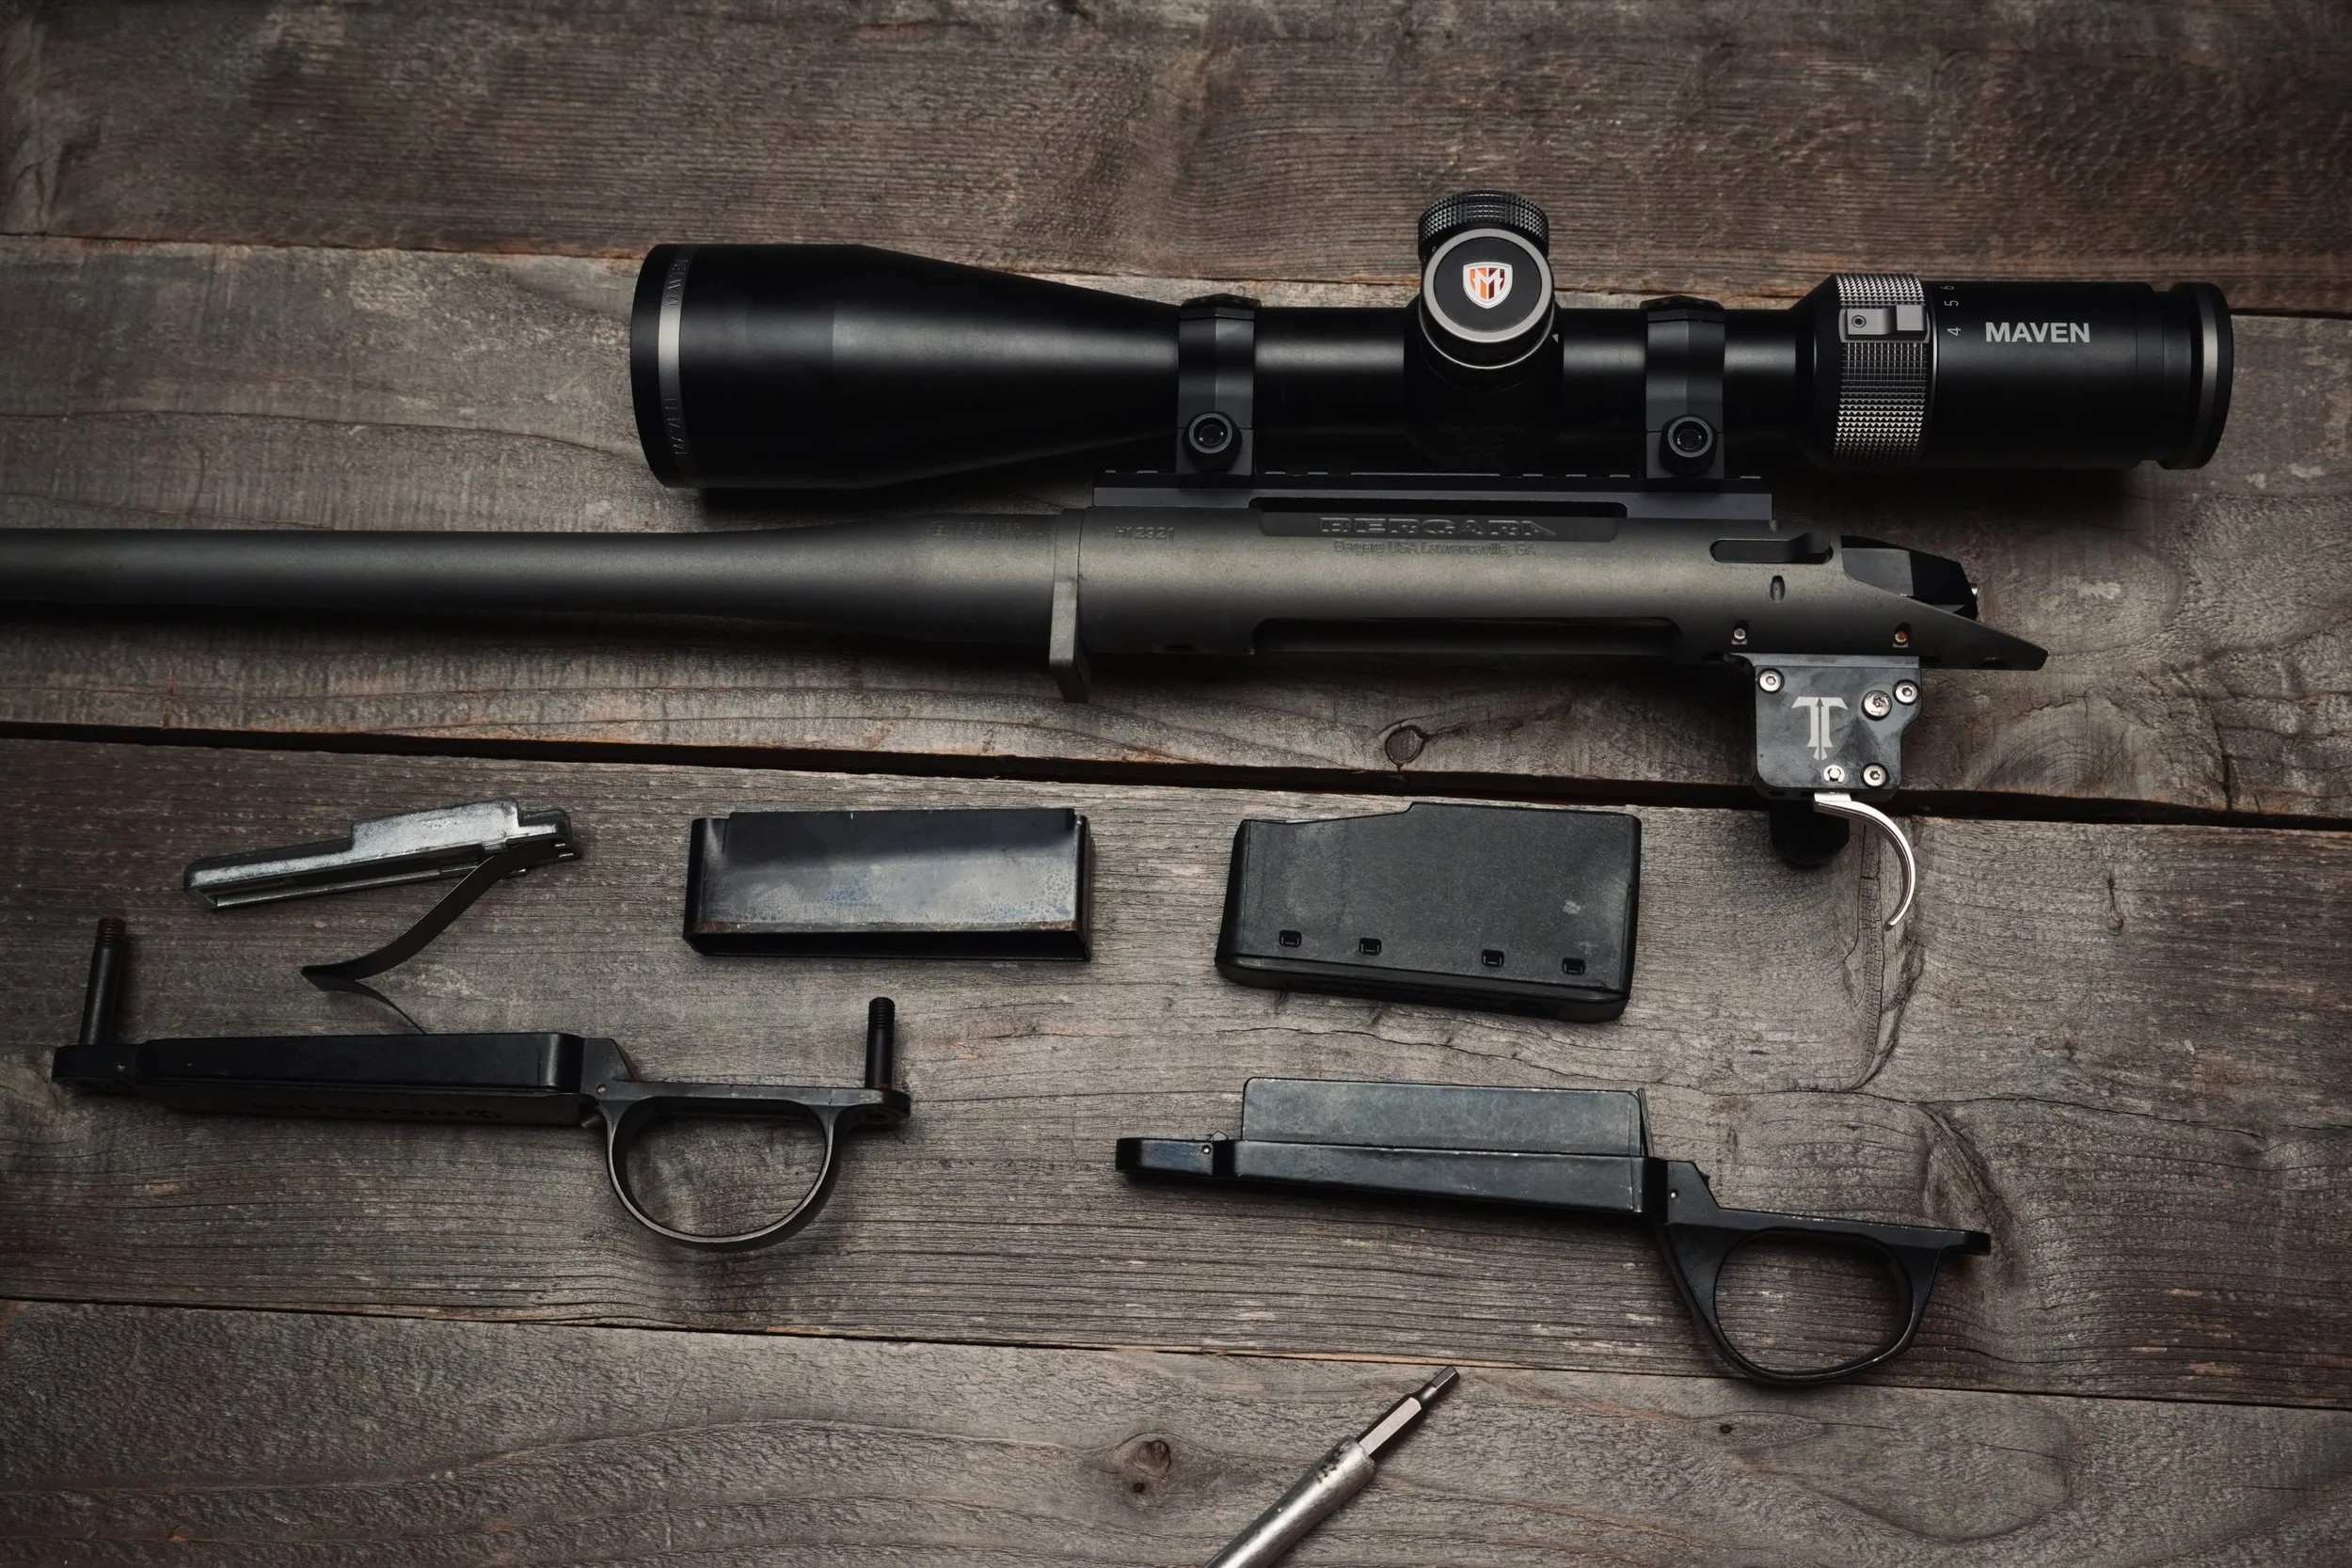
Converting the Original Stock to a Detachable Magazine
Before installing the MDT chassis, I decided to convert the original Bergara stock to accept a detachable magazine.
I realize this sounds a little unnecessary, since I was planning to replace the entire stock, but I wanted to know whether the conversion would work if I decided not to keep the HNT26. I also already had the parts, so why not?
Getting the conversion kit turned out to be a little more complicated than expected. I initially found the part through Bergara Spain, but they couldn’t ship it to the United States. The Bergara US store also listed the part as incompatible with my rifle, which left me scratching my head.
After a few calls, I got in touch with Bergara’s engineering team. They confirmed the conversion was possible but explained that the original stock would need a small modification to accommodate the magazine release. This would require some Dremel work.
Now, for the record, I’m not a “projects” guy. I don’t tinker much, and I don’t particularly enjoy taking perfectly good things apart and potentially screwing them up. I prefer things that work right out of the box.
But this was a project, so I figured I’d give it a go and document whatever happened.
The First Problem
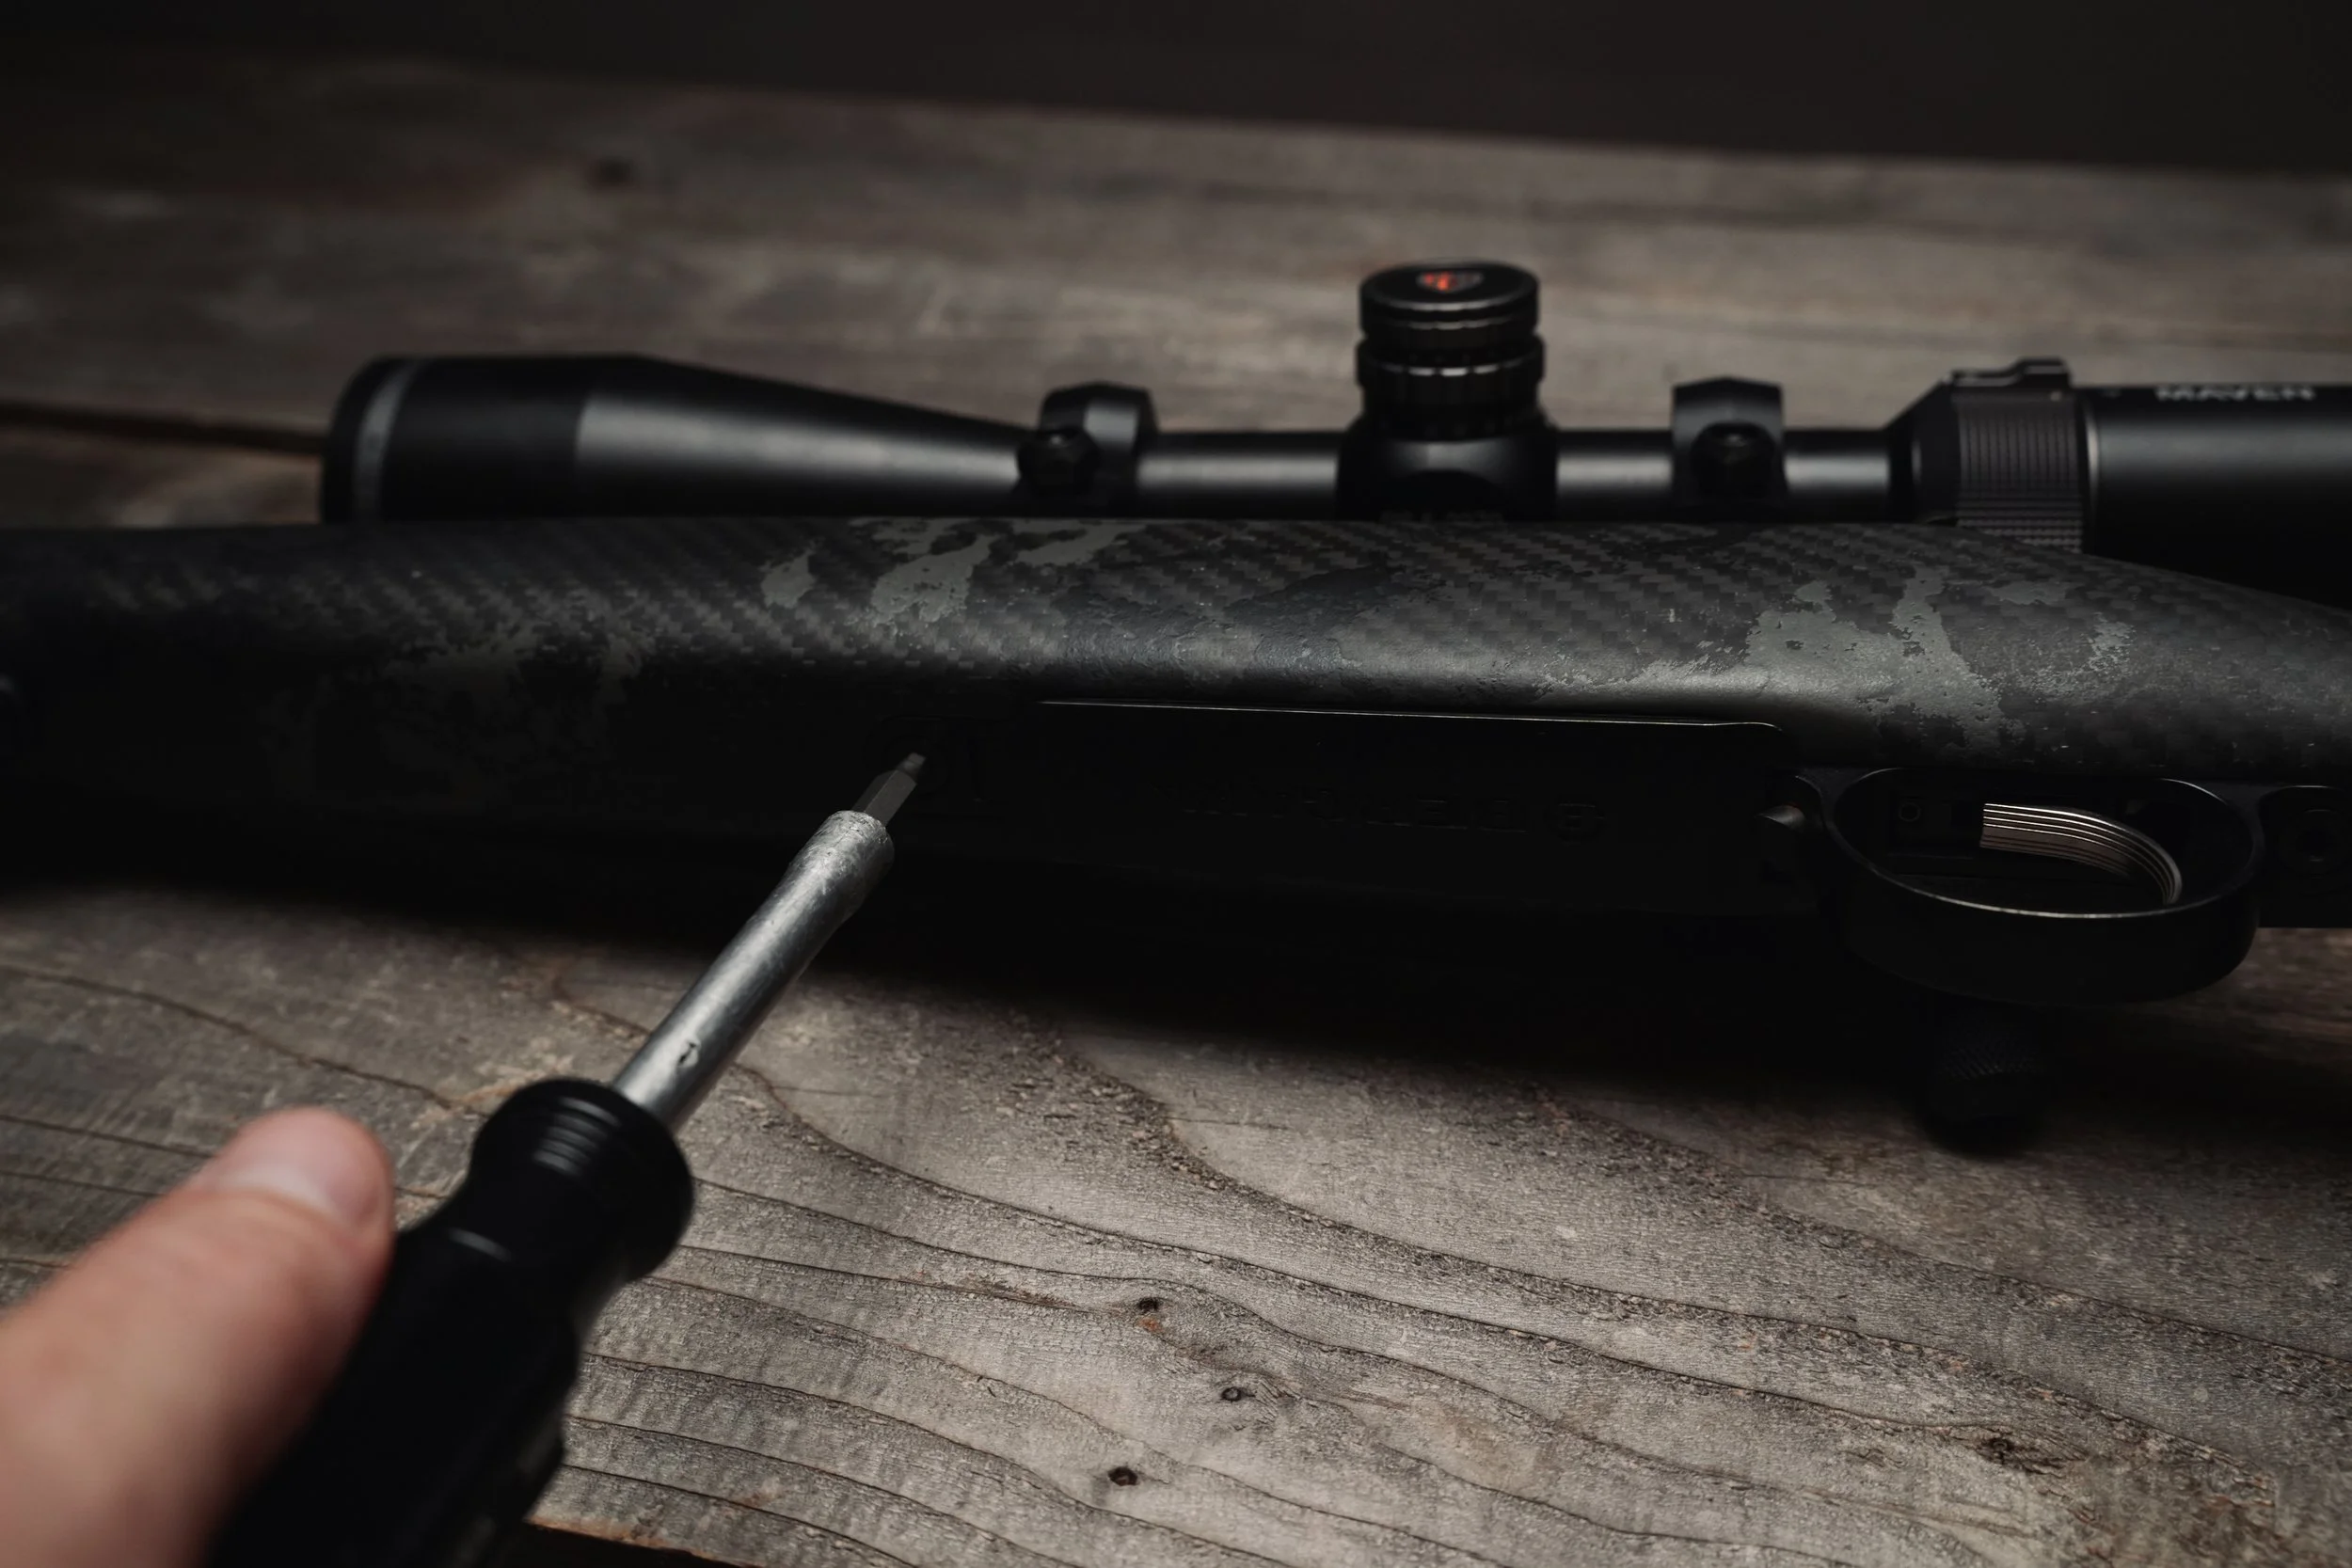
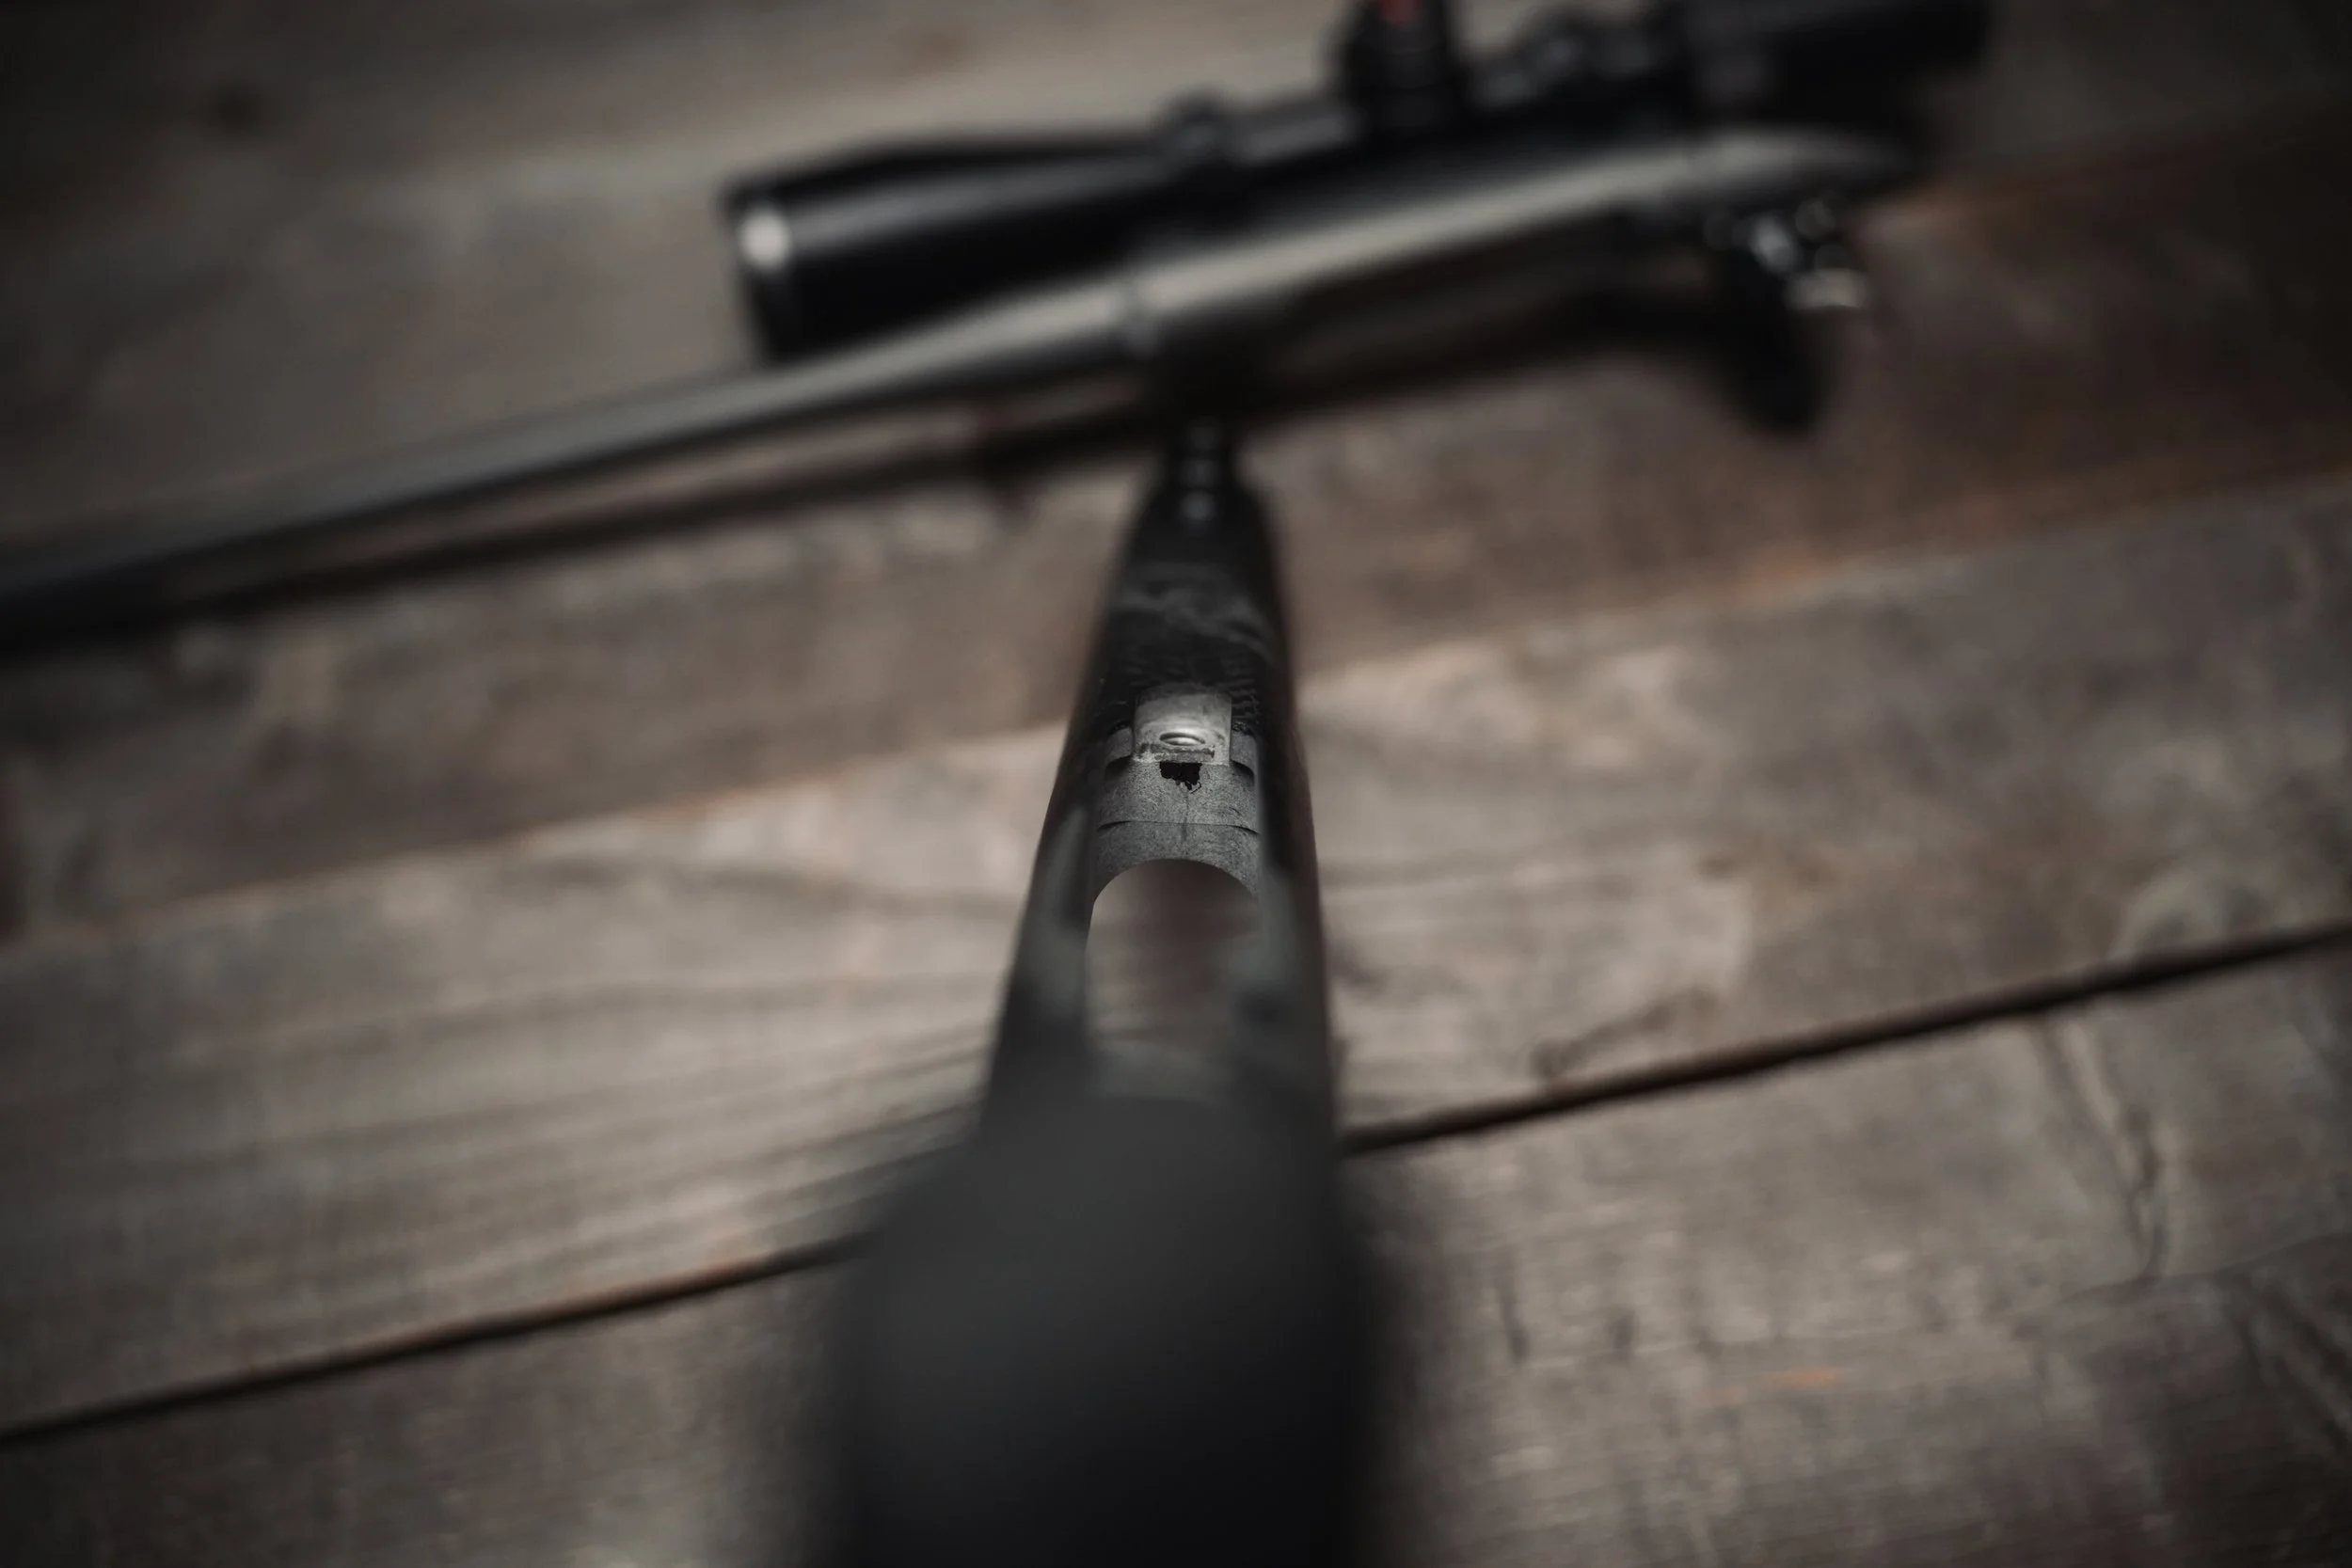
I disassembled the rifle, removed the original hardware, and modified the stock as needed. Everything appeared to go according to plan.
Until it didn’t.
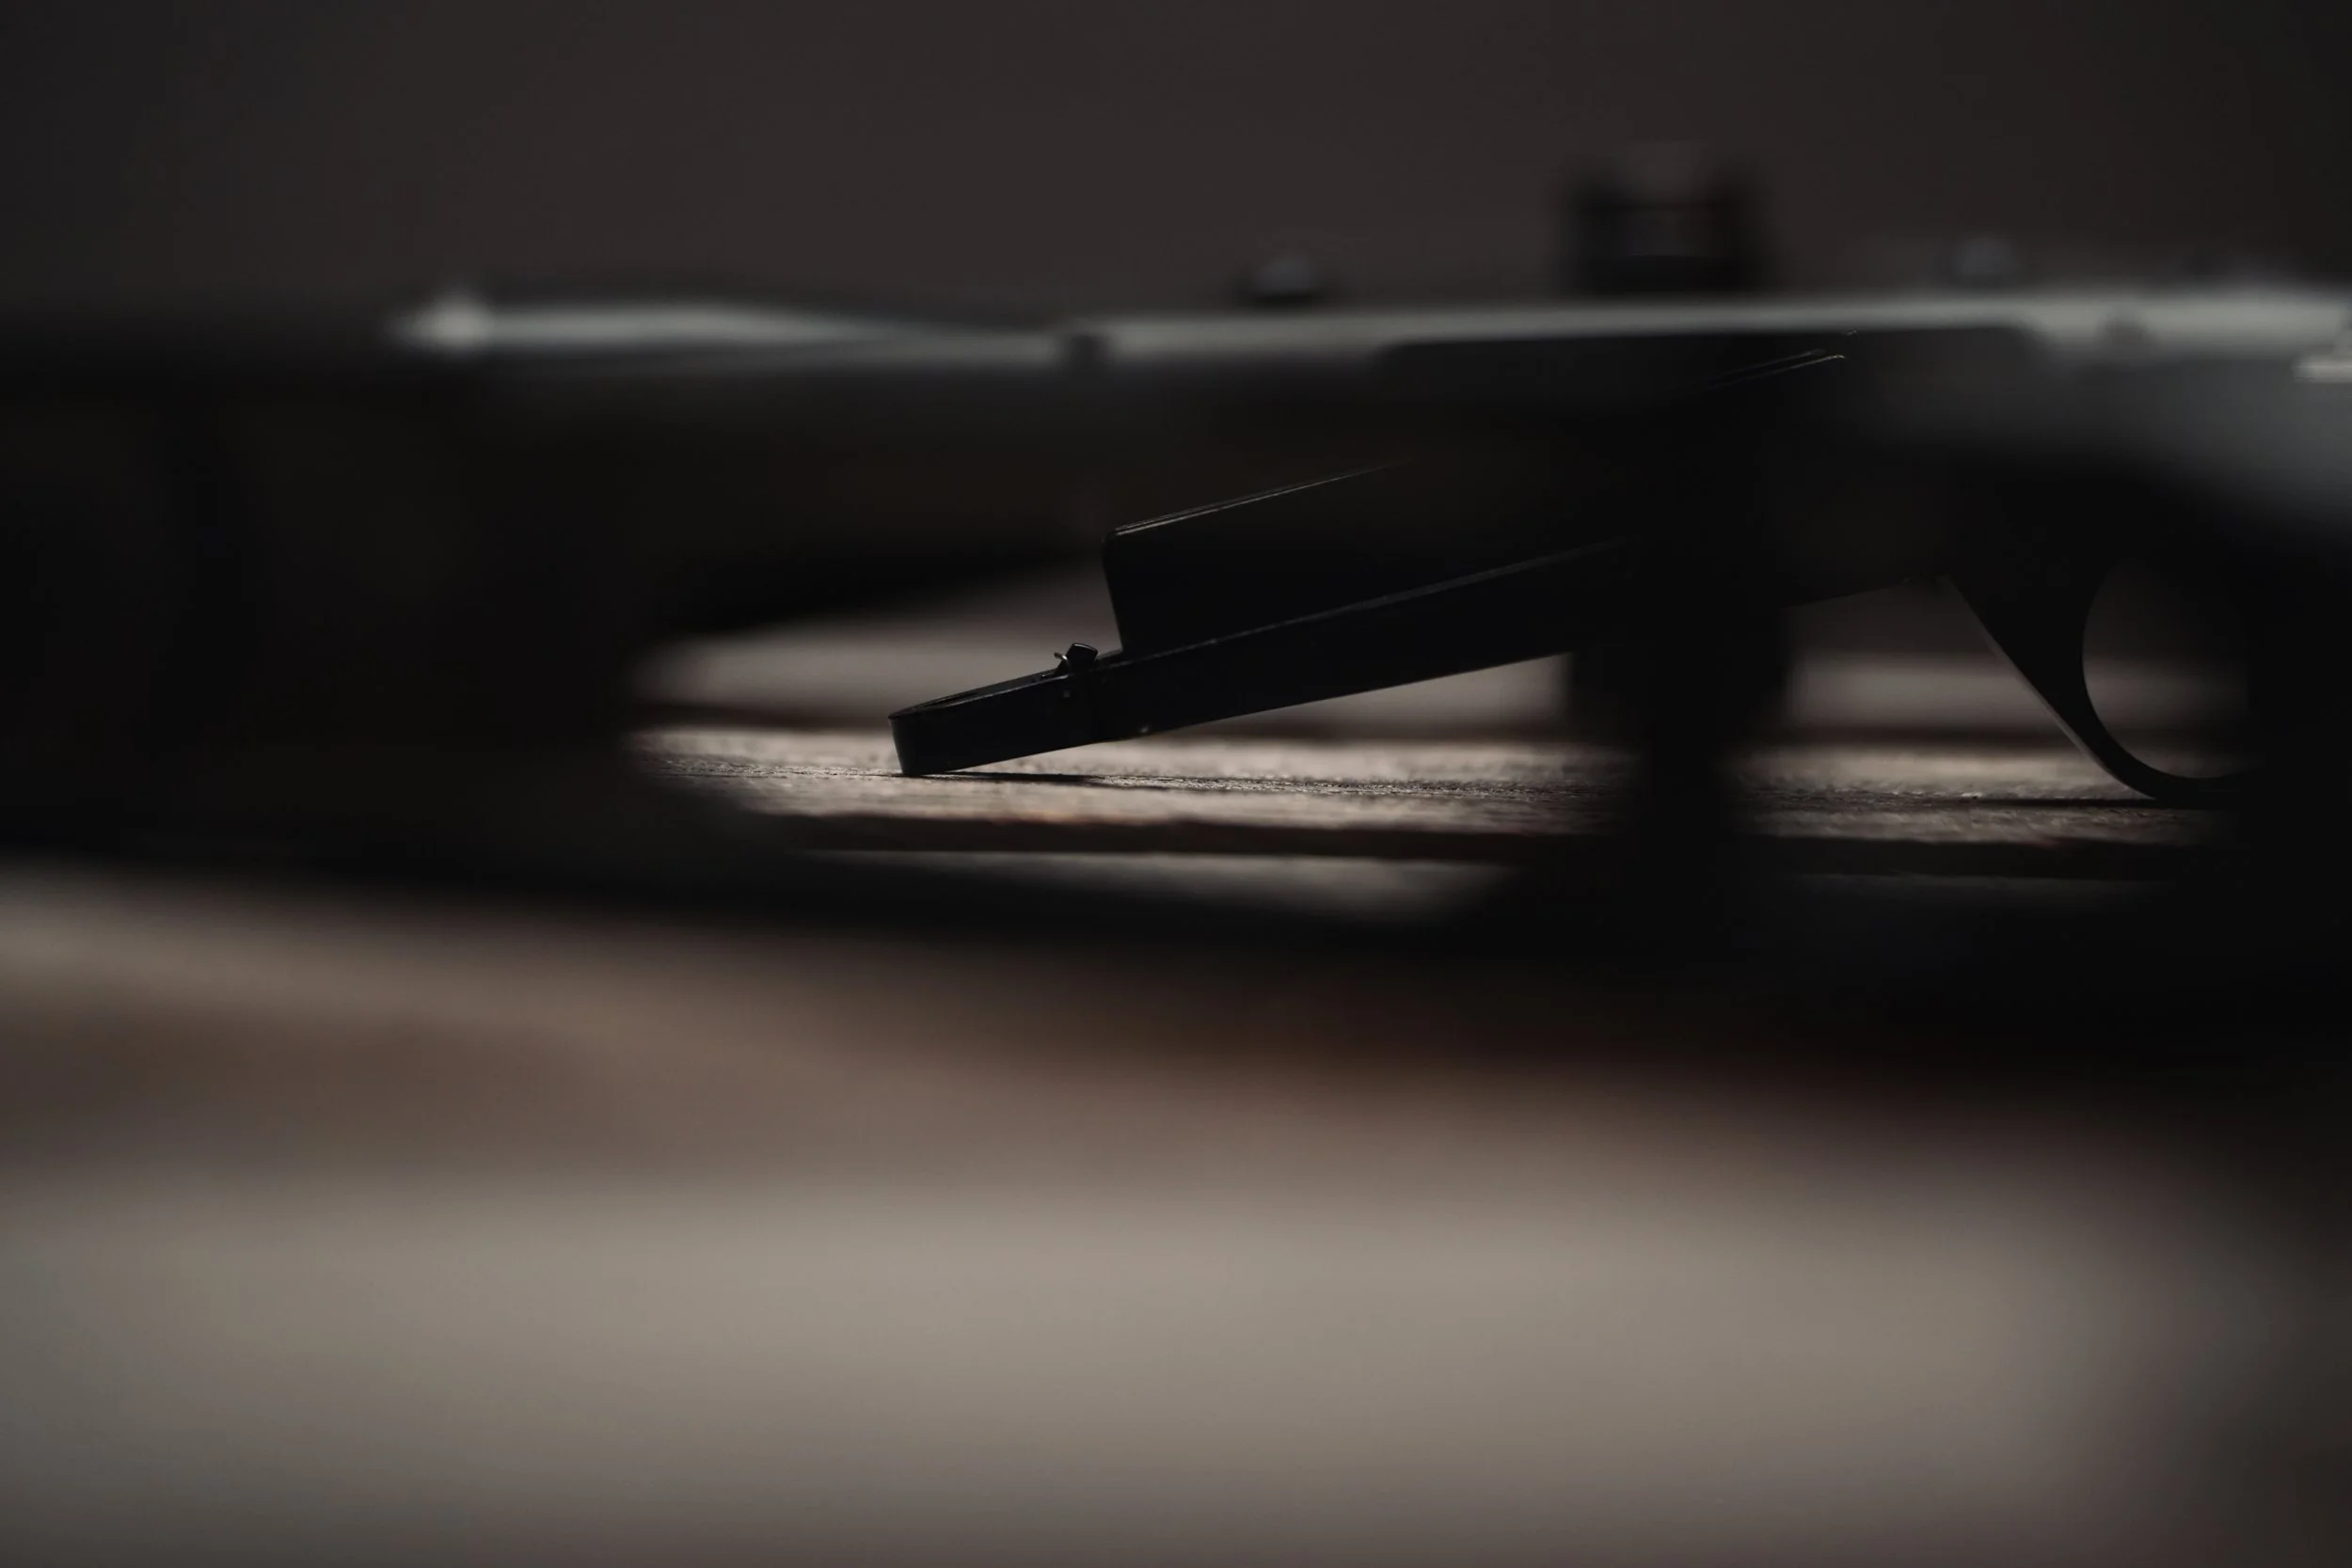
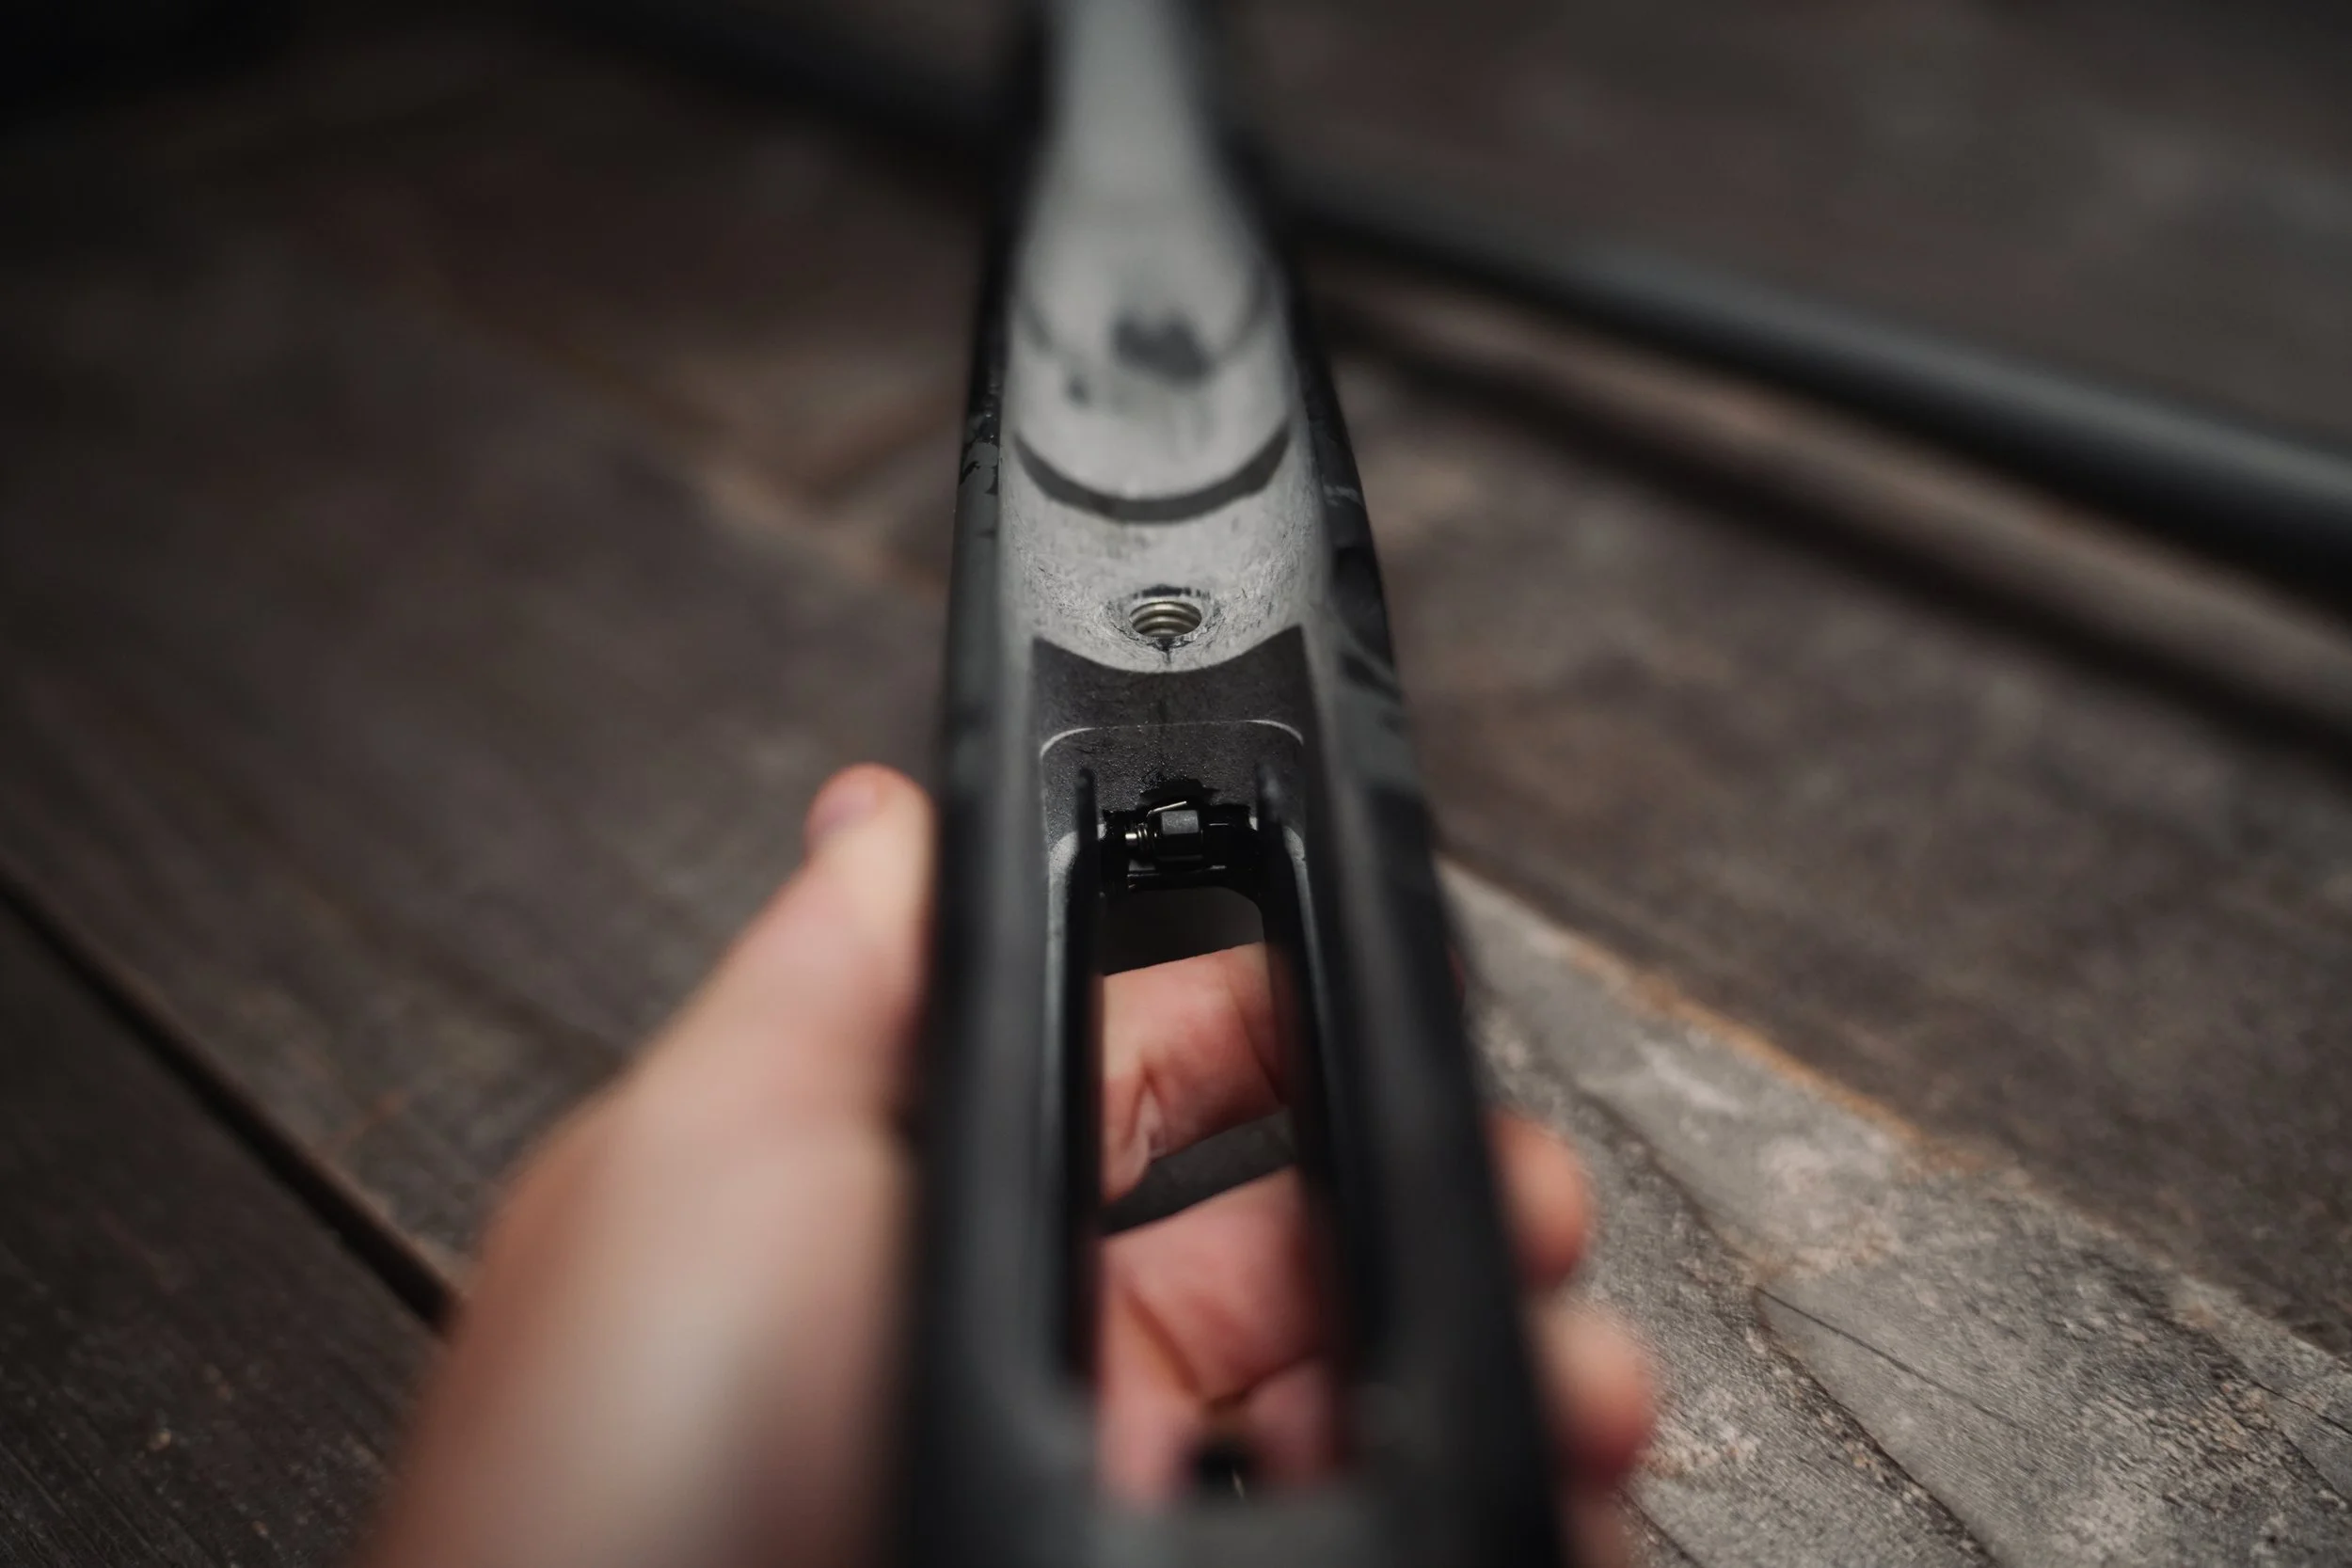
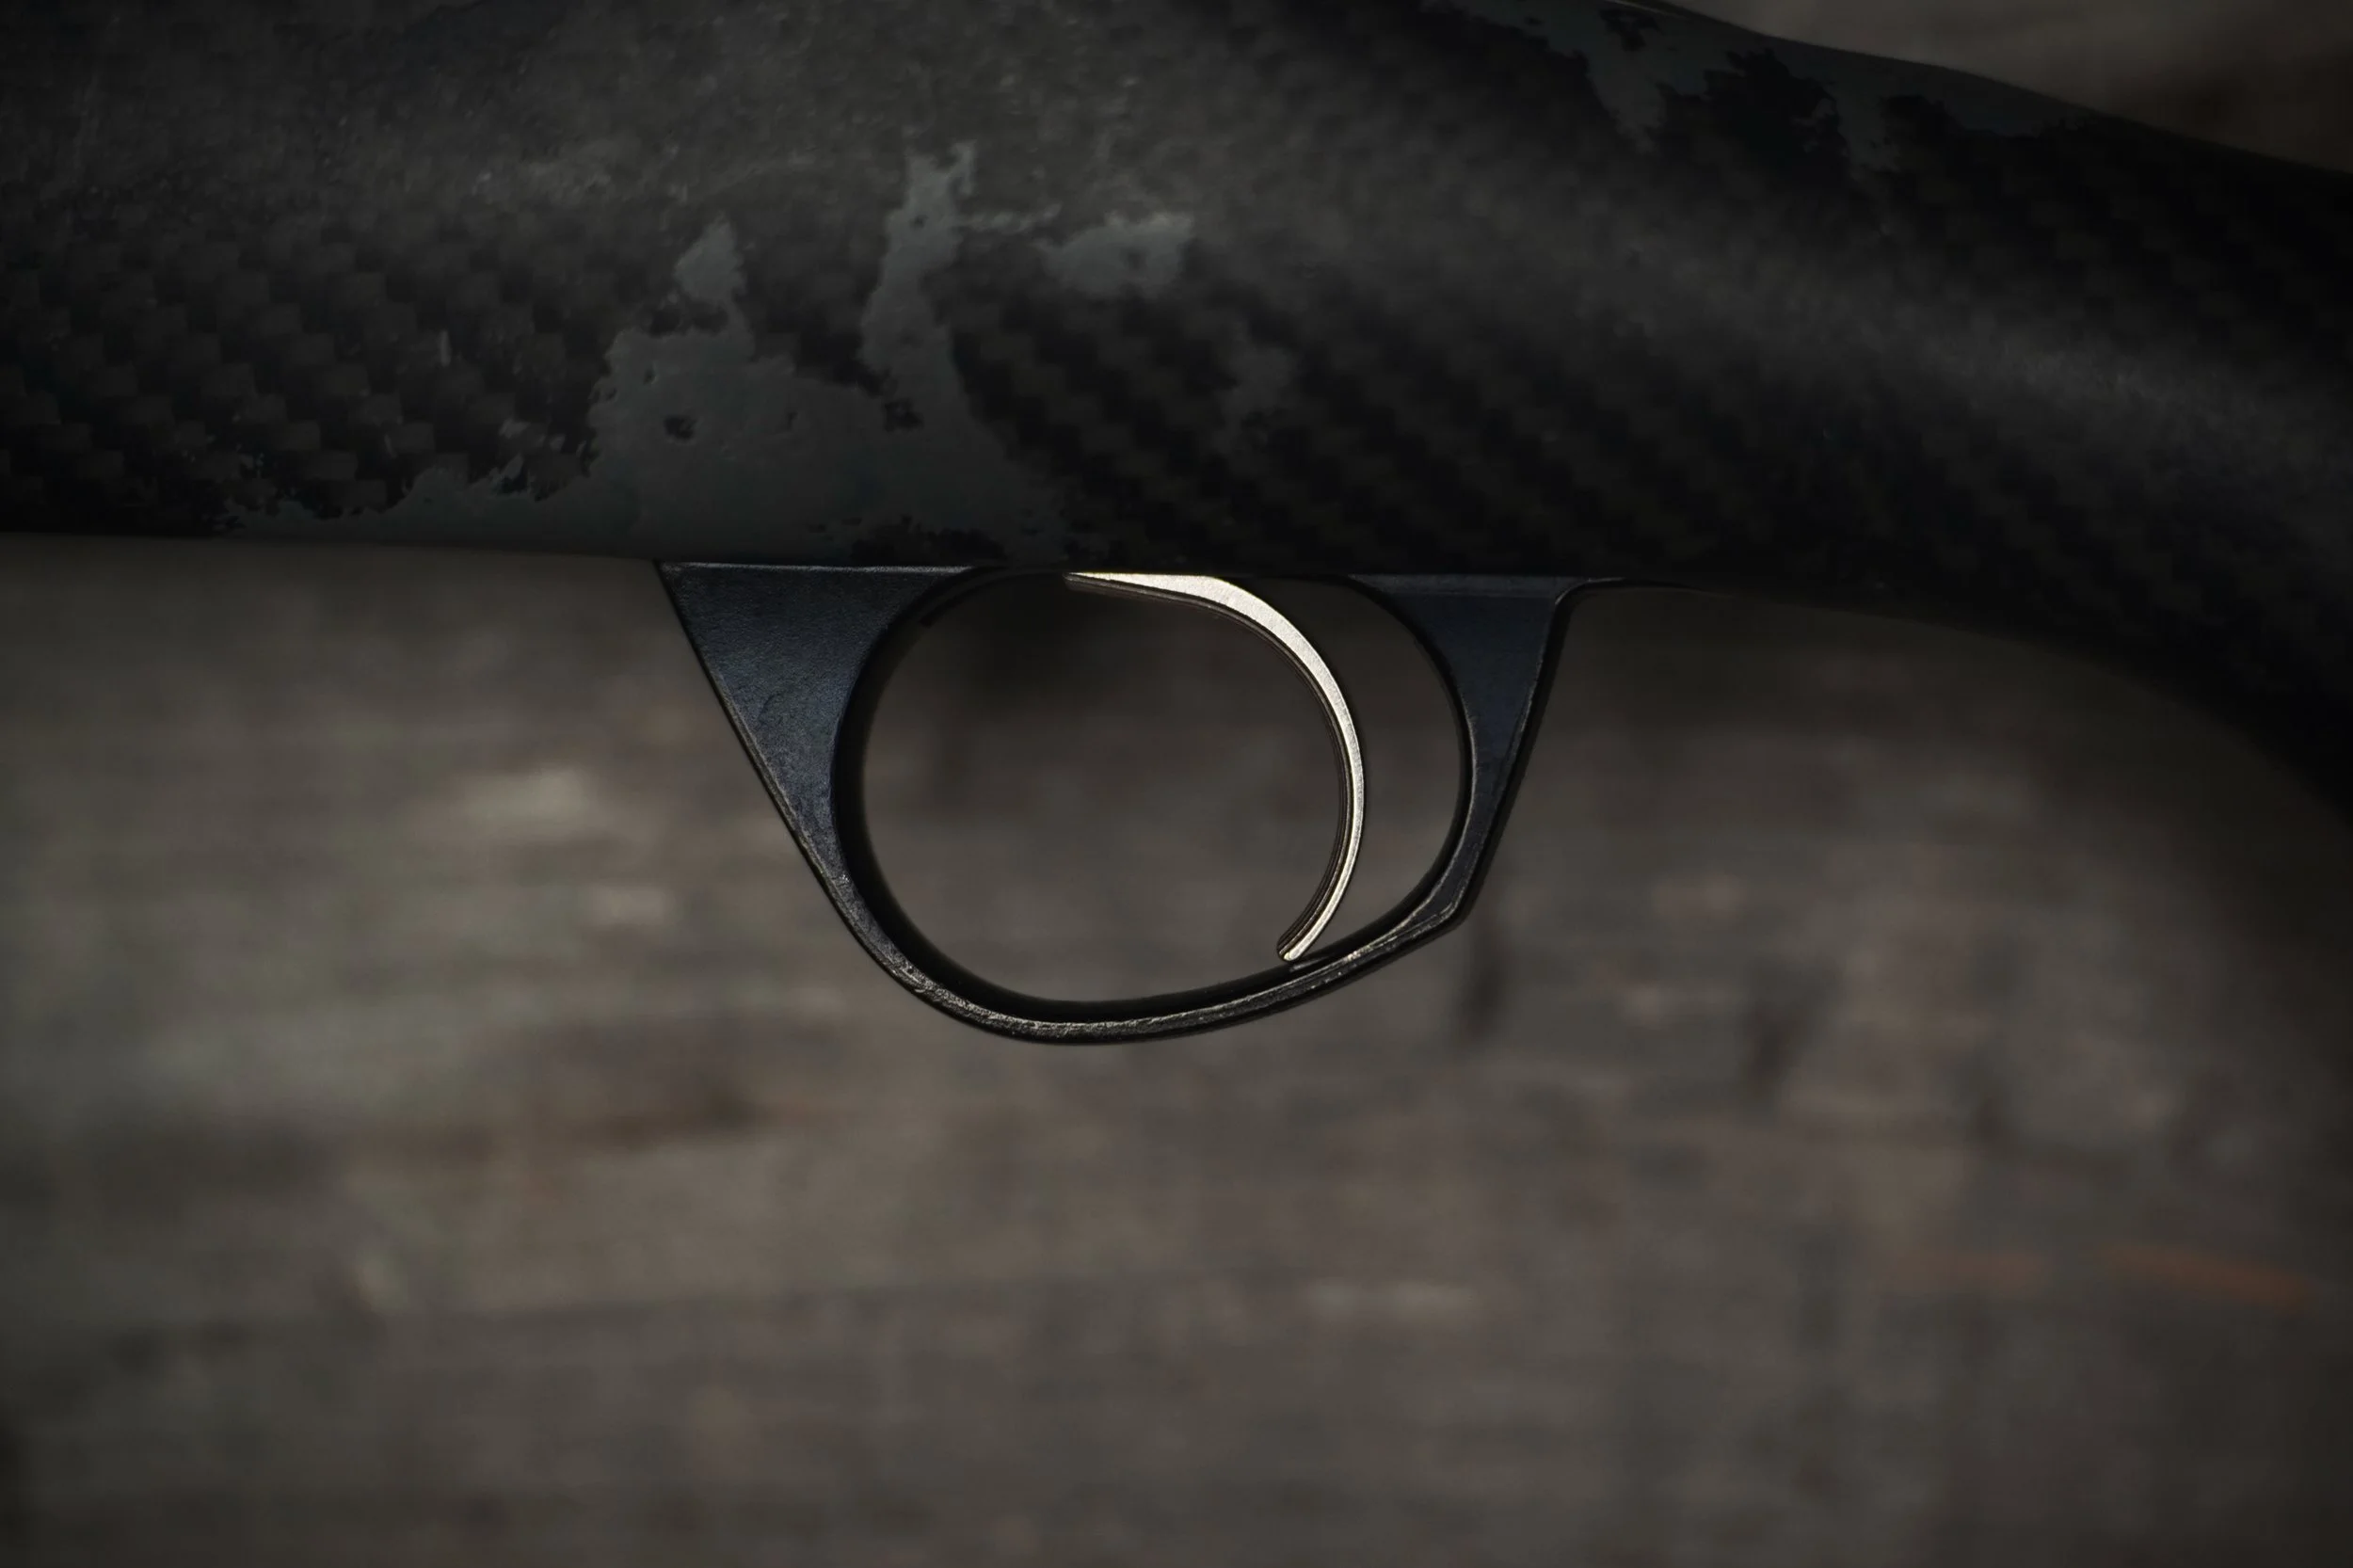
After putting the rifle back together with the new magazine hardware, I looked everything over and headed to the range. That’s when I realized something was wrong. The trigger wasn’t functioning correctly.
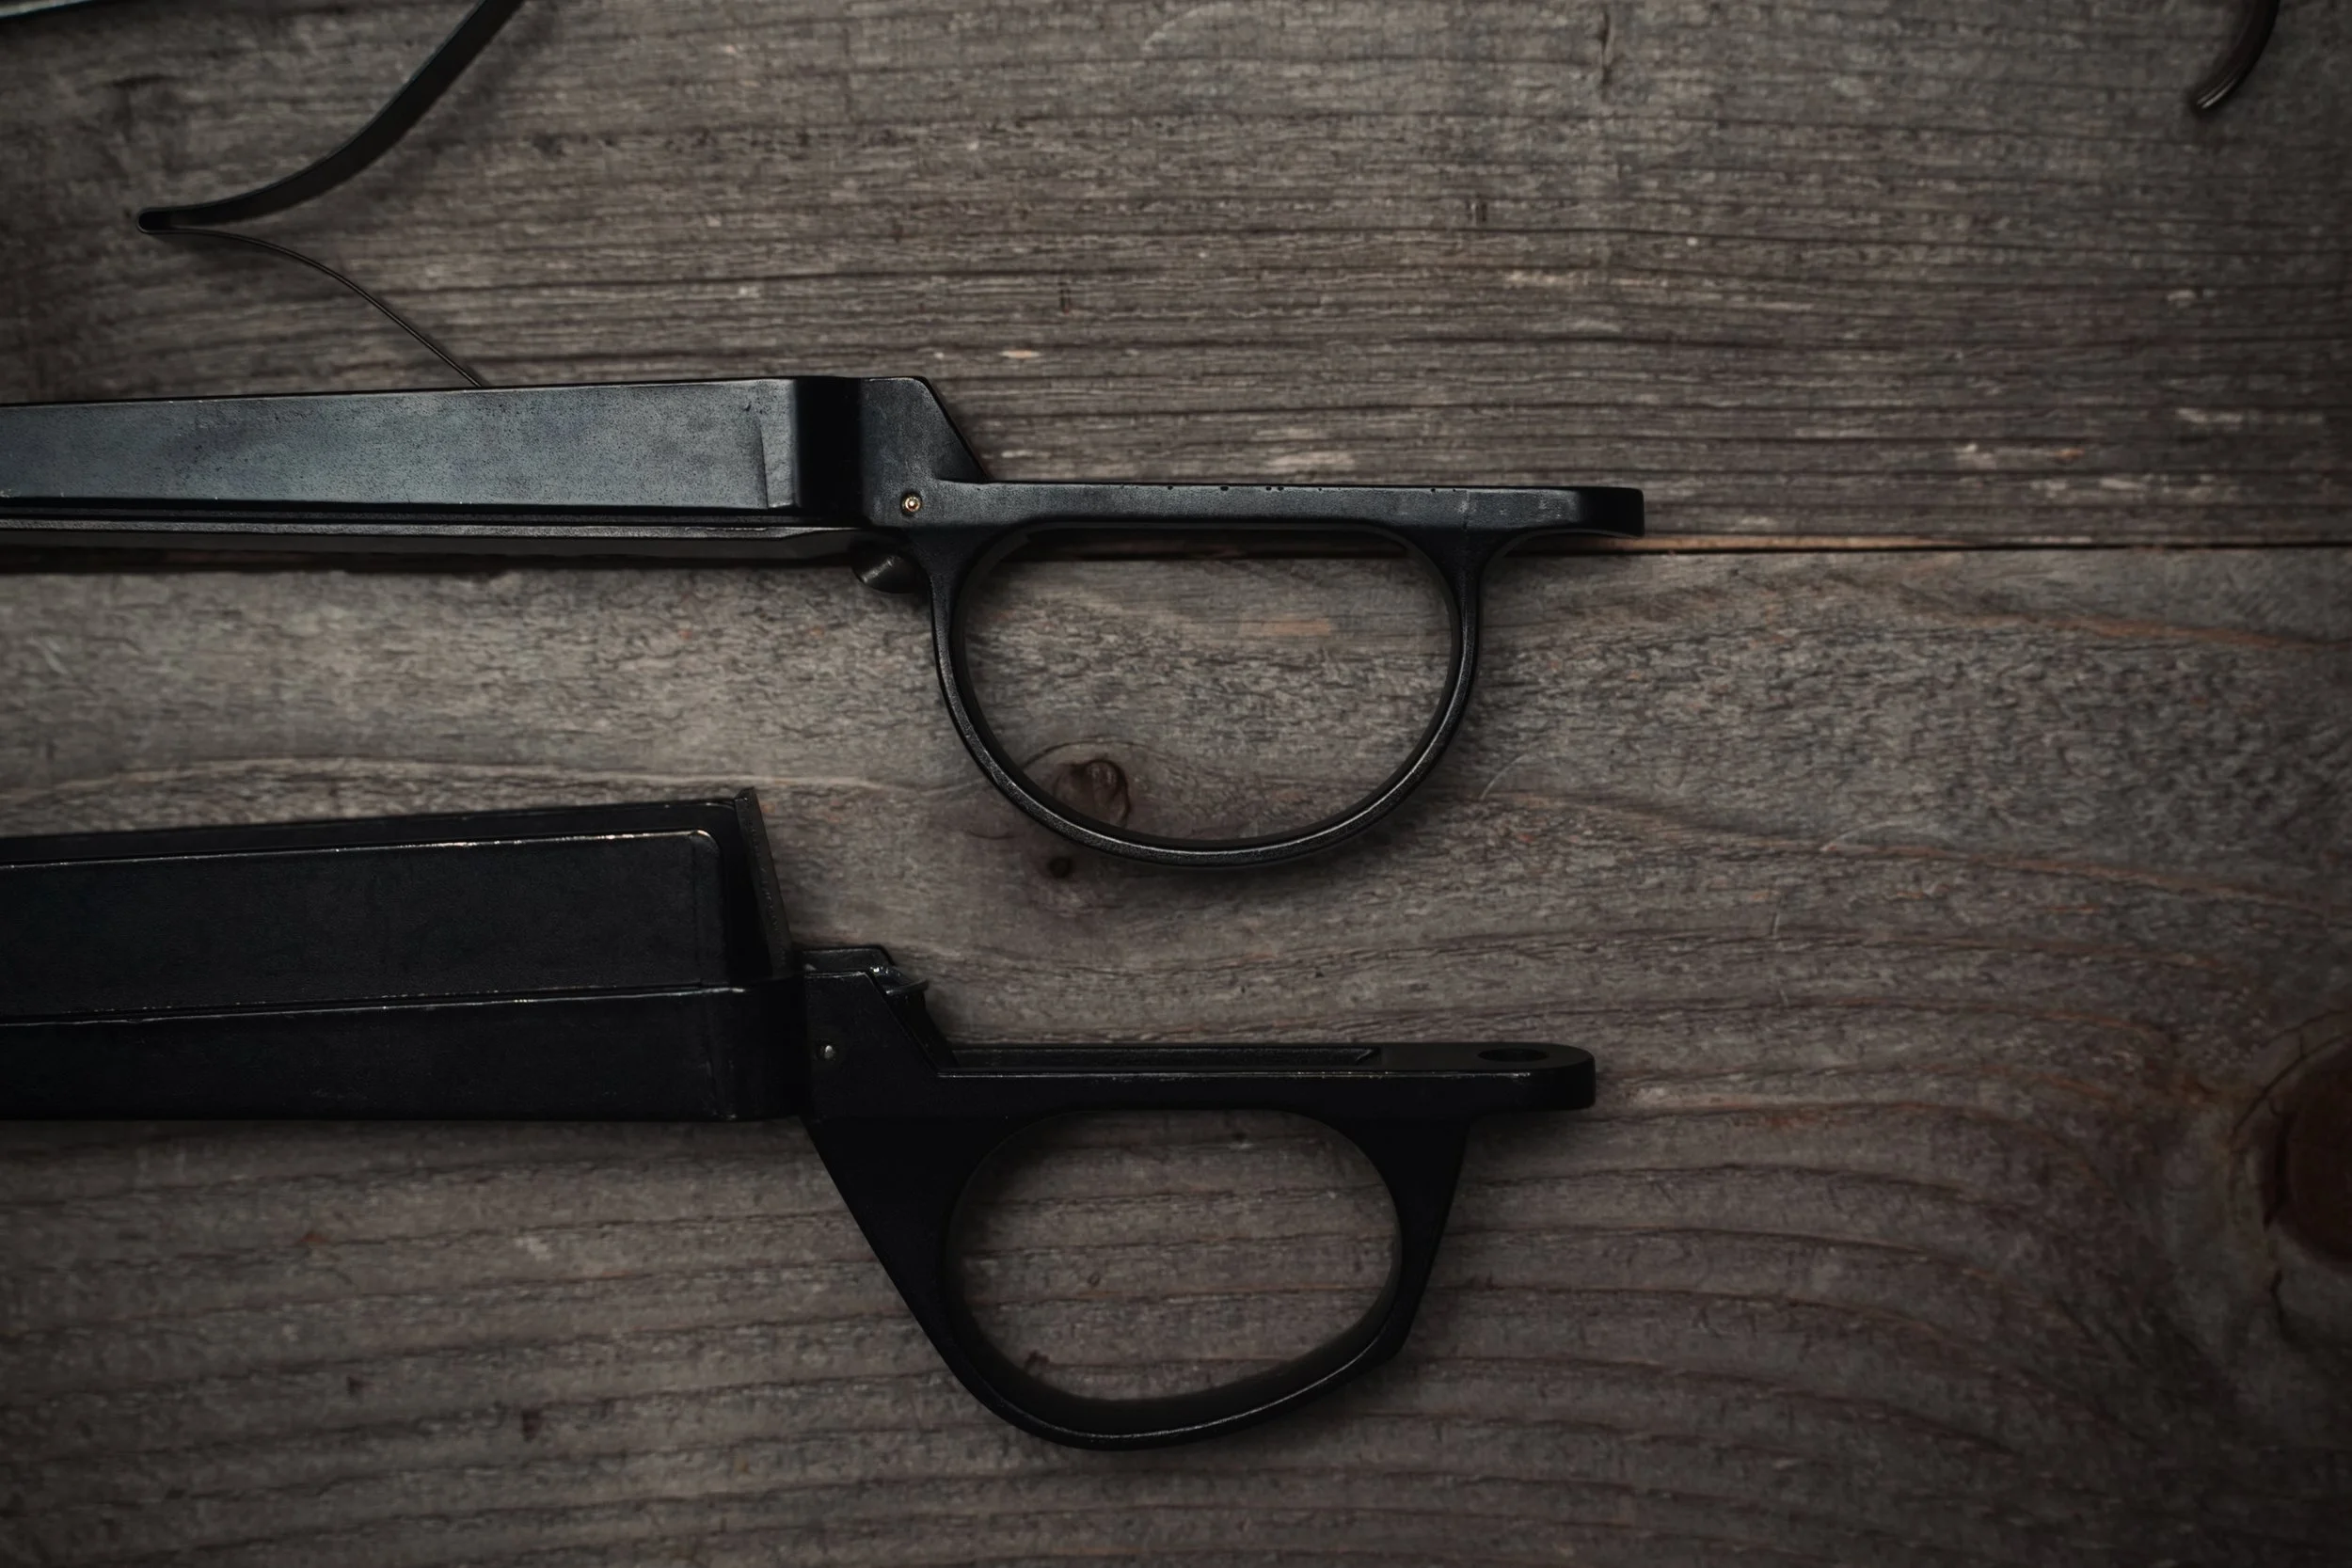
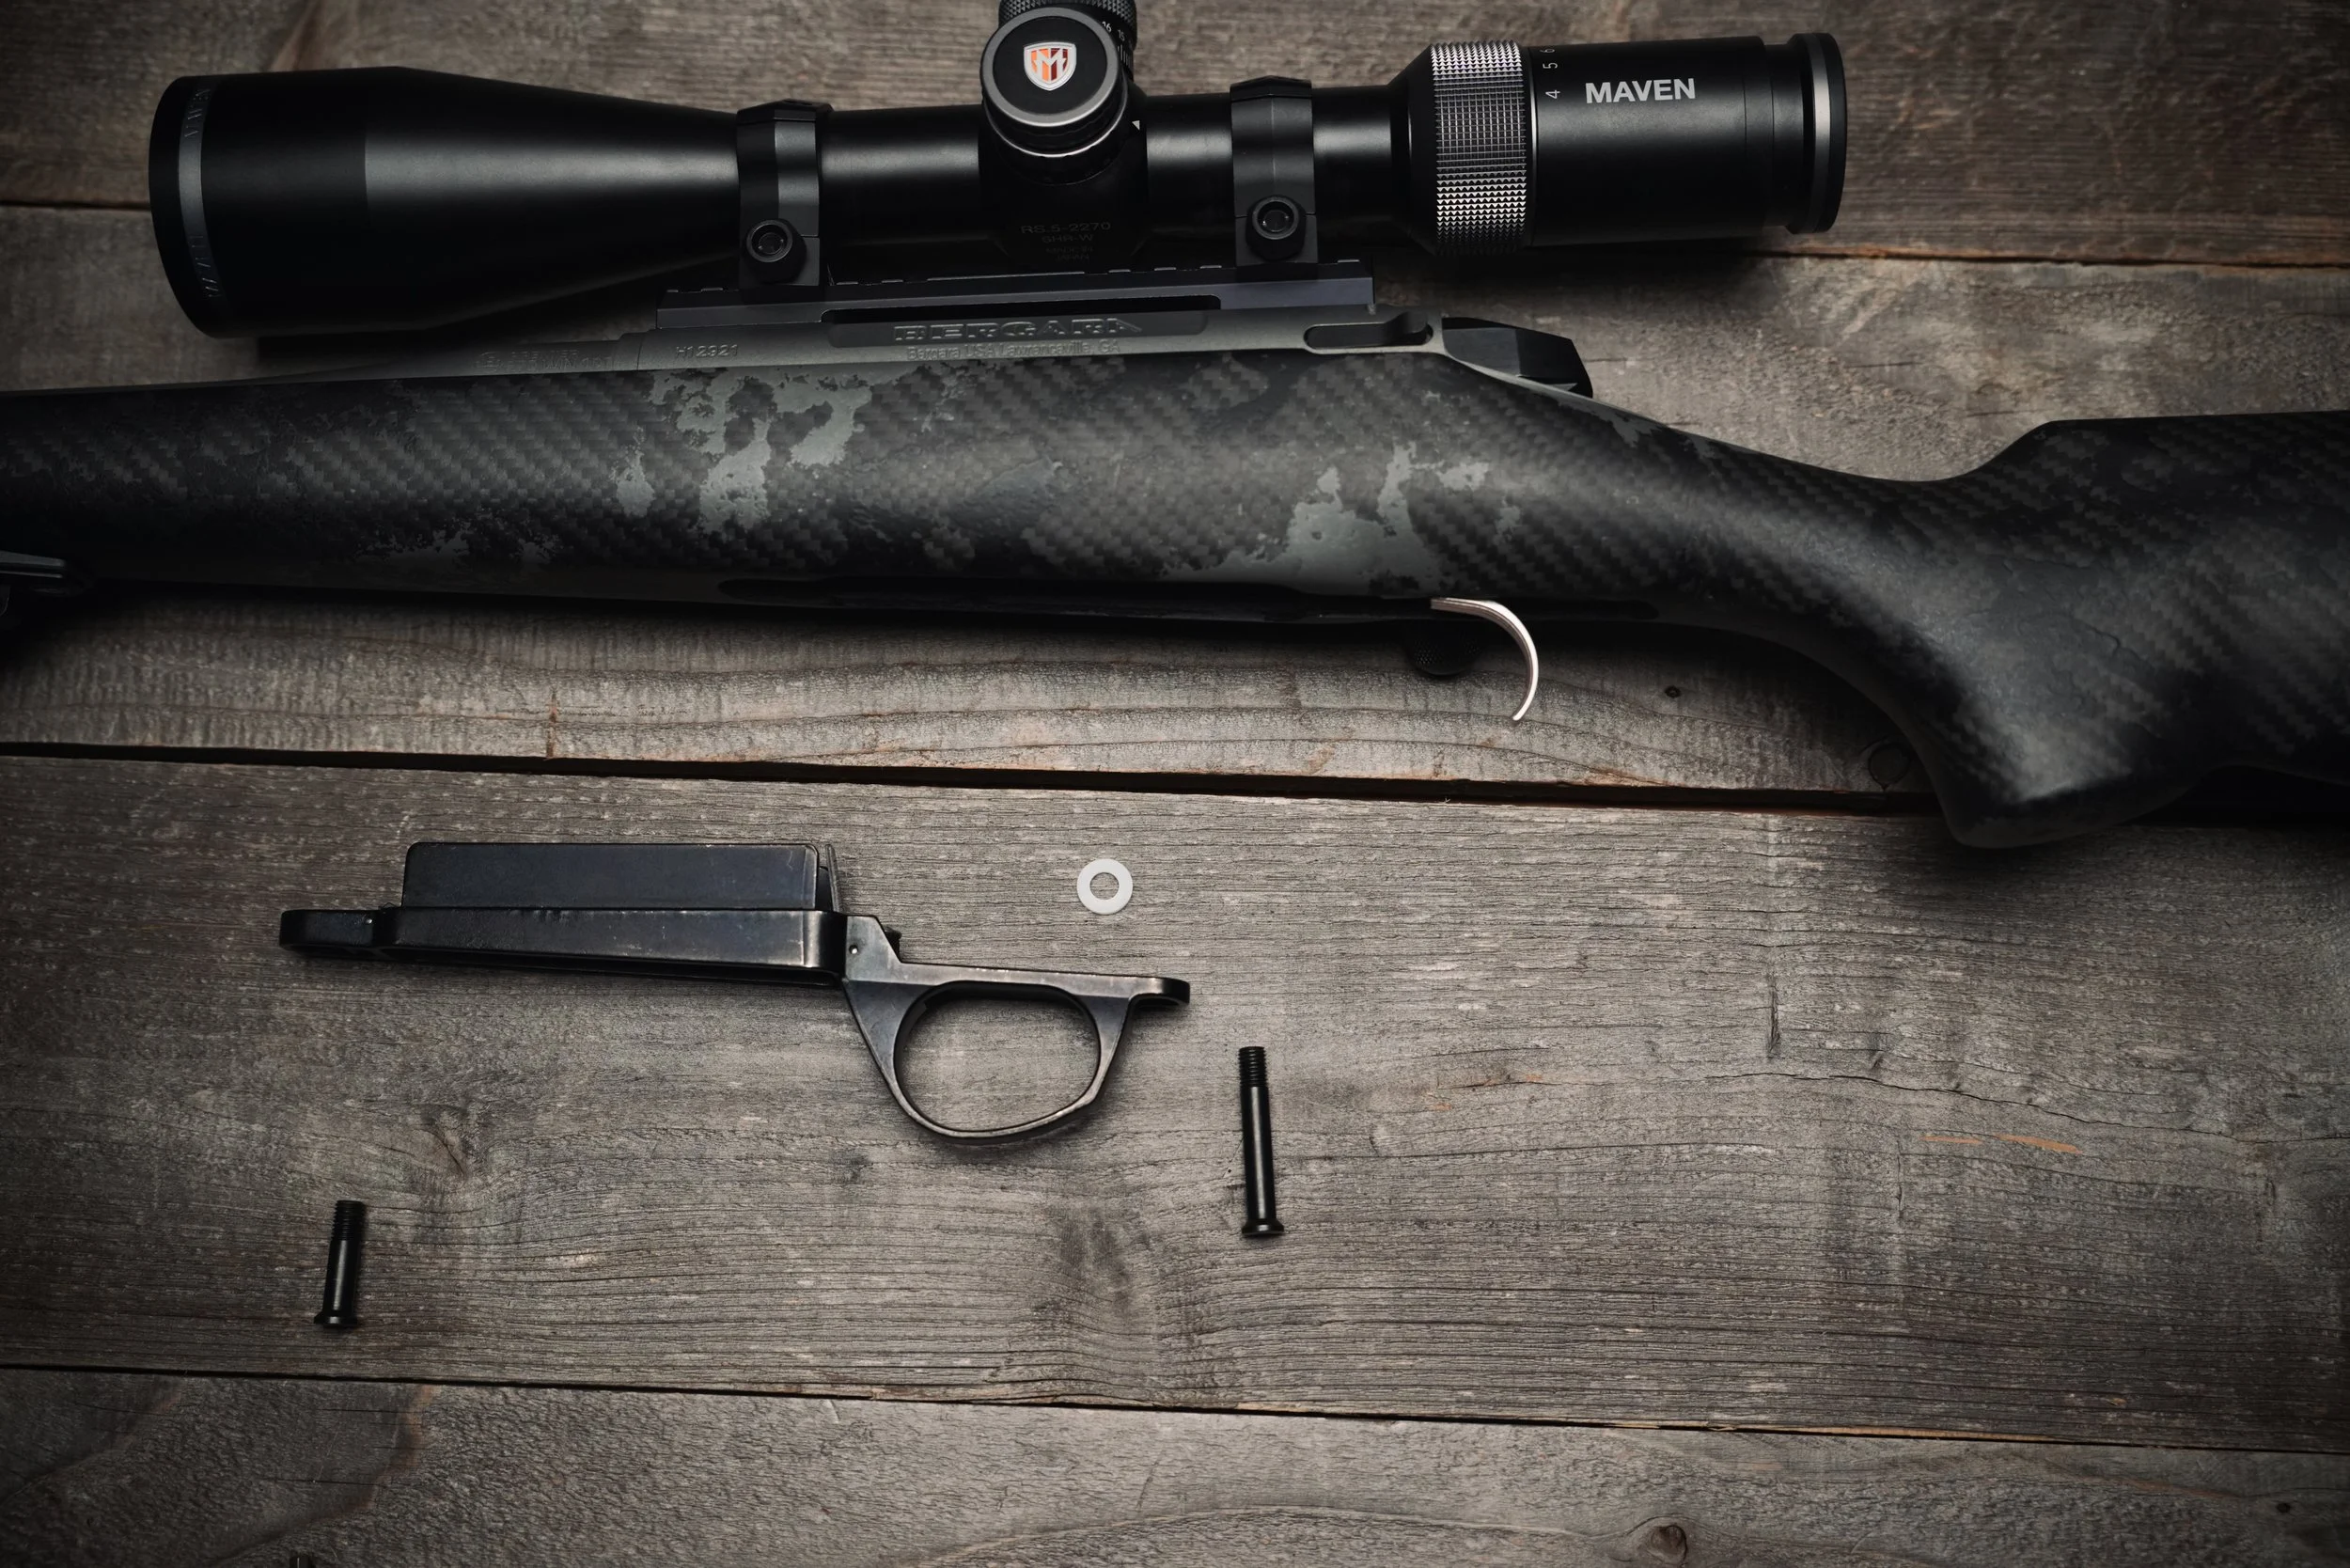
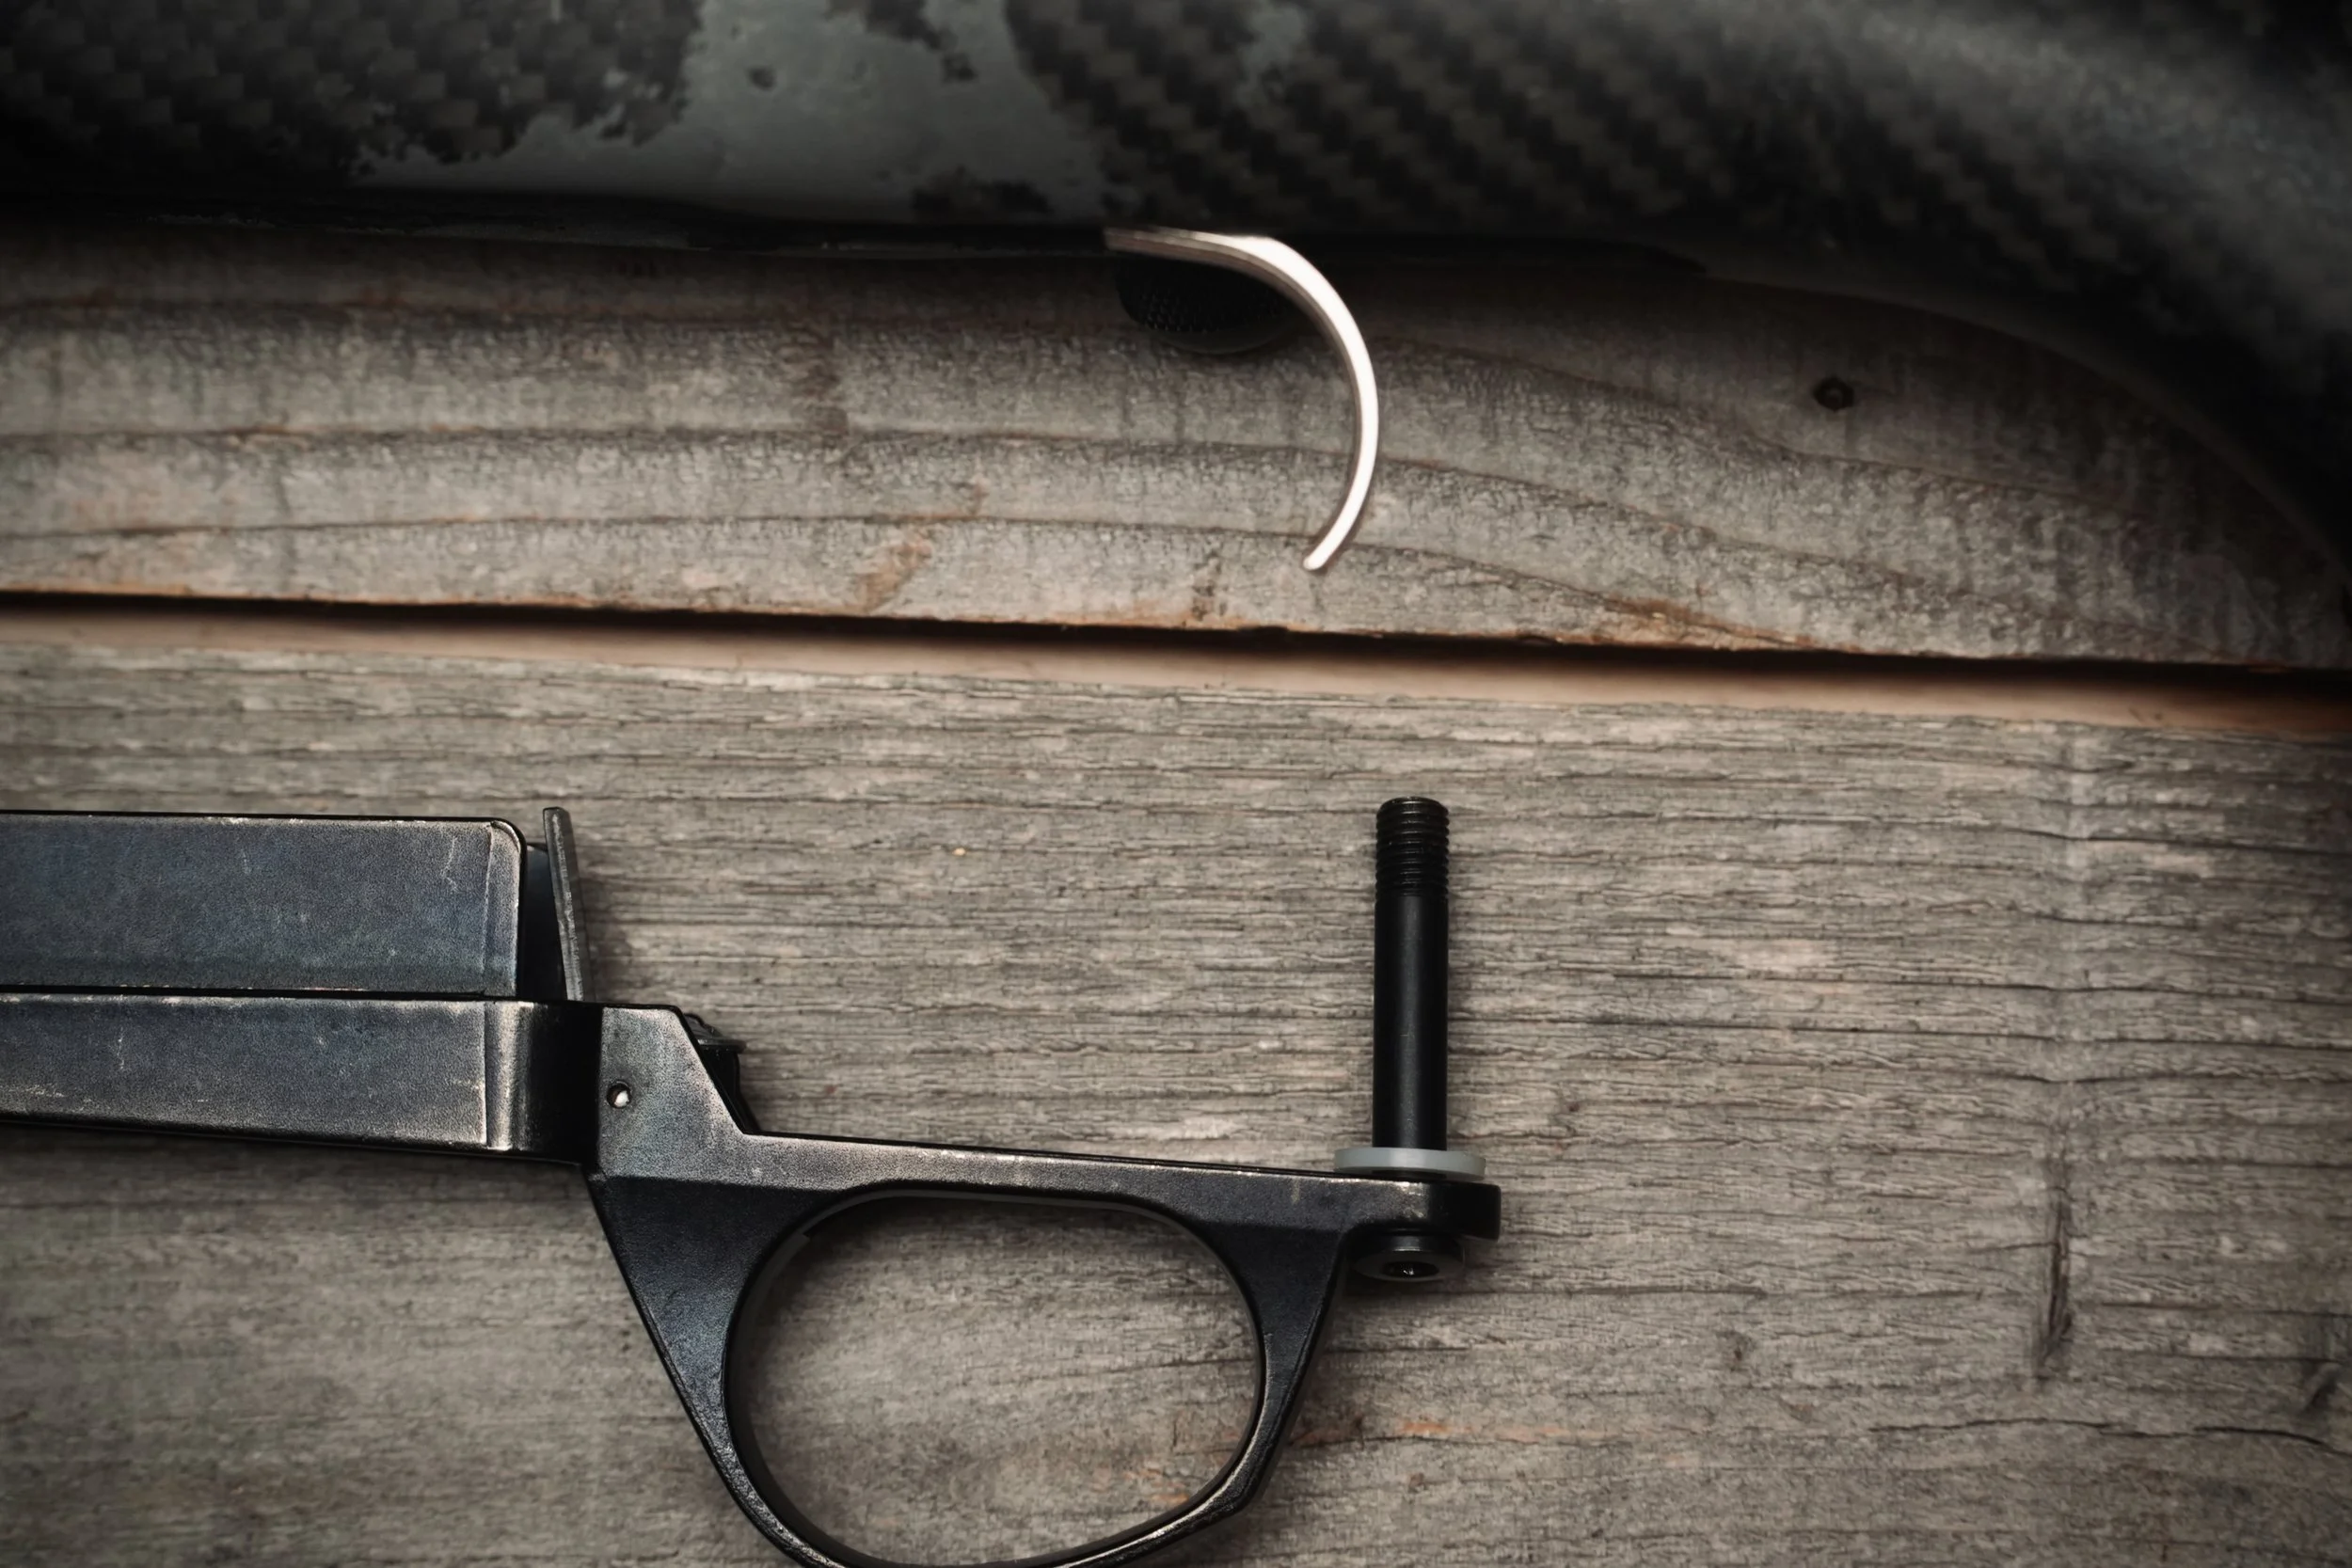
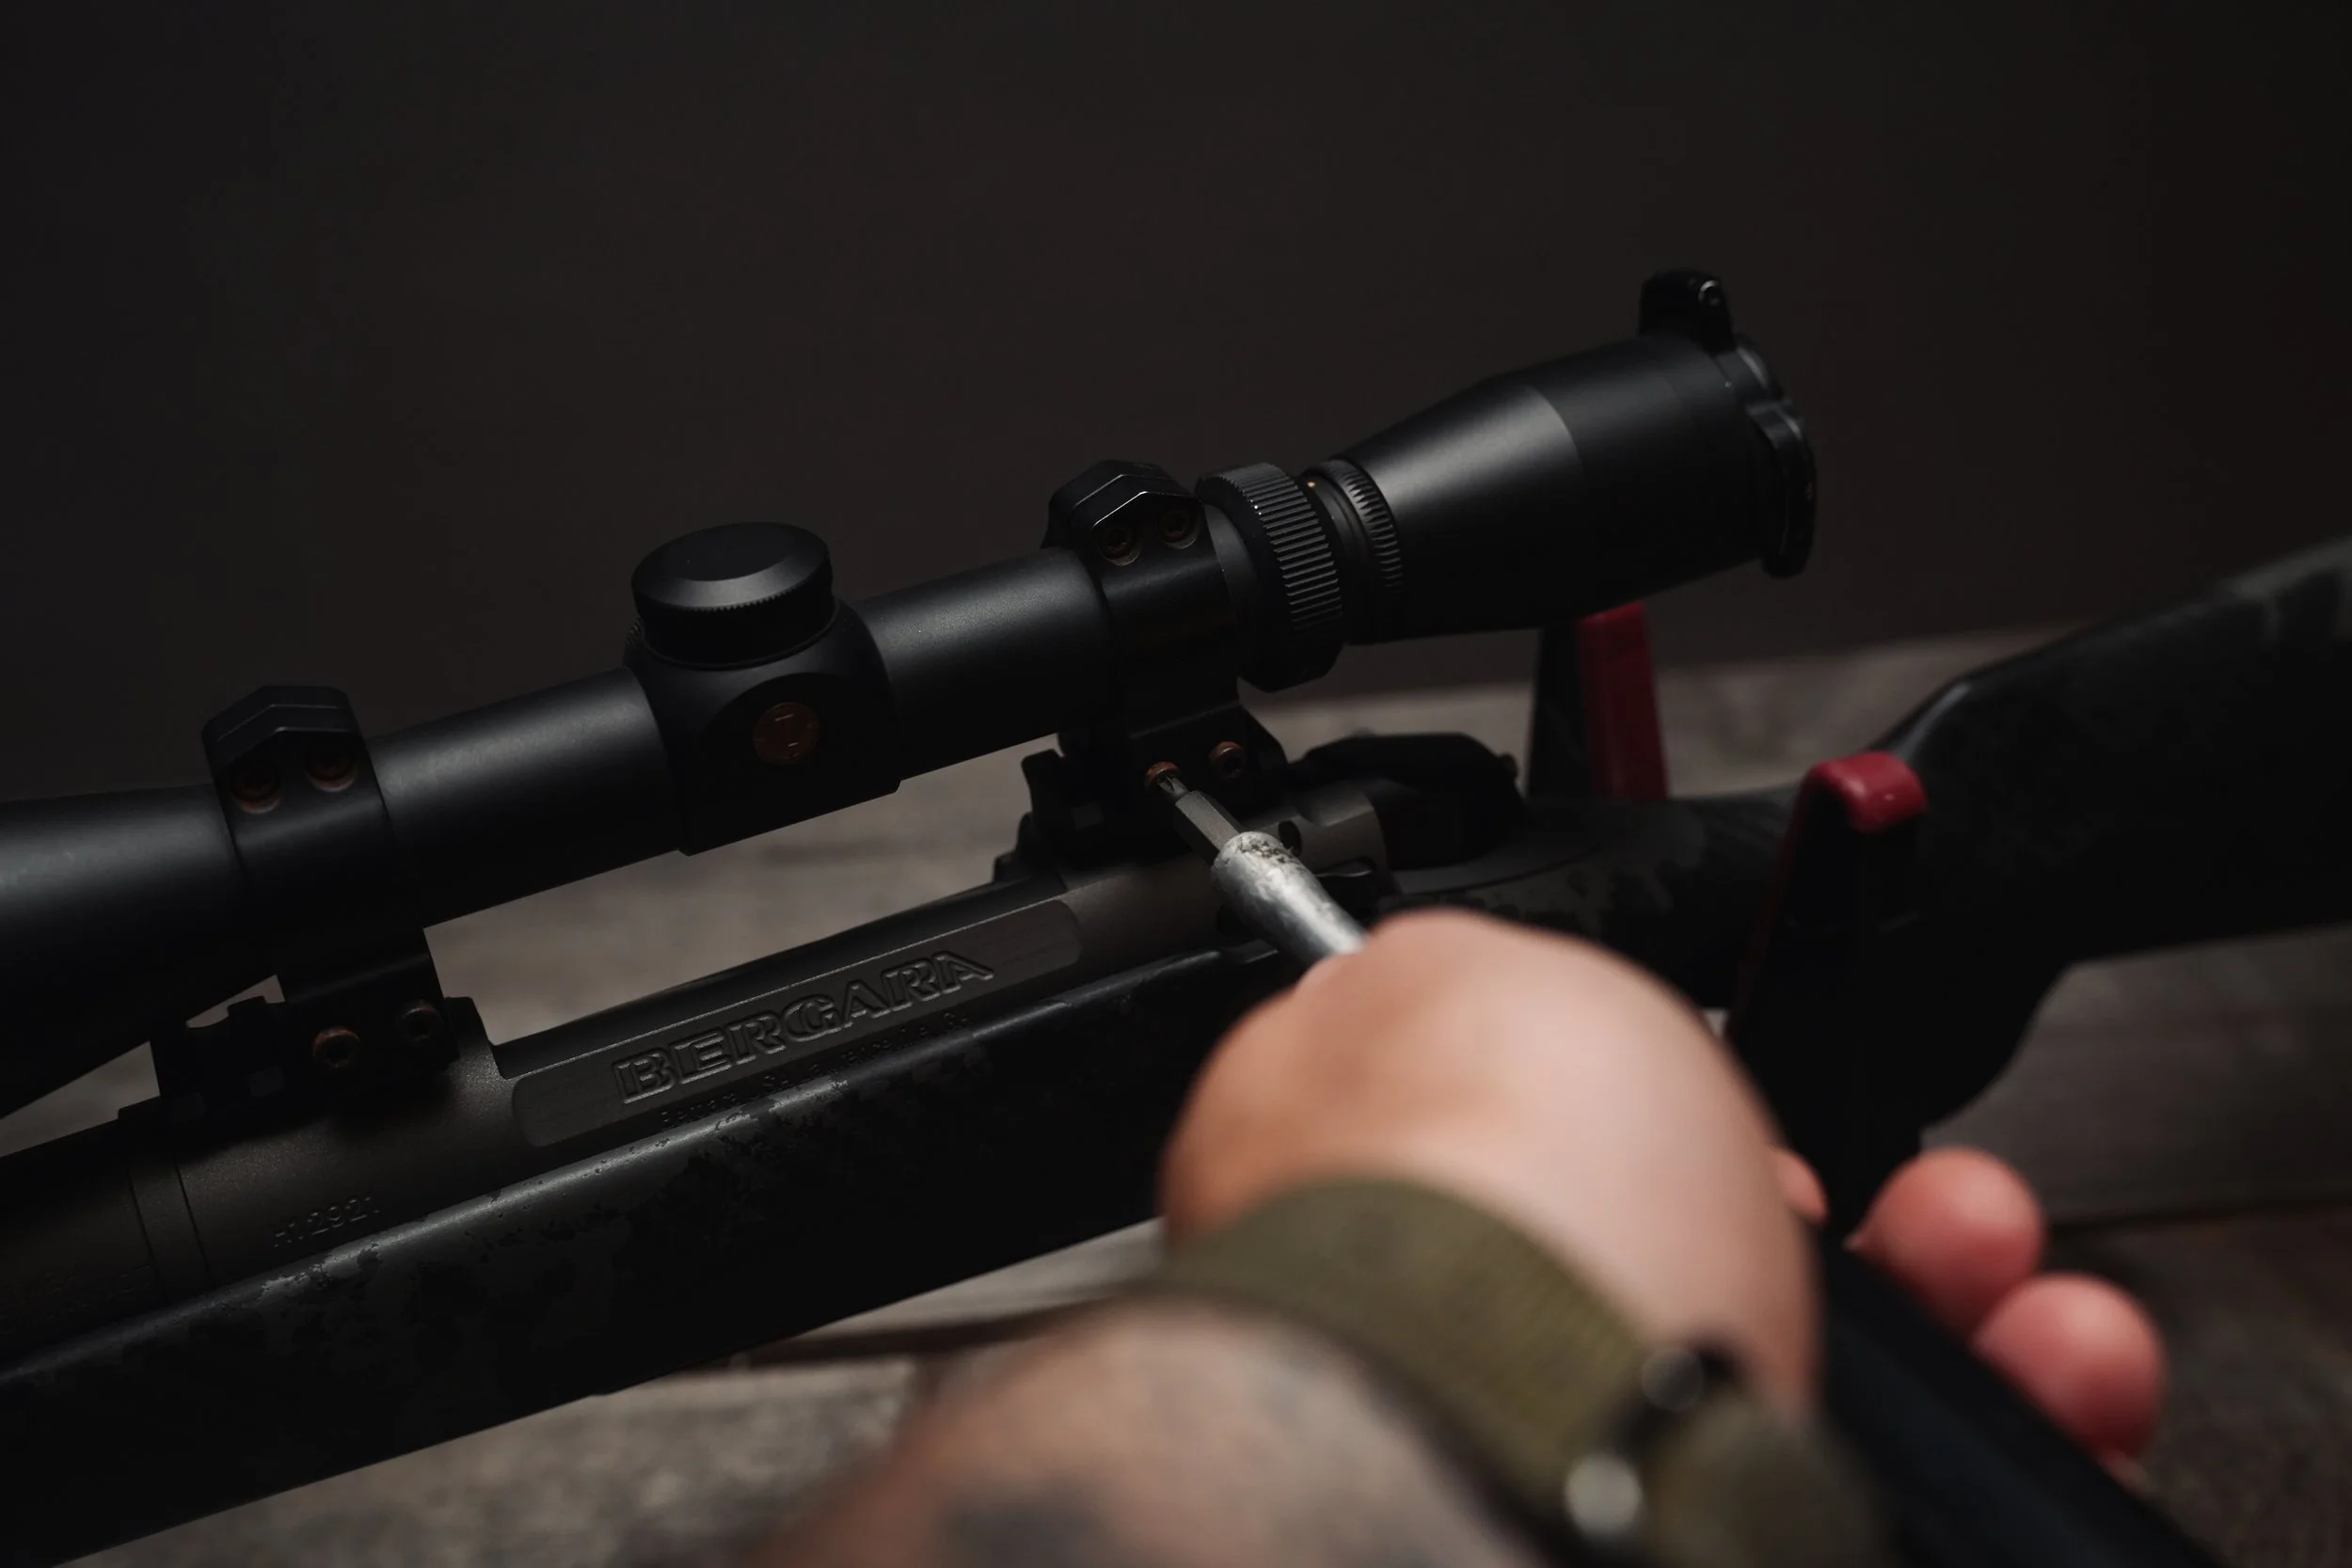
The trigger guard on the new magazine hardware was slightly different from the original, and a clearance issue prevented the trigger from operating normally (see images). So I packed everything up and headed home to figure out what went wrong.
After some troubleshooting, I realized the issue was the spacing between the stock and the replacement hardware. I eventually sorted it out.
Once everything was working properly, I headed back to the range to make sure everything worked as it should. It was then that I was anointed by the gods of gunsmithing with my first-ever award. Angels sang, and bullets rang.
Was the Magazine Conversion Worth It?
Absolutely.
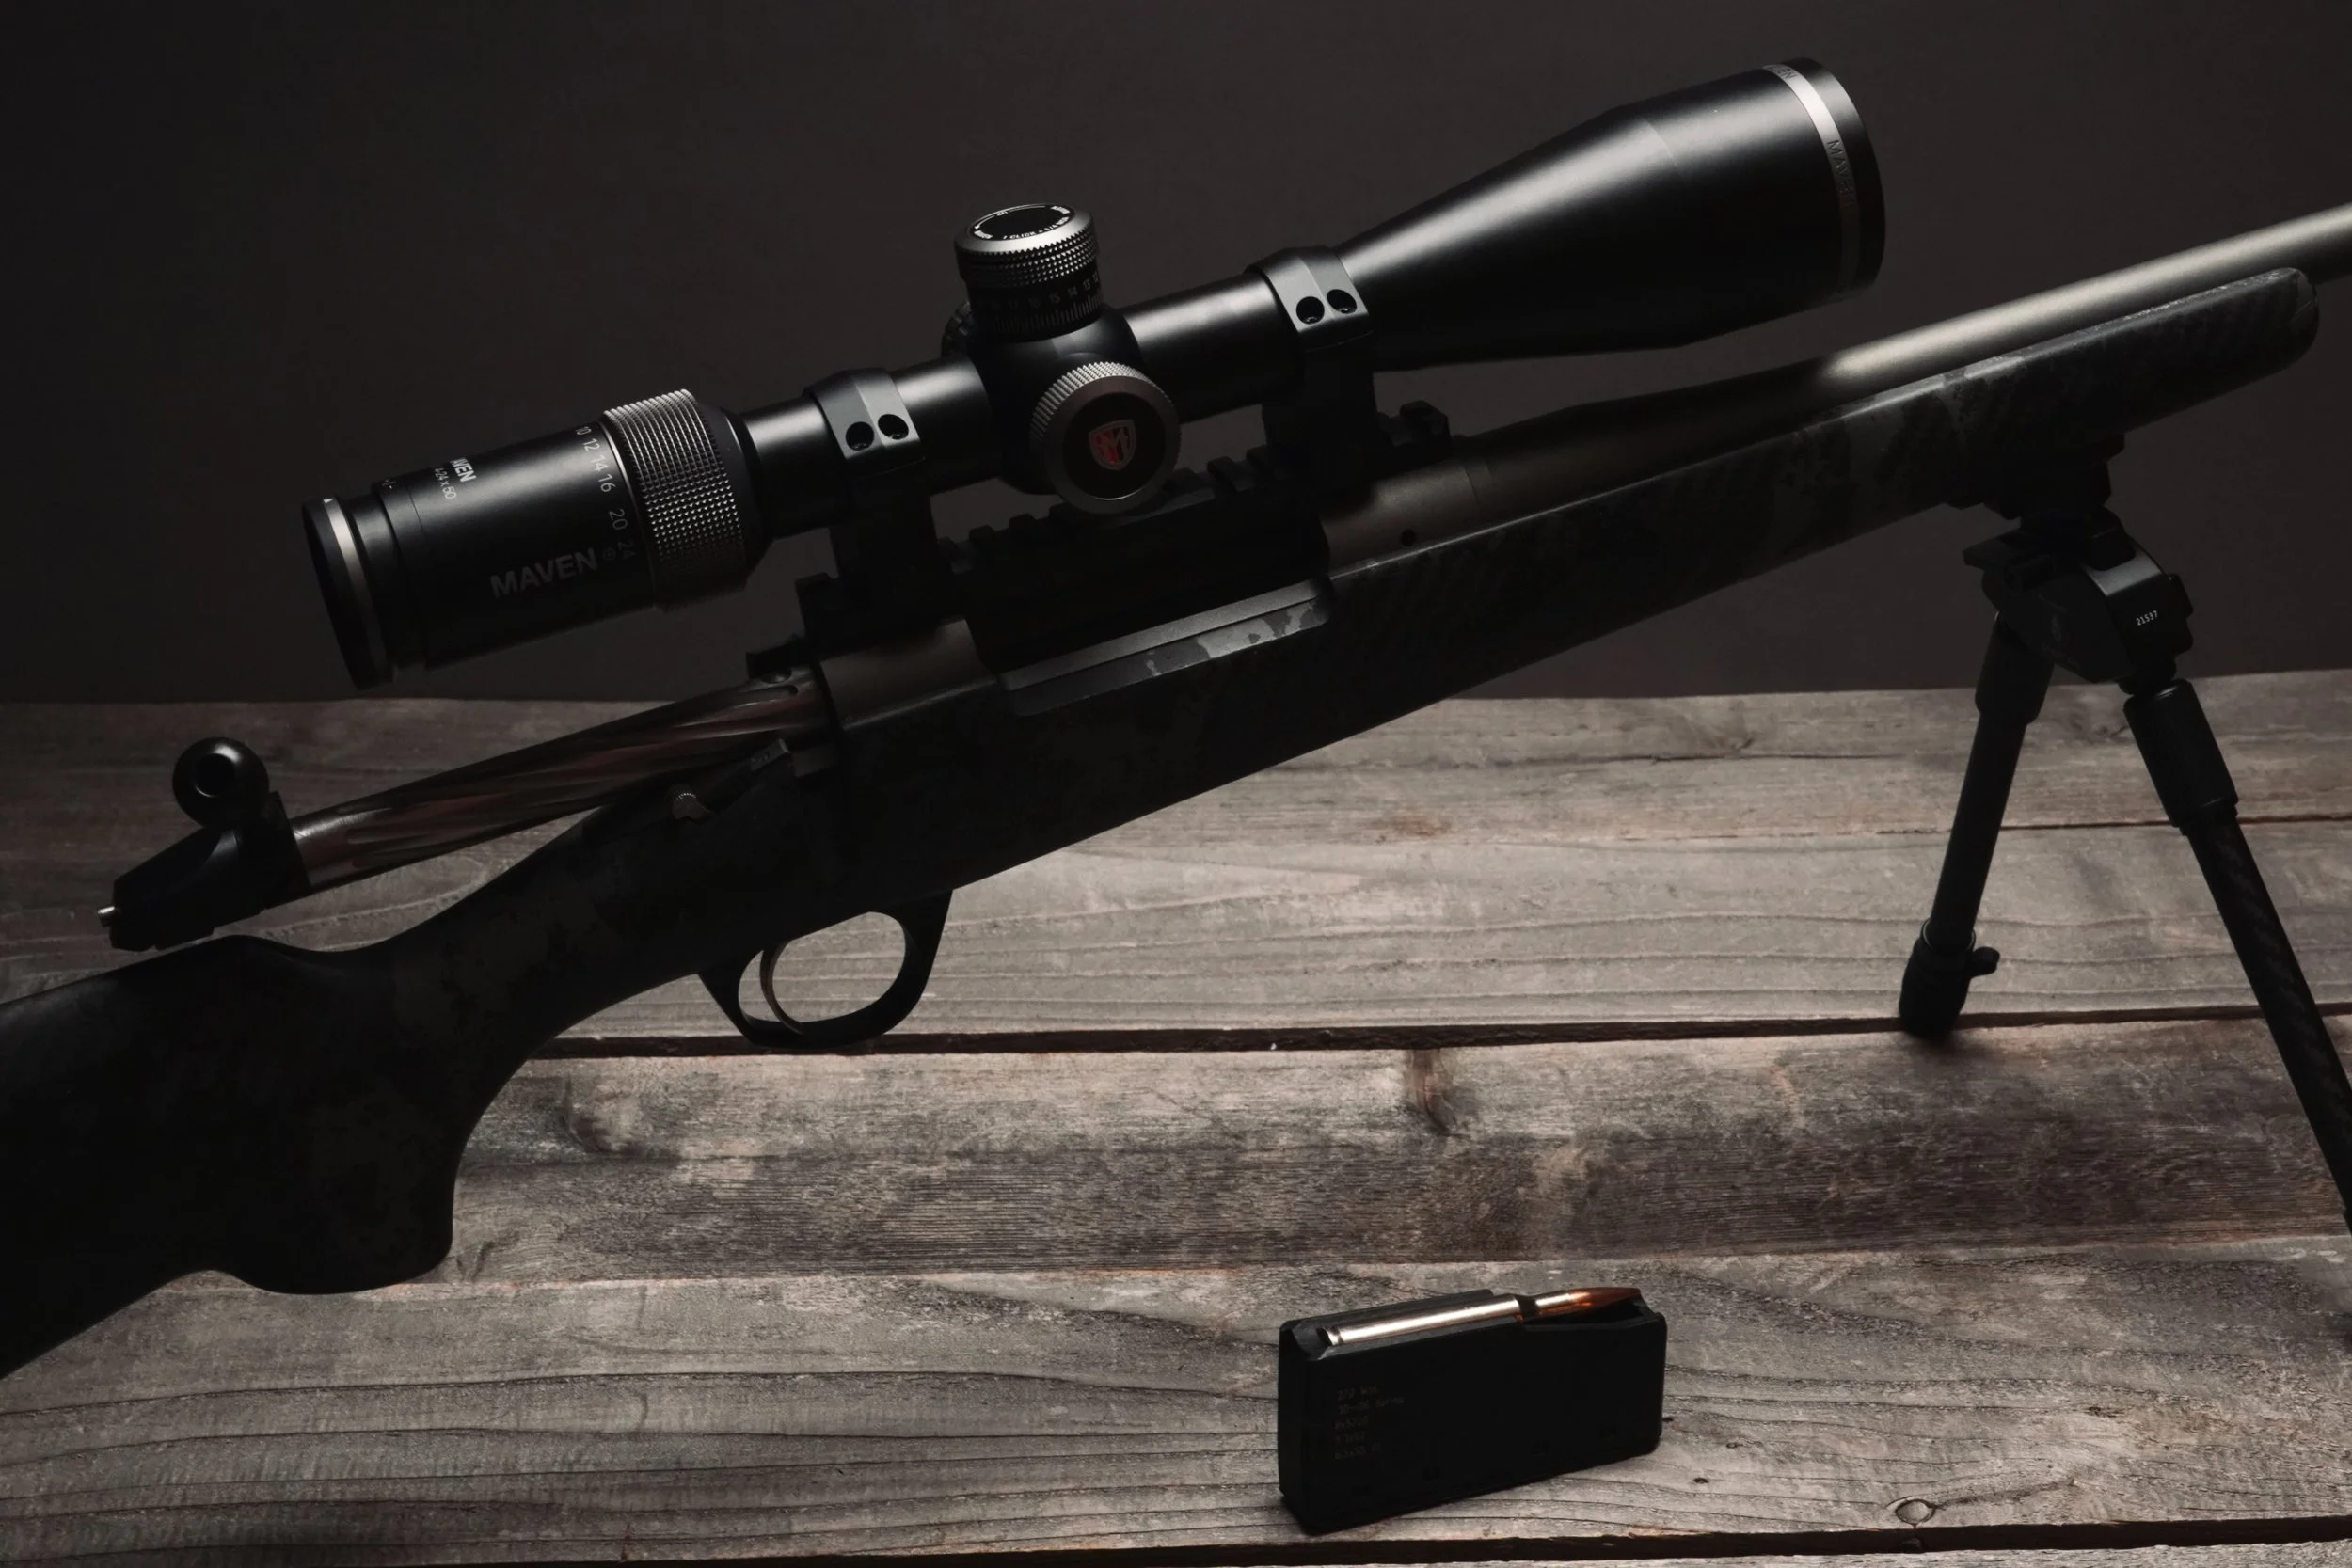
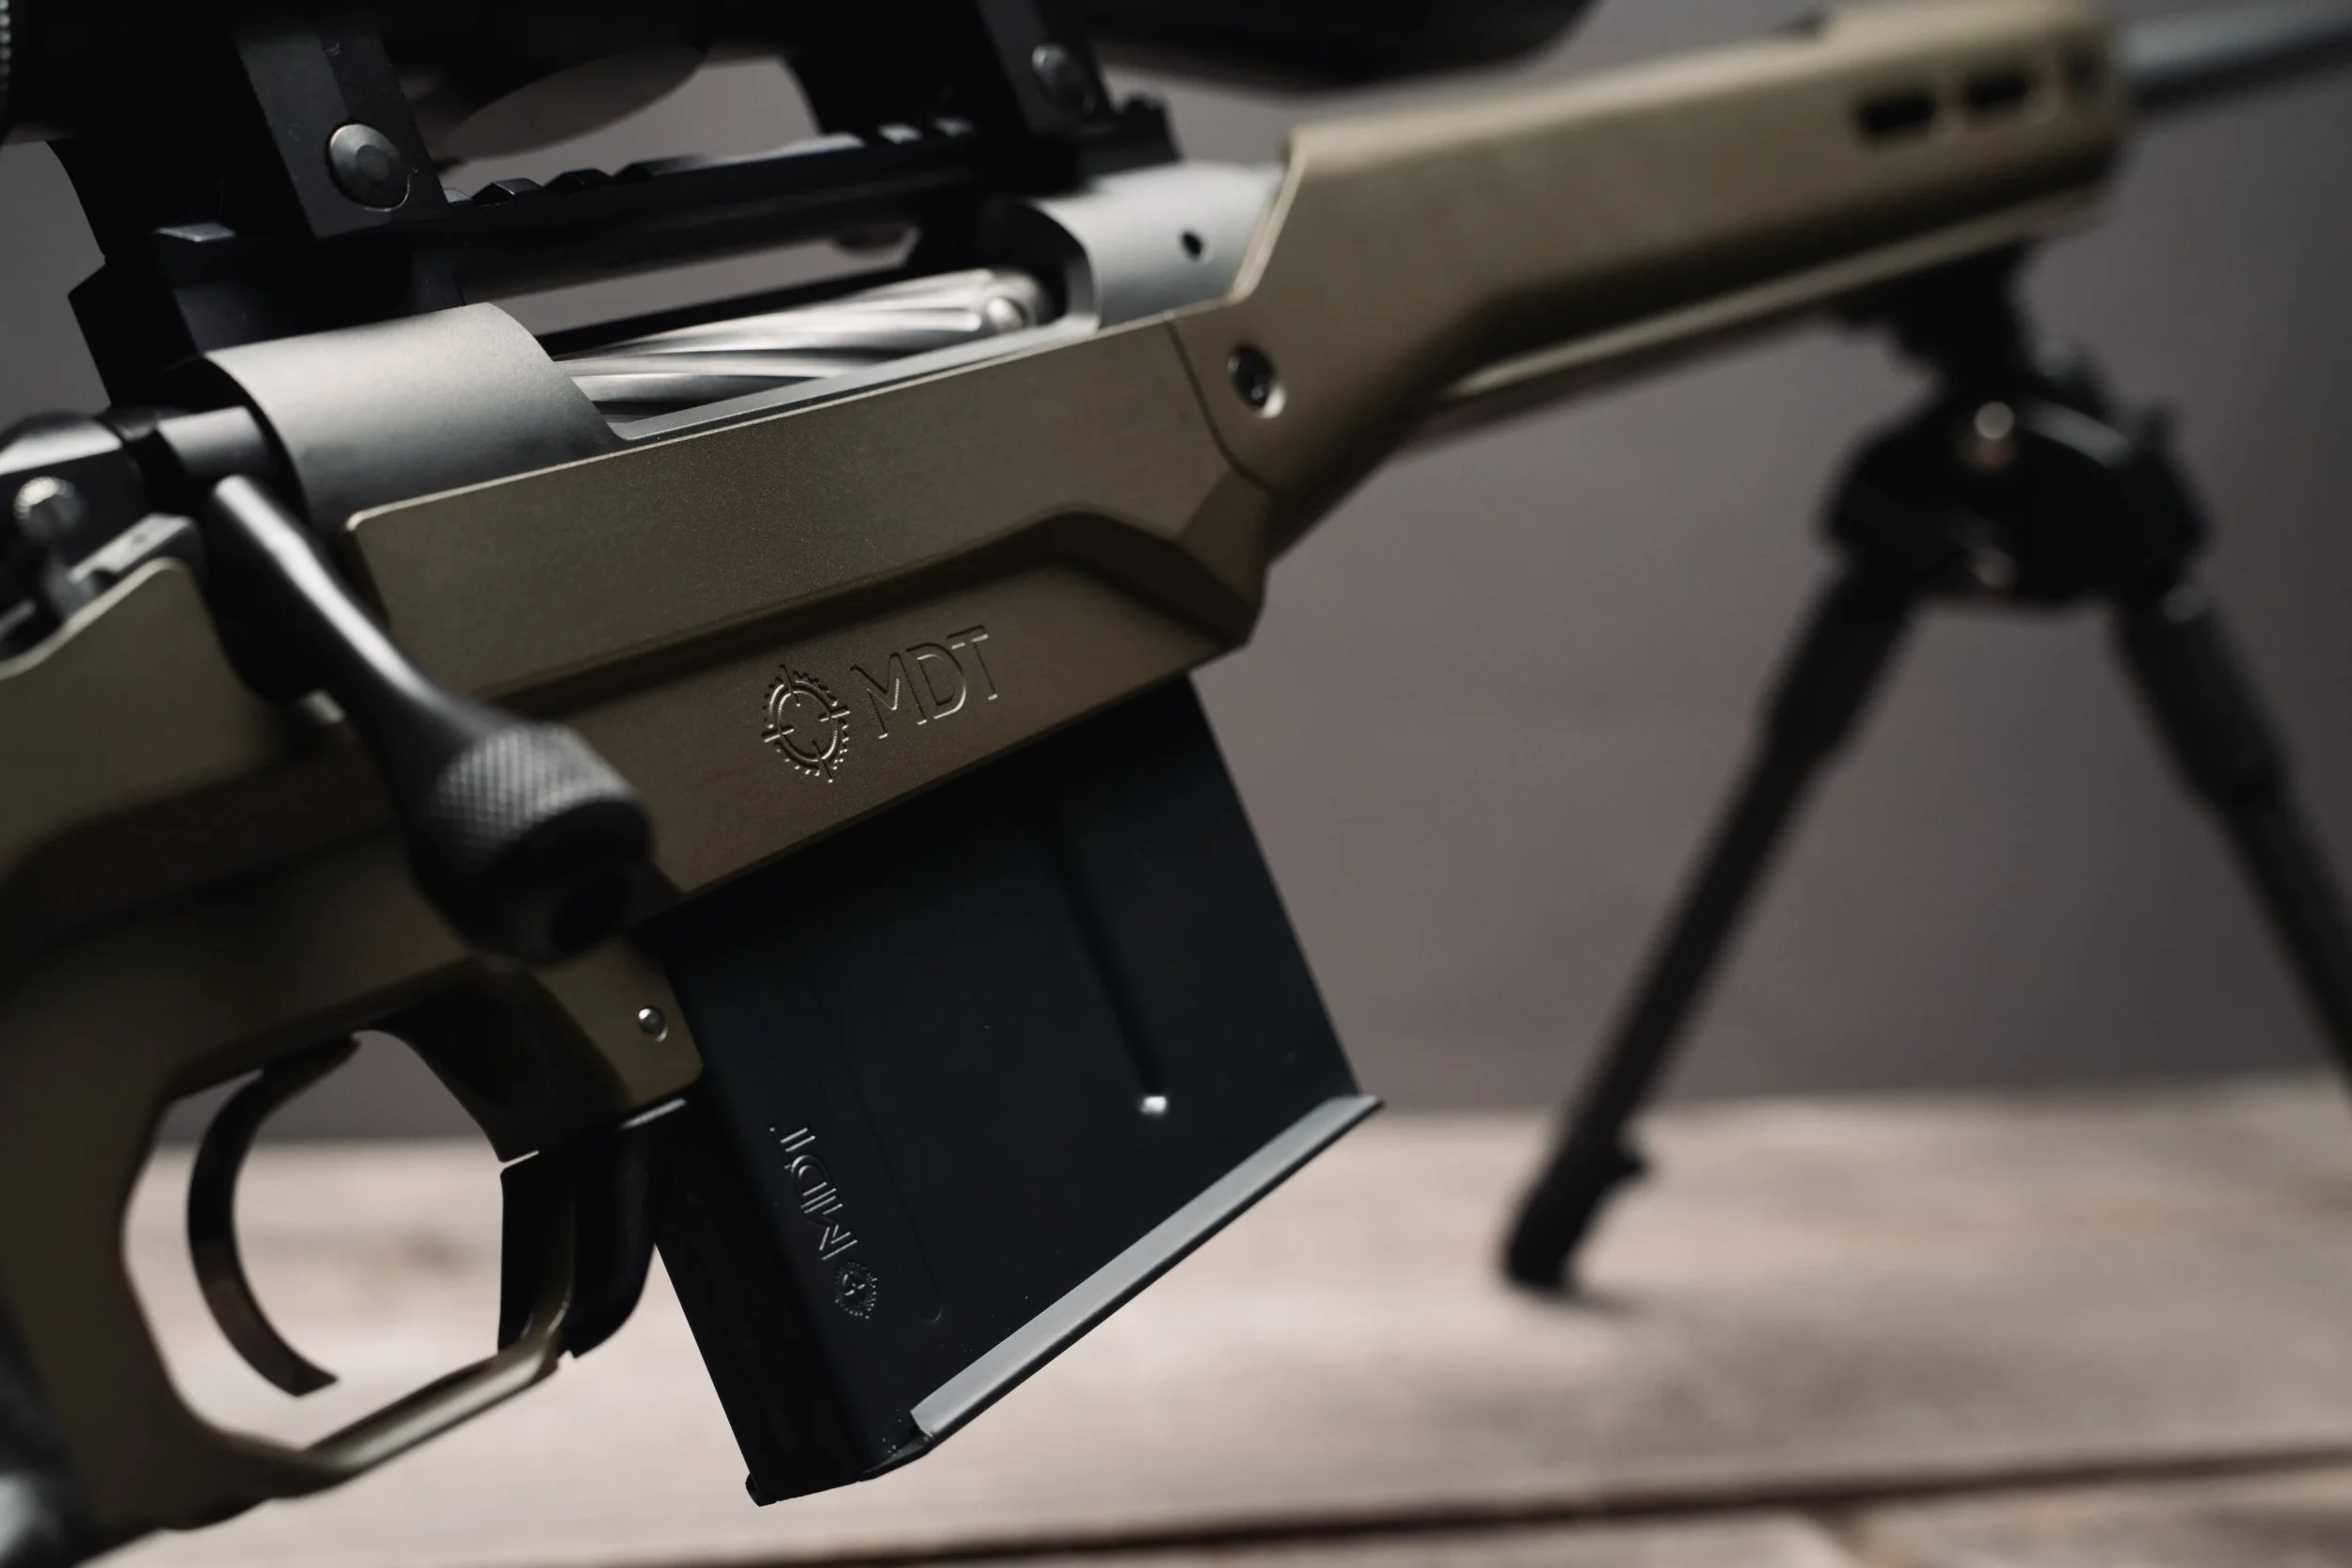
The detachable magazine was exactly what I wanted. It sat flush against the stock, looked great, and made loading and unloading much easier. Easy in, easy out. No big deal.
At this point, I also had the Maven scope mounted on the rifle, along with the new Spartan bipod. The Maven was a little large for the lightweight factory stock, at least visually, but the glass was incredible.
The bipod was another welcome addition.
I could have stopped there and been perfectly happy with the rifle, but I had an MDT HNT26 chassis waiting for me, and I was curious what it could do. So I took a few pictures, made some notes, and moved on to the next phase.
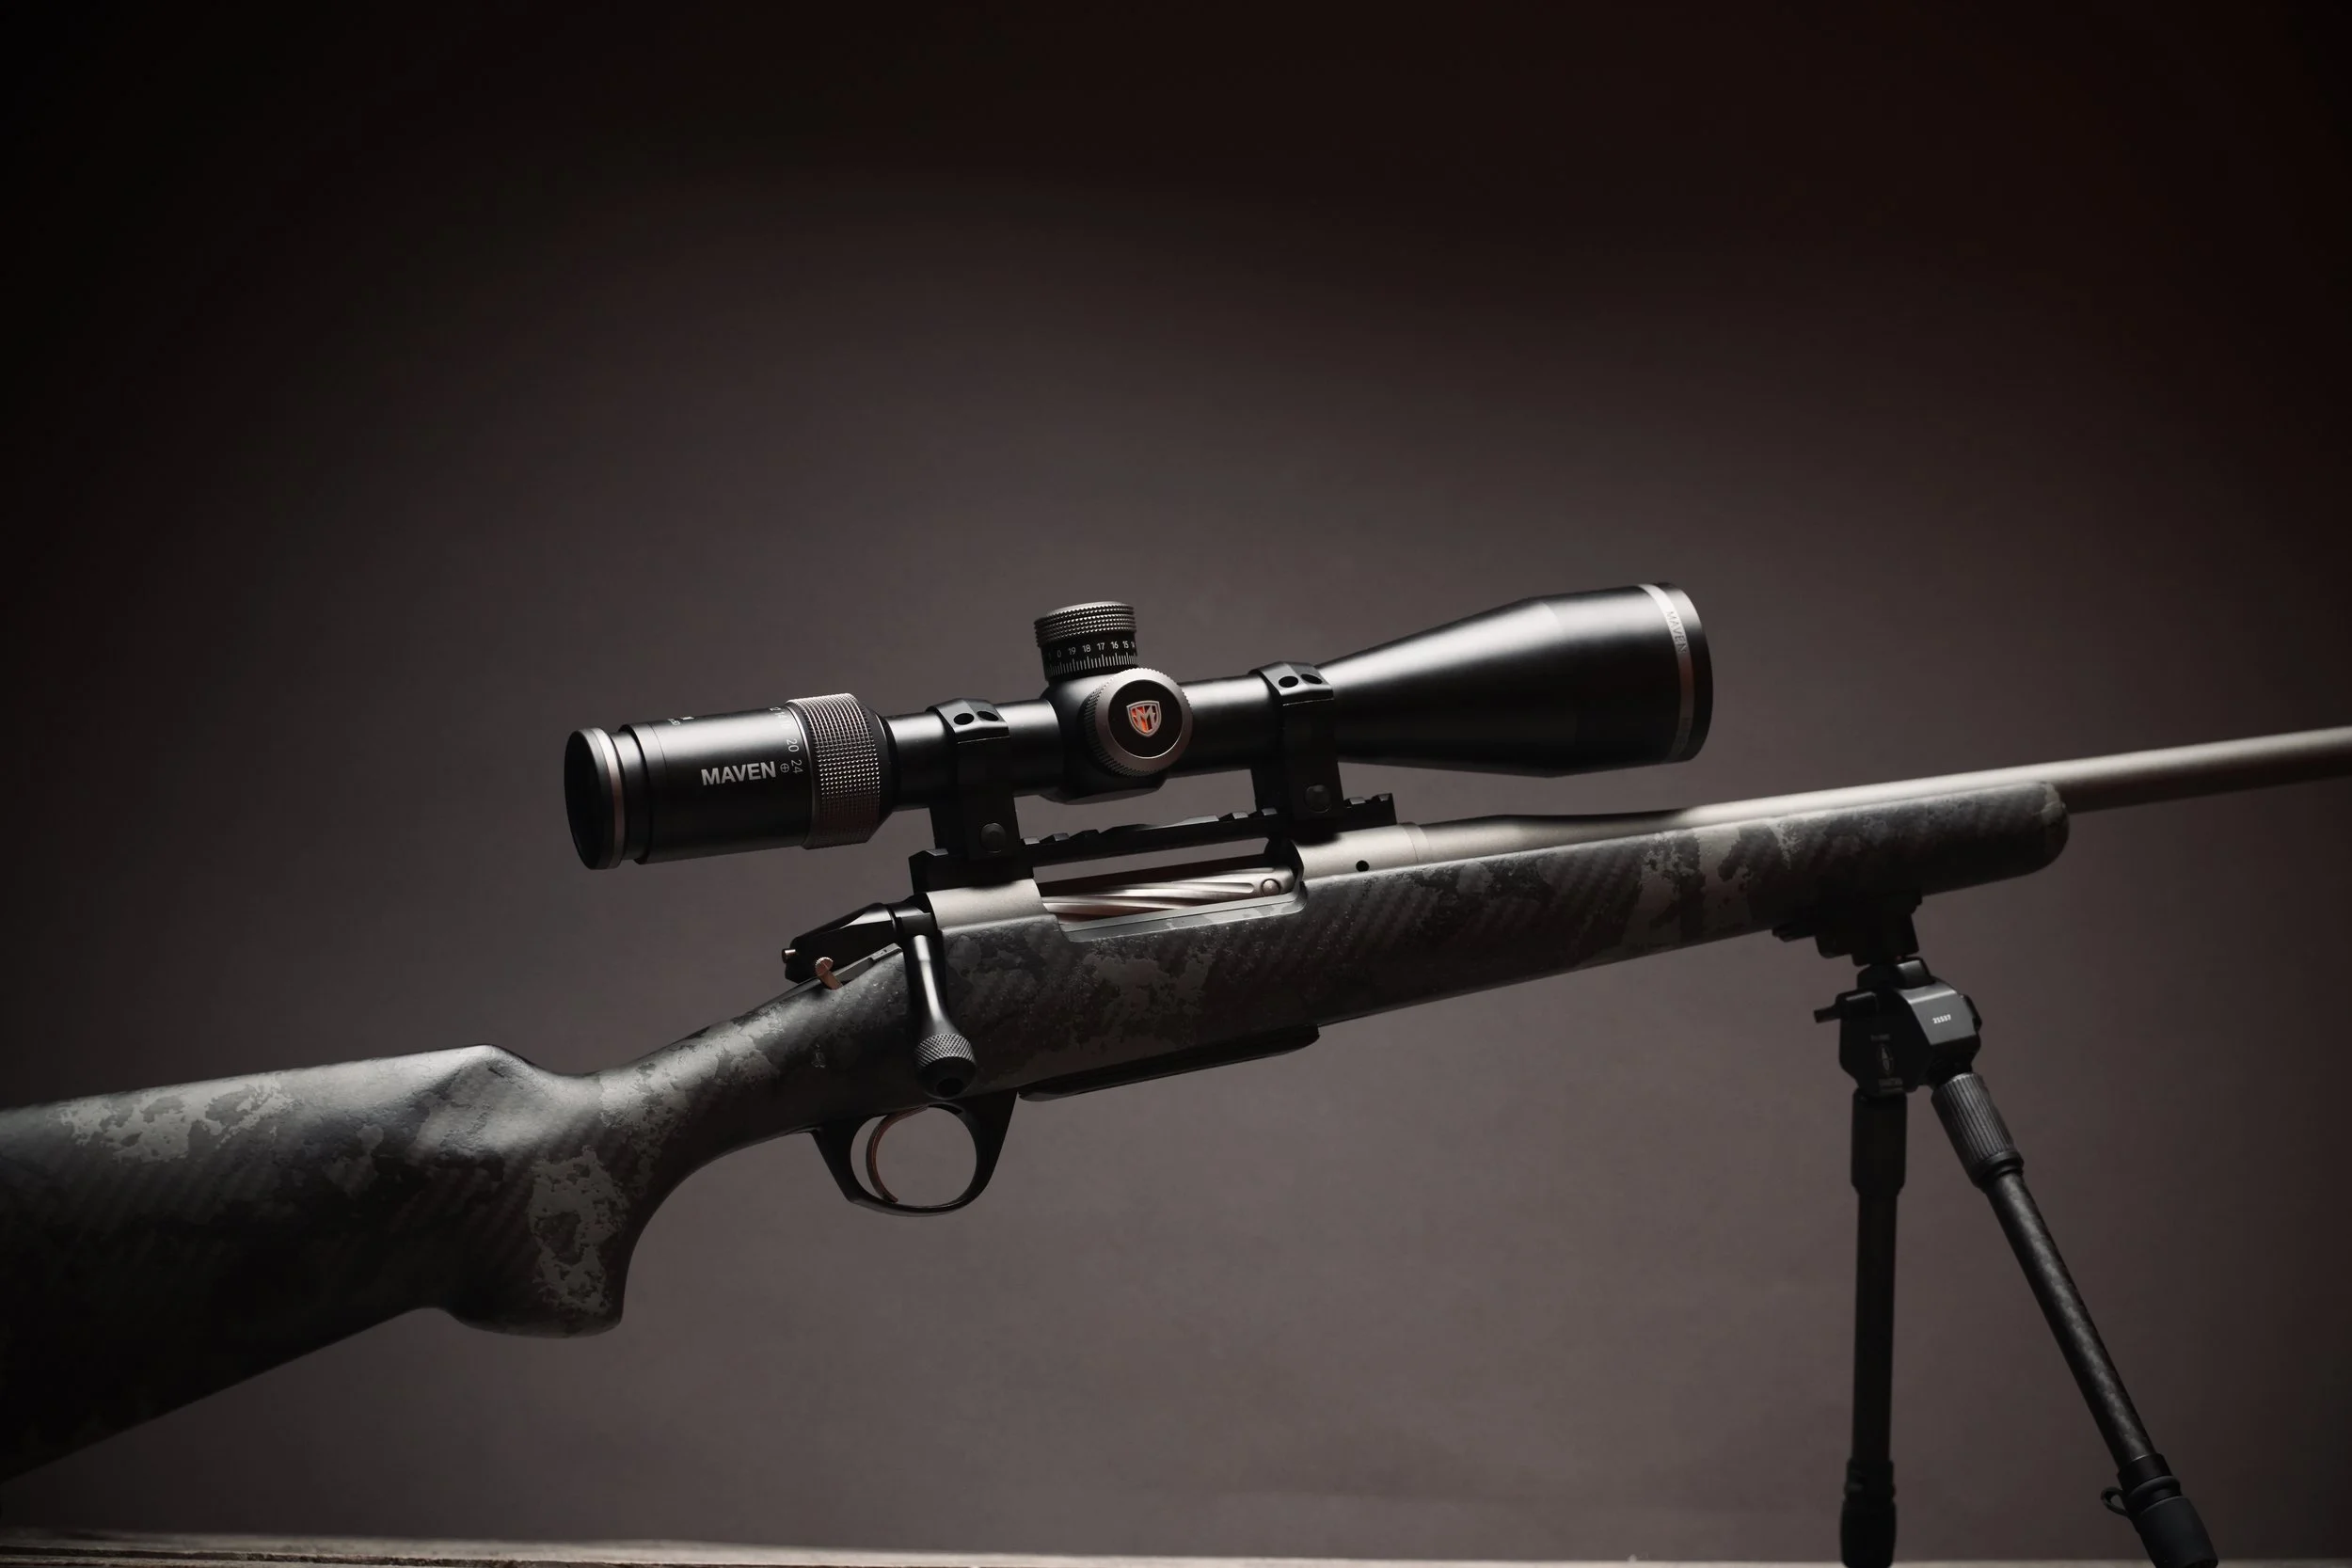
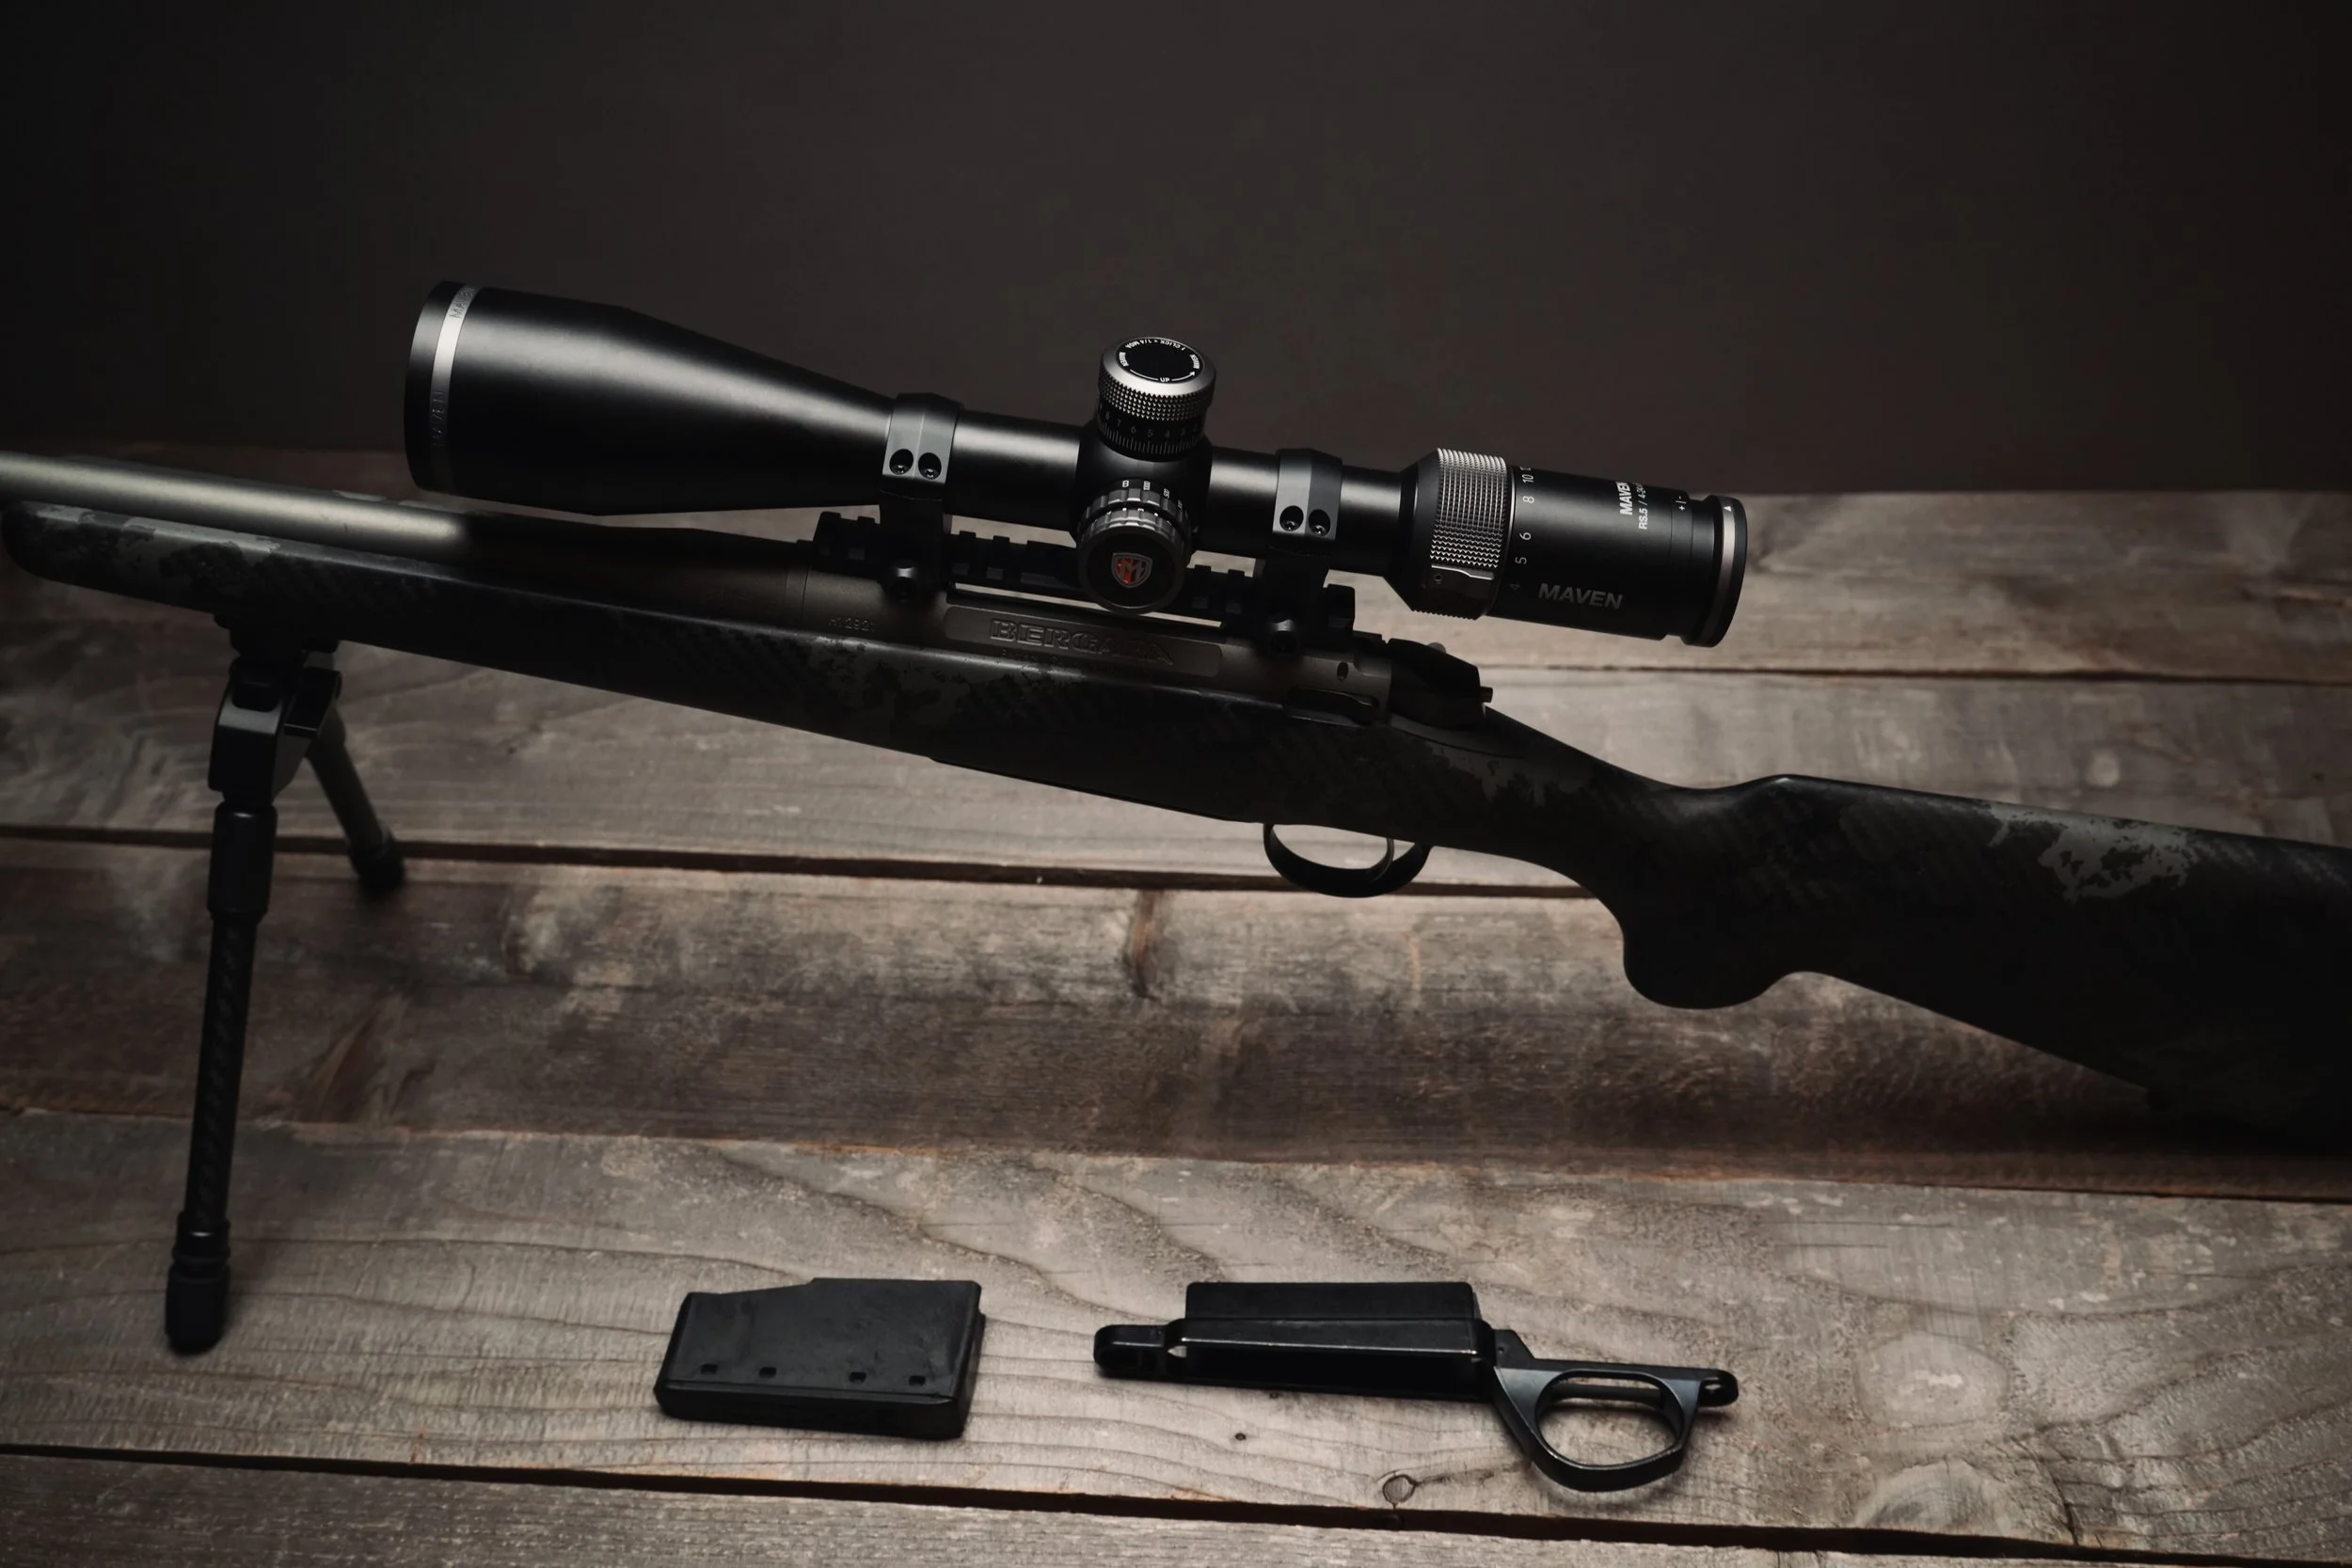
Bergara Mountain Rifle with detachable magazine kit, Maven RS.5 Scope, and Spartan Precision Bipod.
Maven RS.5 Scope Review
I’ve never owned what I would consider a high-end rifle scope.
The other scopes I’ve used over the years have been Leupolds that cost about $350 when I bought them. Not cheap, but certainly not top-shelf glass. To be fair, those scopes did the job. I never really found myself in a situation where I thought I needed something better. A classic case of not knowing what you don’t know.
When I started planning this rifle upgrade, I knew I wanted a better optic, and Maven helped me narrow down the options based on what I was looking for.
One thing I wanted was the ability to adjust for windage and elevation using exposed turrets. I’d never owned a scope with that kind of functionality beyond the standard adjustments hidden under the caps for zeroing. But I had an Idaho hunting trip coming up and thought I might encounter a longer shot than I was used to, so I wanted to make appropriate adjustments rather than rely entirely on Kentucky windage.
That pointed me toward the Maven RS.5 4-24×50.
A Quick Overview of the RS.5
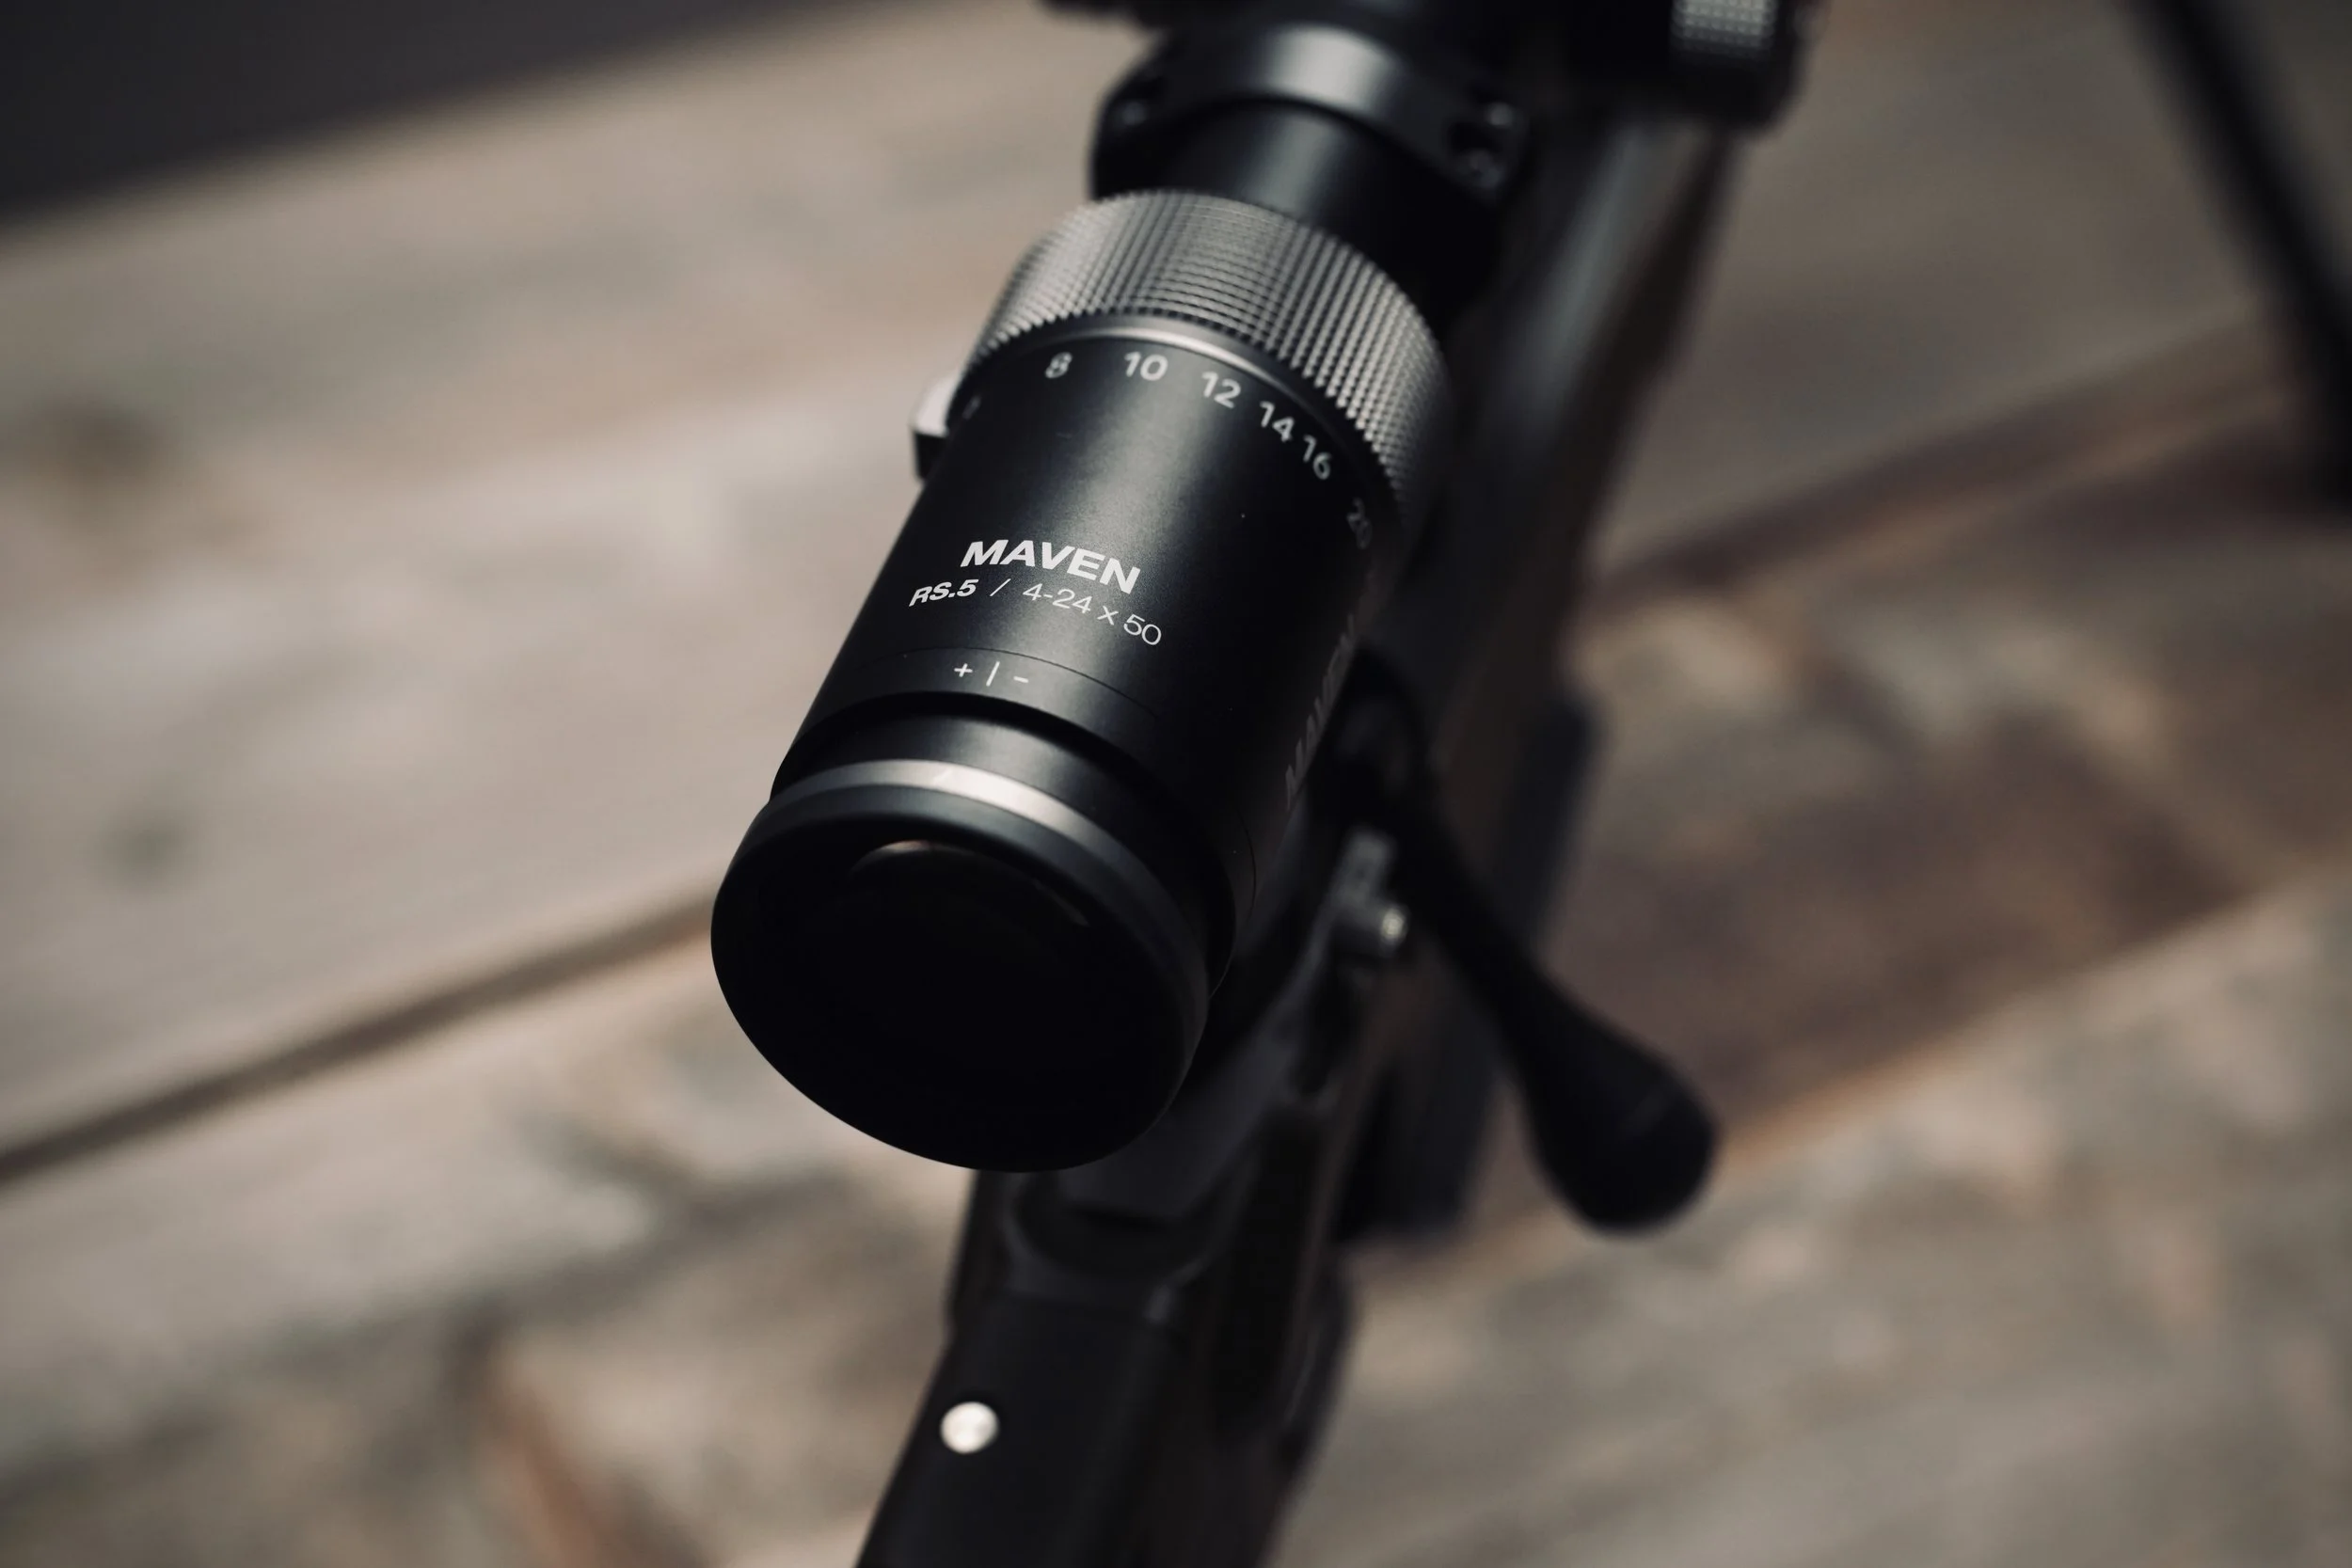
The Maven RS.5 is a 4-24x50 scope with an illuminated reticle, adjustable turrets, and a 50mm objective. That’s a lot of scope. I’m usually a 3-9x or 3-12x kind of guy, so going all the way to 24x was quite a jump.
I knew I probably wouldn’t use that much magnification very often, but I figured it was better to have it and not need it than to need it and not have it. The 4x magnification on the low end is useful for hunting in timber, while the higher magnification offers more flexibility for observing and aiming at targets farther away.
Realistically, I figured I’d spend most of my time somewhere in the middle.
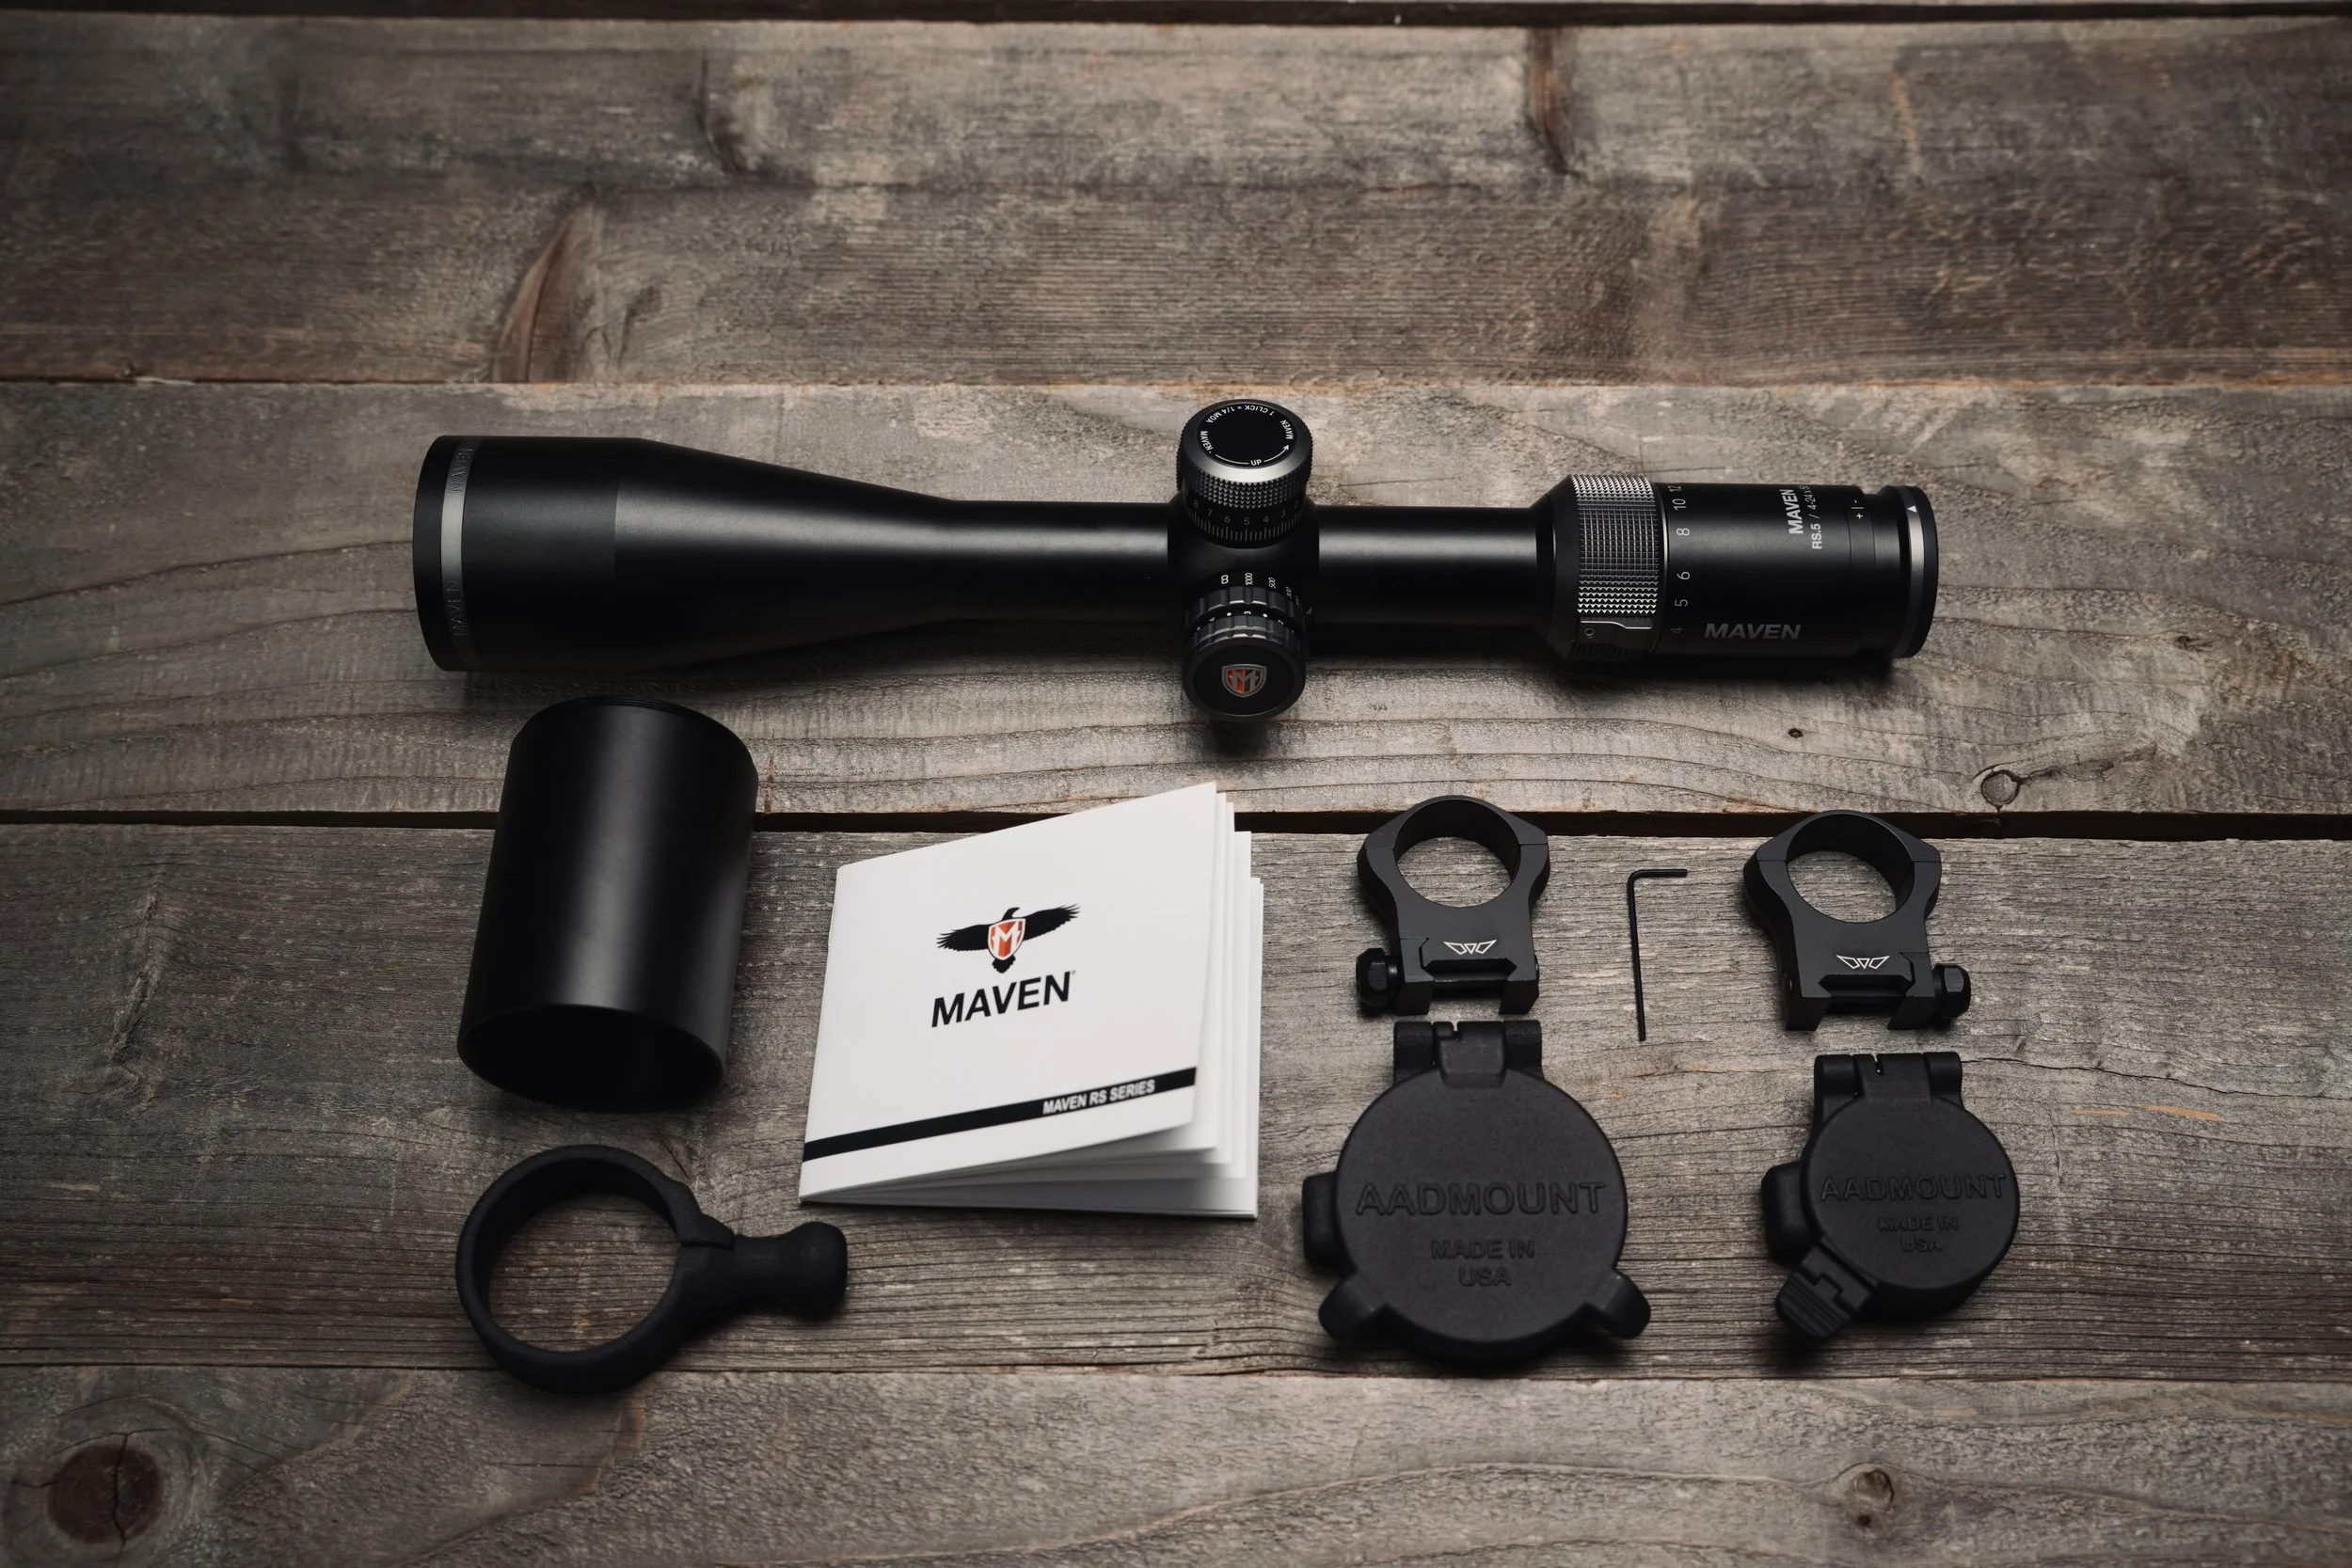
Maven RS.5 4-24×50 Scope with Accessory Kit
First Impressions
I’ve been familiar with Maven optics for years, just not their rifle scopes, so I was curious how the RS.5 would compare. Right out of the box, the quality was obvious.
It does not feel cheap.
The scope has clean lines, tactile controls, and a sturdy build that inspires confidence. The materials feel great, the magnification adjustment is smooth, and the turret clicks are firm and deliberate. Everything about it feels well thought out.
The kit I received included everything needed to mount and operate the scope, including a battery for the illuminated reticle. But the real standout was the glass.
Looking through this thing for the first time was an absolute pleasure. Bright, clean, clear, and easy on the eyes.
I was very impressed.
Mounting and Getting Familiar With the Scope
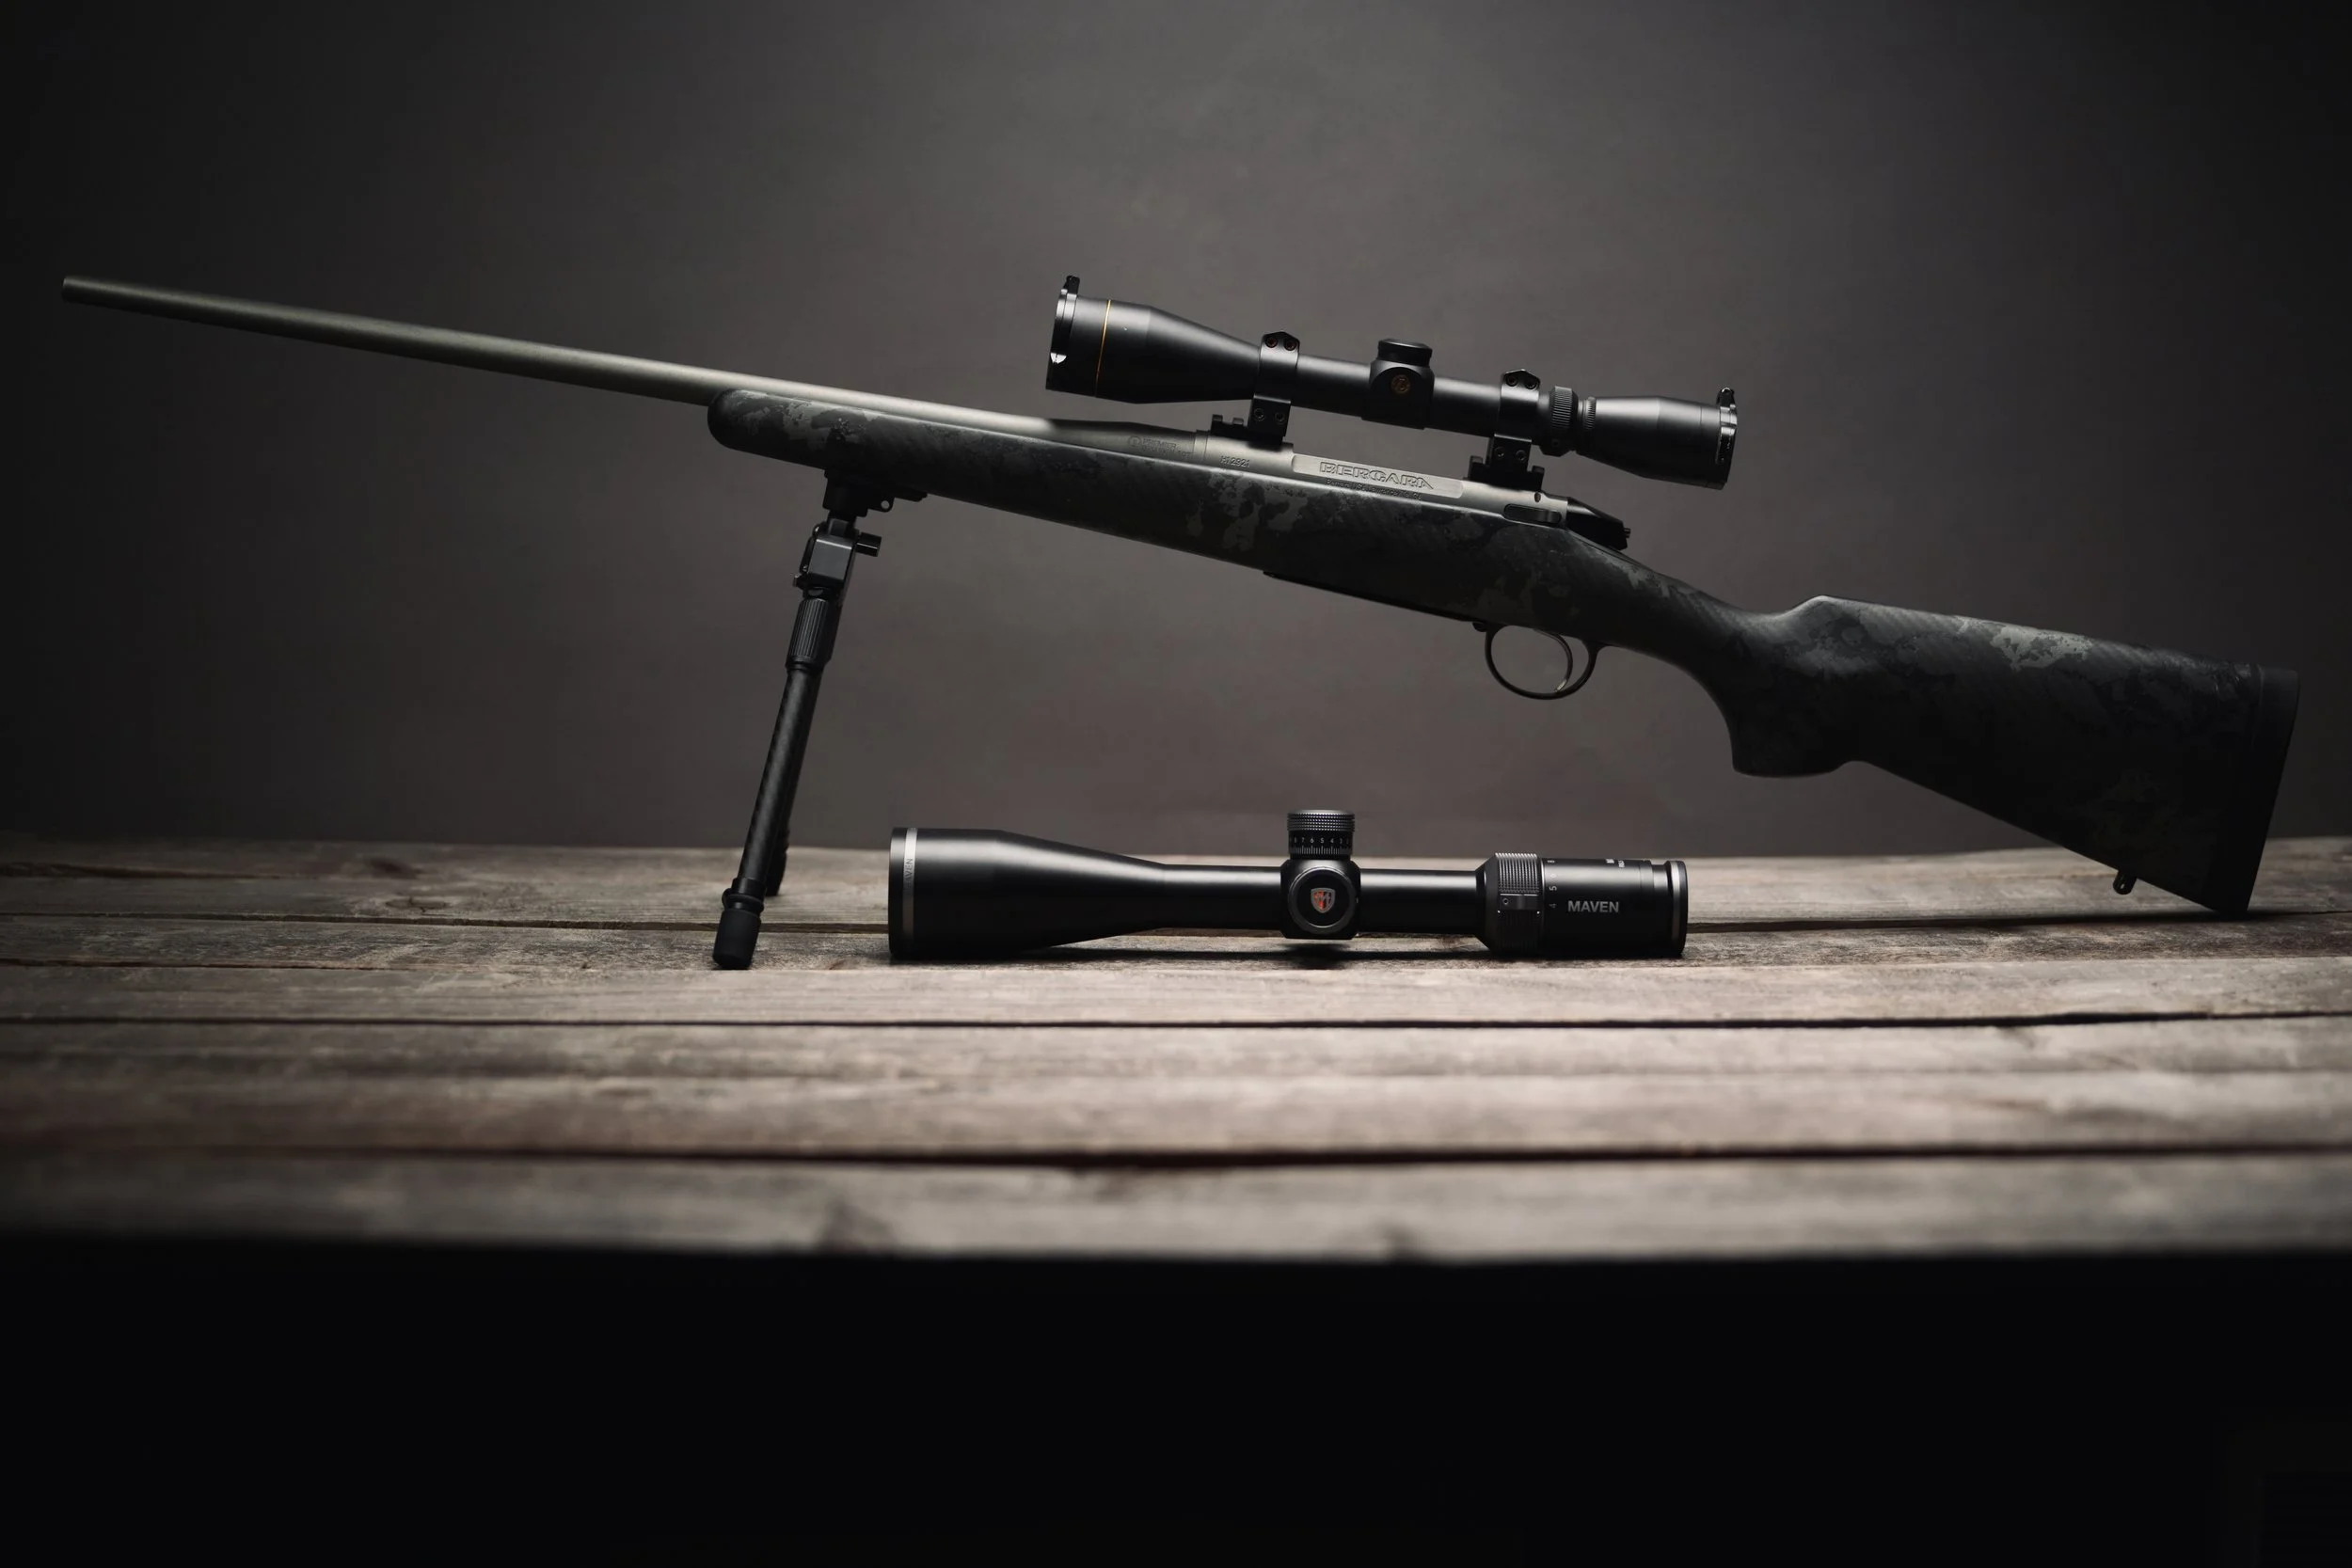
Once I mounted the RS.5 to the rifle, I immediately noticed the difference in size and weight compared to my previous scope.
Not in a bad way. It was just noticeably bulkier. But that’s what happens when you mount a 4-24x scope with a 50mm objective and exposed turrets on a lightweight mountain rifle. It’s not going to be dainty up there.
It looked like a proper long-range scope. The controls were easy to get used to, and once I made sure everything was good to go, I felt comfortable taking it to the range.
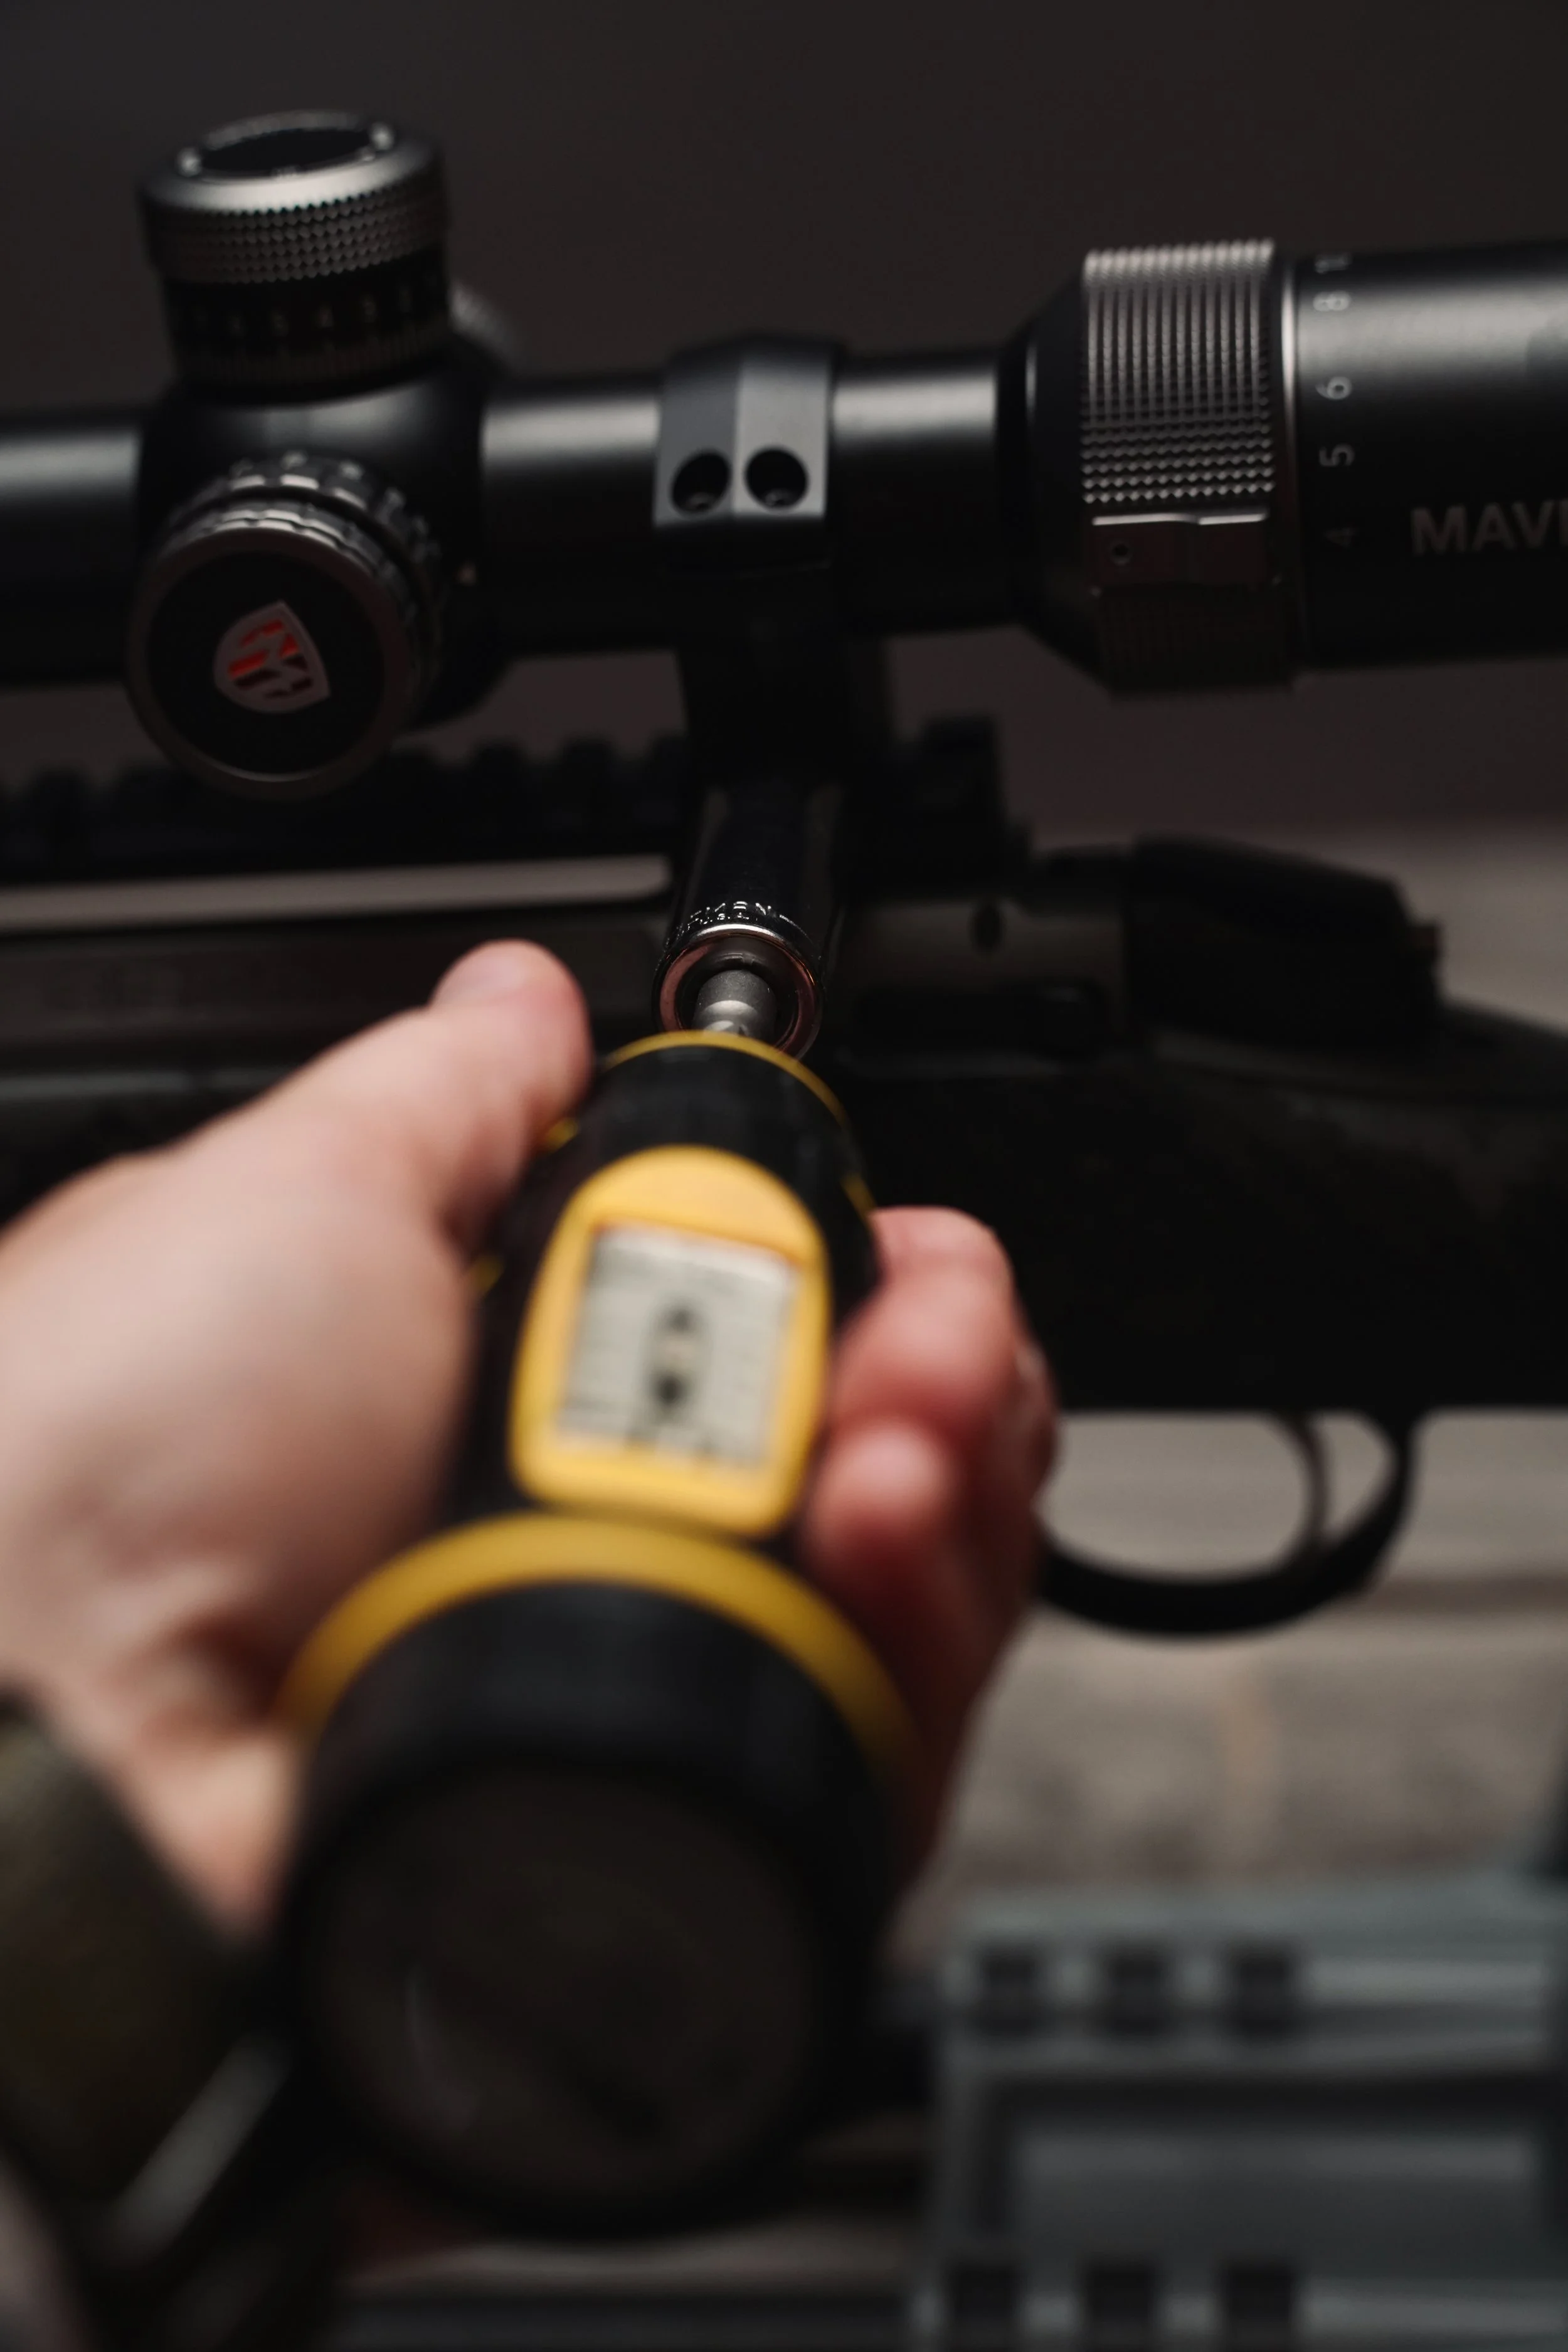
Glass Quality
I keep coming back to the glass because it’s what impressed me most.
Looking through the RS.5 is a completely different experience from what I was used to. The image is bright and clear, and the overall viewing experience is excellent. That was the moment I realized what I’d been missing with my previous scopes.
I had always been happy with what I owned because I hadn’t spent much time looking through anything better. Now I know. After several seasons with this scope, the glass quality remains one of the biggest reasons I’m hesitant to replace it with something smaller.
Illuminated Reticle
This was also my first experience with an illuminated reticle, and I really like it.
Illuminating the center of the reticle makes it easier to pick up your aiming point, especially in low light when the crosshairs can be hard to see against a dark background. The RS.5 has a handful of brightness settings, but I generally keep mine on the lowest setting.
When I turned it up in low light, I noticed the illumination became a little overpowering and seemed to spill into the surrounding sight picture. I think the brighter settings could help in very bright midday conditions, but I haven’t encountered that. For my purposes, the lowest setting works great.
The operation is simple, too. Turn it on. Turn it off. That’s it.
Parallax Adjustment
The RS.5 also has a parallax adjustment knob, which was another new feature for me.
The basic idea is that you can adjust the scope for different target distances to minimize parallax error and help achieve a clearer sight picture. It’s a nice feature, especially when shooting at longer distances or higher magnification.
I’ve found it useful, even though most of my hunting happens at relatively modest distances. For me, it’s probably not a must-have.
Zeroing the Rifle
I had no major issues zeroing the scope.
I took my time with the installation, used a boresight laser to get things close, then headed to the range to finish. A few rounds later, I had the rifle where I wanted it.
One thing I noticed was that the sight picture got a little blurry at maximum magnification, but I never fully determined whether that was an issue with my scope, an adjustment I hadn’t quite sorted out, or just something I noticed at 24x. Since I rarely use that much magnification, it hasn’t been an issue for me, but it’s worth mentioning in case you happen to live at 24x.
Once I zeroed the rifle, I reset the turret indicators so I could return to my original zero after making adjustments. That process was a little stressful the first time around, mostly because I wasn’t familiar with it and the adjustment clicks were sensitive when the caps were off. But I got it done.
Here’s an interesting note: after several years of owning this scope, I haven’t once needed to make a windage or elevation adjustment in the field. Not once. I’m simply not a long-range hunter, and I don’t really plan to become one. For me, the adjustable turrets are probably overkill.
But I’ve really come to appreciate the illuminated reticle and excellent glass, so giving those up would be difficult.
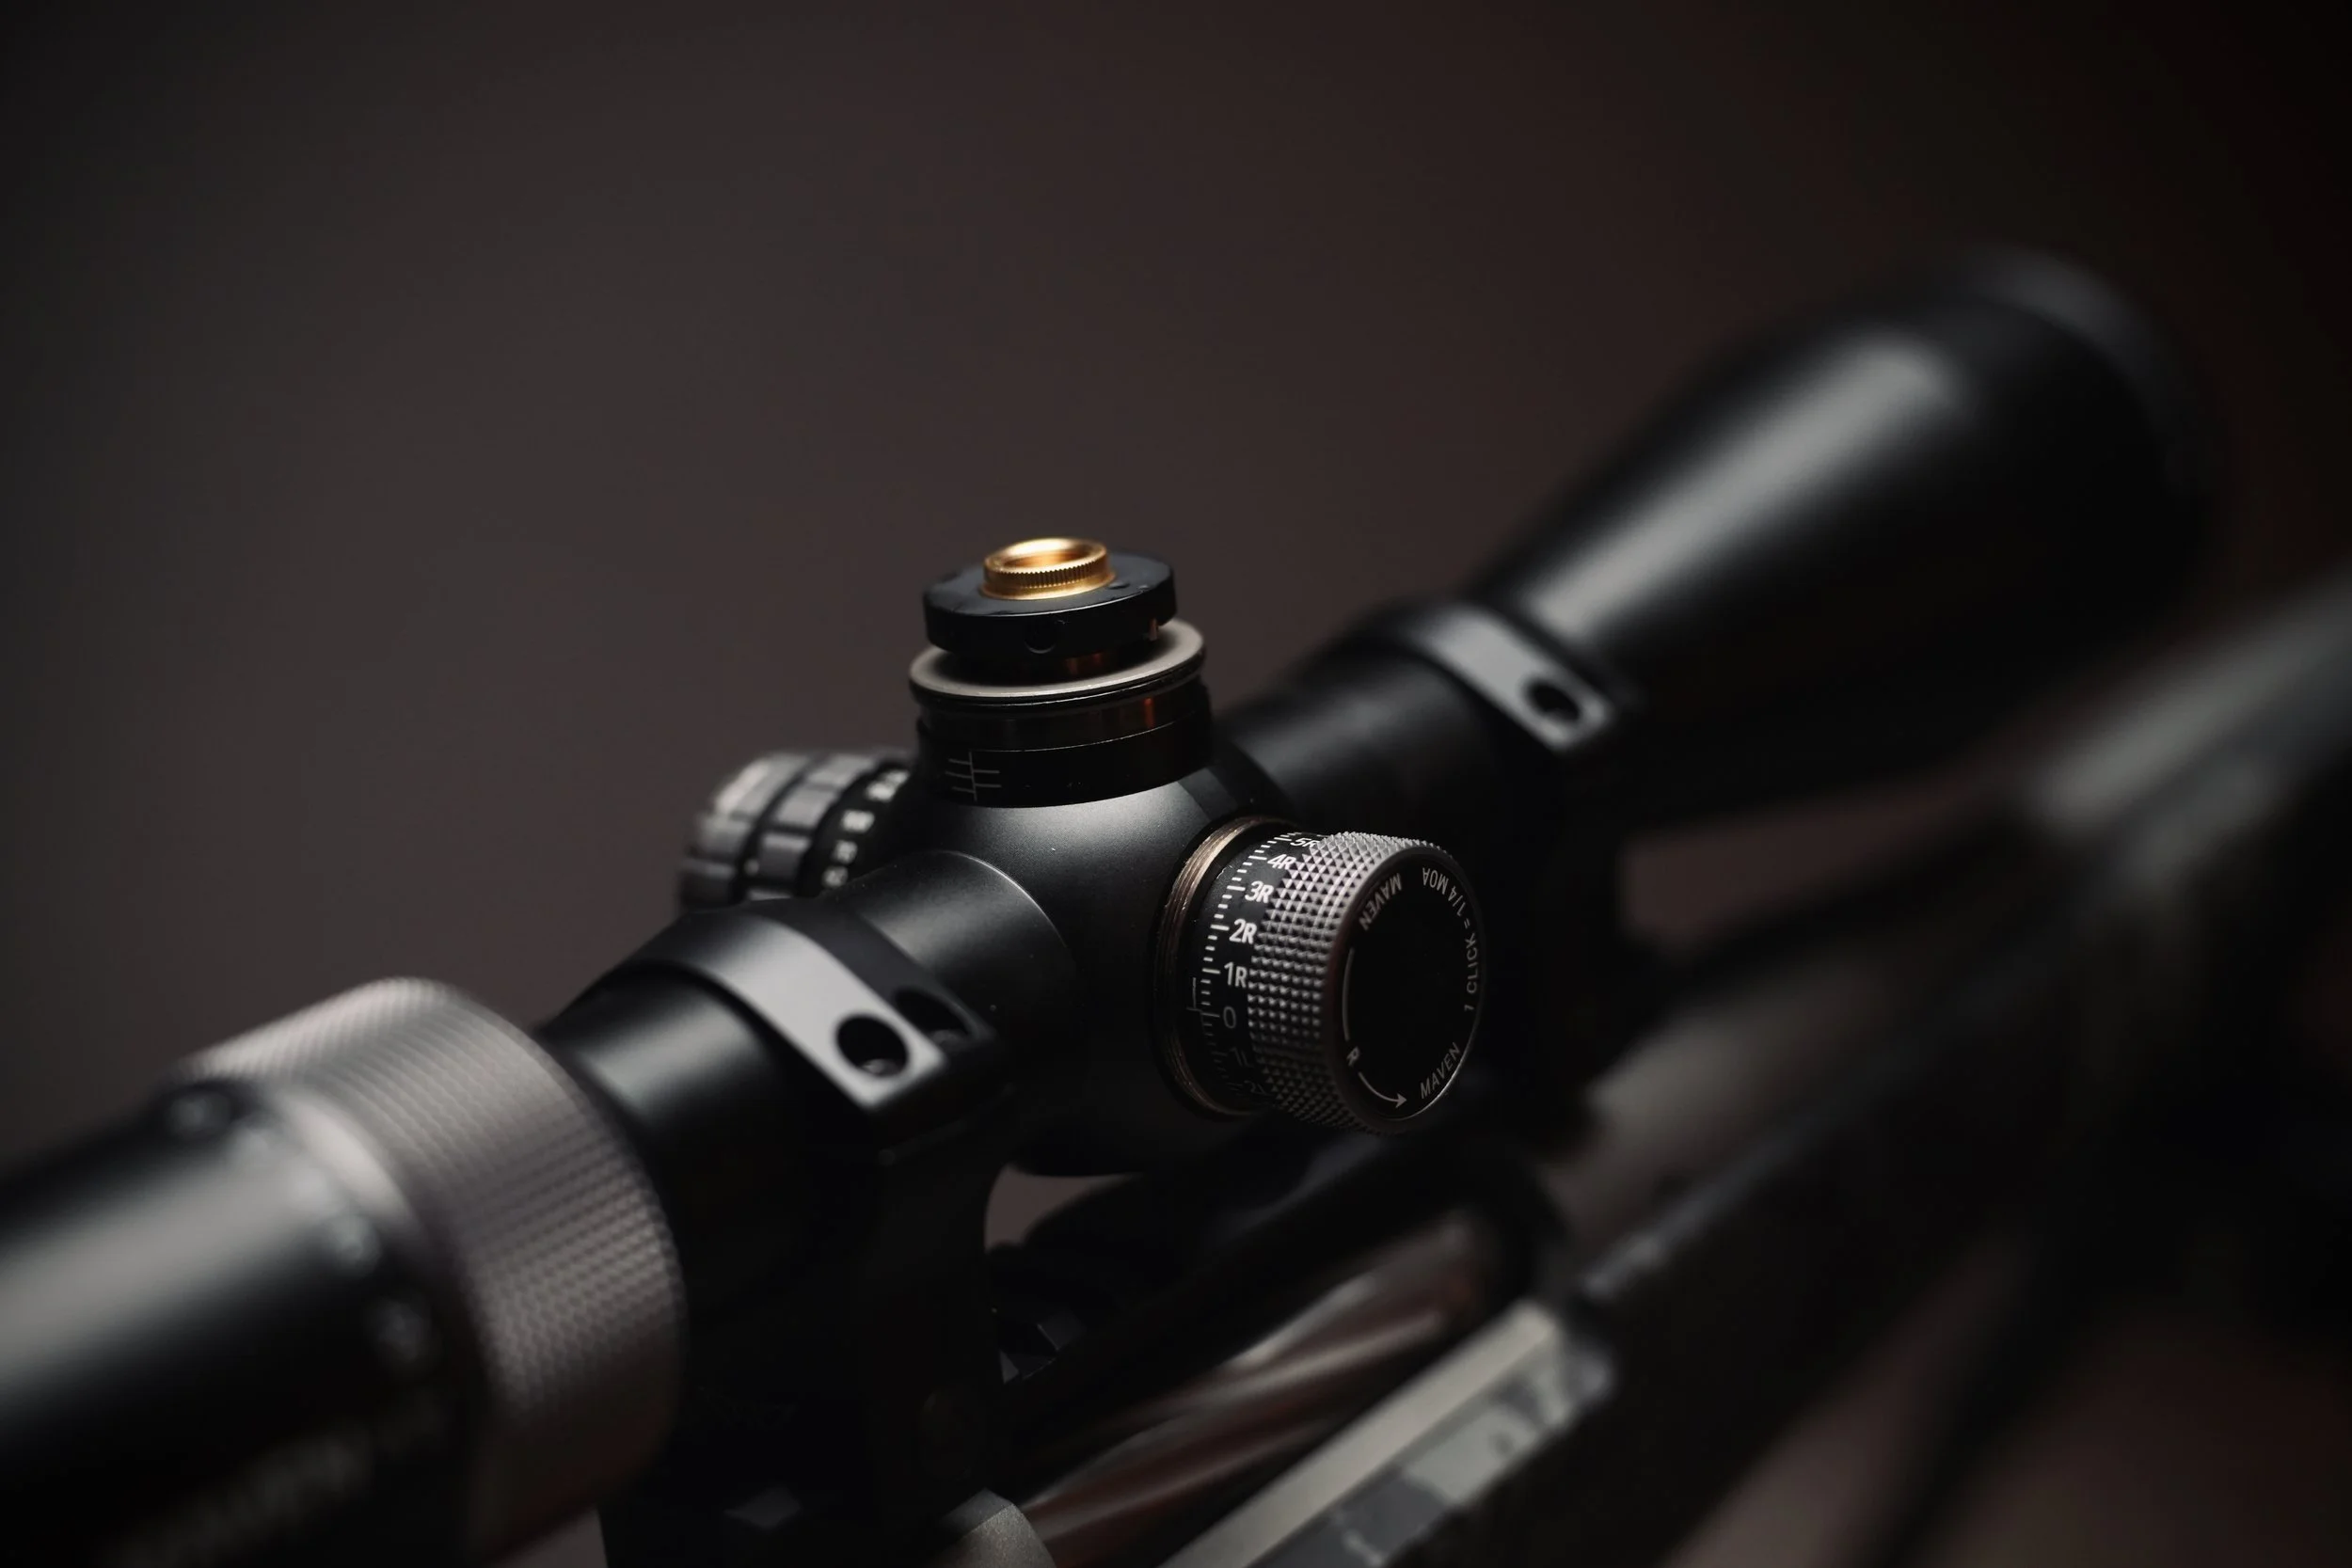
Turret adjustment on the Maven RS.5. Dial it in at the range, then set it to zero so you can adjust in the field and get back to zero again.
Performance in the Field
Absolutely zero complaints. This scope is a tank.
I hunt a lot of brush here in the Pacific Northwest, and this thing has been dragged through rain, snow, thick underbrush, and a few less-than-graceful moments in the mountains. I even took a few falls off a dirt bike with the rifle strapped to my pack, and the scope came through it all without any apparent issues.
Acquiring targets is easy as long as I remember not to start with too much magnification. I prefer to begin with a wider field of view and zoom in as needed. I’d much rather see the animal in the context of its surroundings than have it completely fill the scope.
The controls work well, the glass is clear, and the scope has handled everything I’ve thrown at it. Most importantly, it’s equipment I don’t think about very often.
I just use it. And that’s a sign of good gear.
Would I Buy the Maven RS.5?
If I were the type of hunter who regularly expected longer shots and needed to make elevation adjustments, I wouldn’t hesitate to consider the RS.5.
It’s an excellent scope, but for me it’s probably more than I need. I’m very much a 300-yard-max kind of hunter, and most of my opportunities are well inside that distance. A simpler scope would probably handle nearly everything I ask of it.
I also don’t enjoy carrying unnecessary weight, and dropping a rung or two in the lineup would let me get a lighter scope. But the RS.5 has been so good that I haven’t been able to convince myself to replace it. The glass is excellent, the illuminated reticle is useful, and the scope has proven itself worthy of joining me in the mountains.
Would something smaller and lighter make more sense on paper?
Probably.
But I’m not hunting on paper. And for now, the RS.5 is staying right where it is.
MDT HNT26 Chassis Review
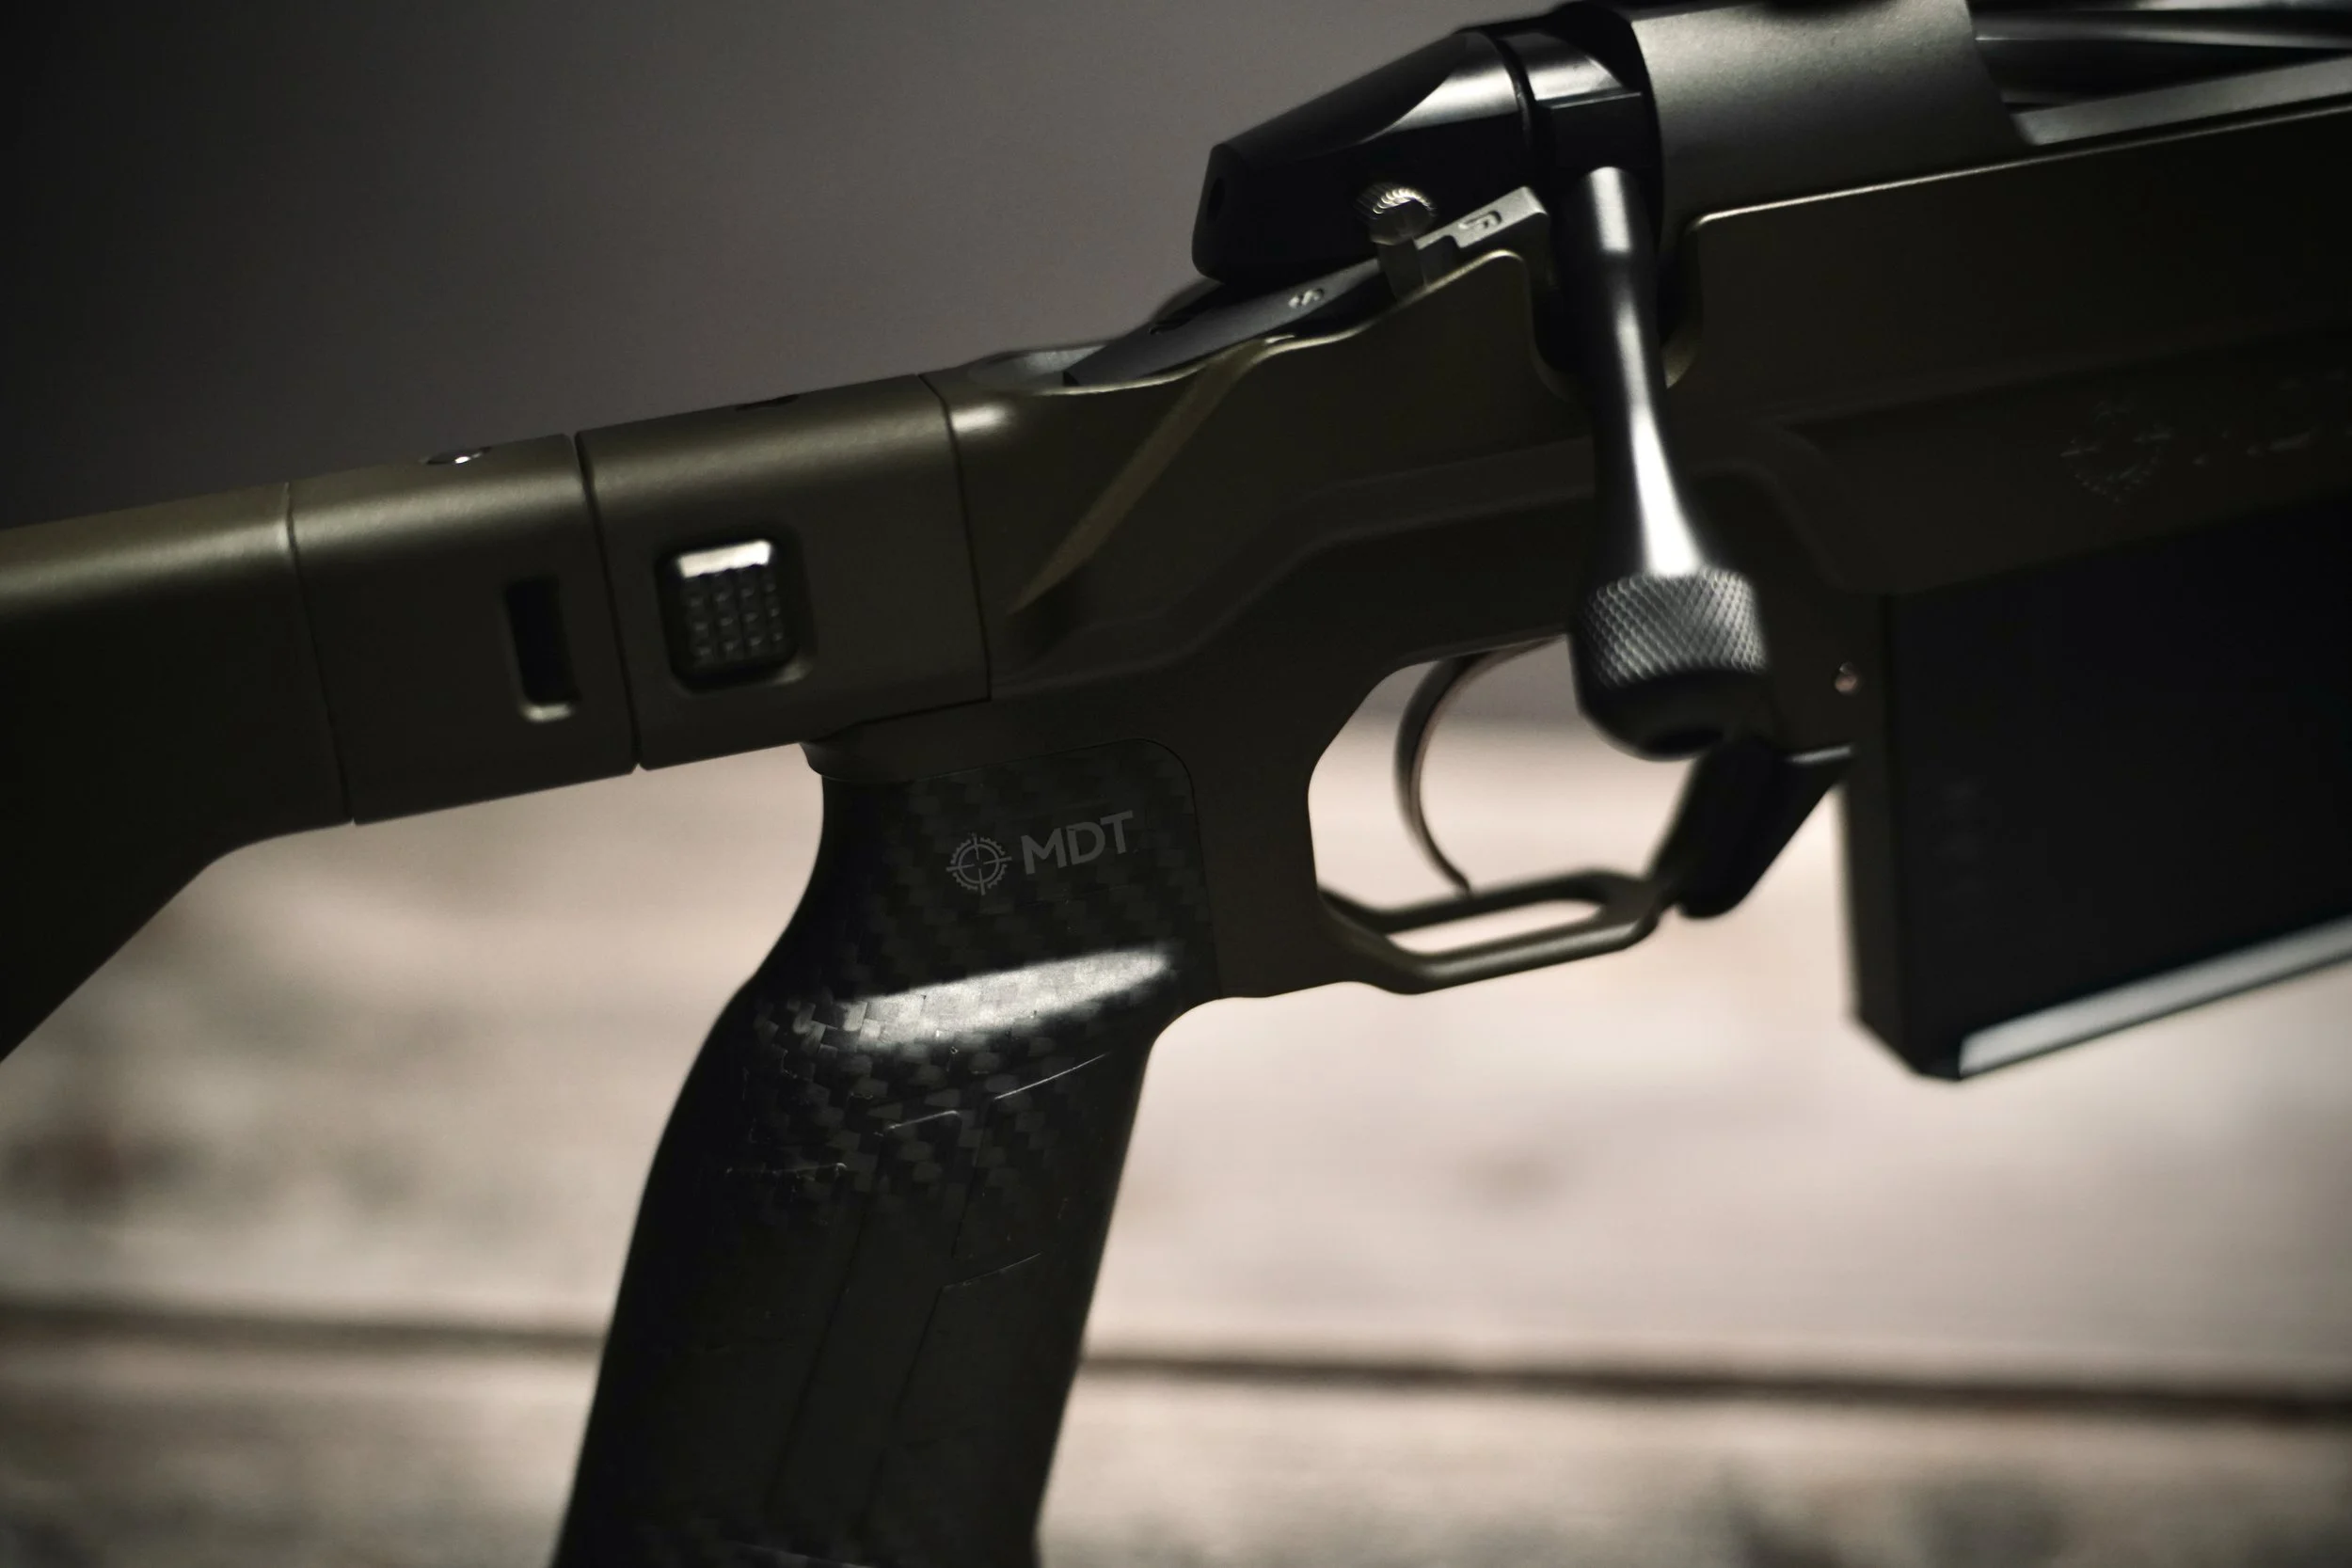
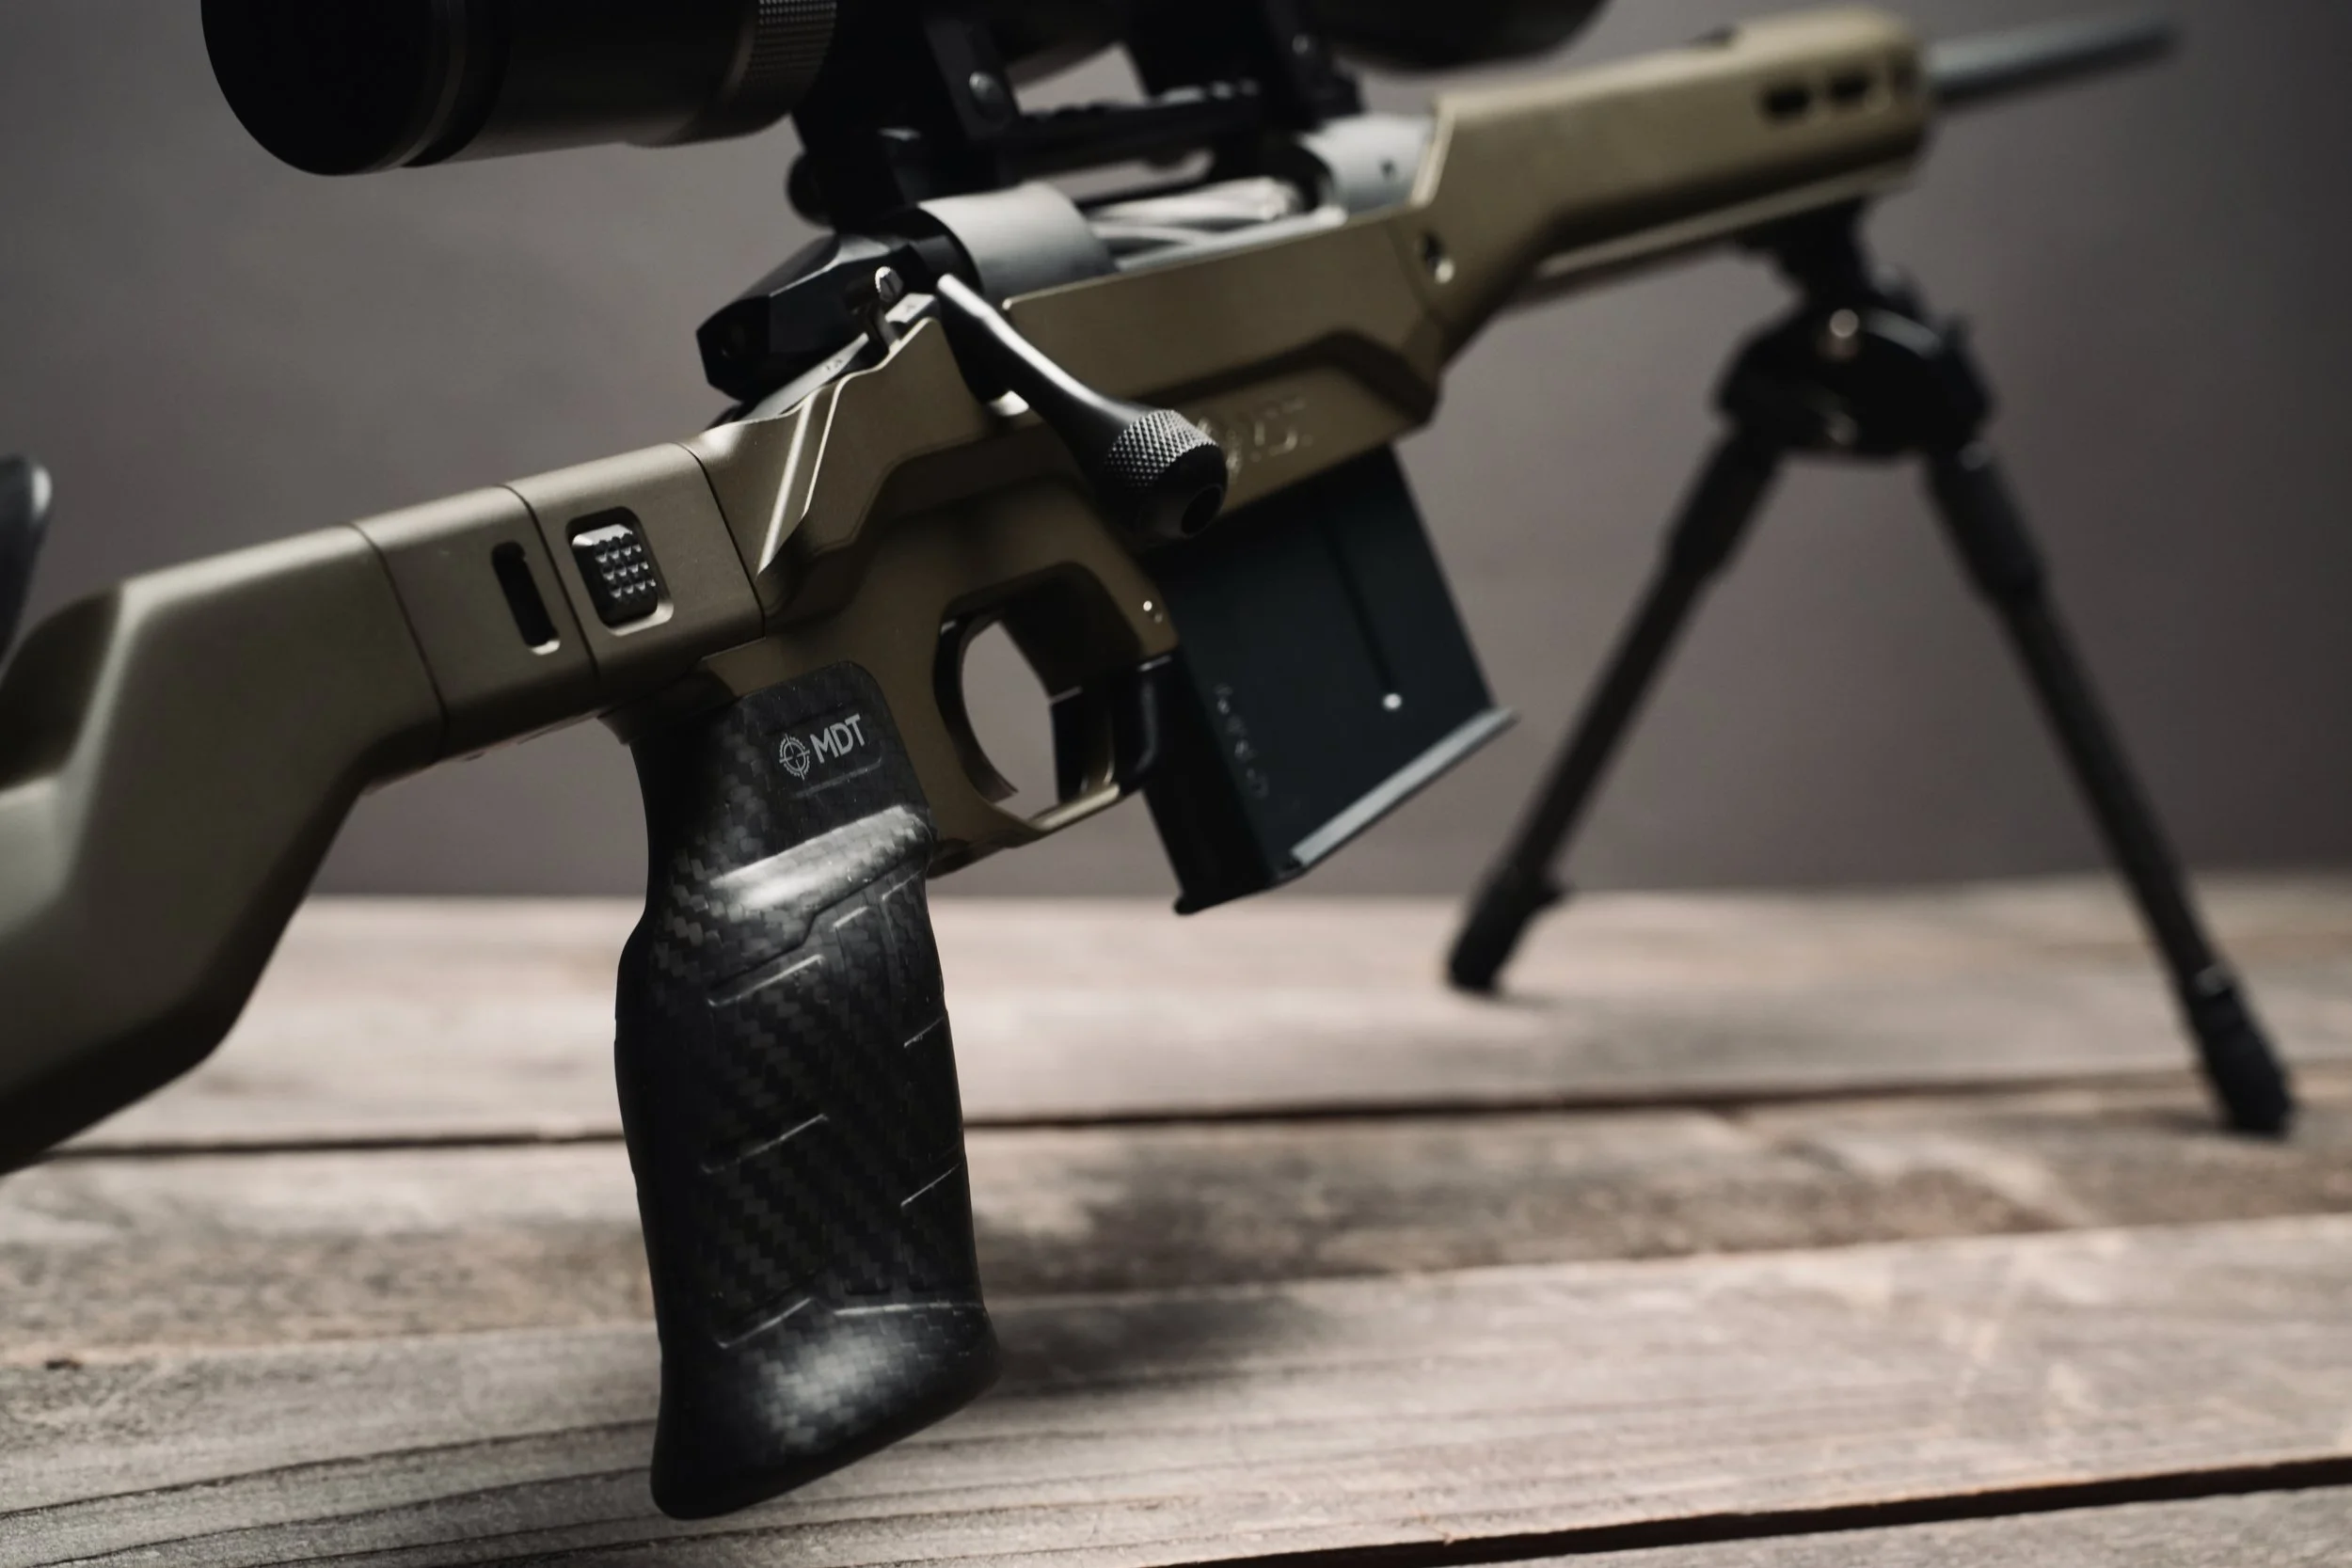
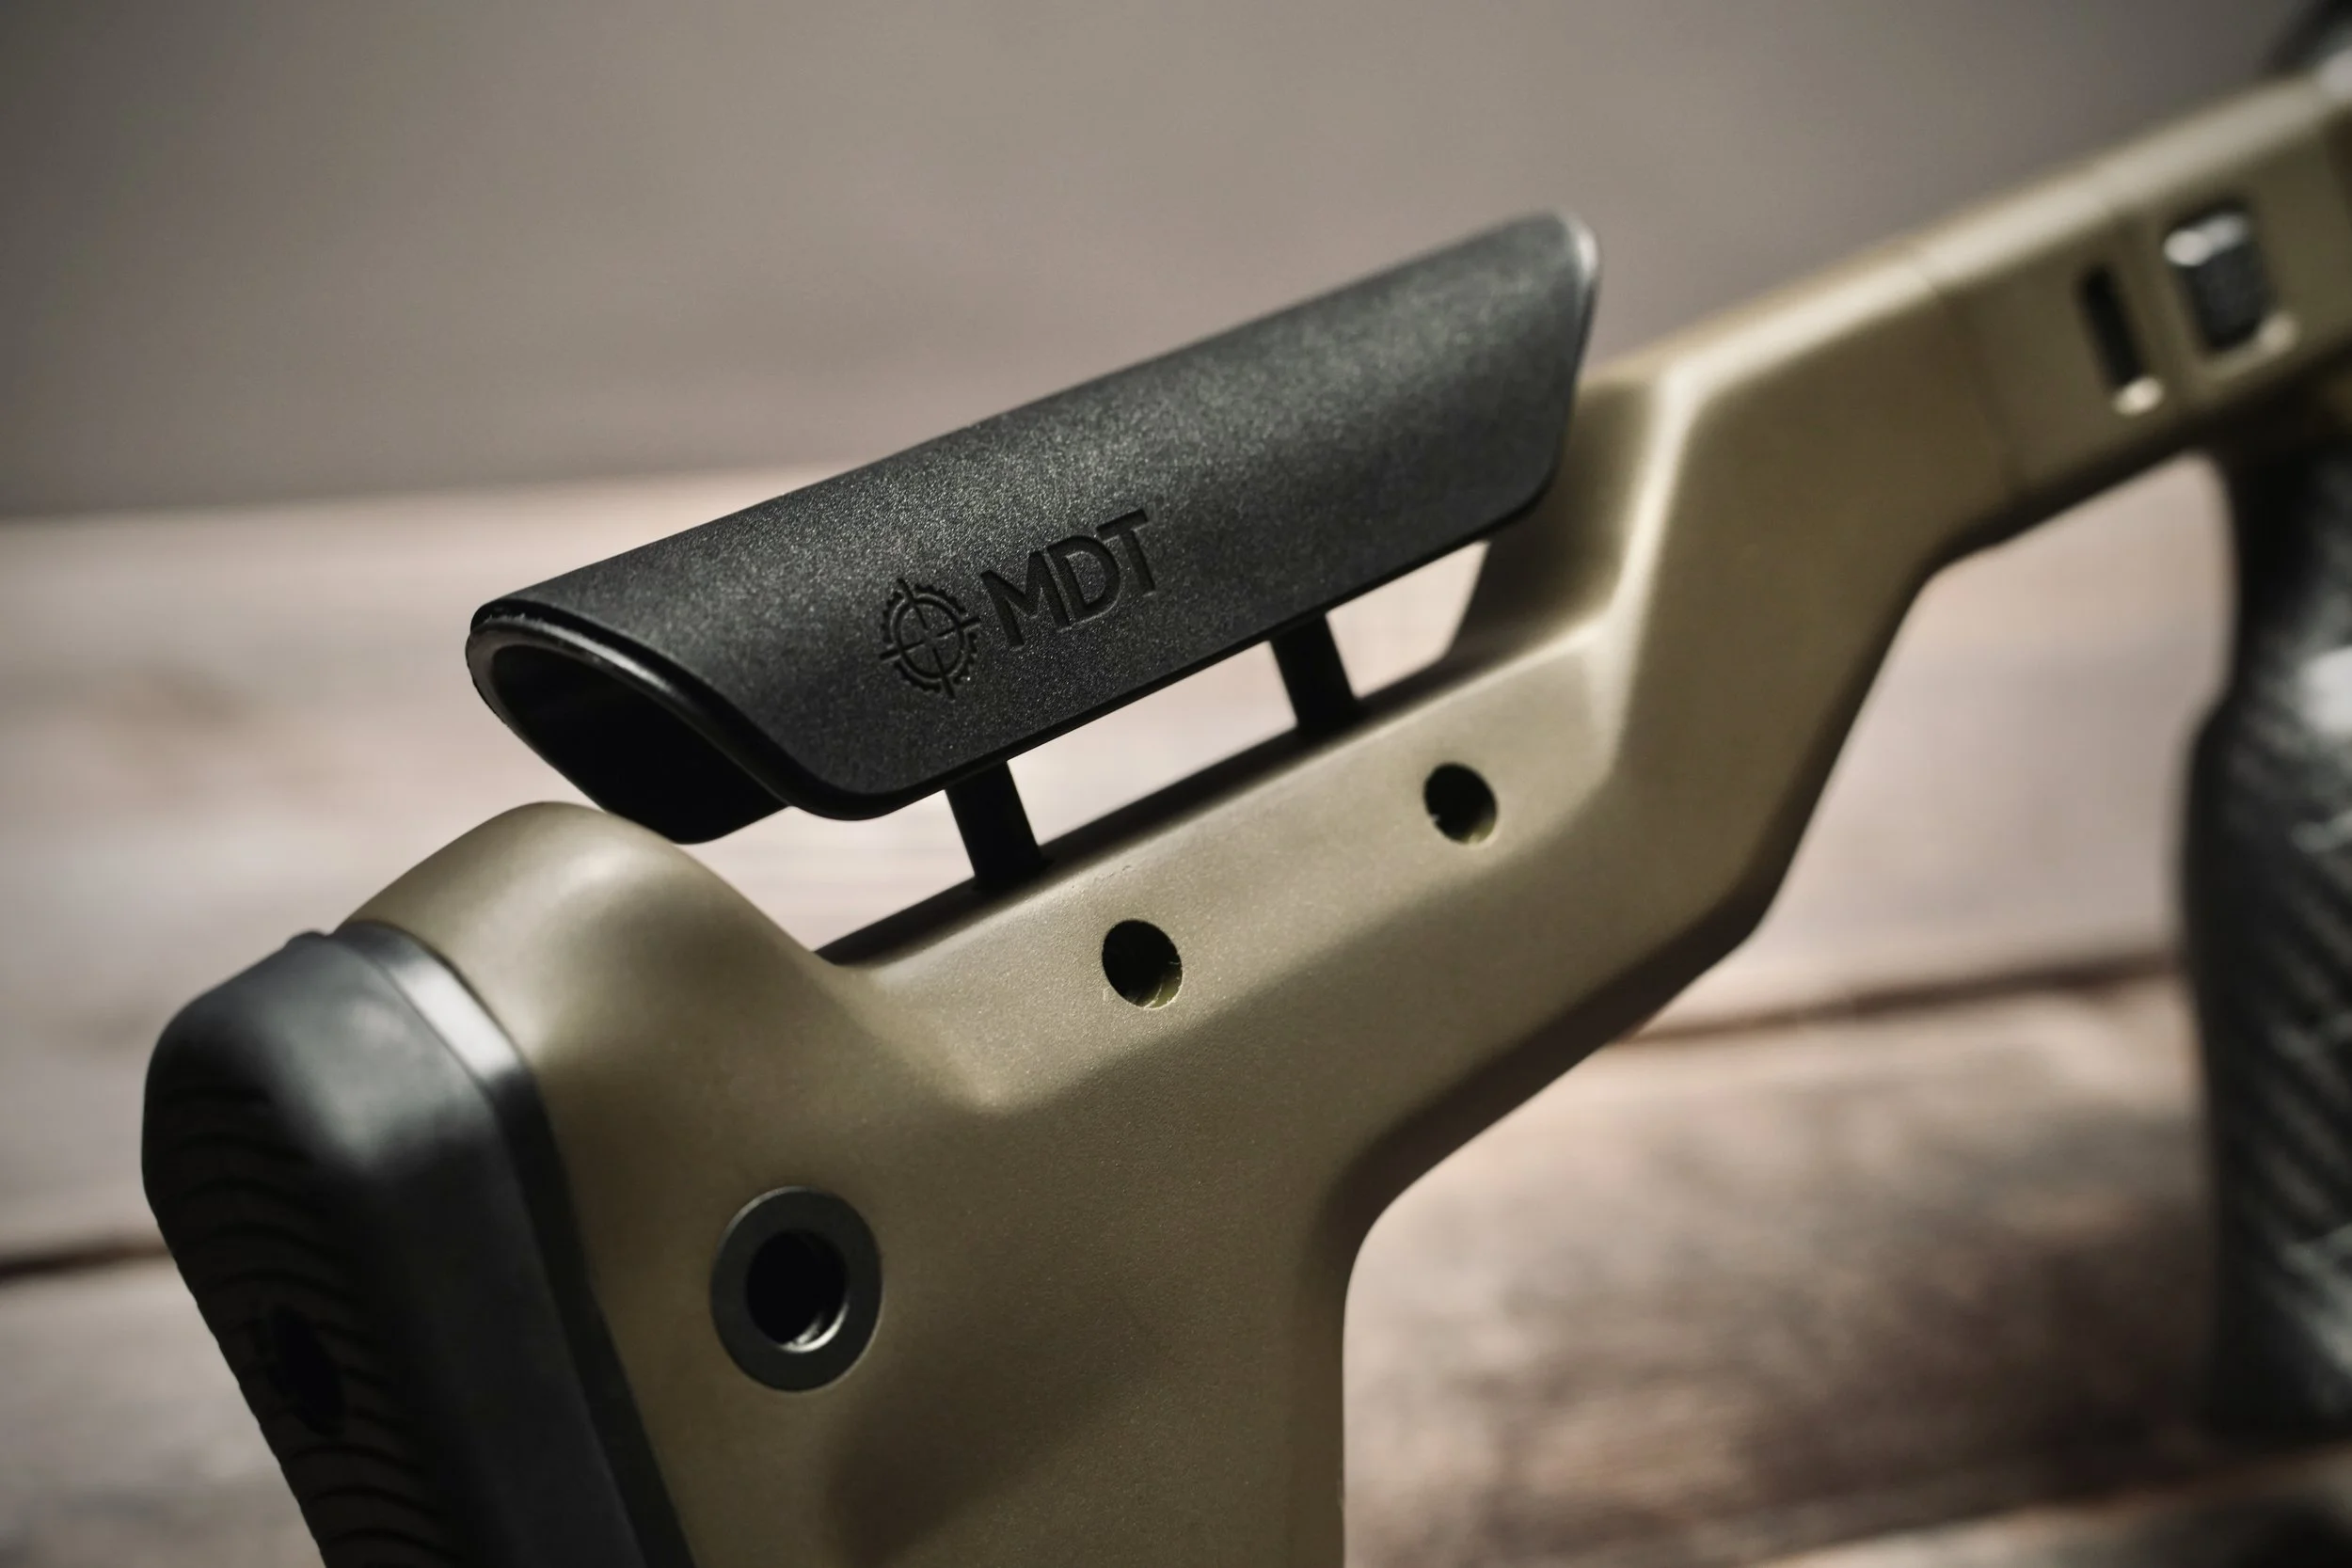
The MDT HNT26 is a lightweight hunting rifle chassis that gives you many of the functional advantages of a modern rifle stock without adding unnecessary weight. It’s built from magnesium and carbon fiber to keep overall weight down while providing a rigid platform for the rifle.
Depending on the configuration, the HNT26 offers a folding stock, adjustable cheek rest, adjustable length of pull, pistol grip, and compatibility with detachable AICS-pattern magazines. I chose the folding version because, as a backpack hunter, that was the feature I cared about most.
In theory, the HNT26 would address several things I didn’t like about the original Bergara “sporter” style stock while making the rifle easier to carry on my pack.
The question was whether those improvements would matter in the field or if I was just making an already good rifle look better.
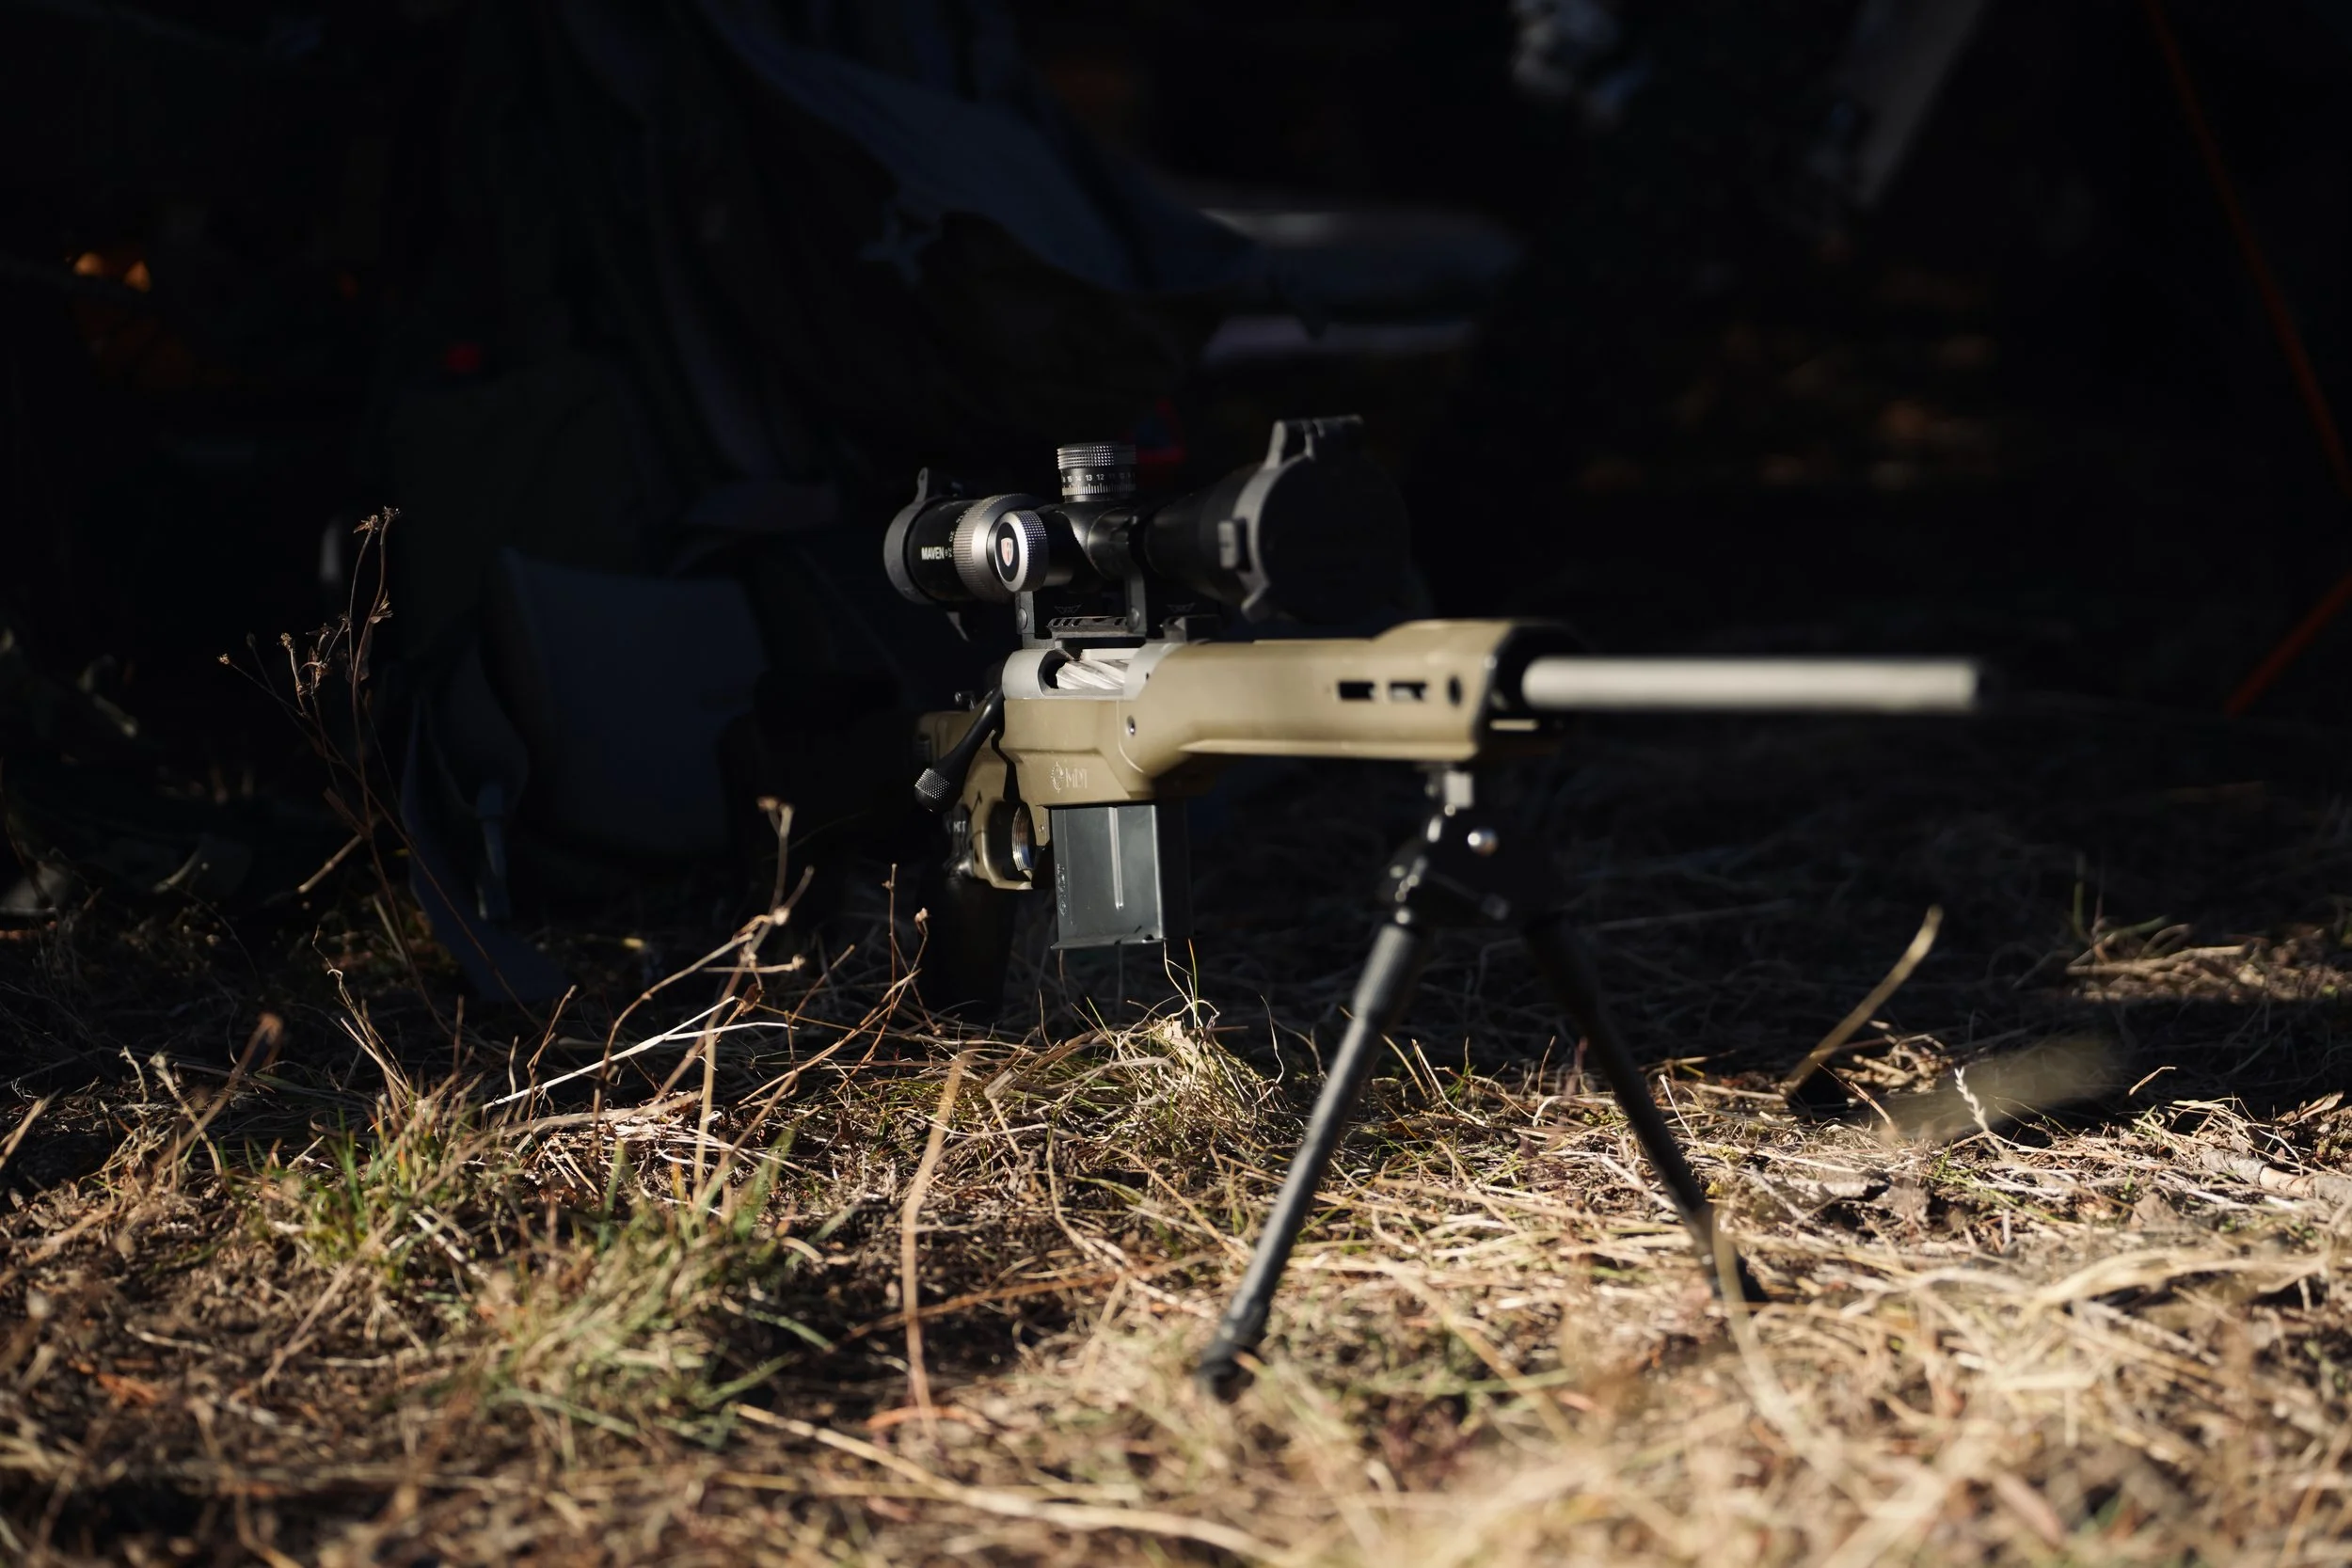
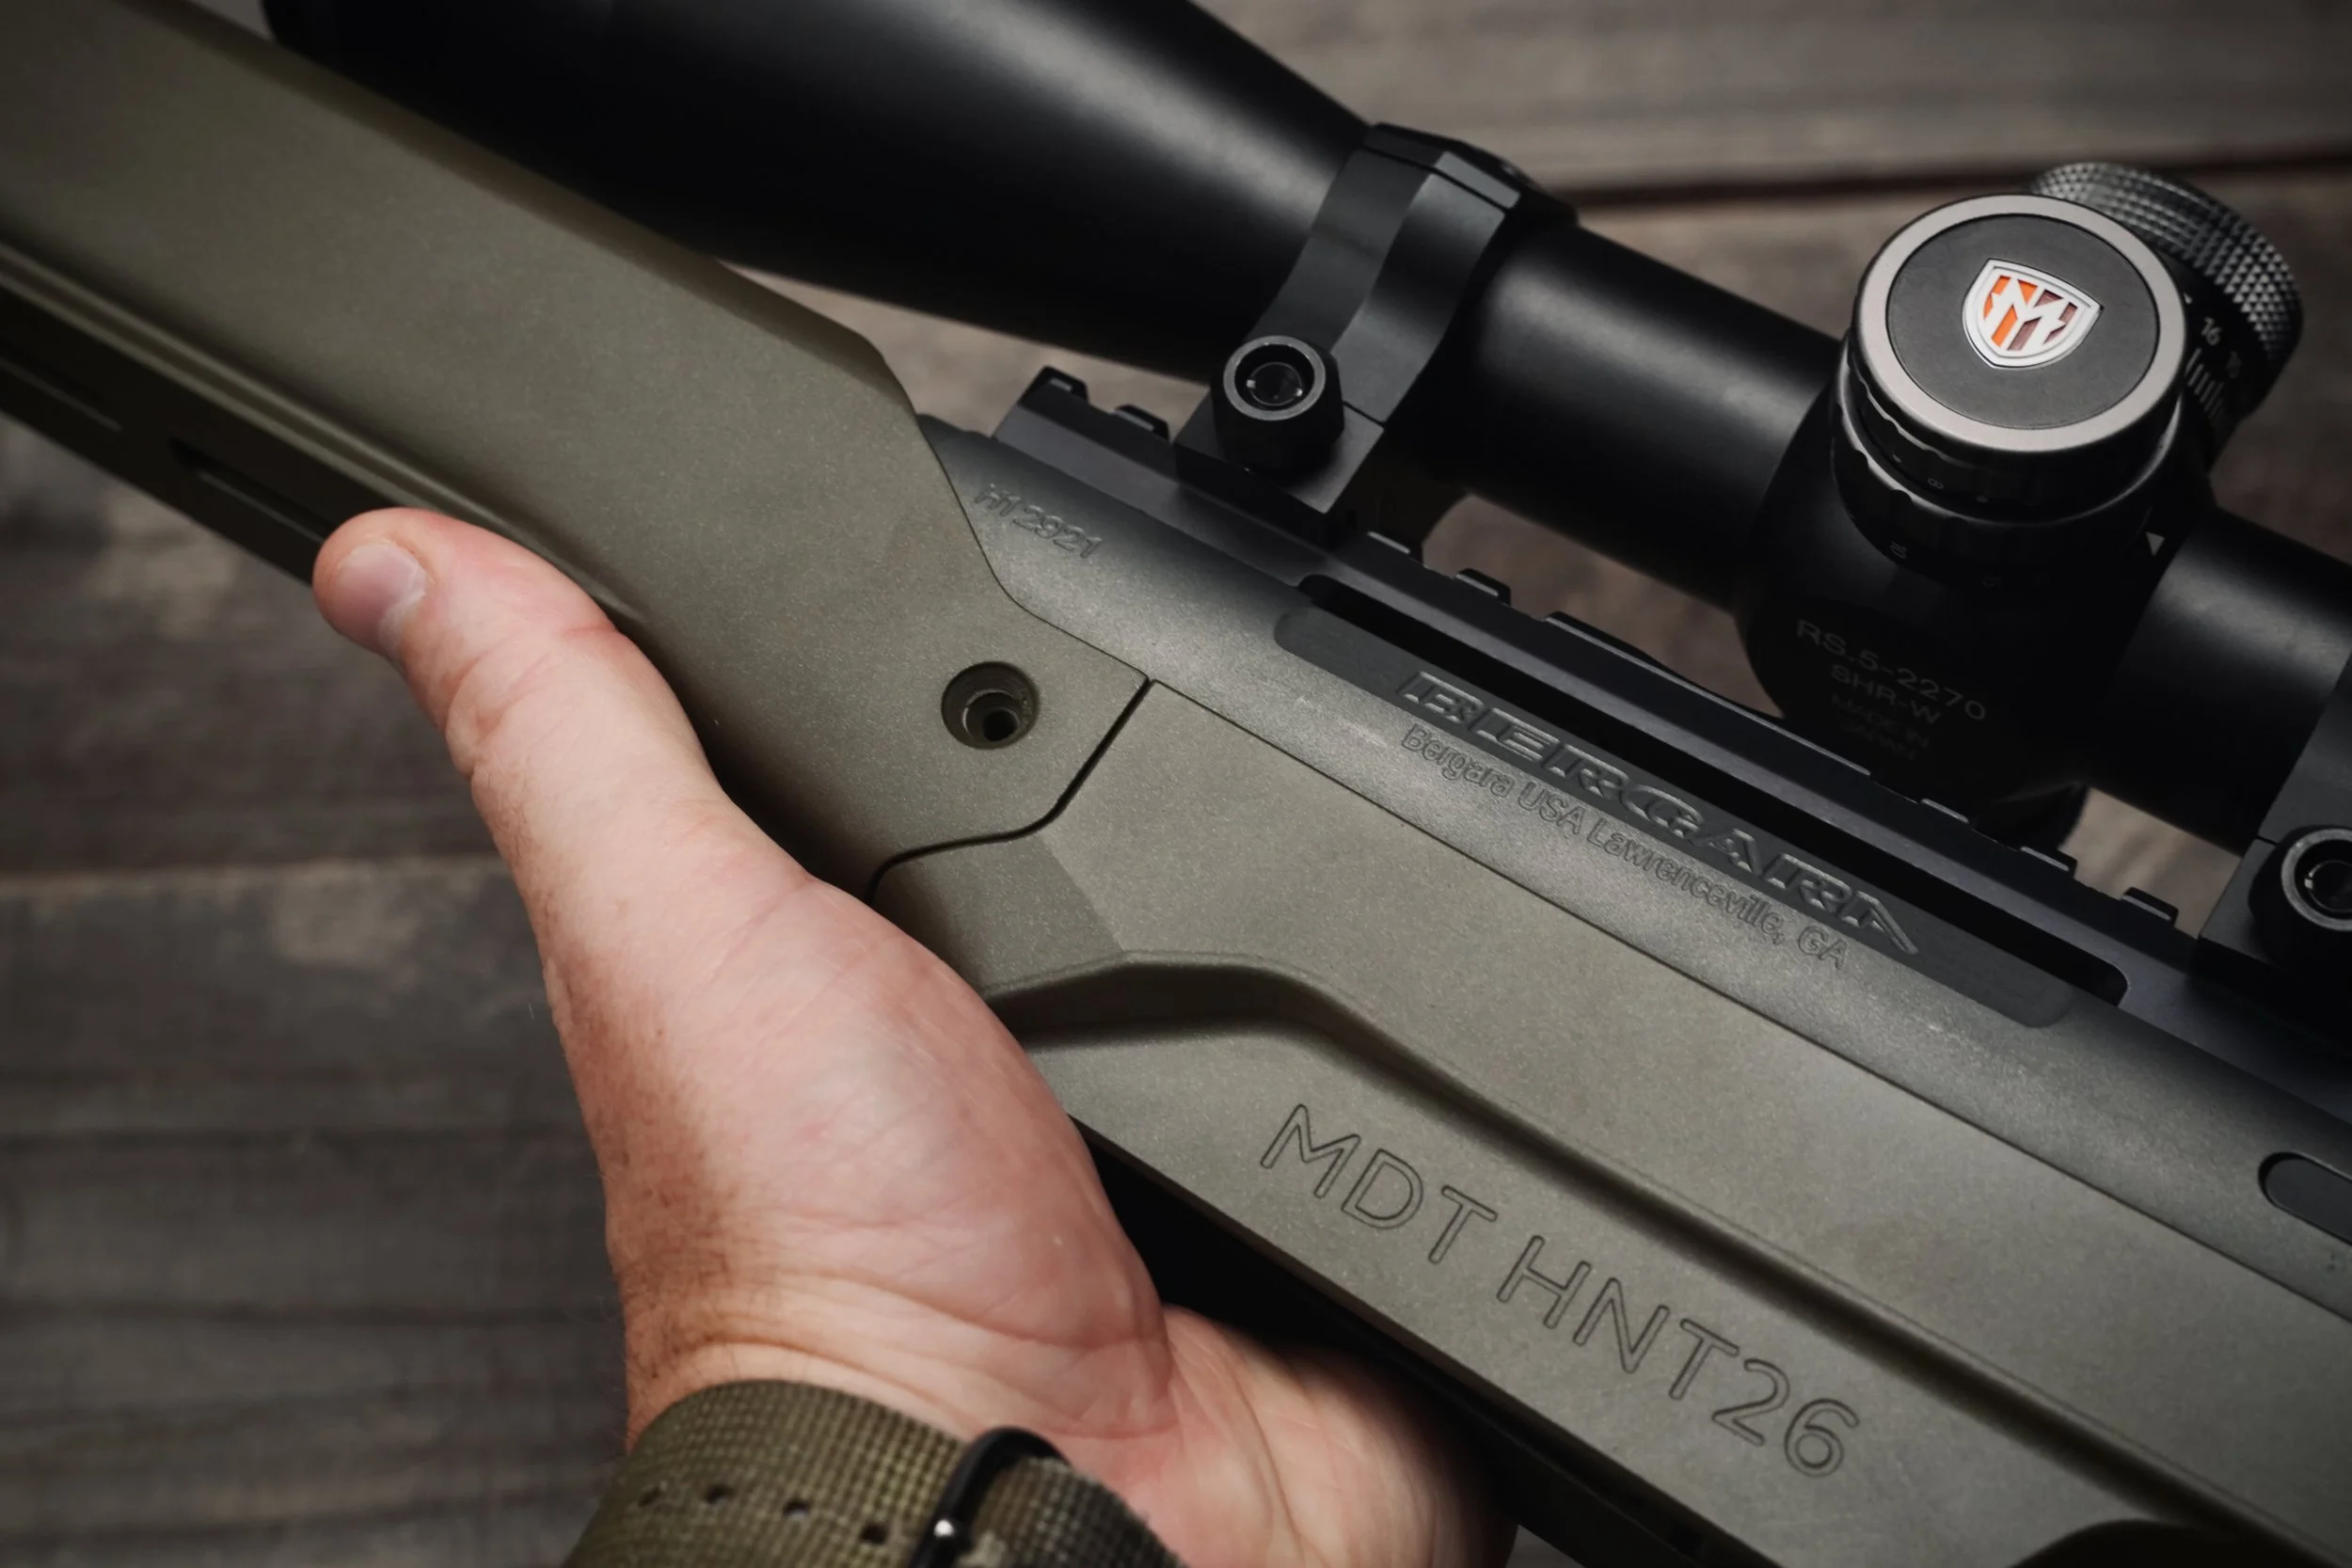
MDT HNT26 rifle stock on the Bergara Mountain Rifle 2.0.
Initial Impressions
The MDT HNT26 is a legit piece of gear.
It not only looks great, but it also feels great in your hands. The fit and finish are excellent; the materials feel substantial, and everything about it gives the impression that a lot of thought went into the design.
I went with the OD green version because I’m a sucker for green, and I thought it would look great paired with the Bergara’s gray Cerakote barrel. I was right.
Since my rifle is chambered in .270 Winchester, I ordered the long-action version. The chassis is a little heavier than the original carbon-fiber stock in my configuration, but the functional and ergonomic improvements have been well worth it. It’s not always about counting ounces.
The pistol grip feels great, the adjustable stock fits comfortably, and the folding mechanism is exactly what I was hoping for.
If you want detailed specs, I’ll link directly to MDT’s product page. There are plenty of videos out there covering every feature of the chassis.
I’m going to focus on what it’s been like to own and use one.
Click HERE for more details on the HNT26
Ordering and Product Presentation
One thing I learned during the process was that some HNT26 configurations can sometimes be built to order, so lead times may vary.
I placed my order roughly a month before an upcoming hunting trip to Idaho. When I followed up with MDT about the delivery timeline, I learned the chassis was expected to arrive about a week before I was supposed to leave. That made me a little nervous. I had one week to install the chassis, make sure everything worked, and dial in the rifle at the range.
I’m not a dummy, but I’m also not a professional gunsmith. I had absolutely no idea what I was getting myself into, but fortunately, it all worked out.
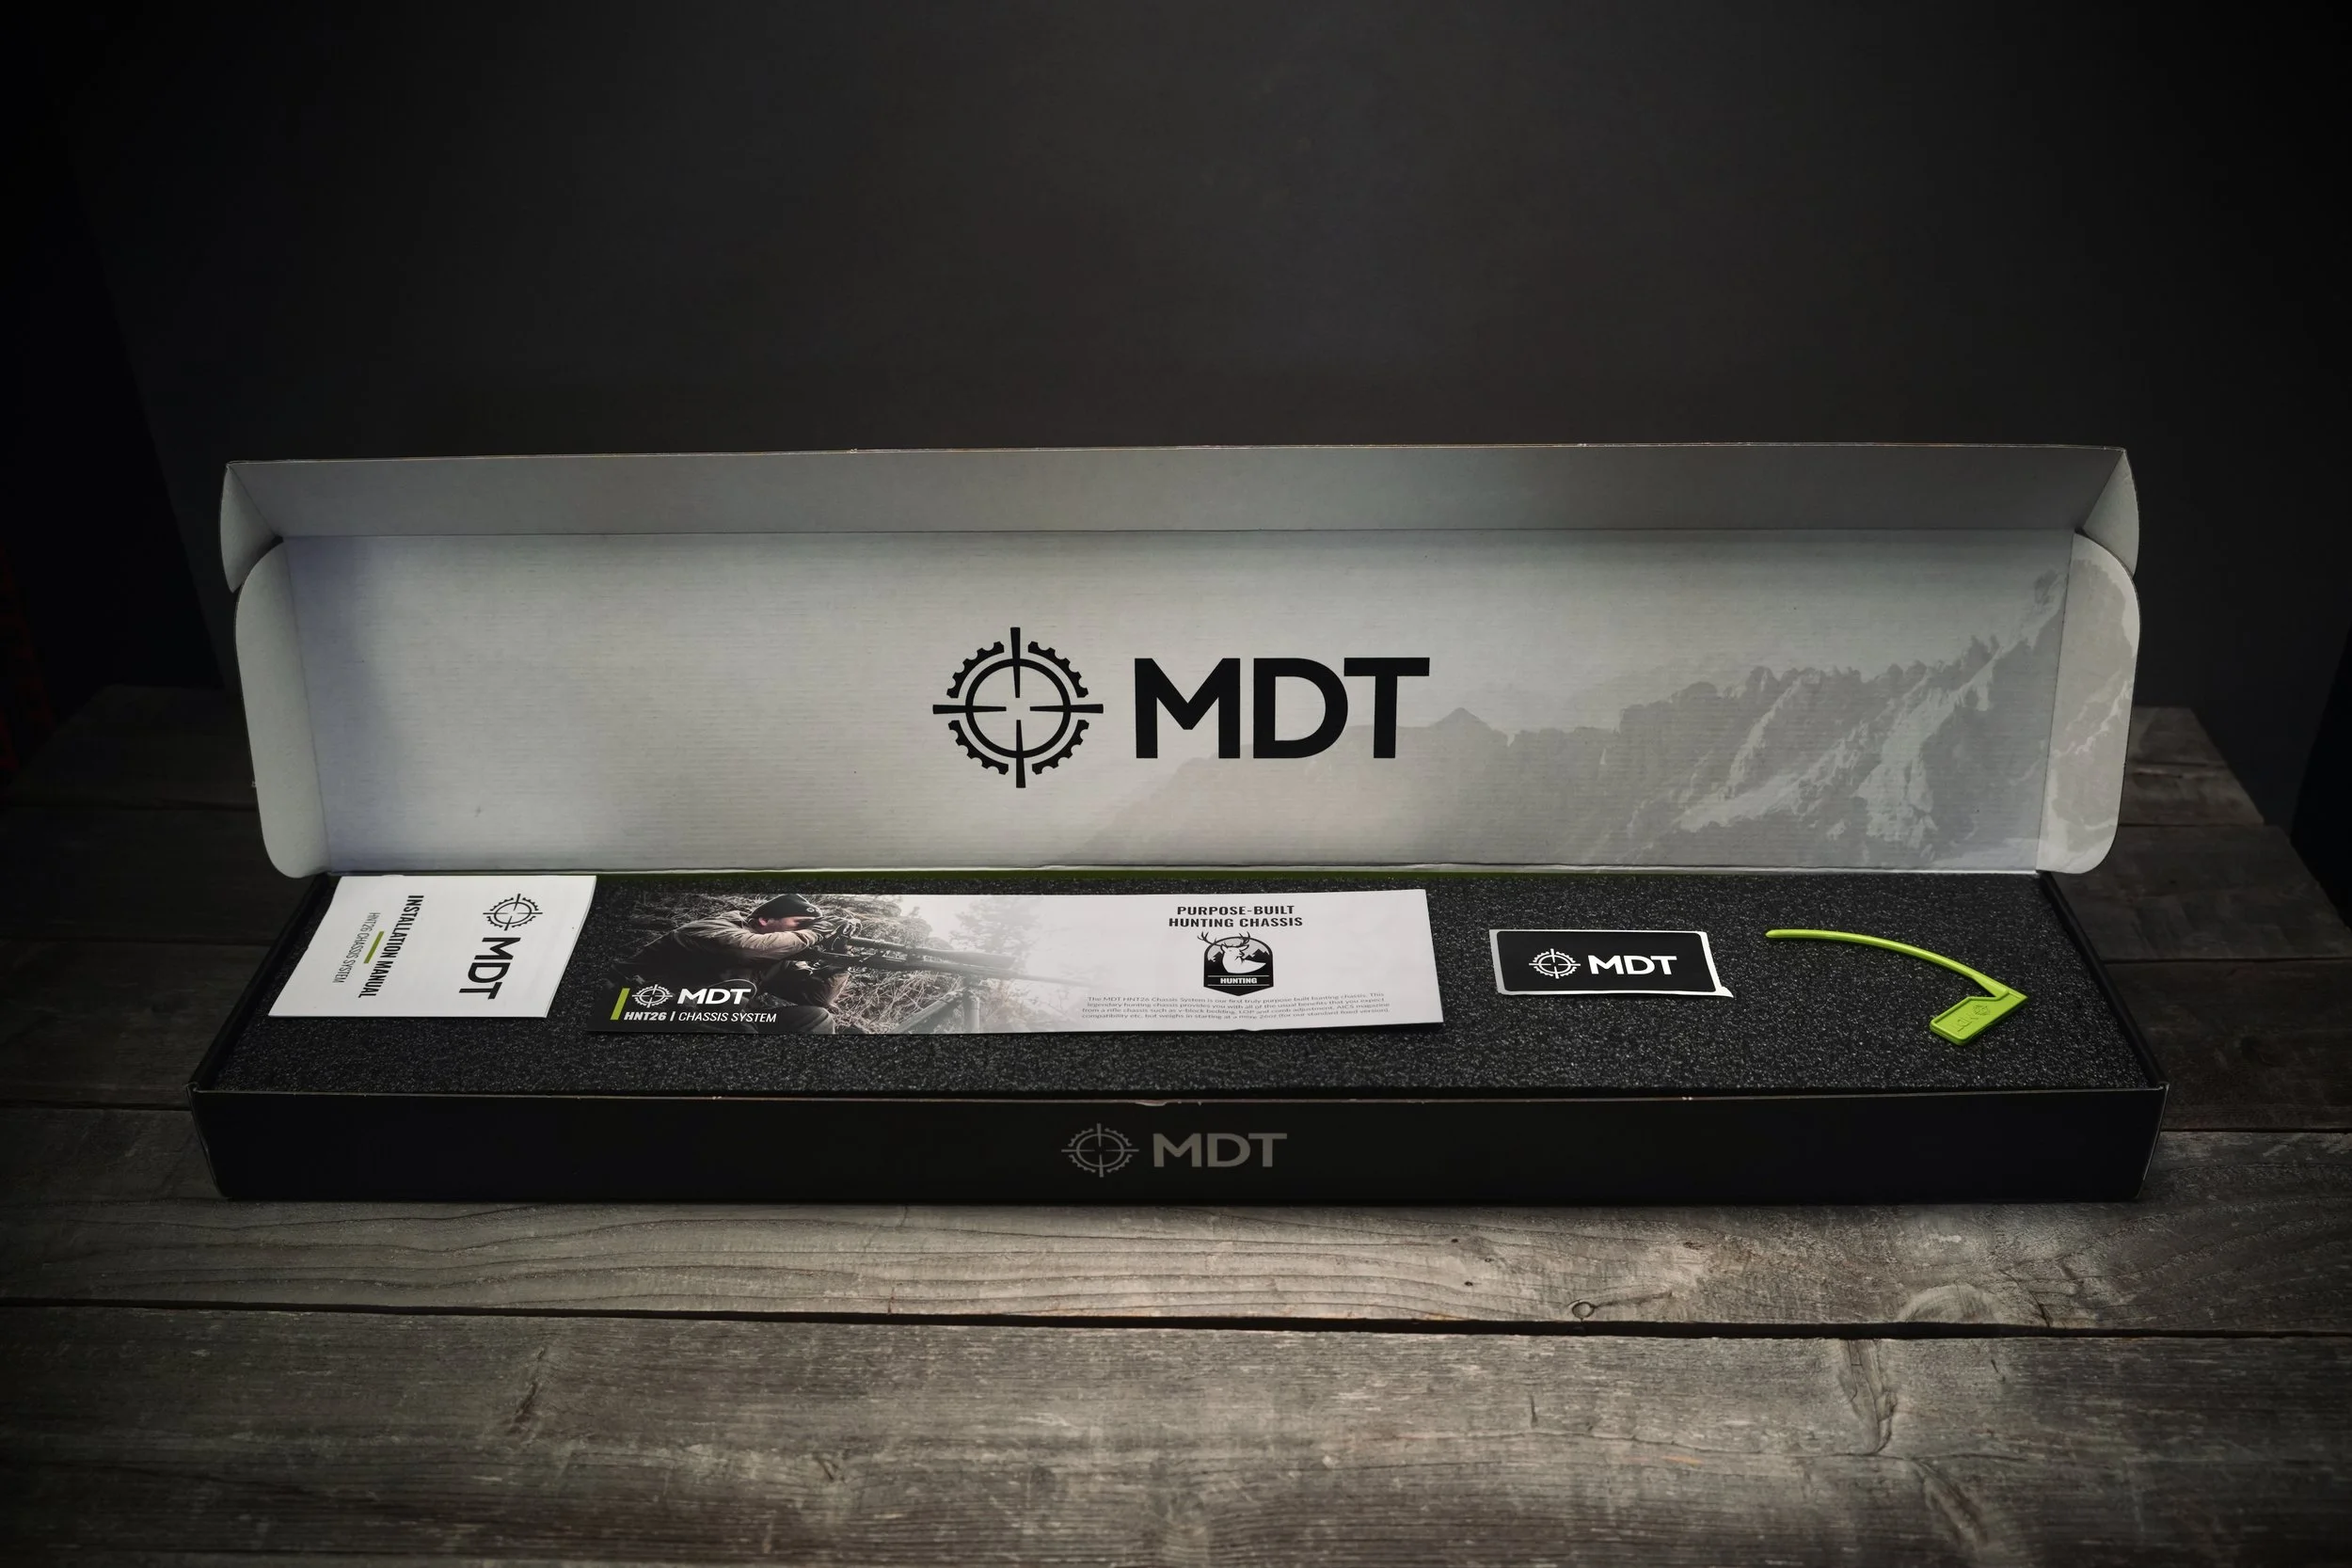
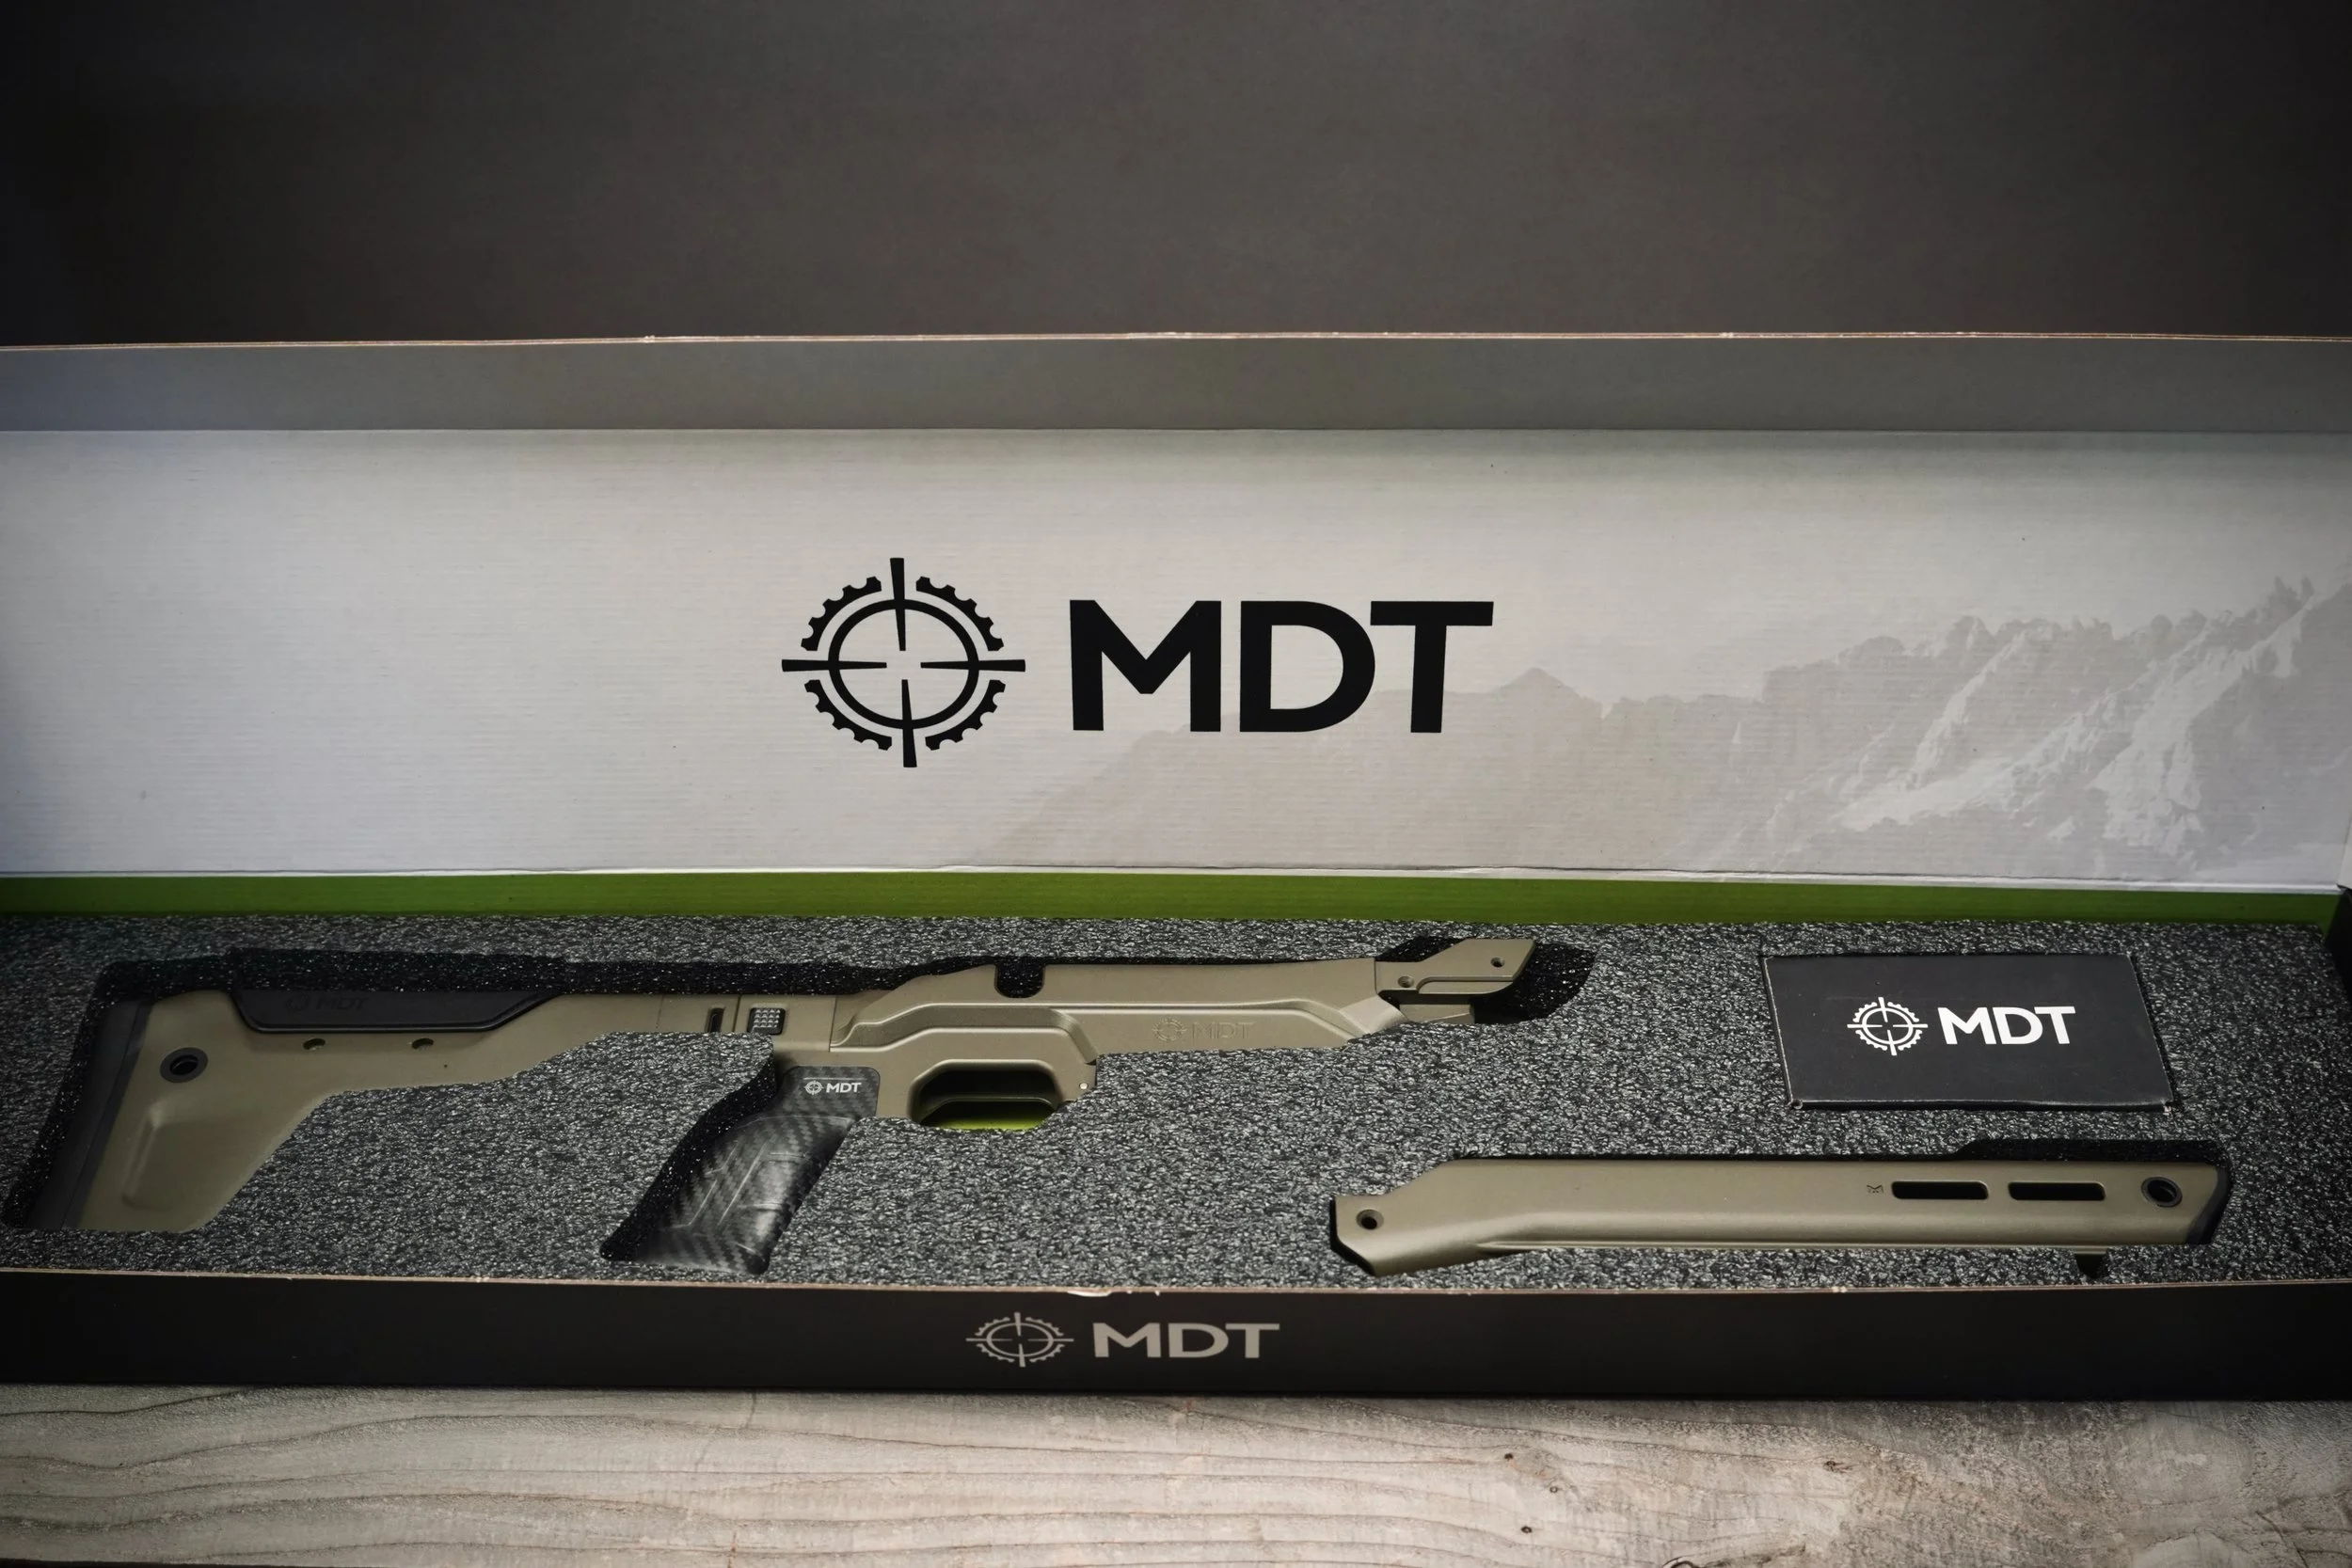
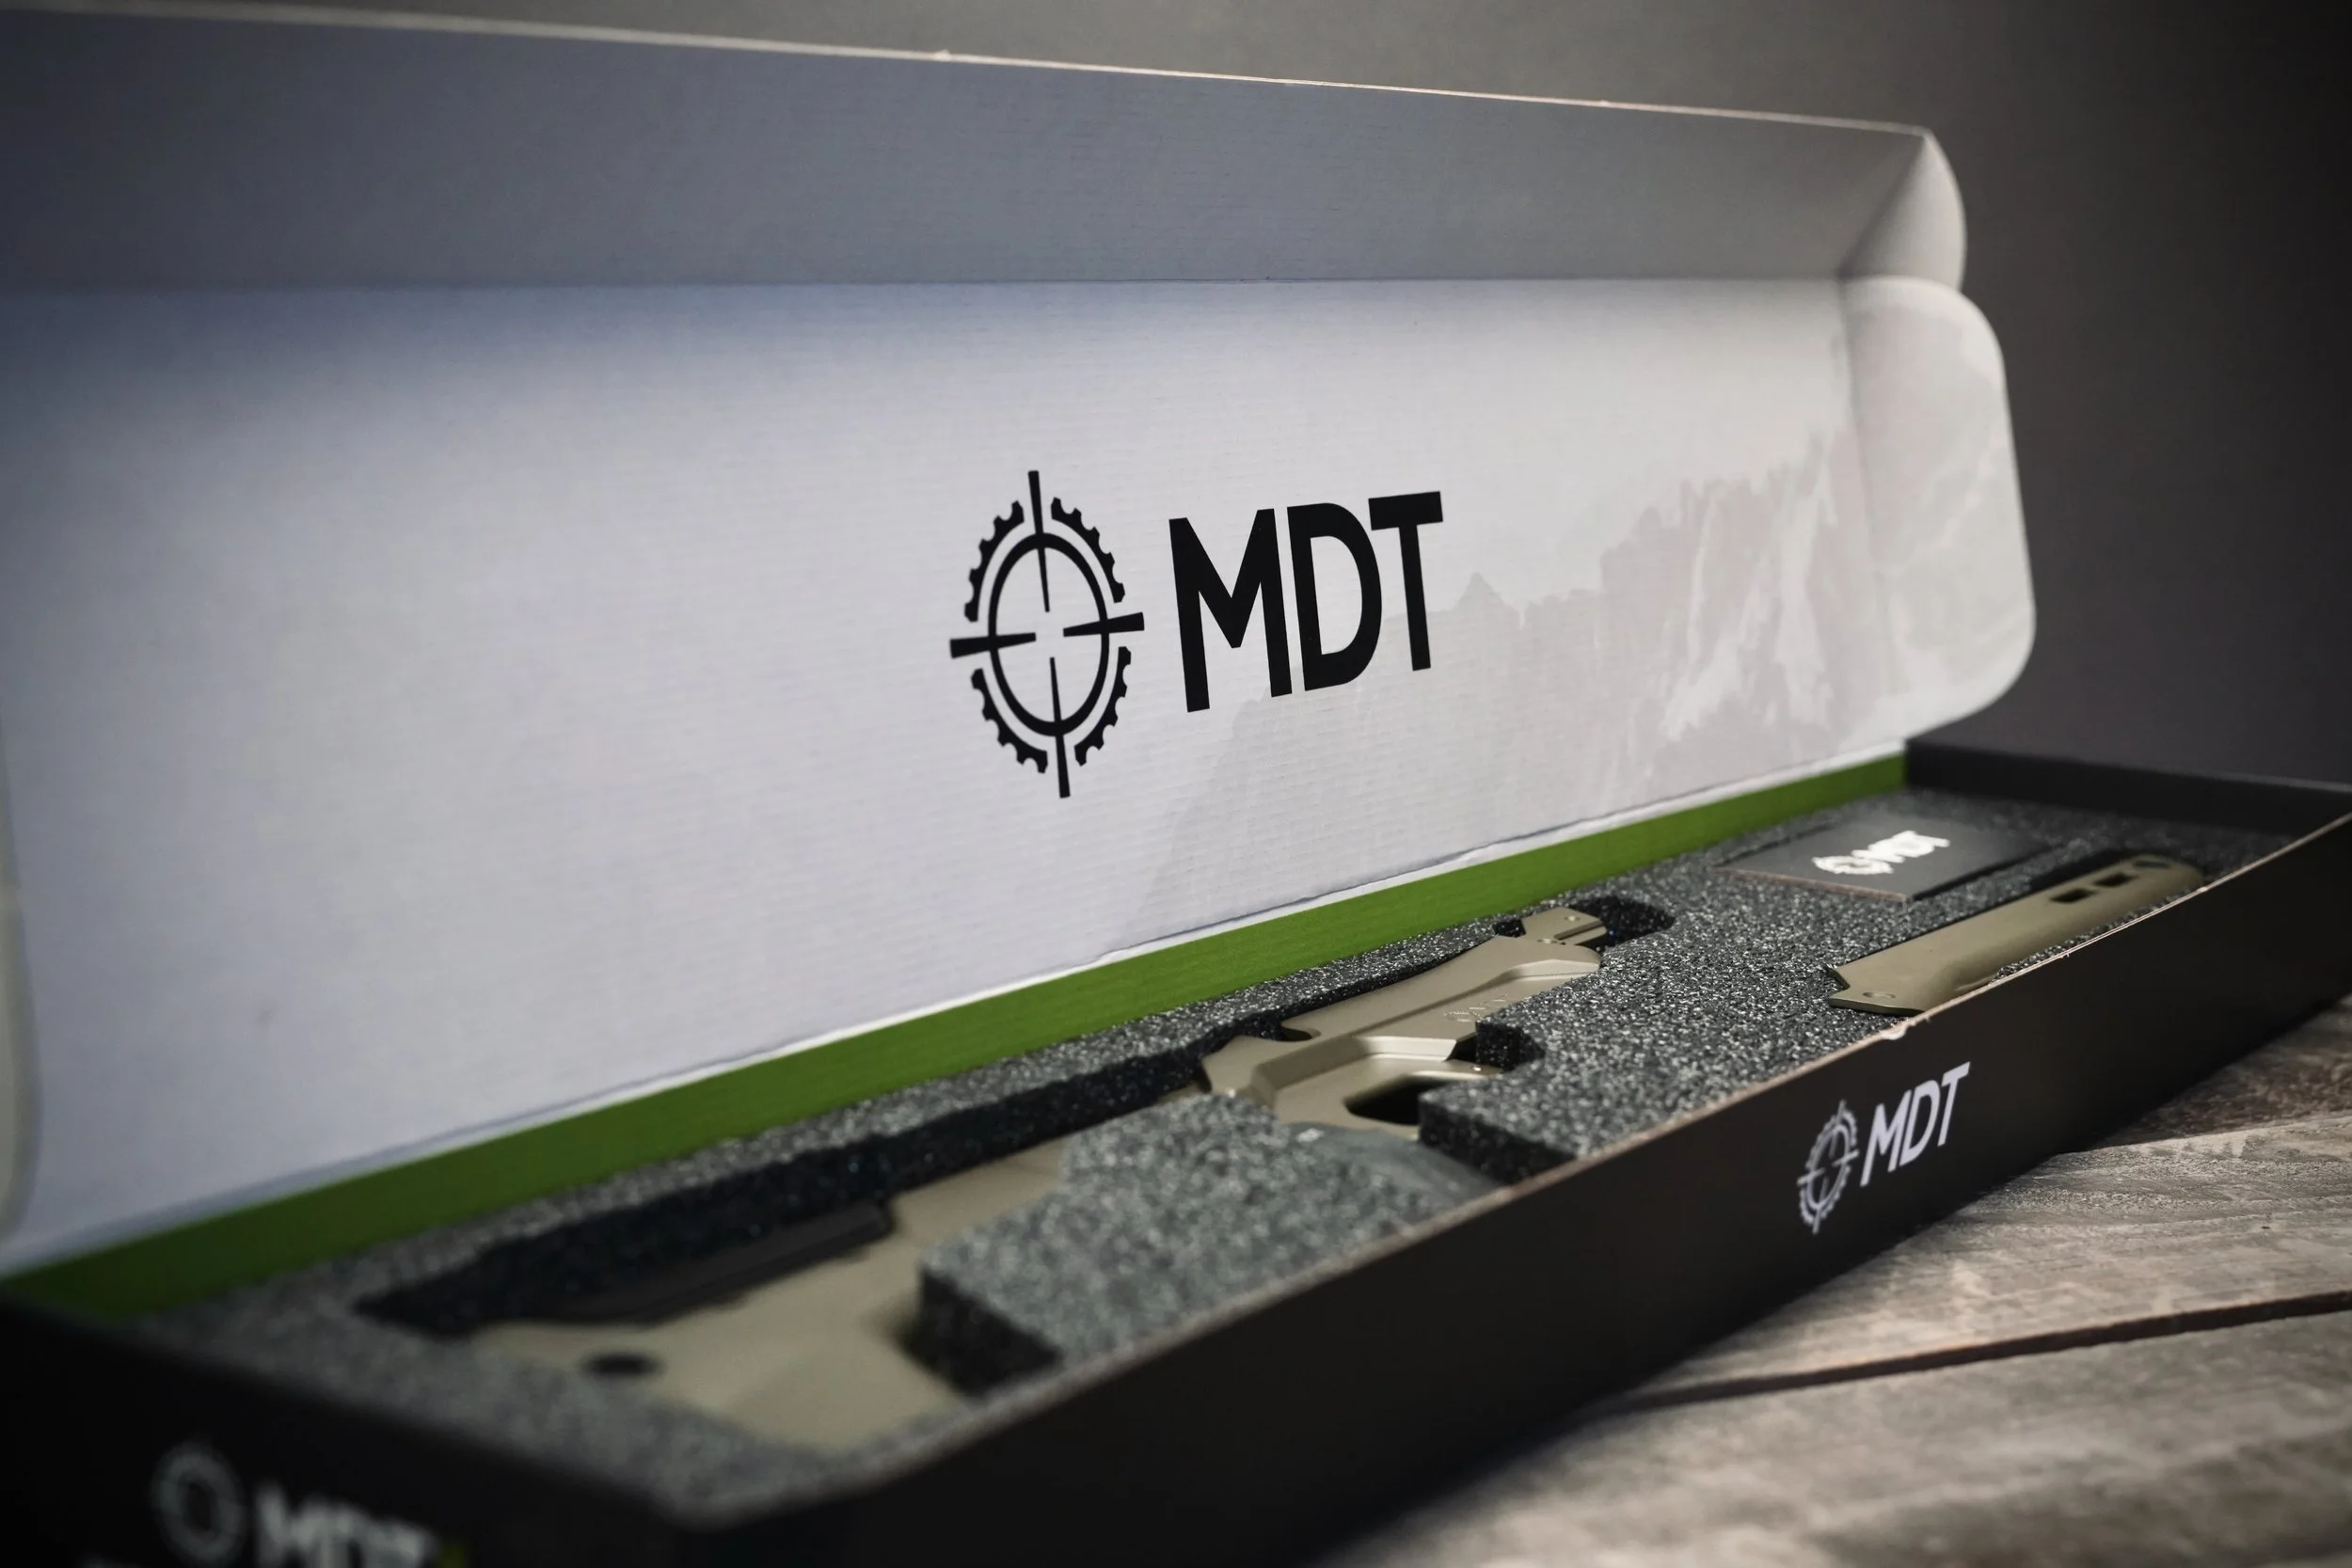
A quick mention on overall product presentation: This freaking thing arrived in some of the nicest packaging I’ve ever seen. I’m not usually someone who cares much about how a product arrives, but damn, MDT really knows how to present something.
From the packaging to the chassis itself, everything looked and felt professional. All that for a rifle stock. Just amazing.
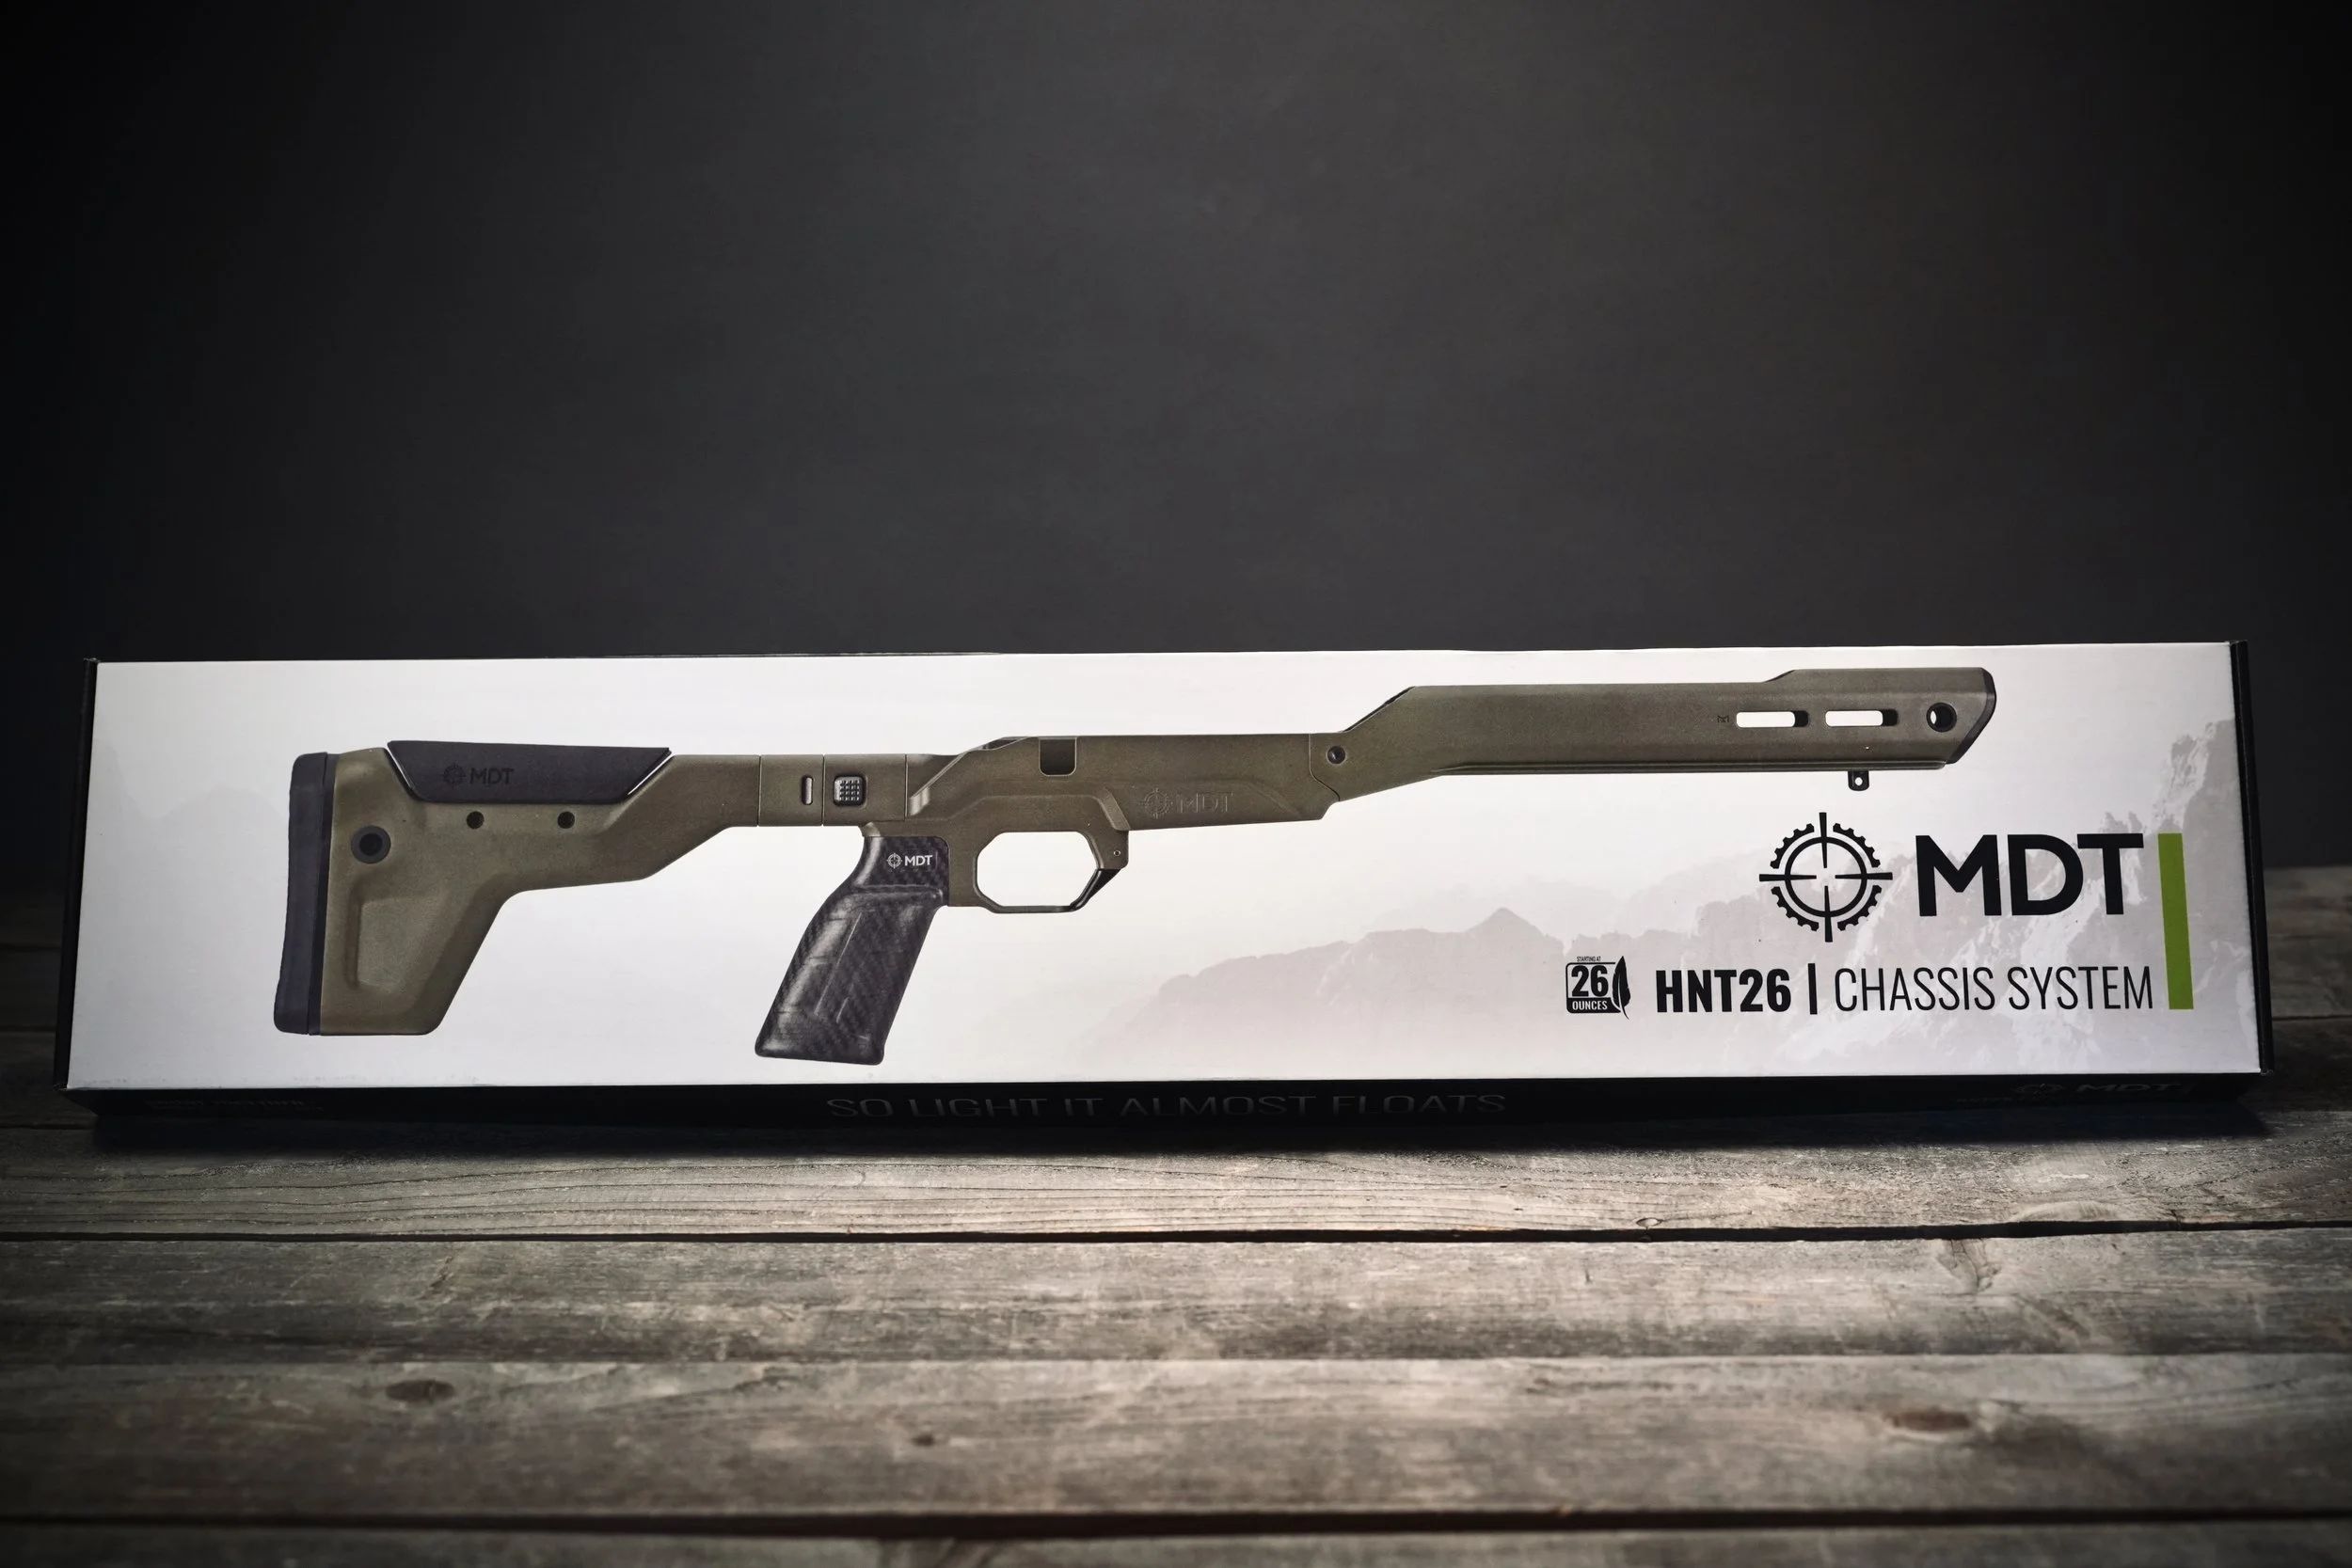
Installing the MDT HNT26
I’ll say it again: I’m not a guy who spends his weekends building rifles. That’s not my hobby.
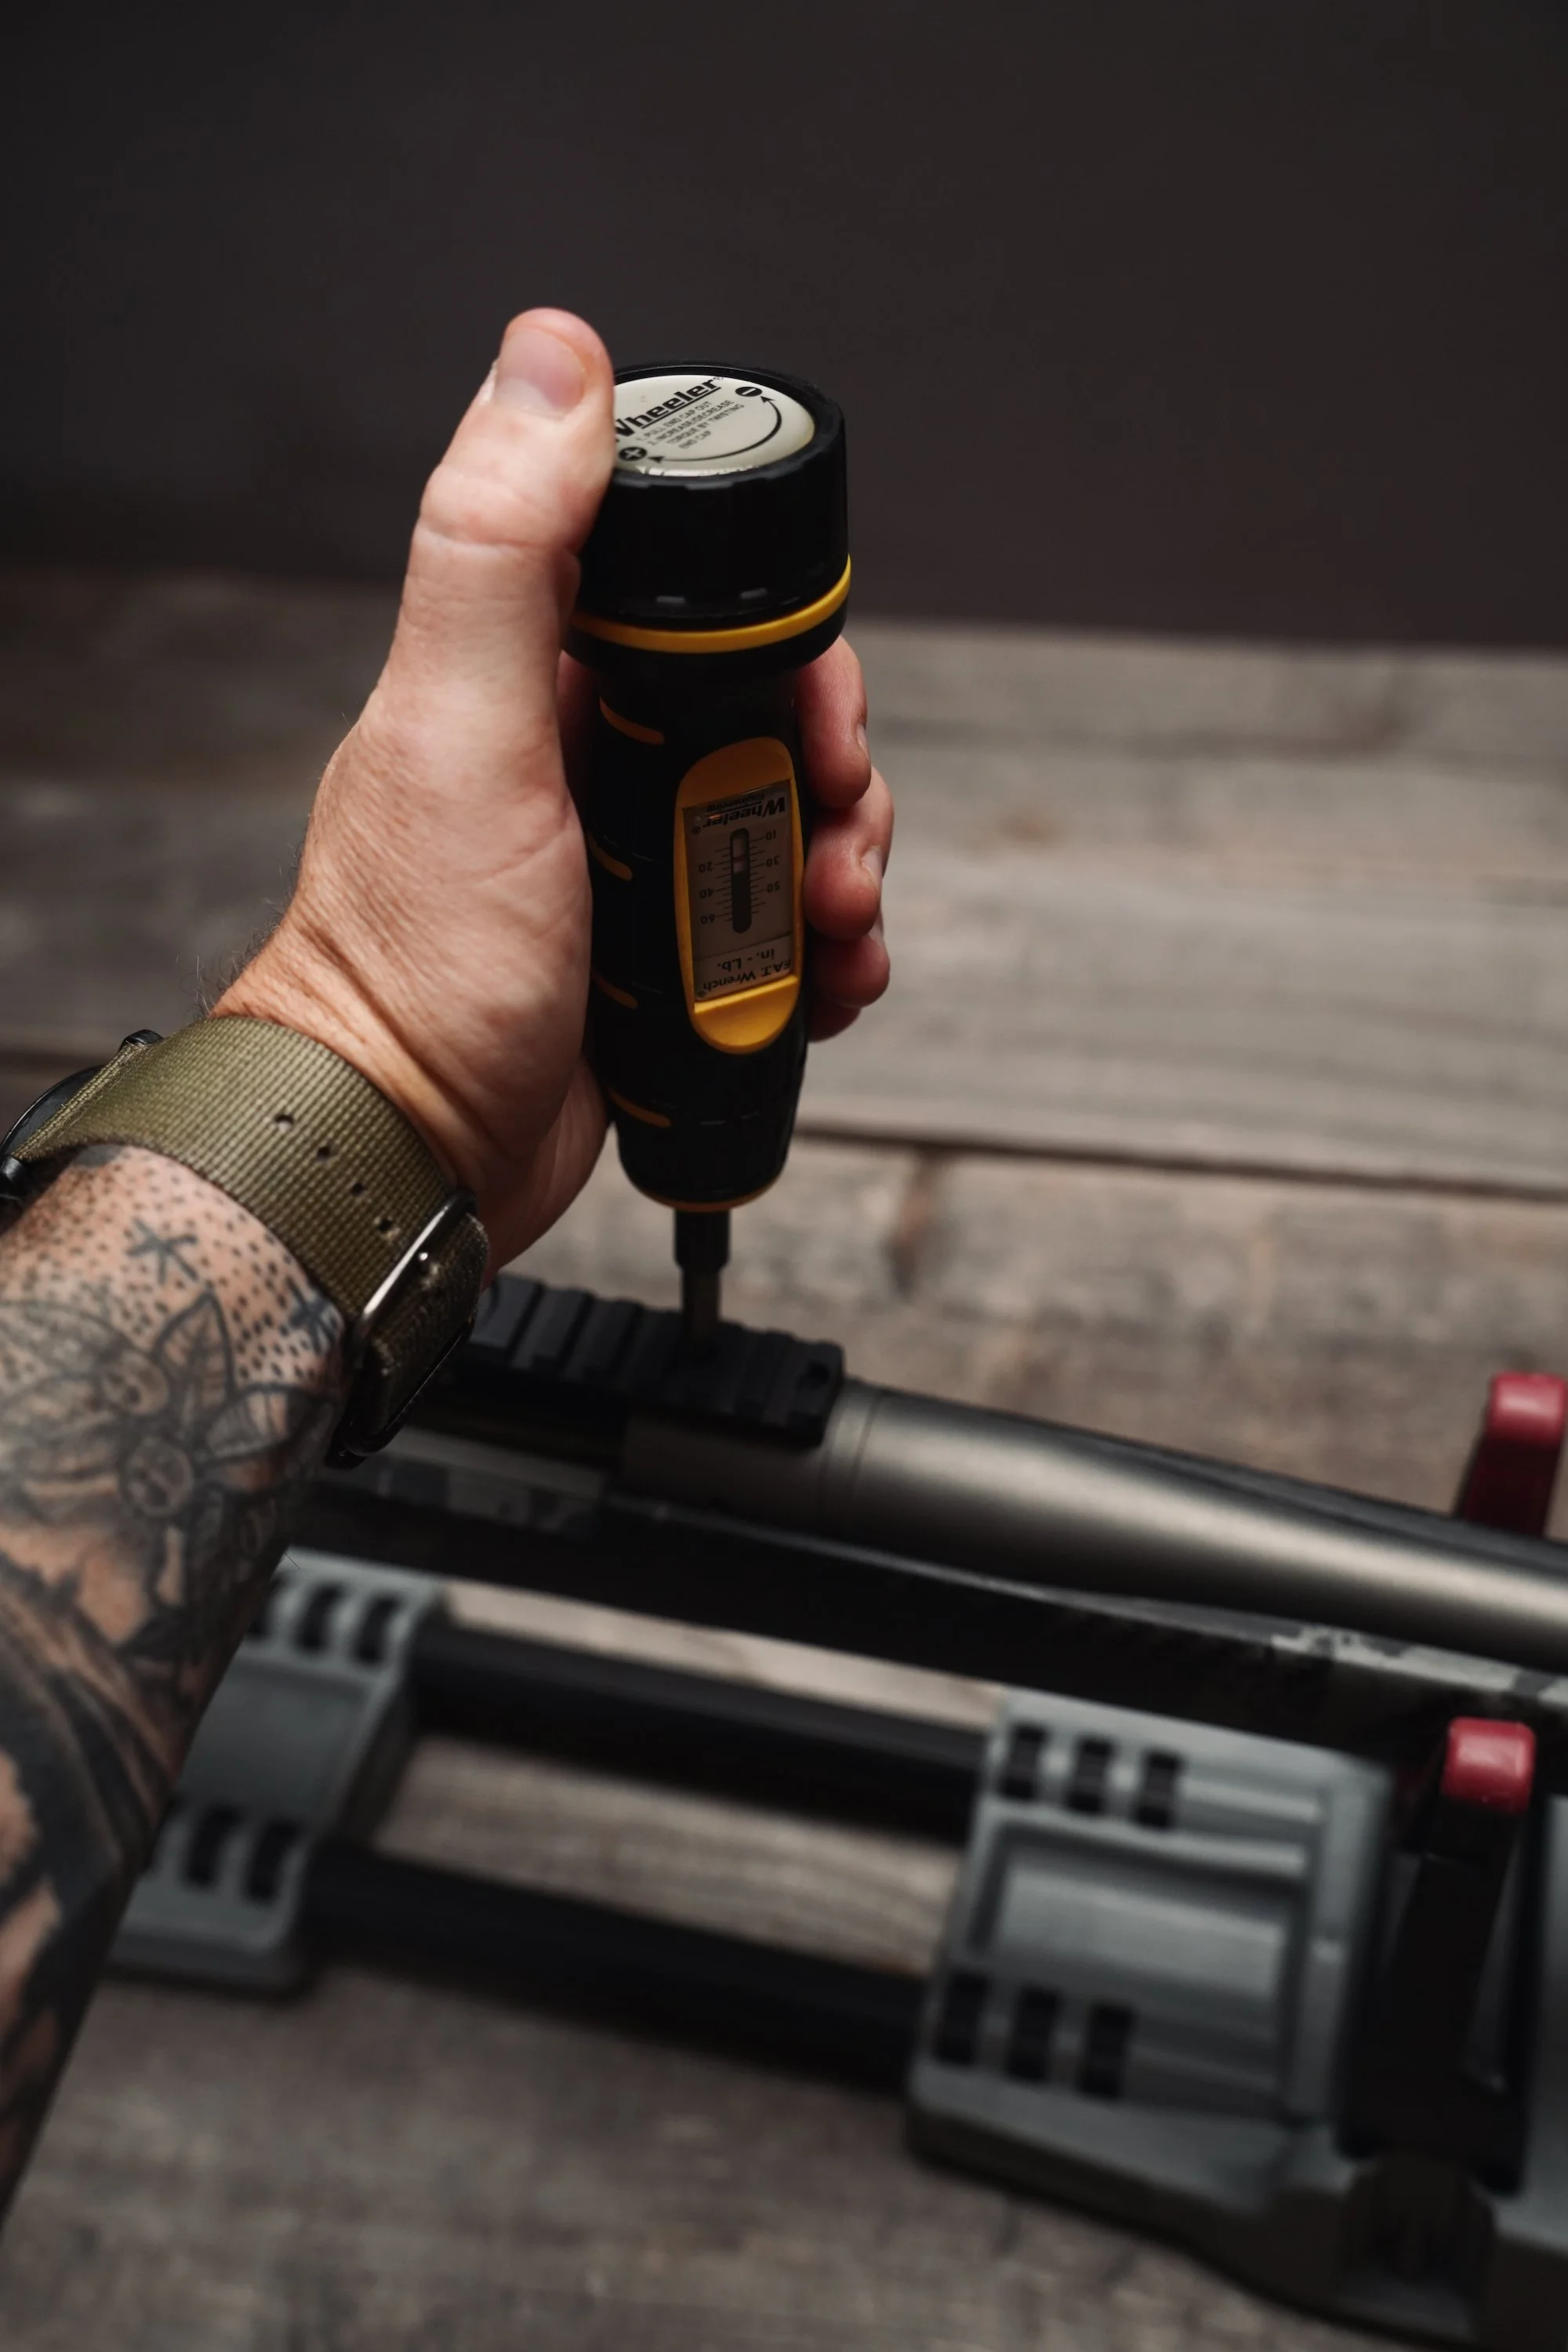
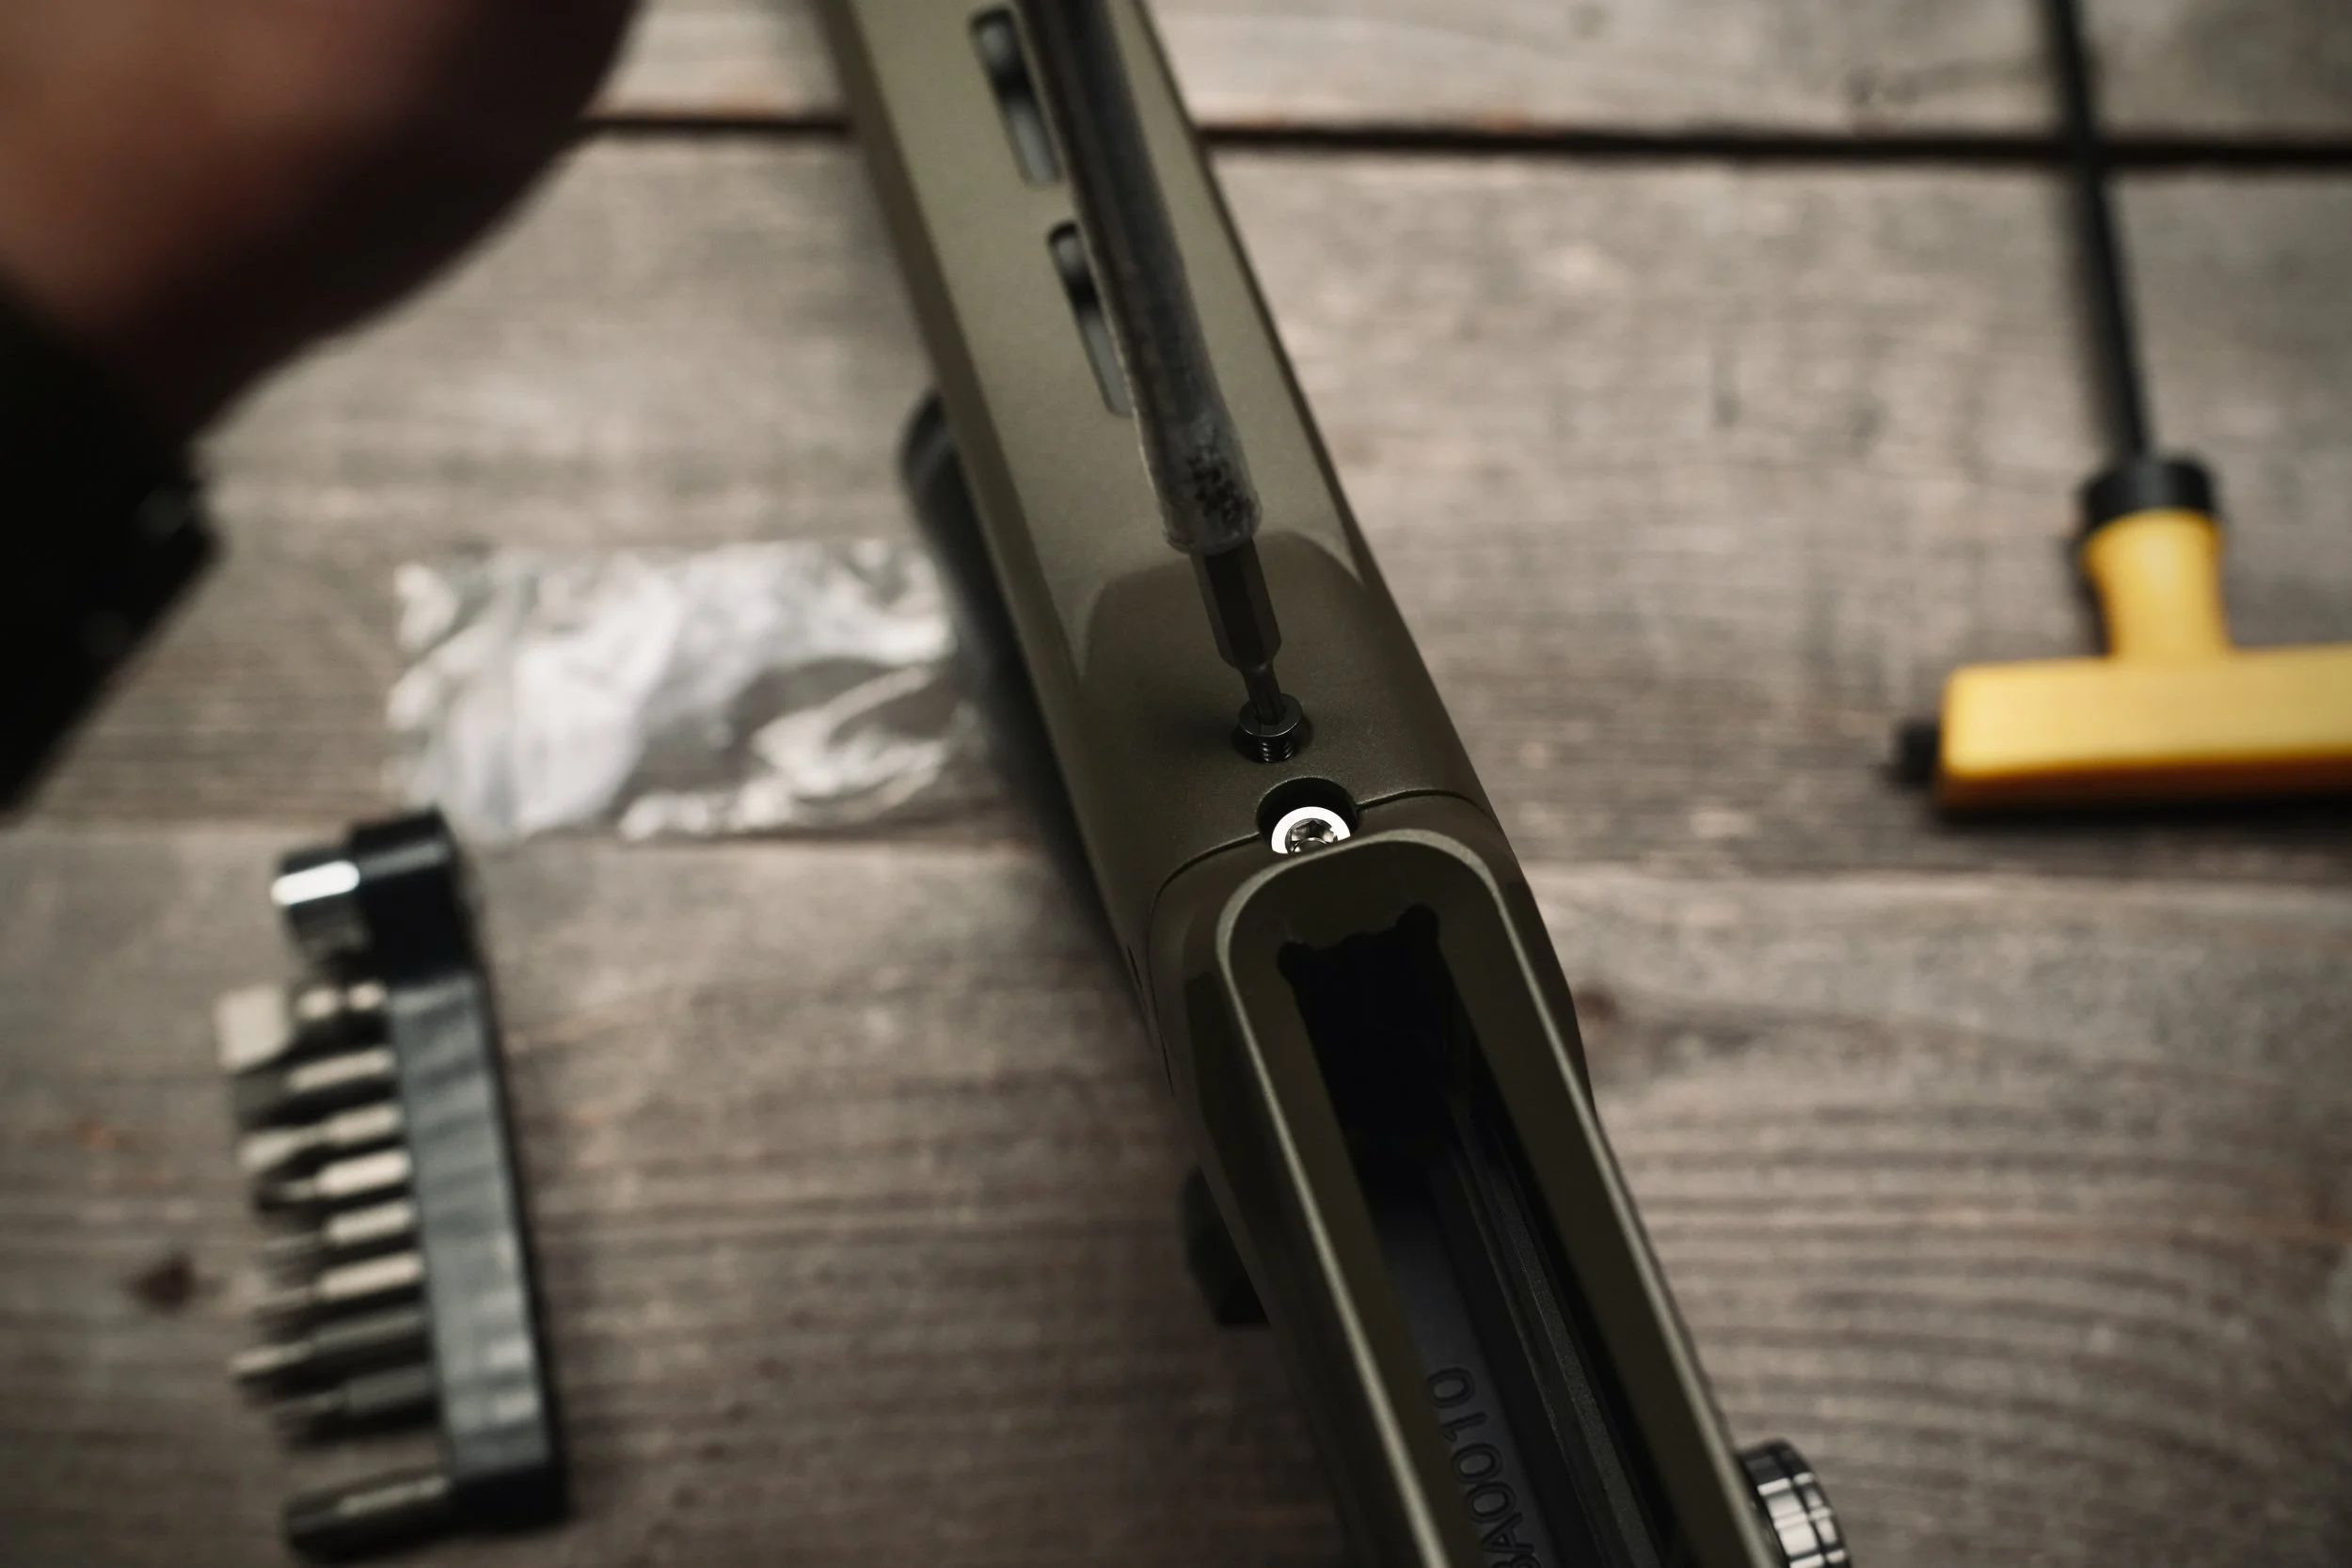
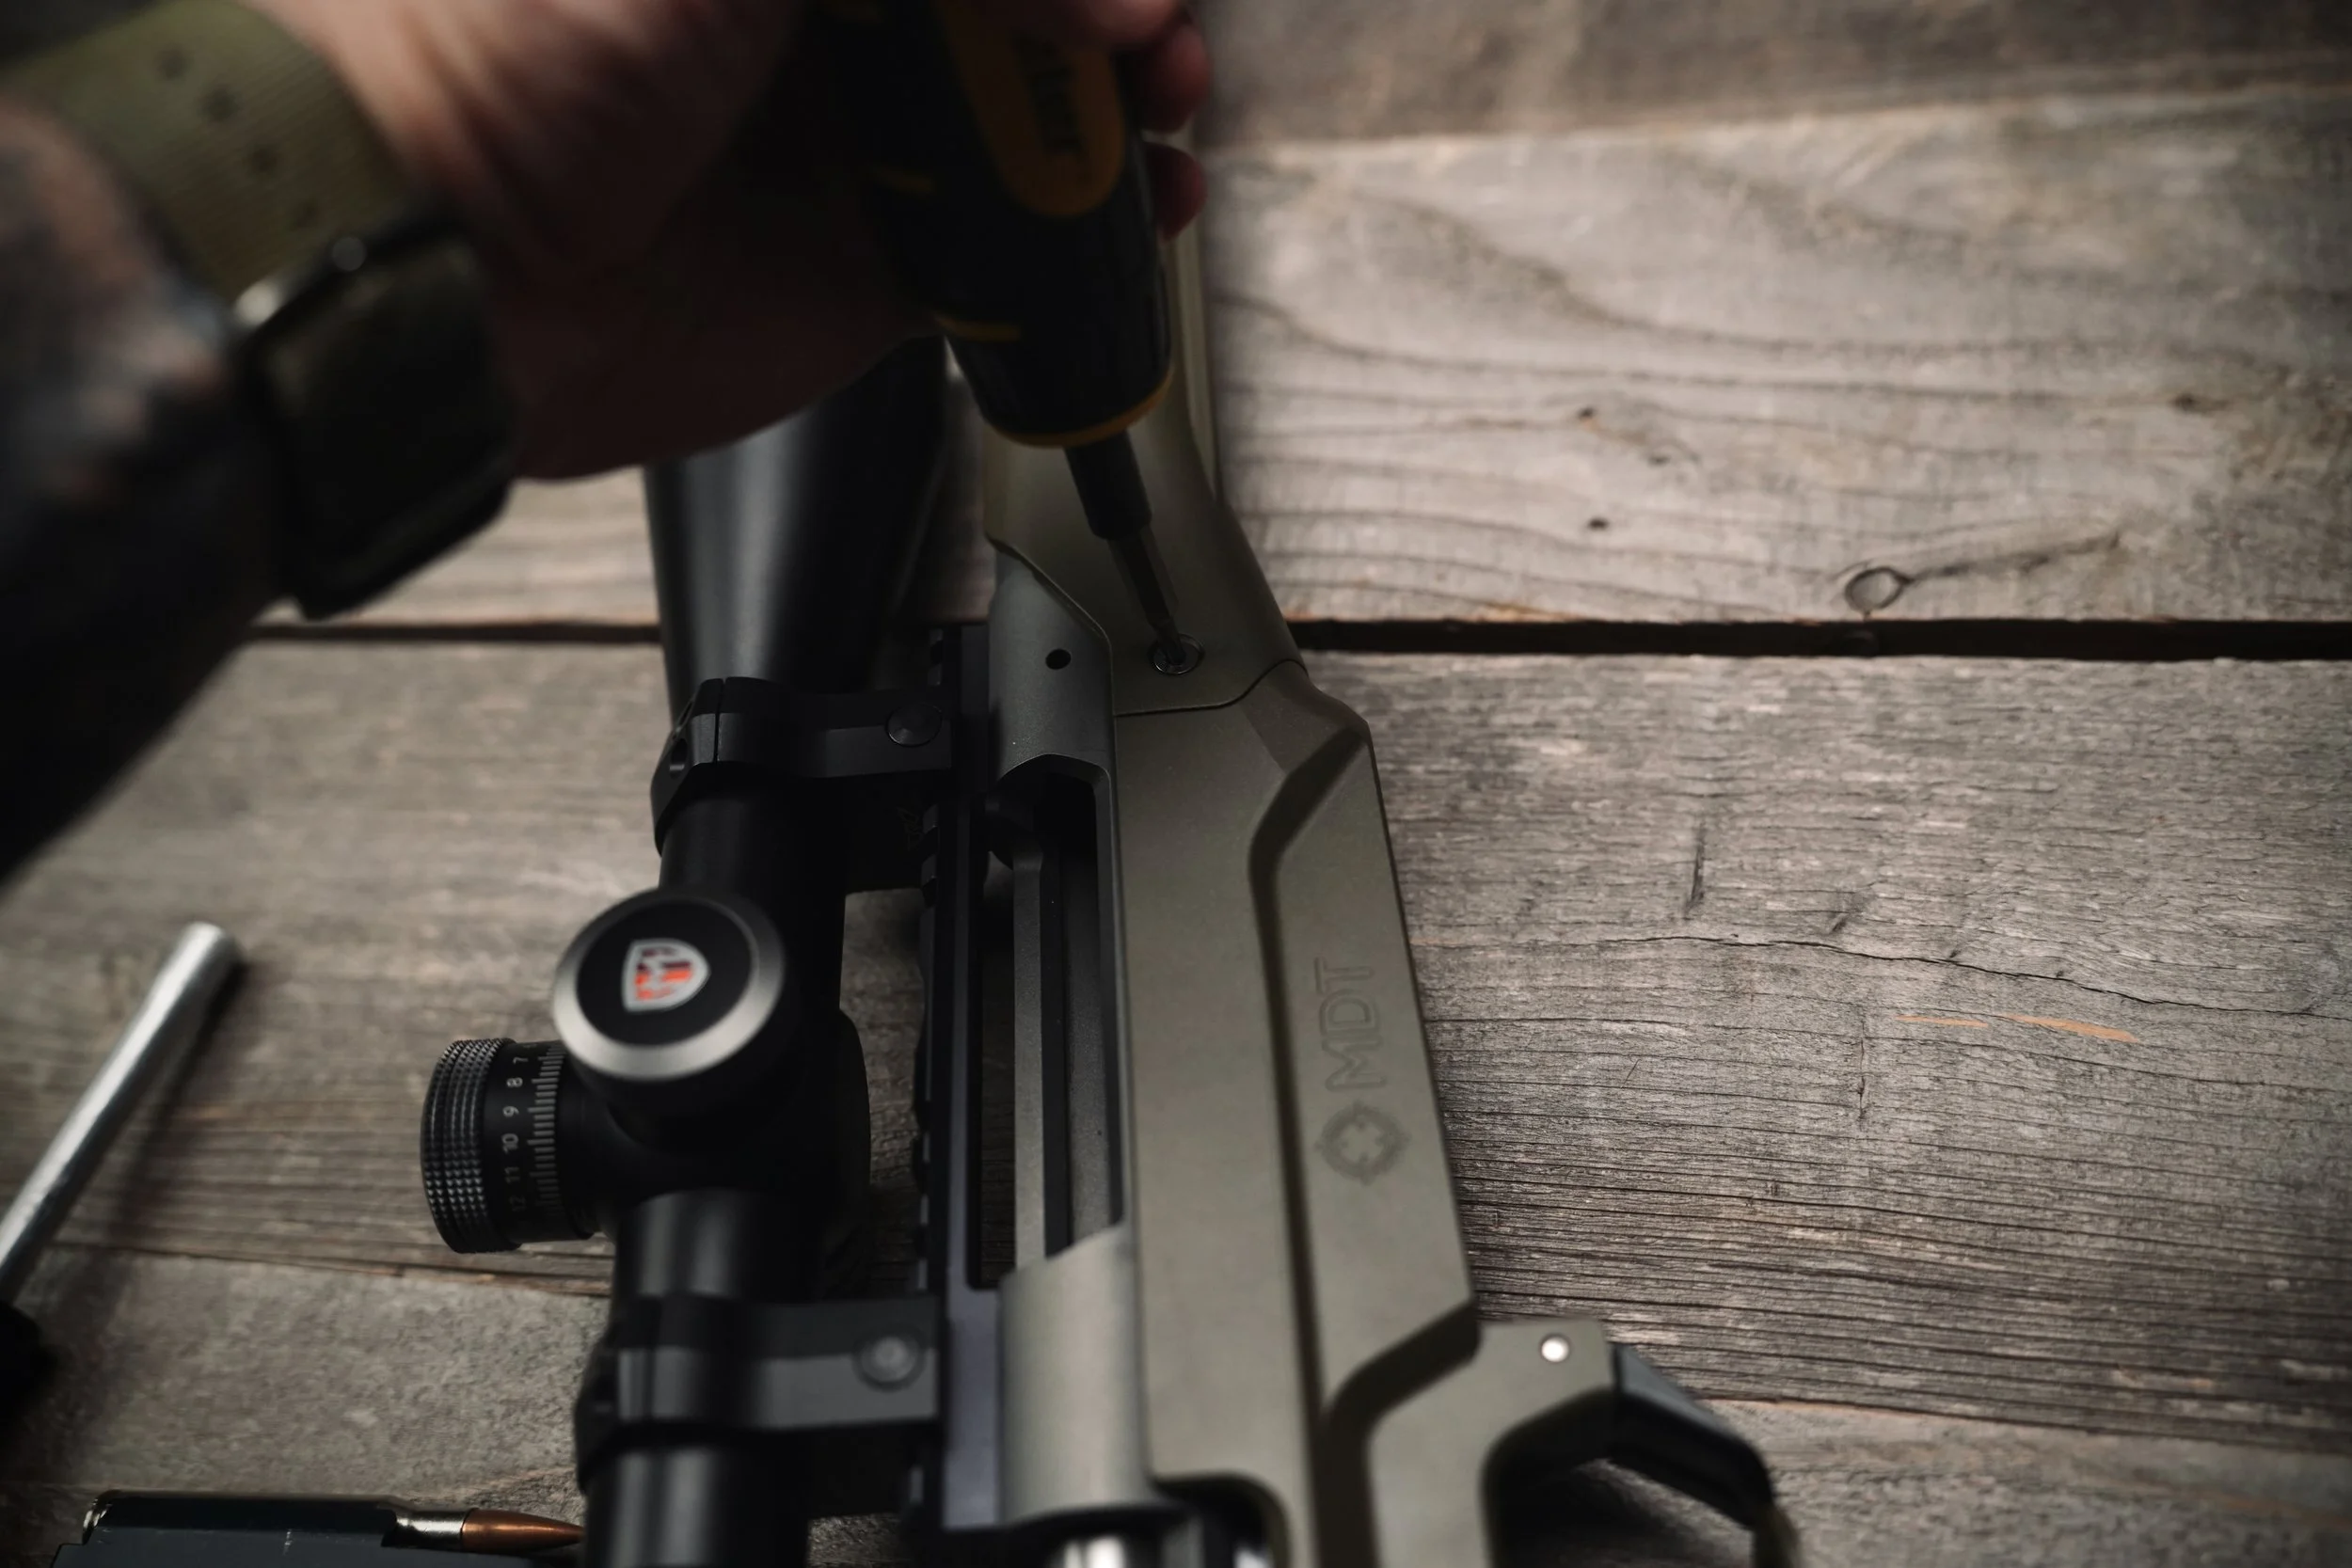
I needed this installation to be relatively straightforward, and thankfully, it was. The chassis came with clear instructions and the hardware I needed to get the job done. When it was all said and done, it took me about 30 minutes from start to finish. Not bad.
The instructions were easy to follow, and before I knew it, I was looking at what appeared to be an entirely new rifle.
However, I did encounter one issue during assembly.
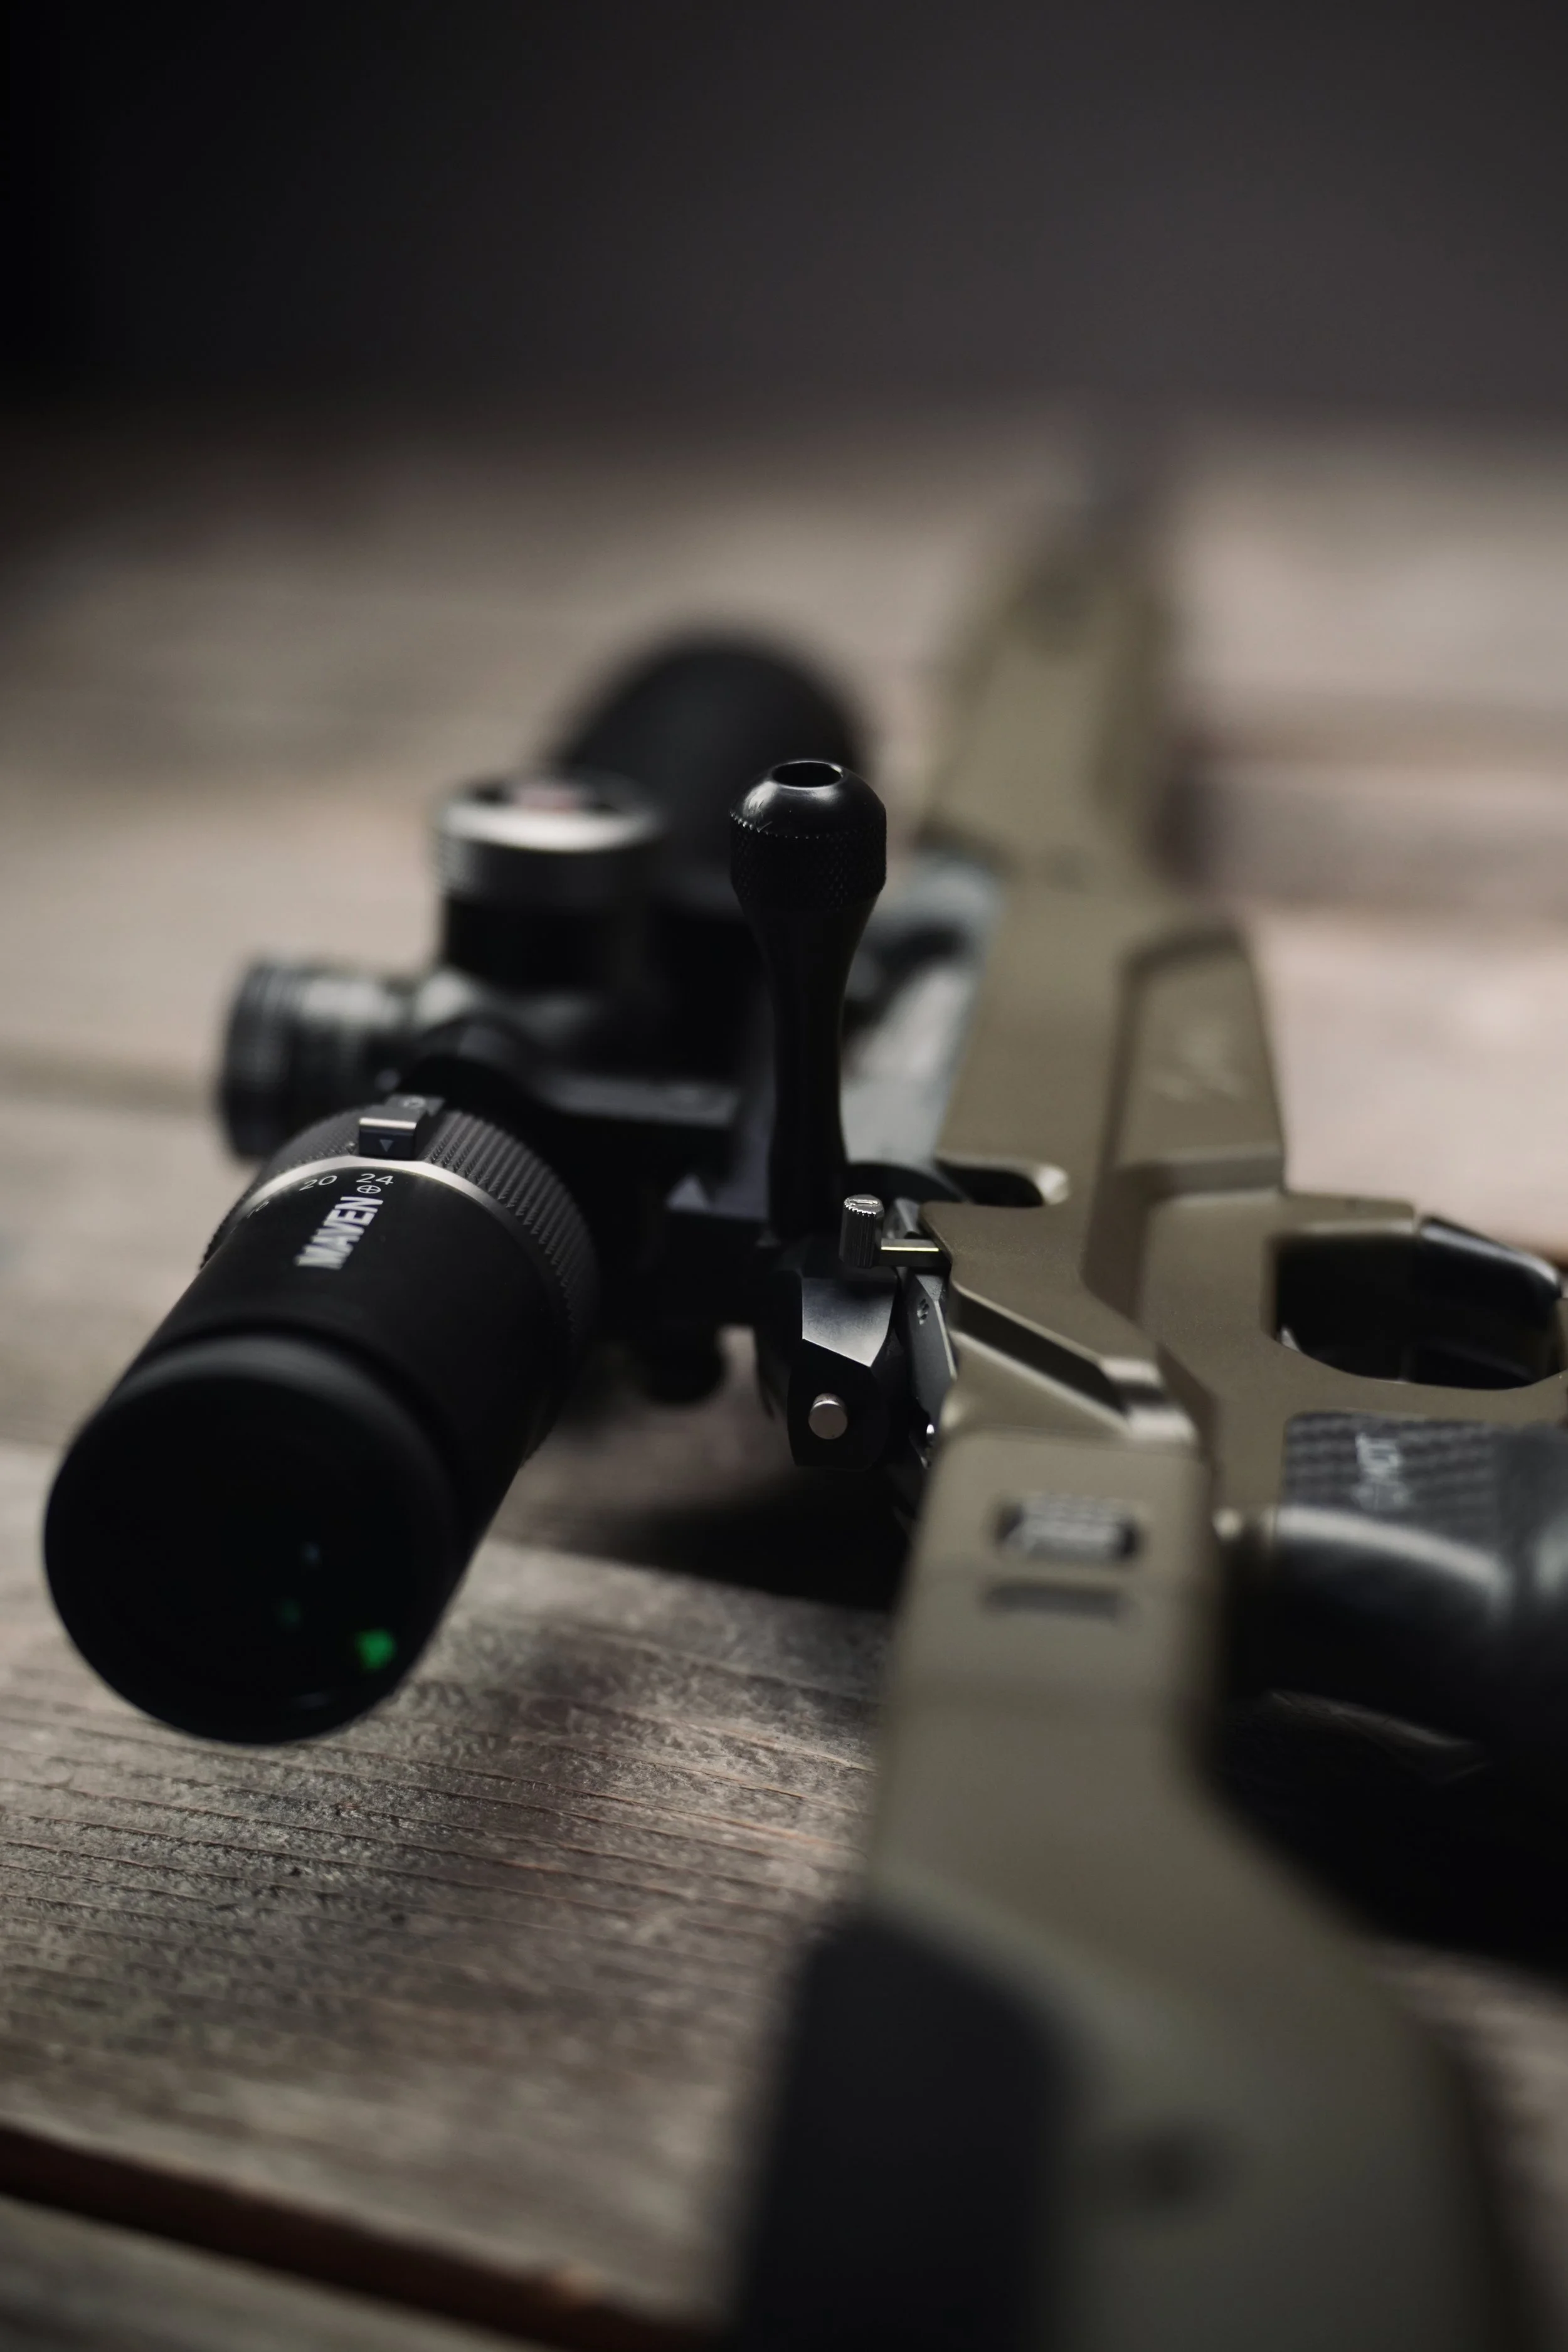
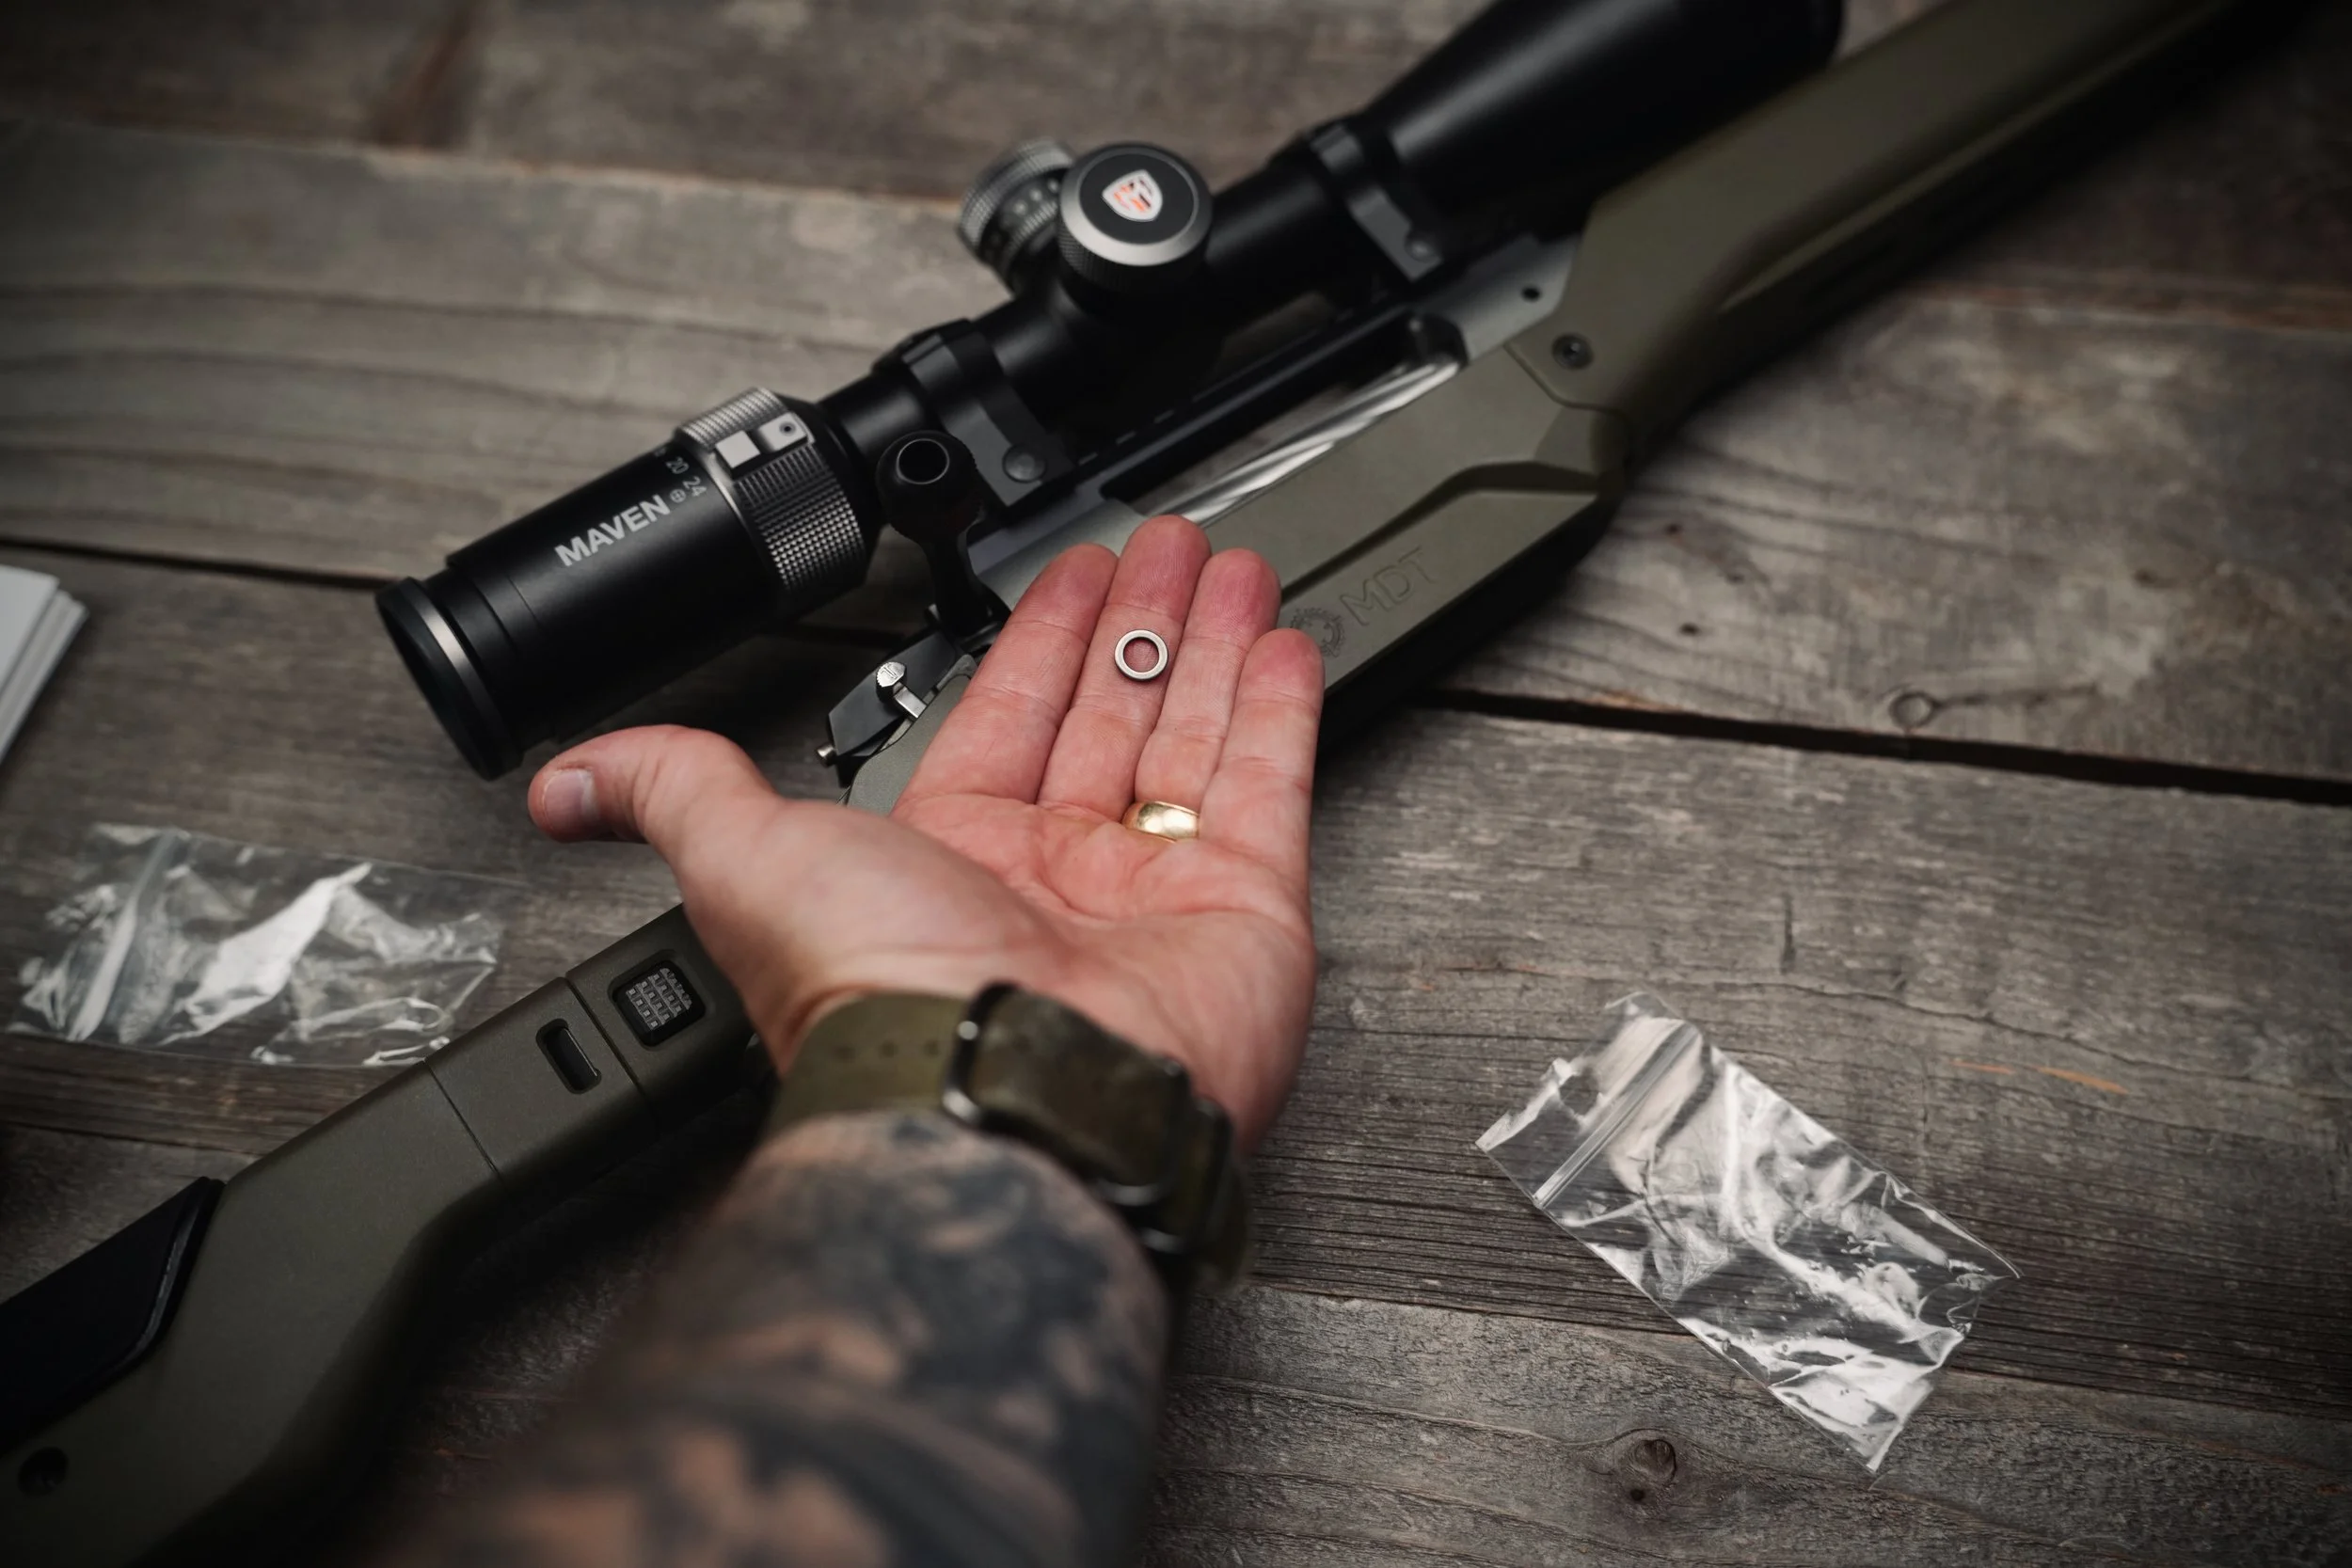
When I first assembled it, the bolt wouldn’t close completely. After some troubleshooting, I found a fitment issue involving the action and chassis hardware. I don’t remember the exact details anymore, but I do remember following the instructions and resolving the issue with the hardware included in the kit.
Once everything was properly fitted and checked, the action operated normally. Problem solved.
I was honestly surprised by how easily everything came together. The major chassis components were straightforward to assemble, the fit was excellent, and the whole process was very uneventful, which, when you’re doing something like this for the first time, is a very good thing.
The Detachable Magazine Situation
Now we get to the one part of this entire build that still bothers me. The magazine.
The HNT26 uses AICS-pattern detachable magazines, which sounds simple enough until you start looking for one that works with a .270 Winchester in this setup.
At the time, there were no polymer magazine options, so MDT's engineering team helped me work through the compatibility issue and provided a metal magazine originally intended for the .300 Winchester Magnum. .300 Winchester Magnum. They explained that the magazine would need to be adapted for the .270 cartridge, and I followed their guidance.
I won't turn this into a tutorial because I don't know much about magazine geometry or reliable feeding. What matters for this review is that I ended up with a functional five- round metal magazine that has worked reliably for the past three years. All I had to do was pinch the top of the magazine closed to a specific size, and I was off and running.
The problem is that I don't particularly like it…
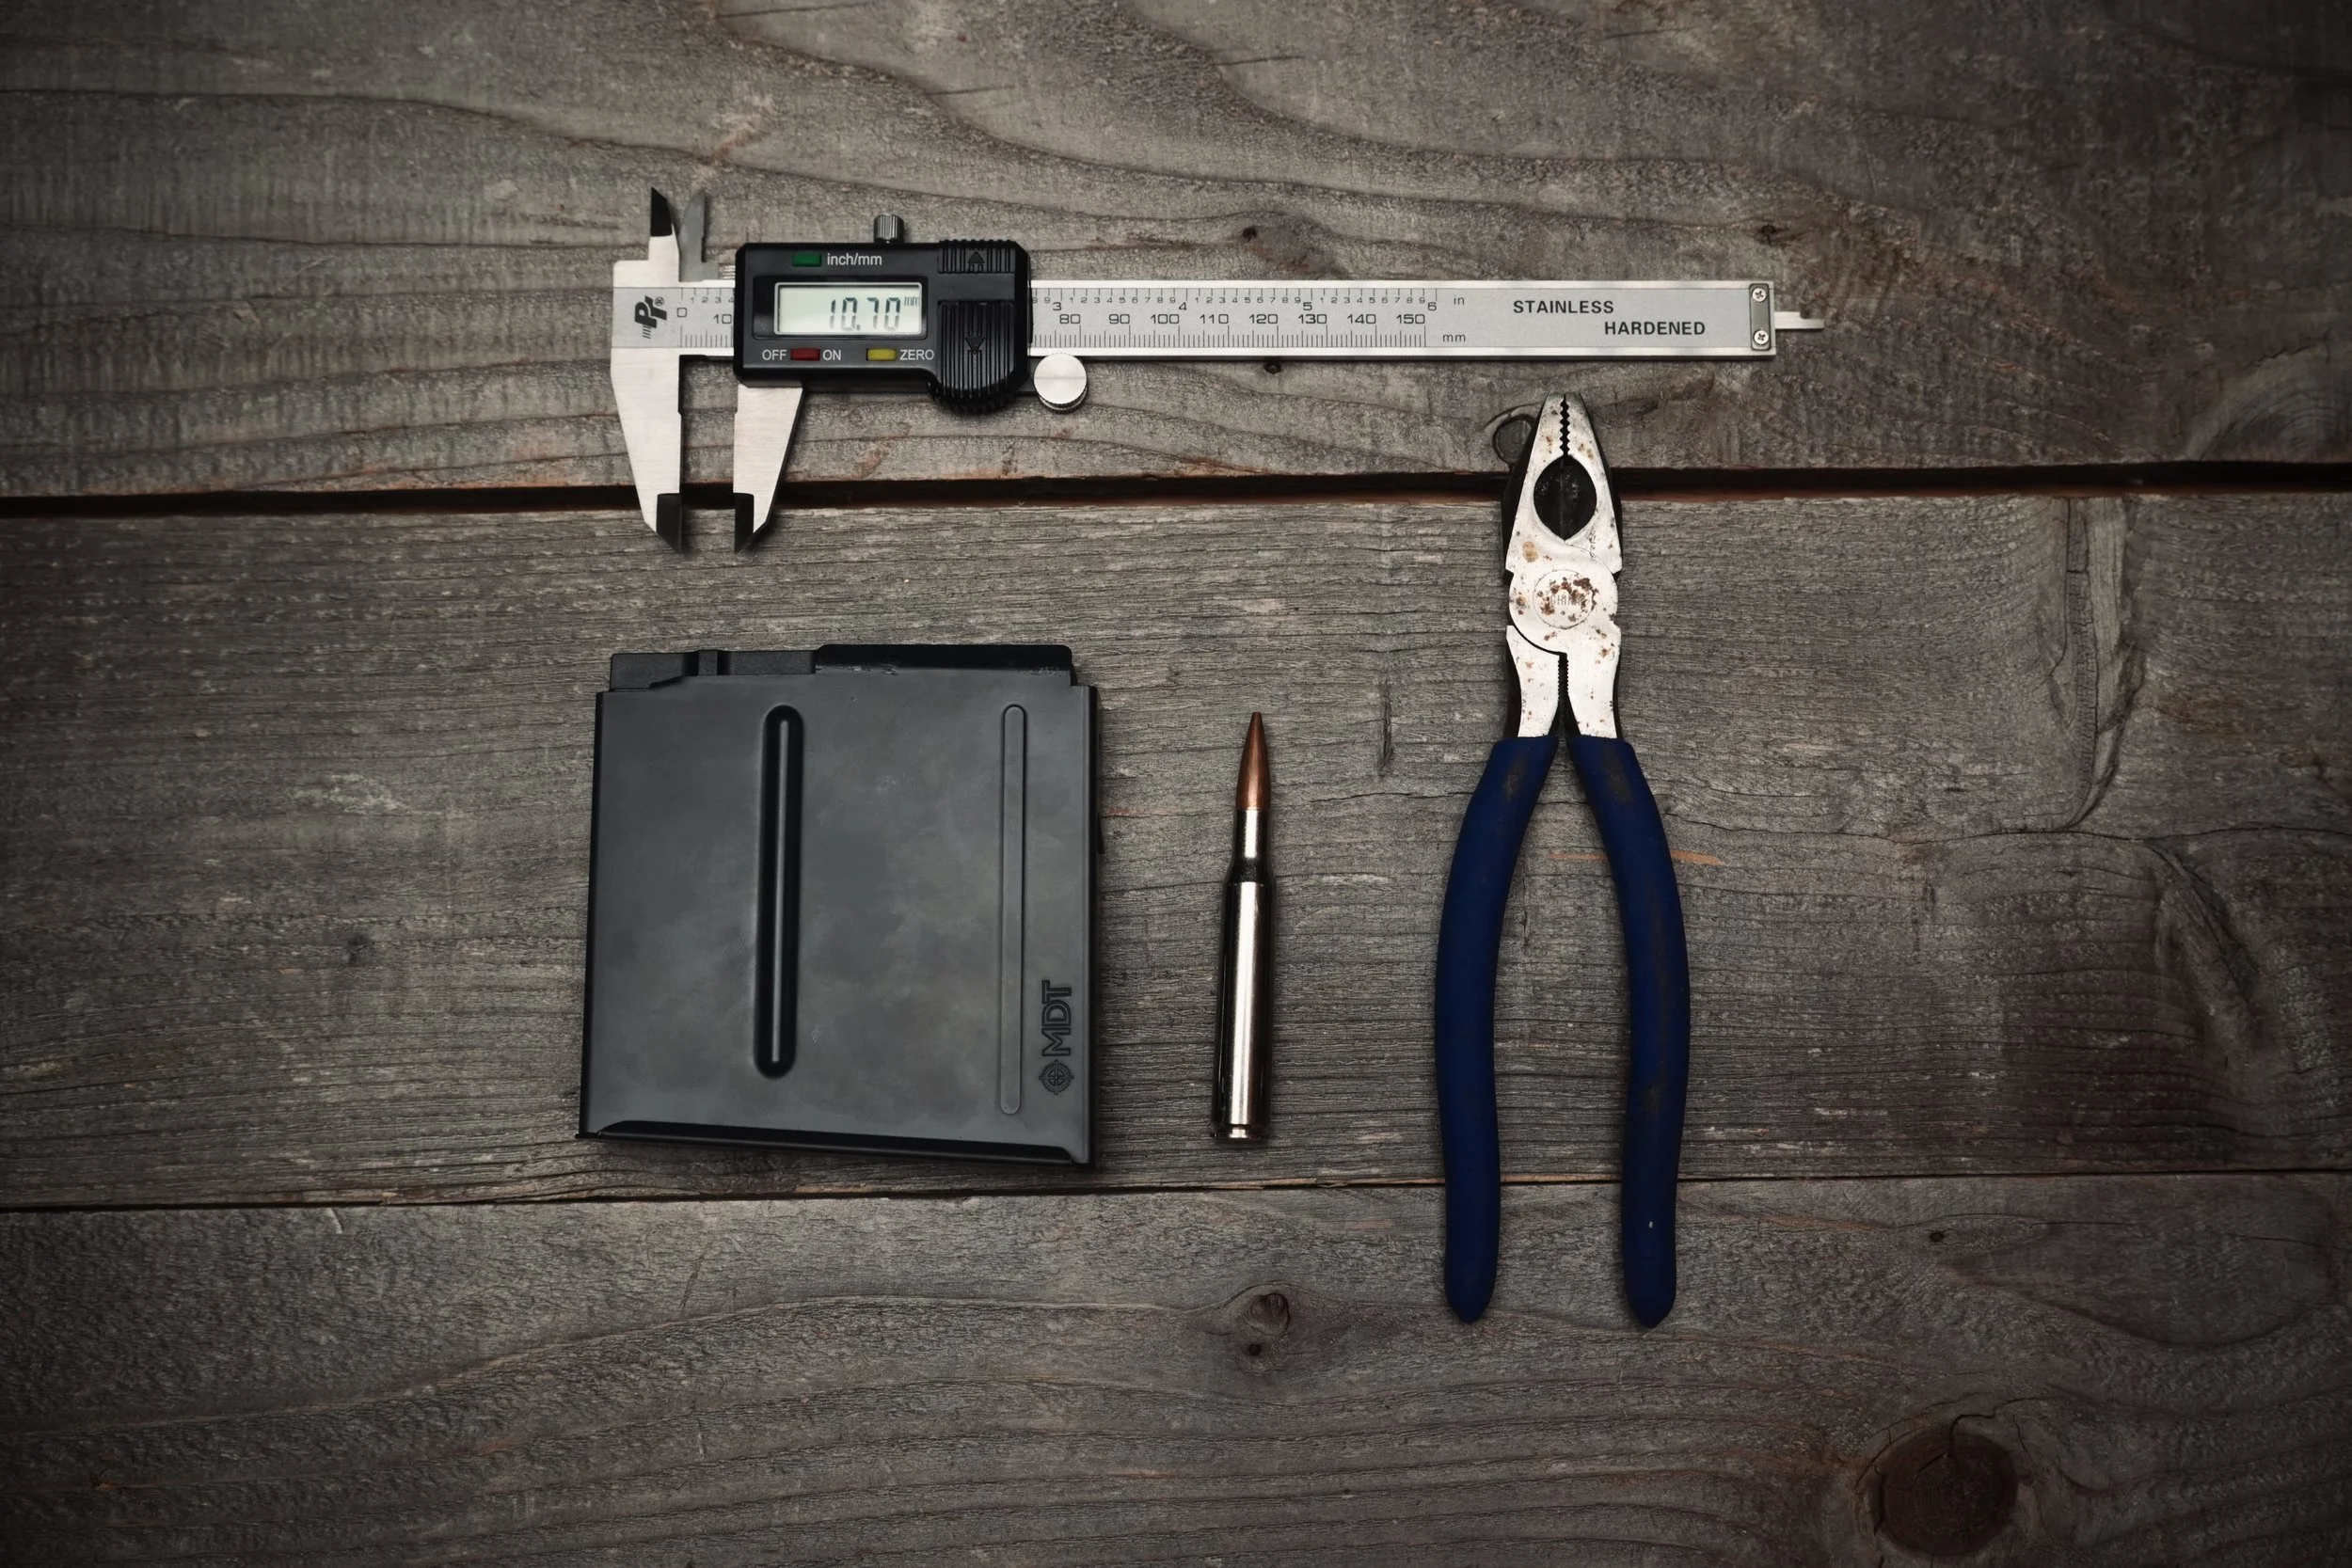
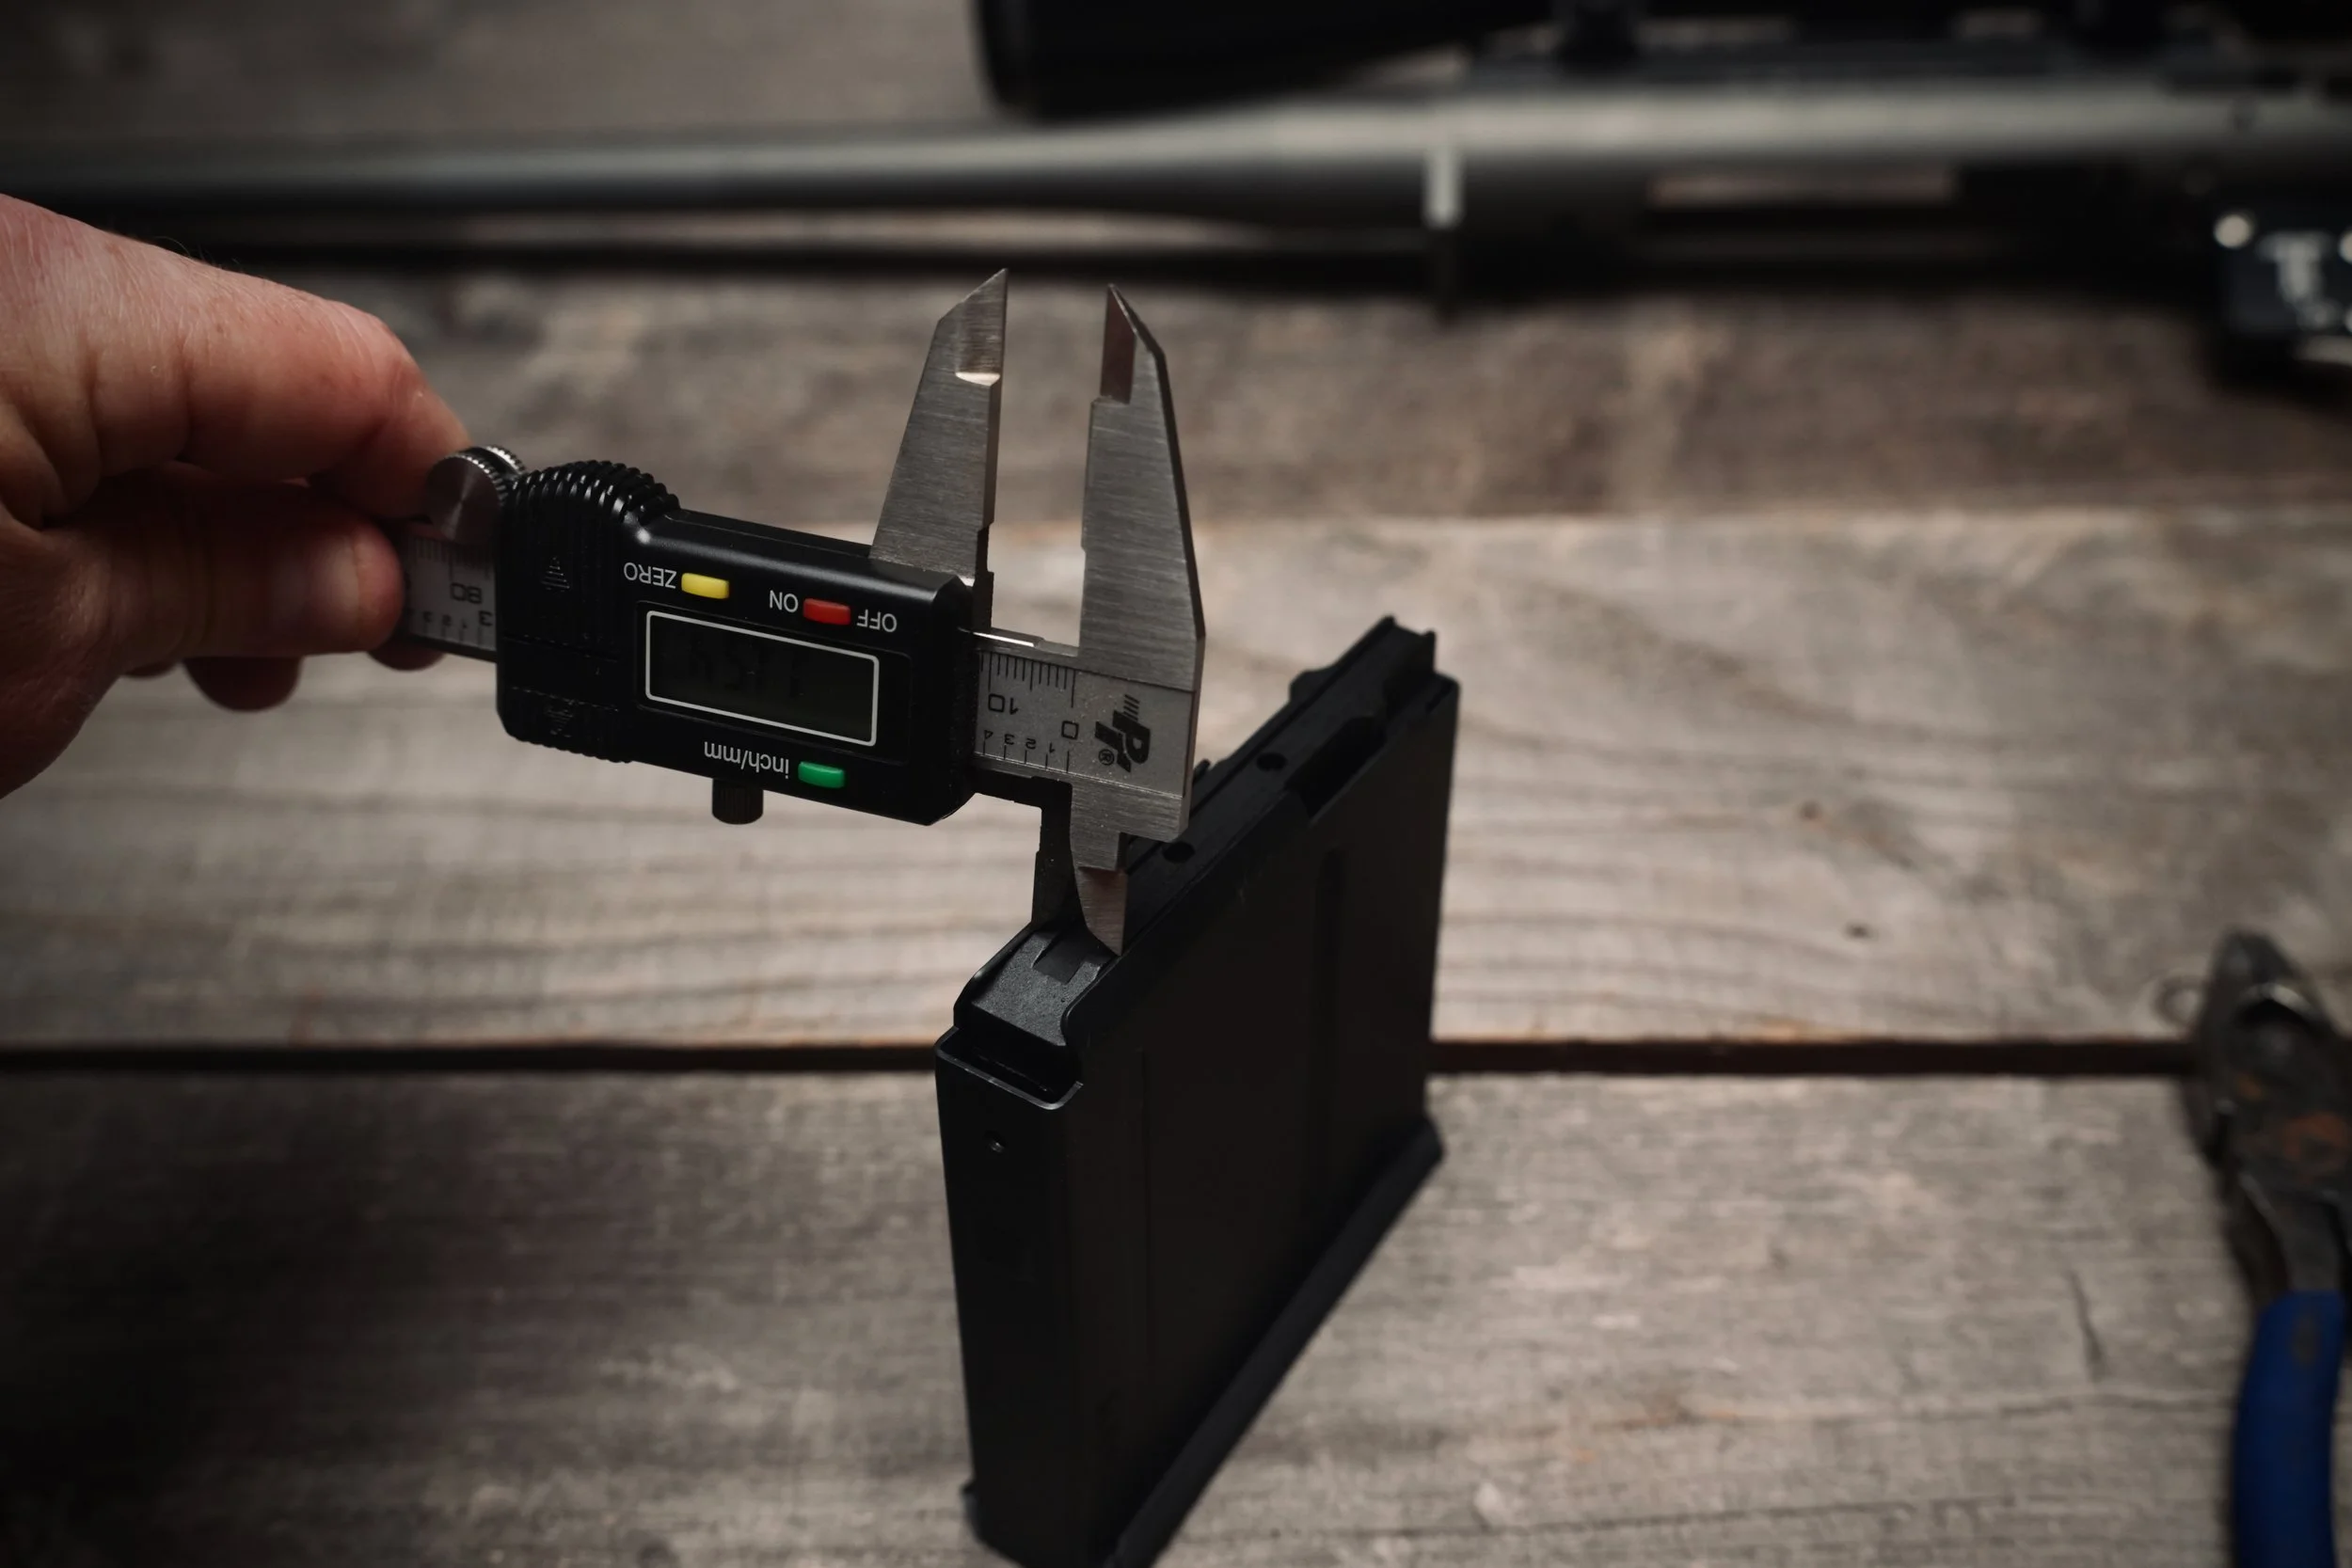
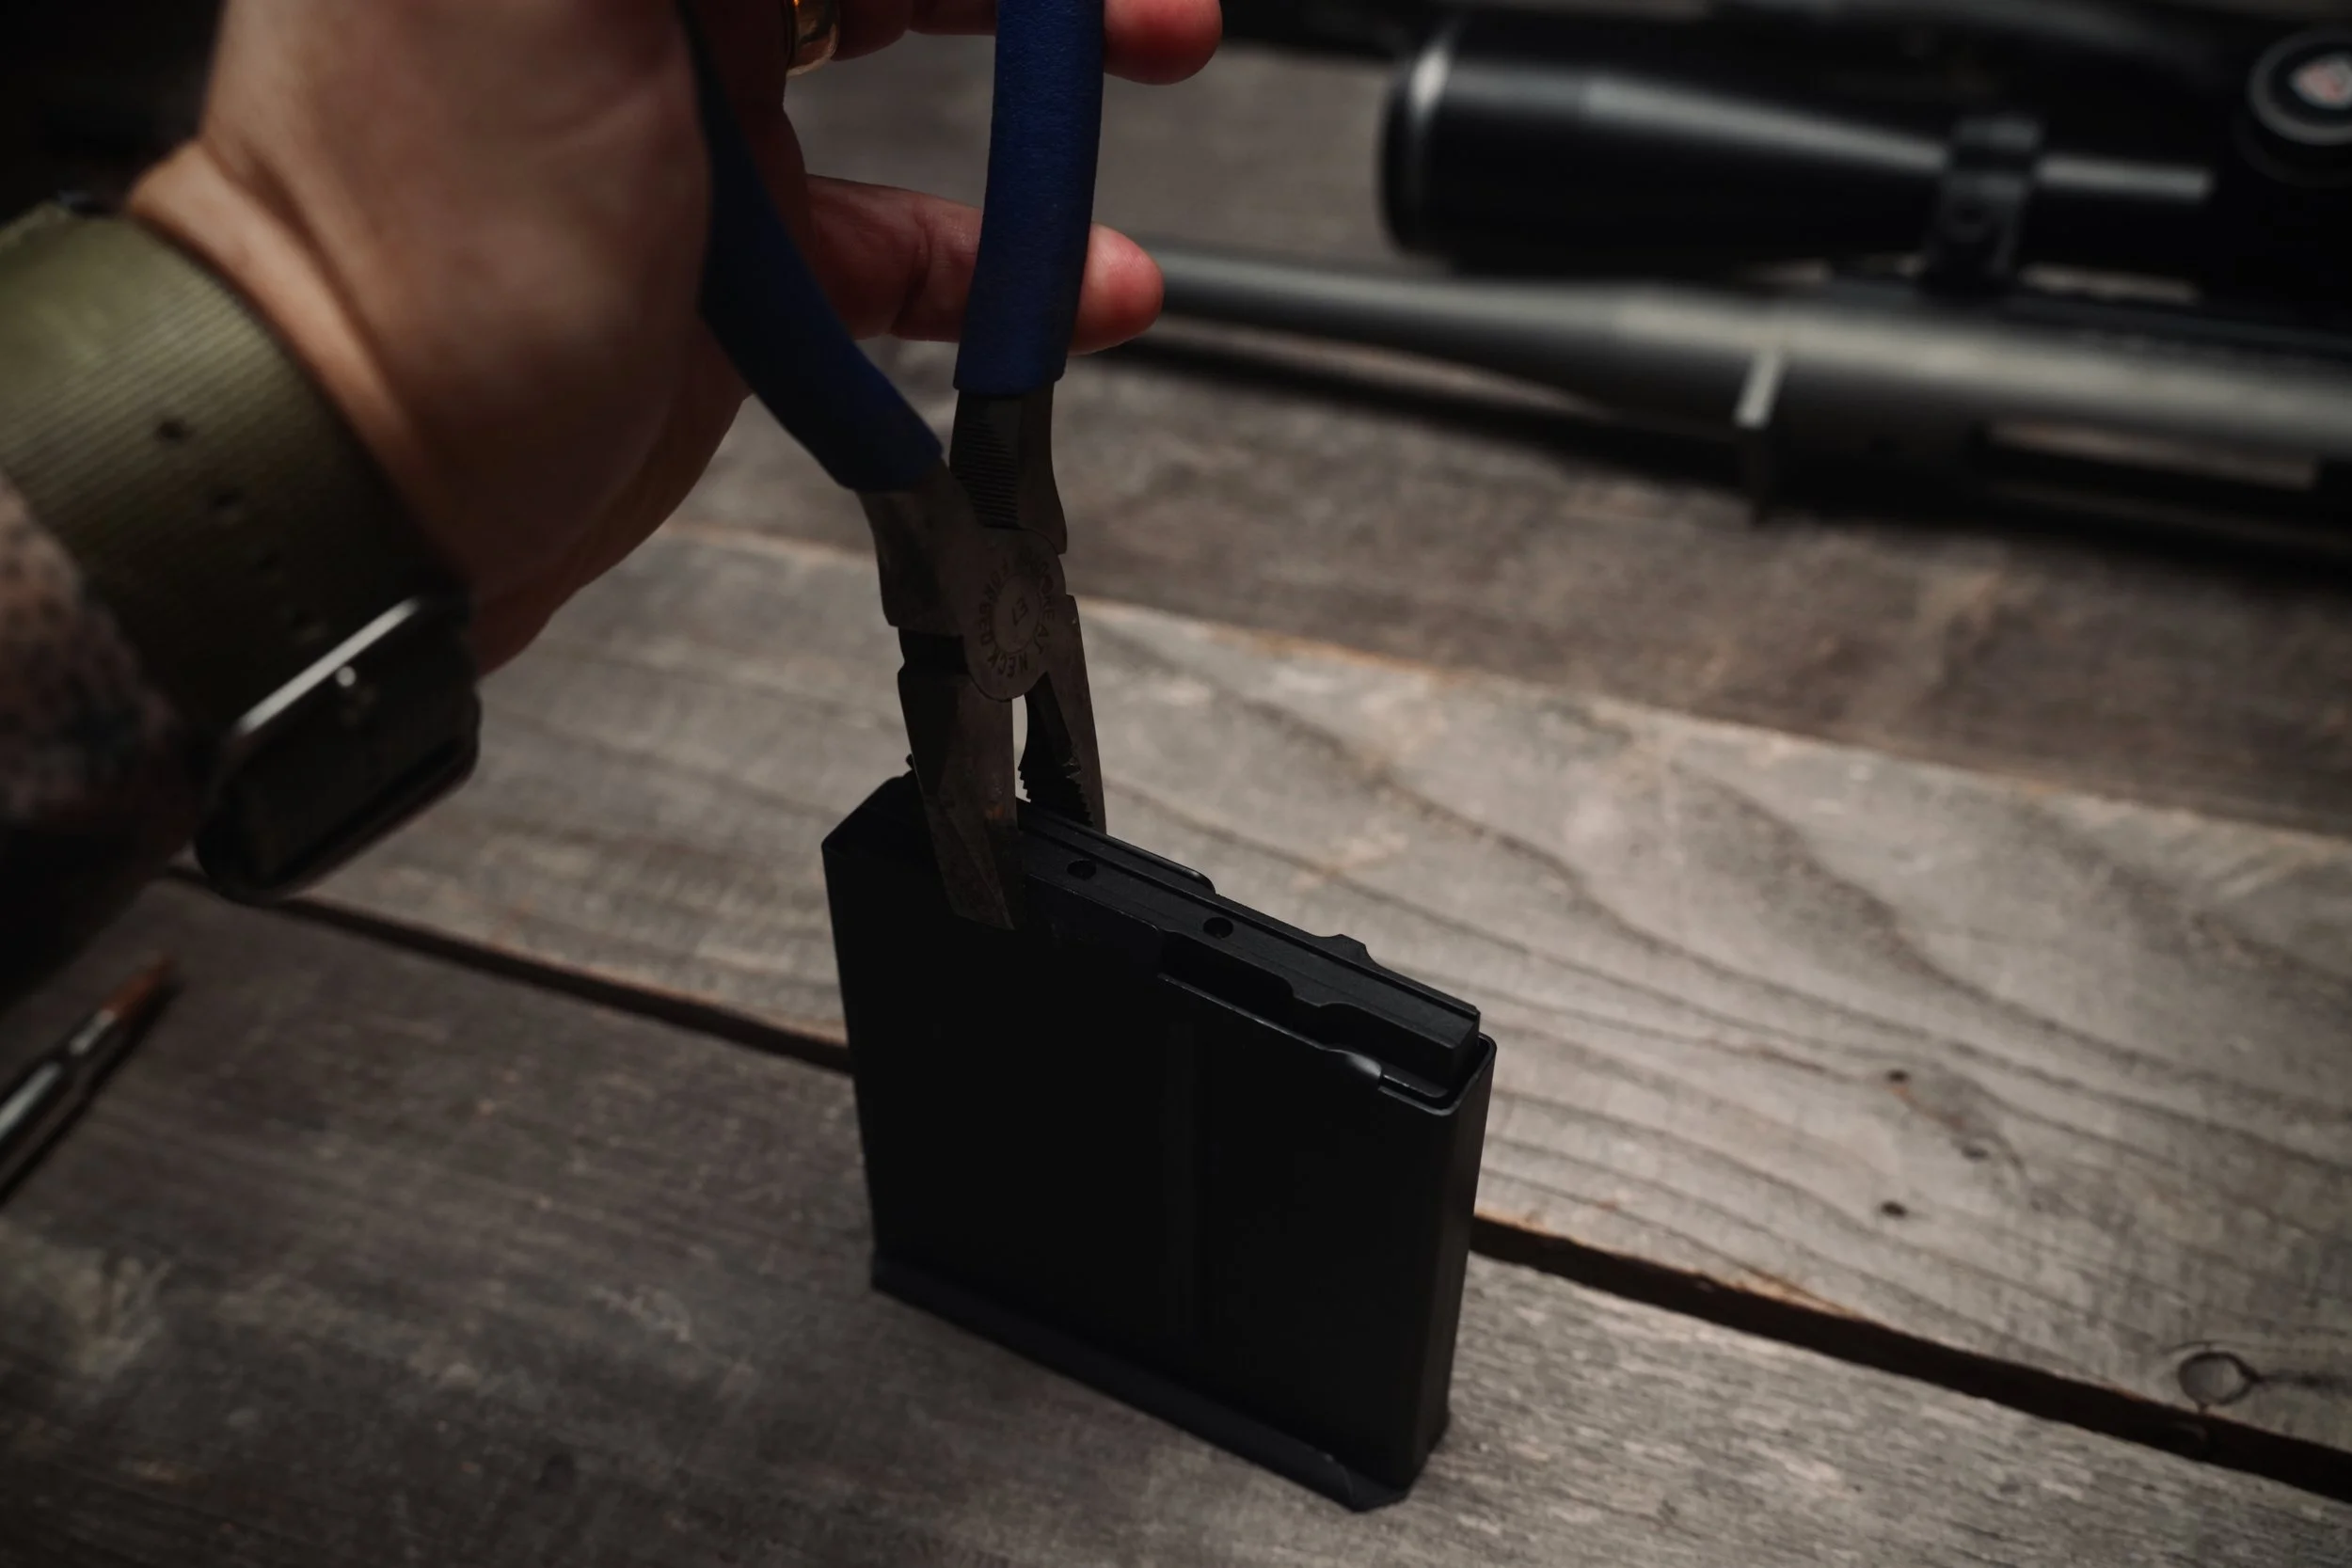
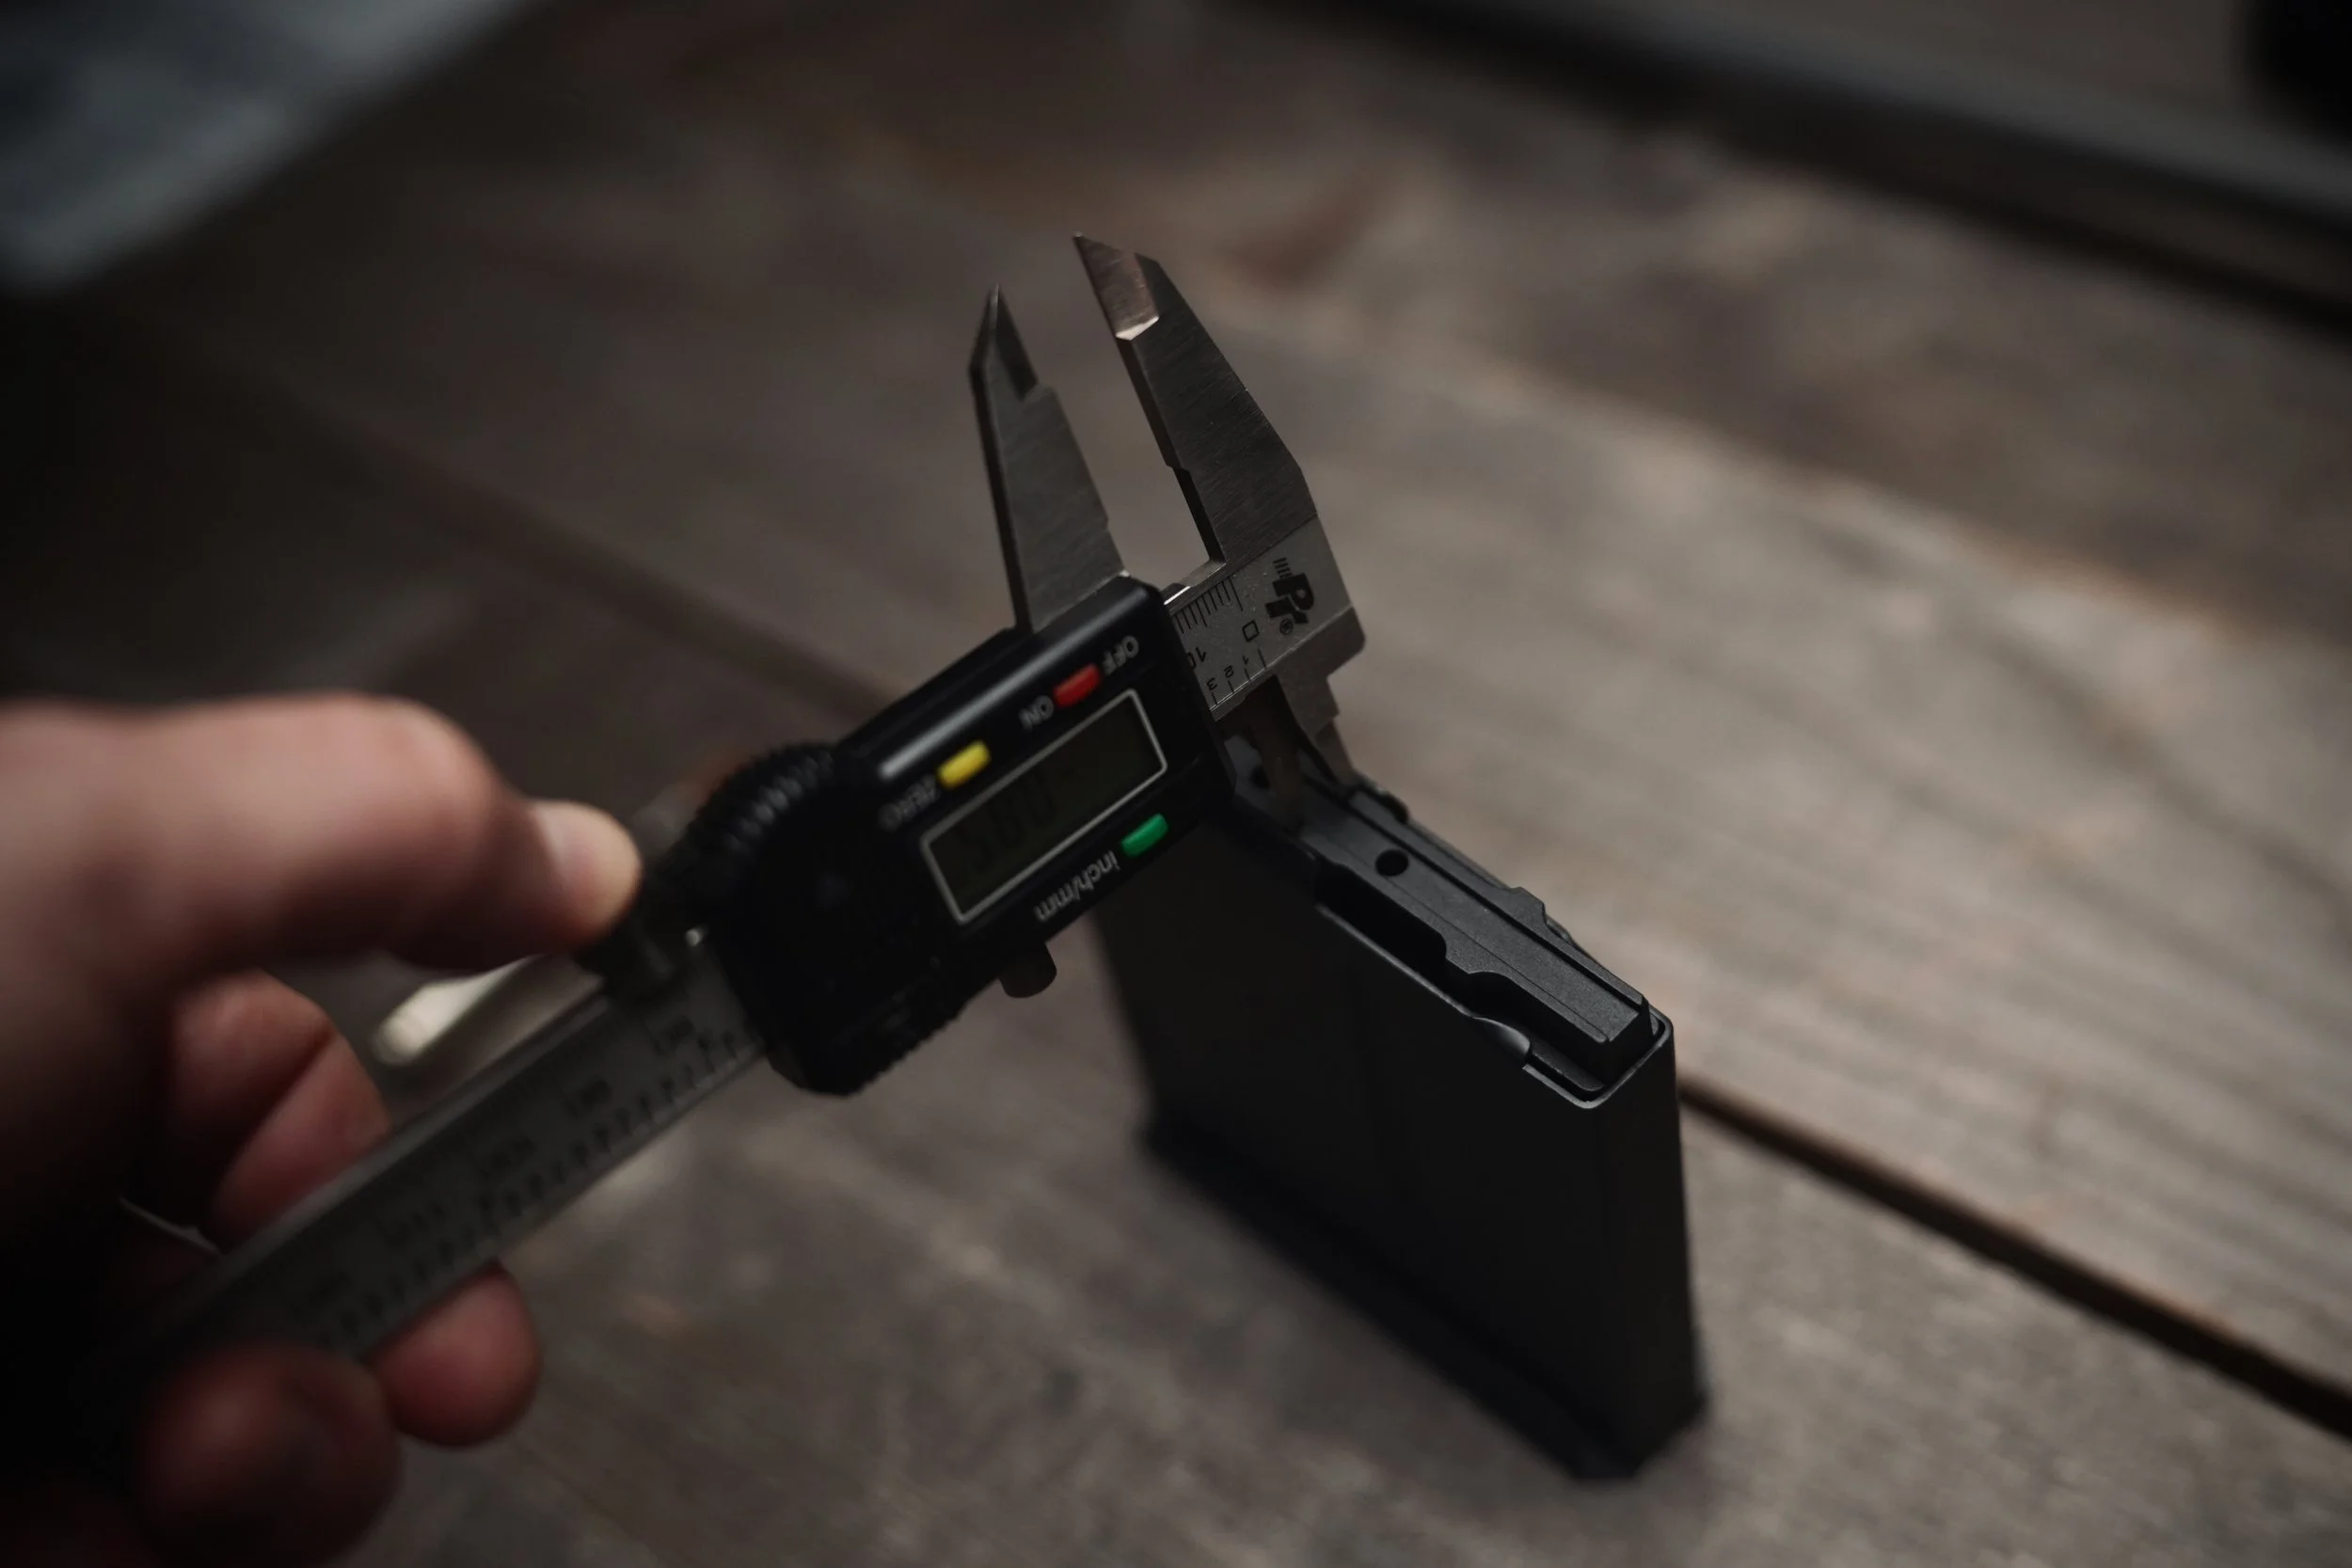
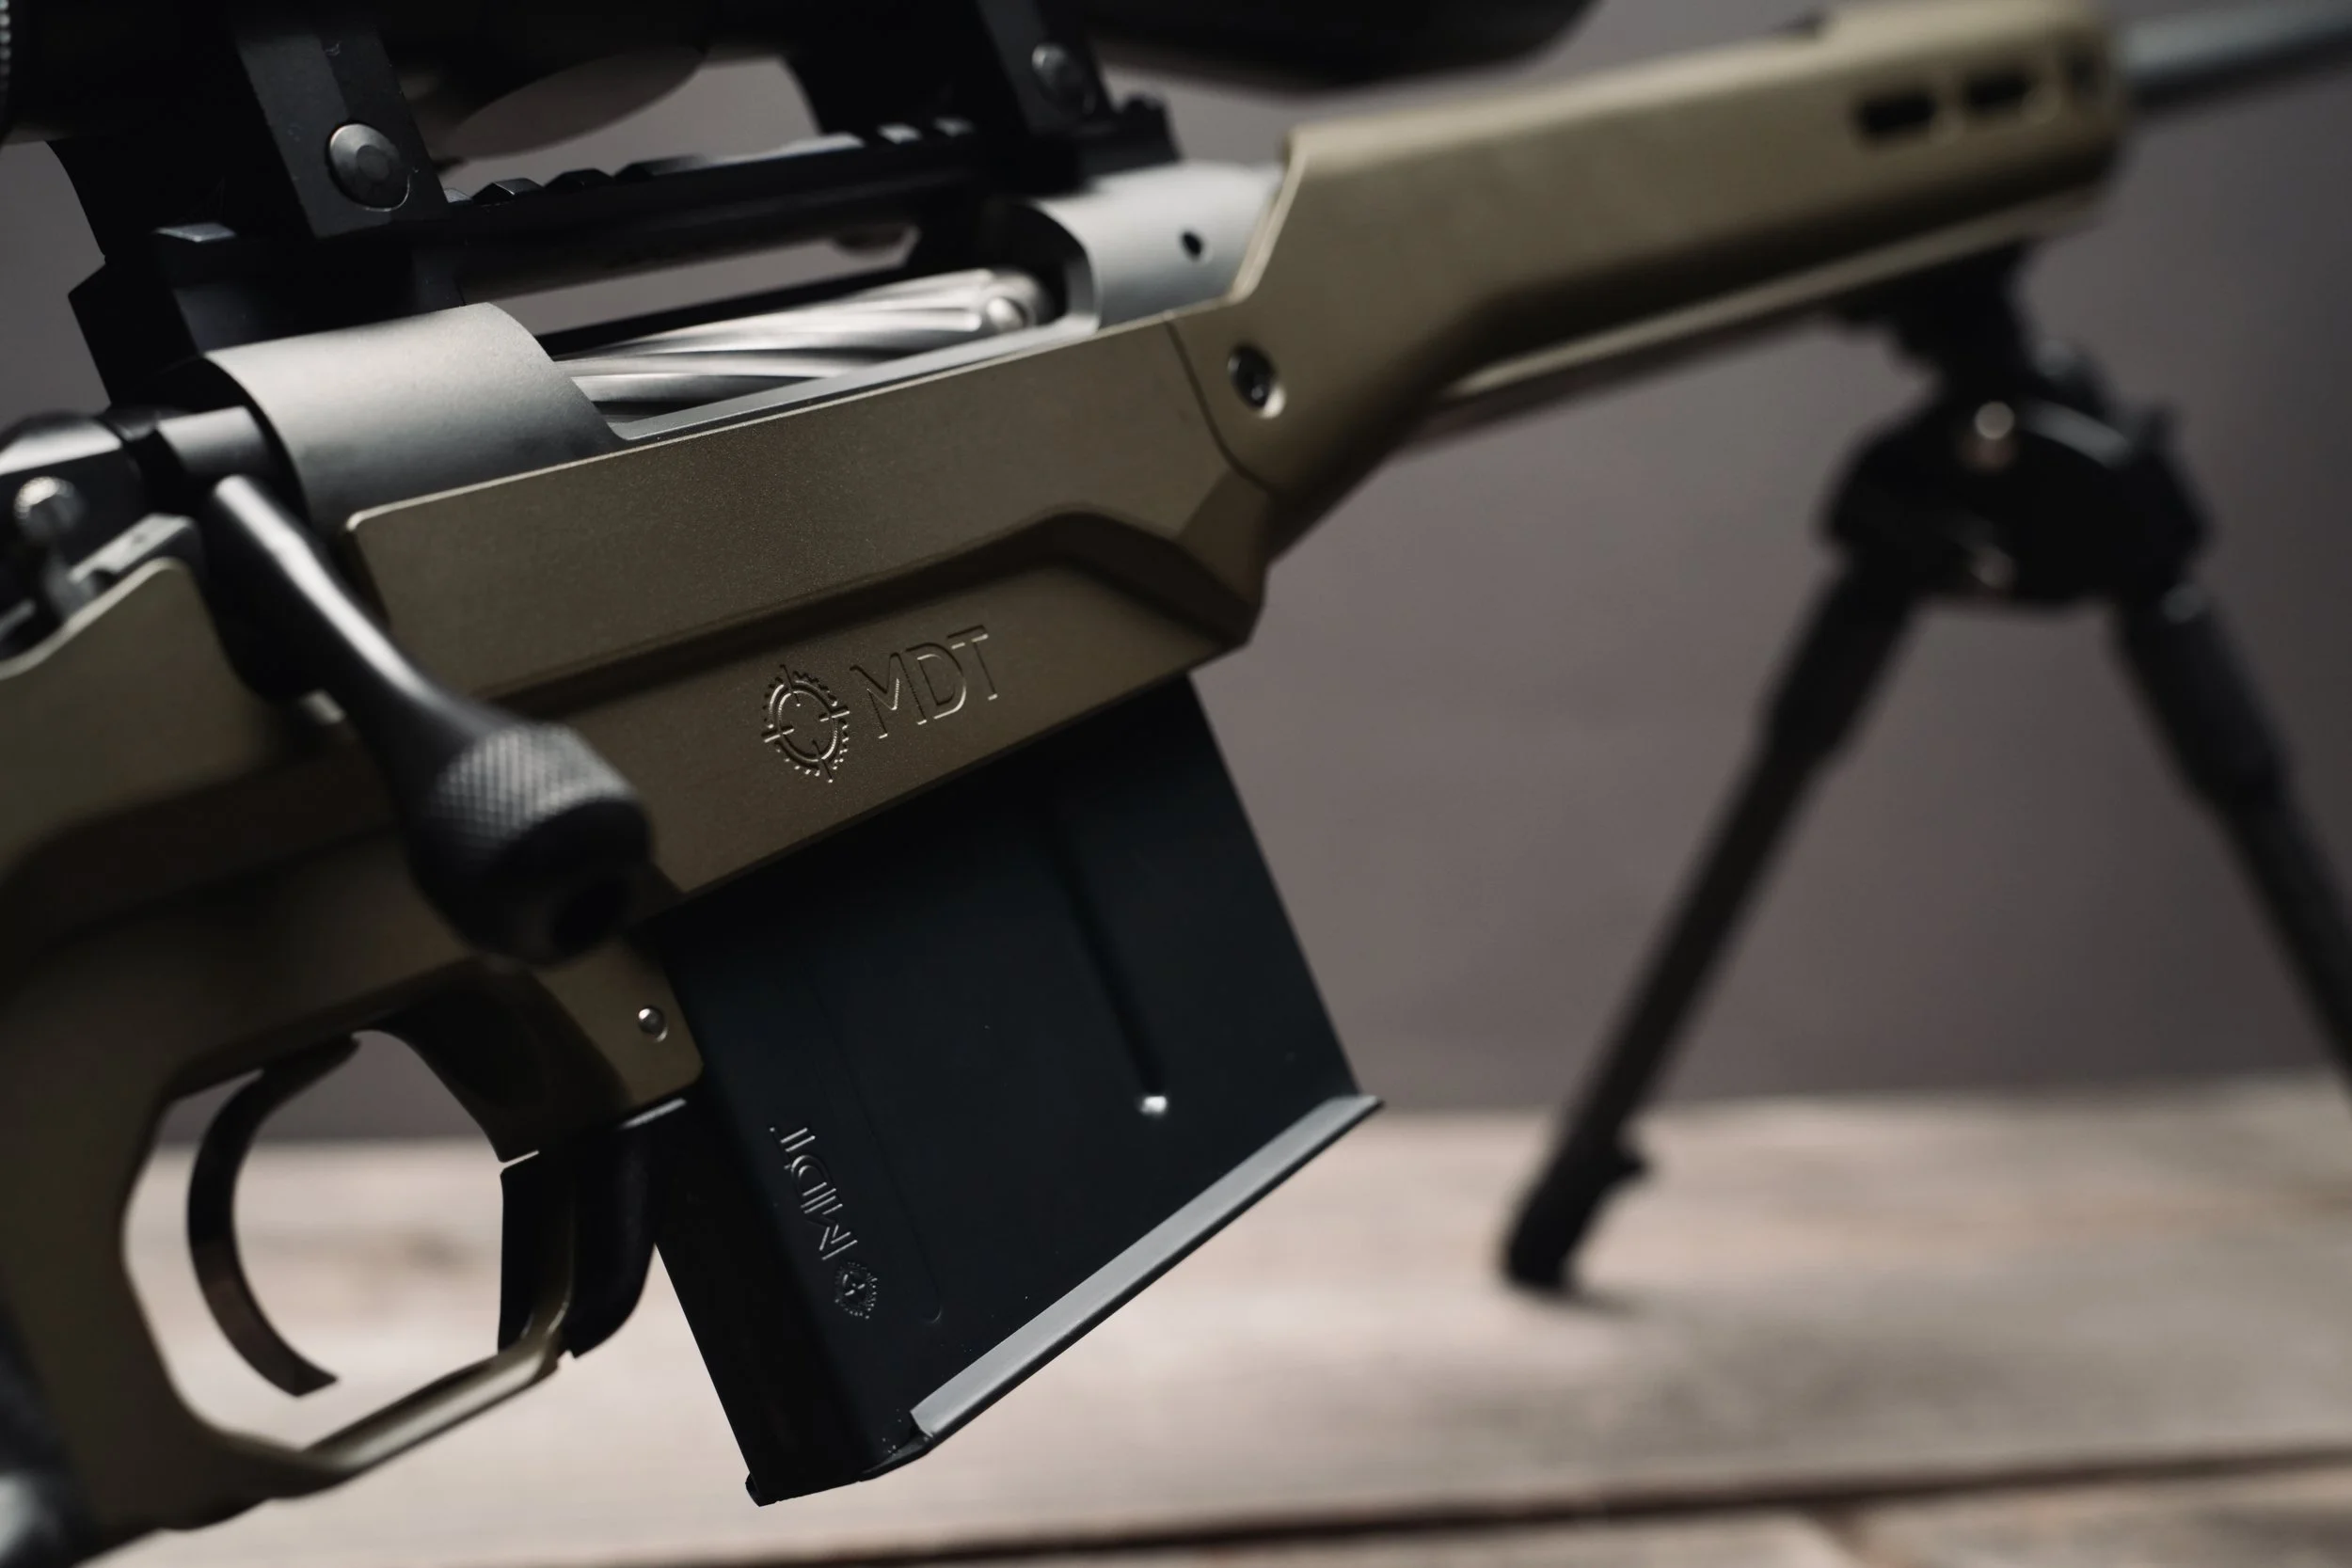
It's functional, but not elegant. The metal magazine is physically larger than I'd prefer, louder than I'd like, and feels clunkier than the polymer magazines I've used (especially the one I had just installed).
I also tried ordering a polymer AICS- style magazine from Magpul, assuming it would fit, but it didn't. I was a little confused because I had assumed that AICS compatibility meant everything would be relatively interchangeable. Apparently I was mistaken.
So I've continued using the metal magazine as is, and to be fair, it works perfectly fine. It seats properly, feeds ammunition, and hasn't caused any functional problems during my time with it.
I just don’t like the noise.
Where I hunt, you're often moving through thick timber and brush at relatively close distances. I want my equipment to be as quiet as possible. And this thing sounds like a .50 cal loading into the chamber. Maybe that's a little dramatic, but you get the idea. I've considered taping parts of it to deaden the incidental noise, but I haven't bothered because it's not the end of the world.
Still, if I can eventually find a properly compatible polymer magazine for this chassis and caliber, I'll be a happy guy.
Ergonomics and Handling
This is where the HNT26 really shines.
I’ve never enjoyed the ergonomics of traditional hunting rifle stocks. They work fine, but I’ve always preferred a pistol grip because of how it positions my shooting hand. The HNT26 solves that problem. The grip feels natural, the adjustable cheek rest makes it easier to get a consistent position behind the scope, and the chassis’s overall shape is very comfortable.
I took a minute to figure out the magazine release. I half expected a button like those on an M16 or AR-style rifle, but instead it’s a lever near the trigger guard. Once I understood how it operated, it made perfect sense. It’s simple, functional, and doesn’t stick out unnecessarily.
The folding stock is equally impressive.
It feels solid when deployed and makes the rifle significantly more compact when folded. That feature alone was one of the main reasons I wanted the HNT26. I’ll get into how that worked in the field a little later. For now, I’ll just say that the chassis met or exceeded nearly all my initial expectations.
Spartan Javelin Pro Hunt Tac Bipod
Before heading to the range with the finished rifle, I needed to install one more piece of equipment: a bipod.
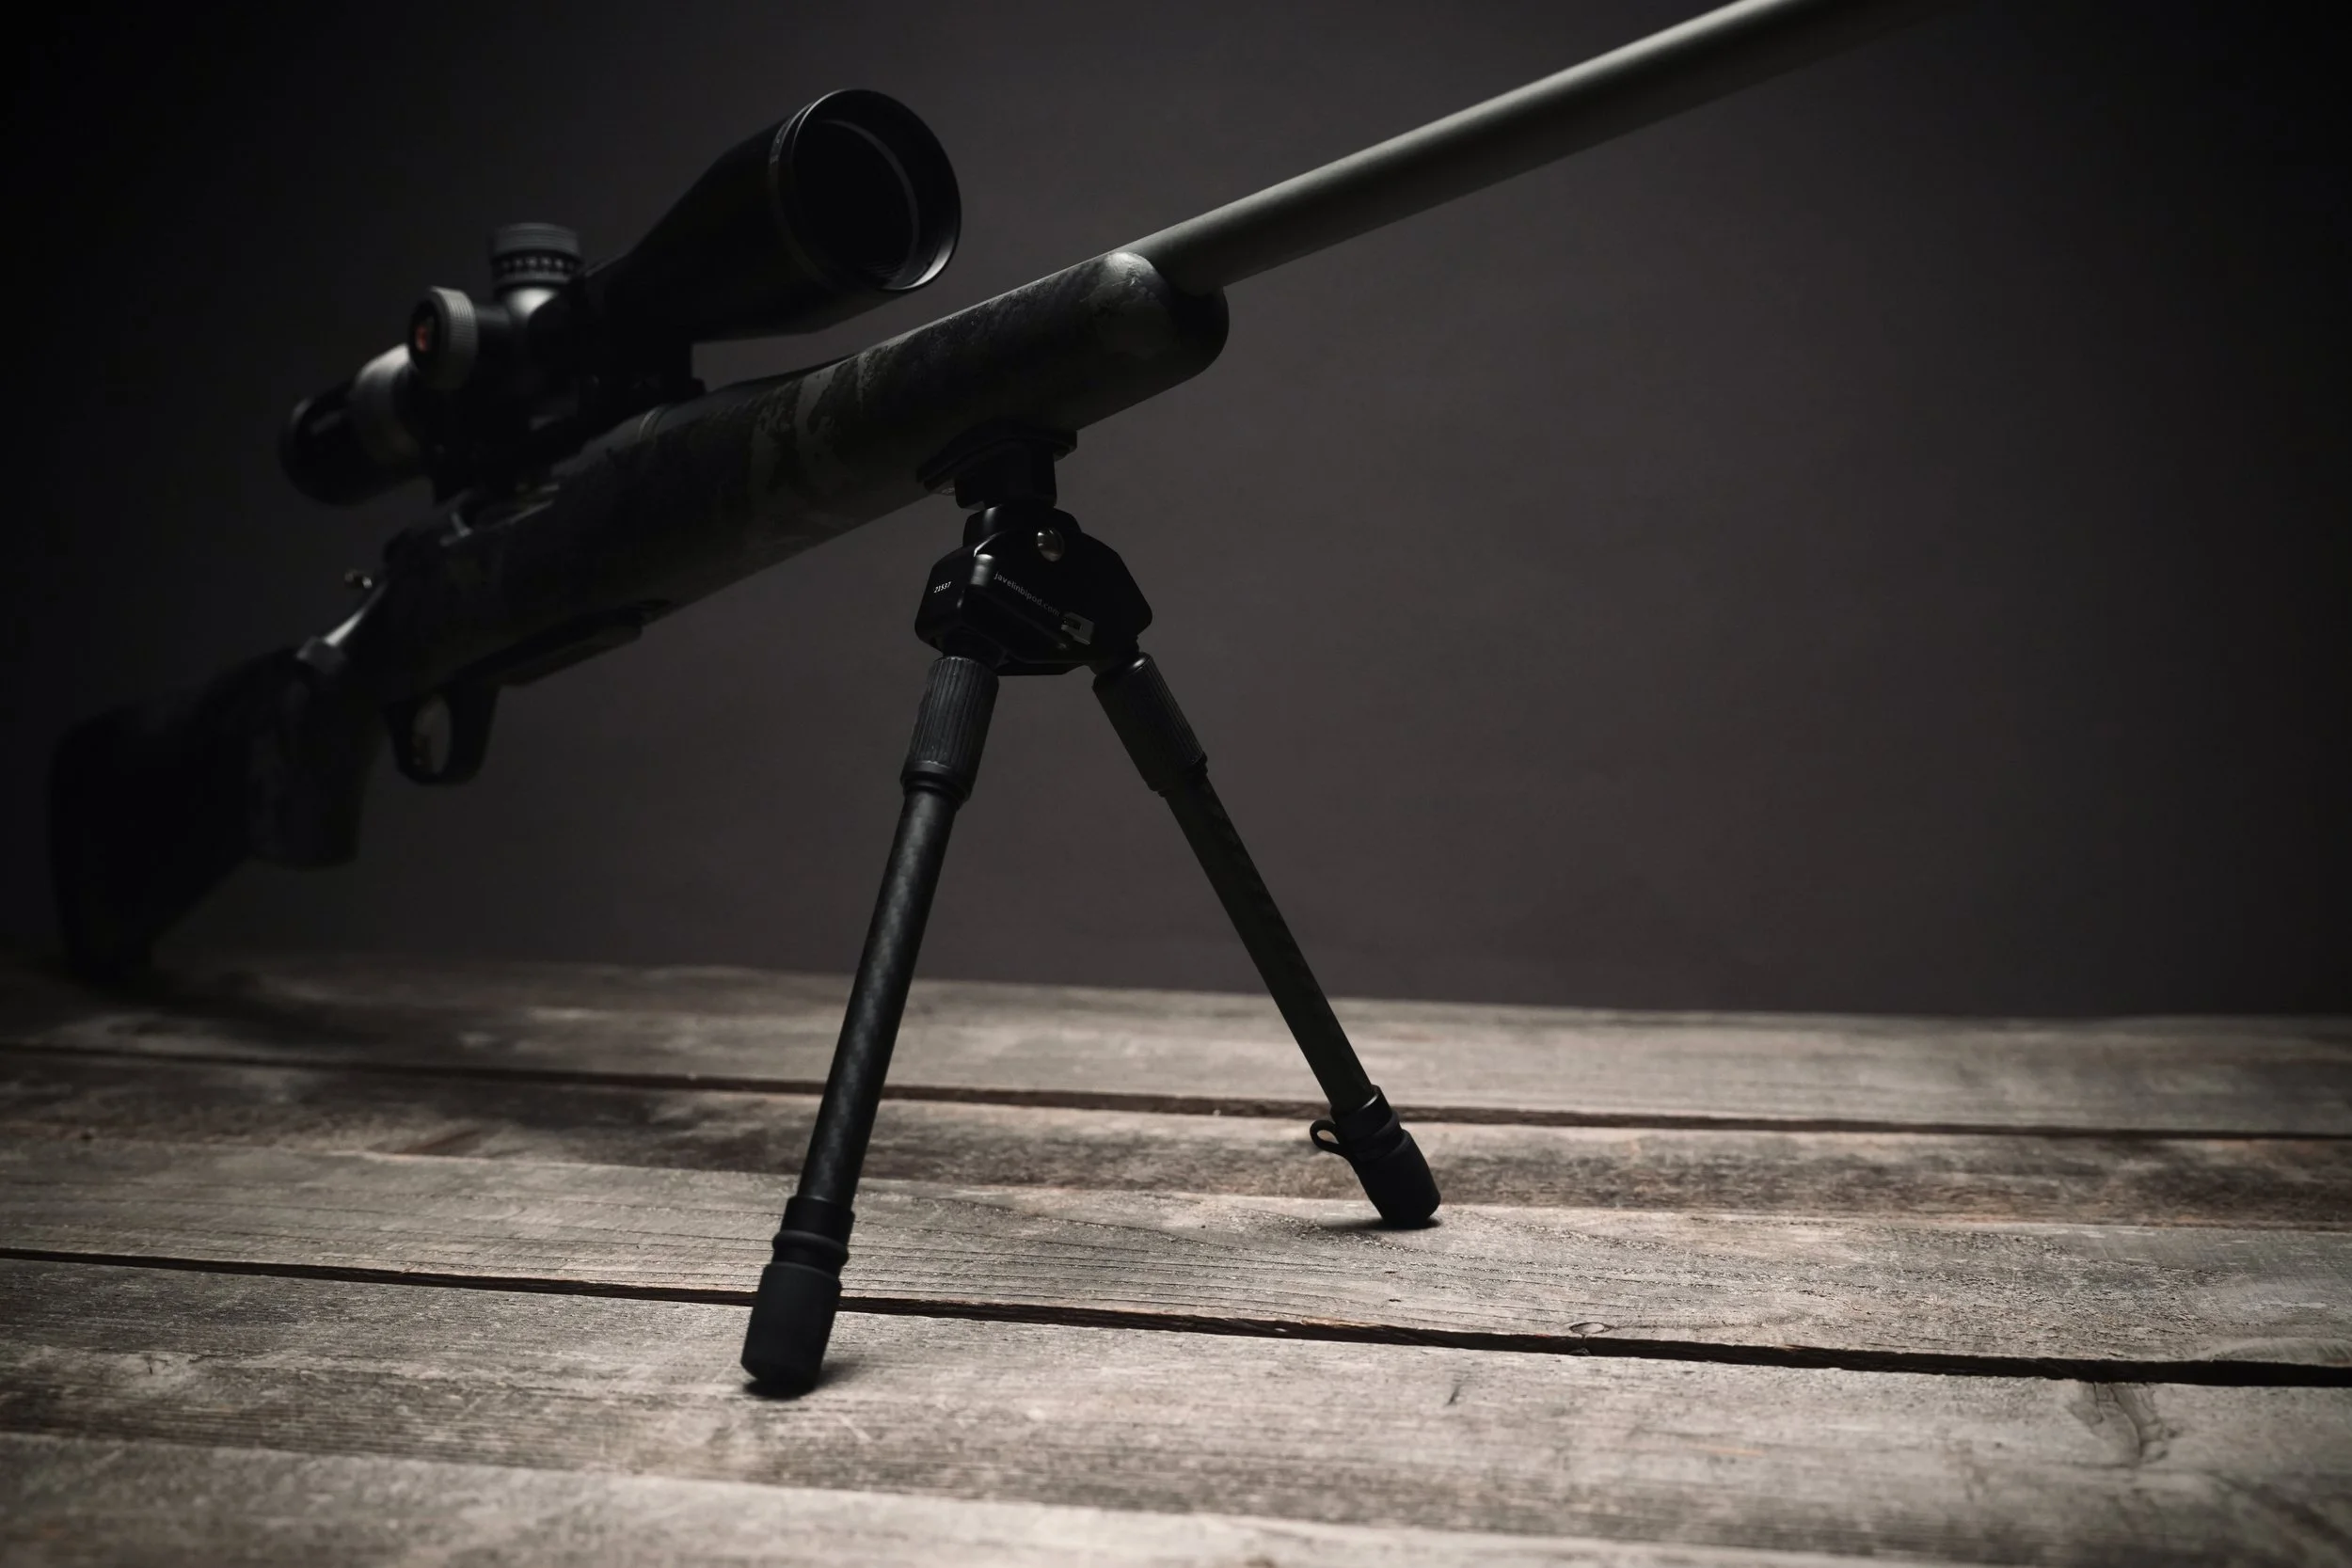
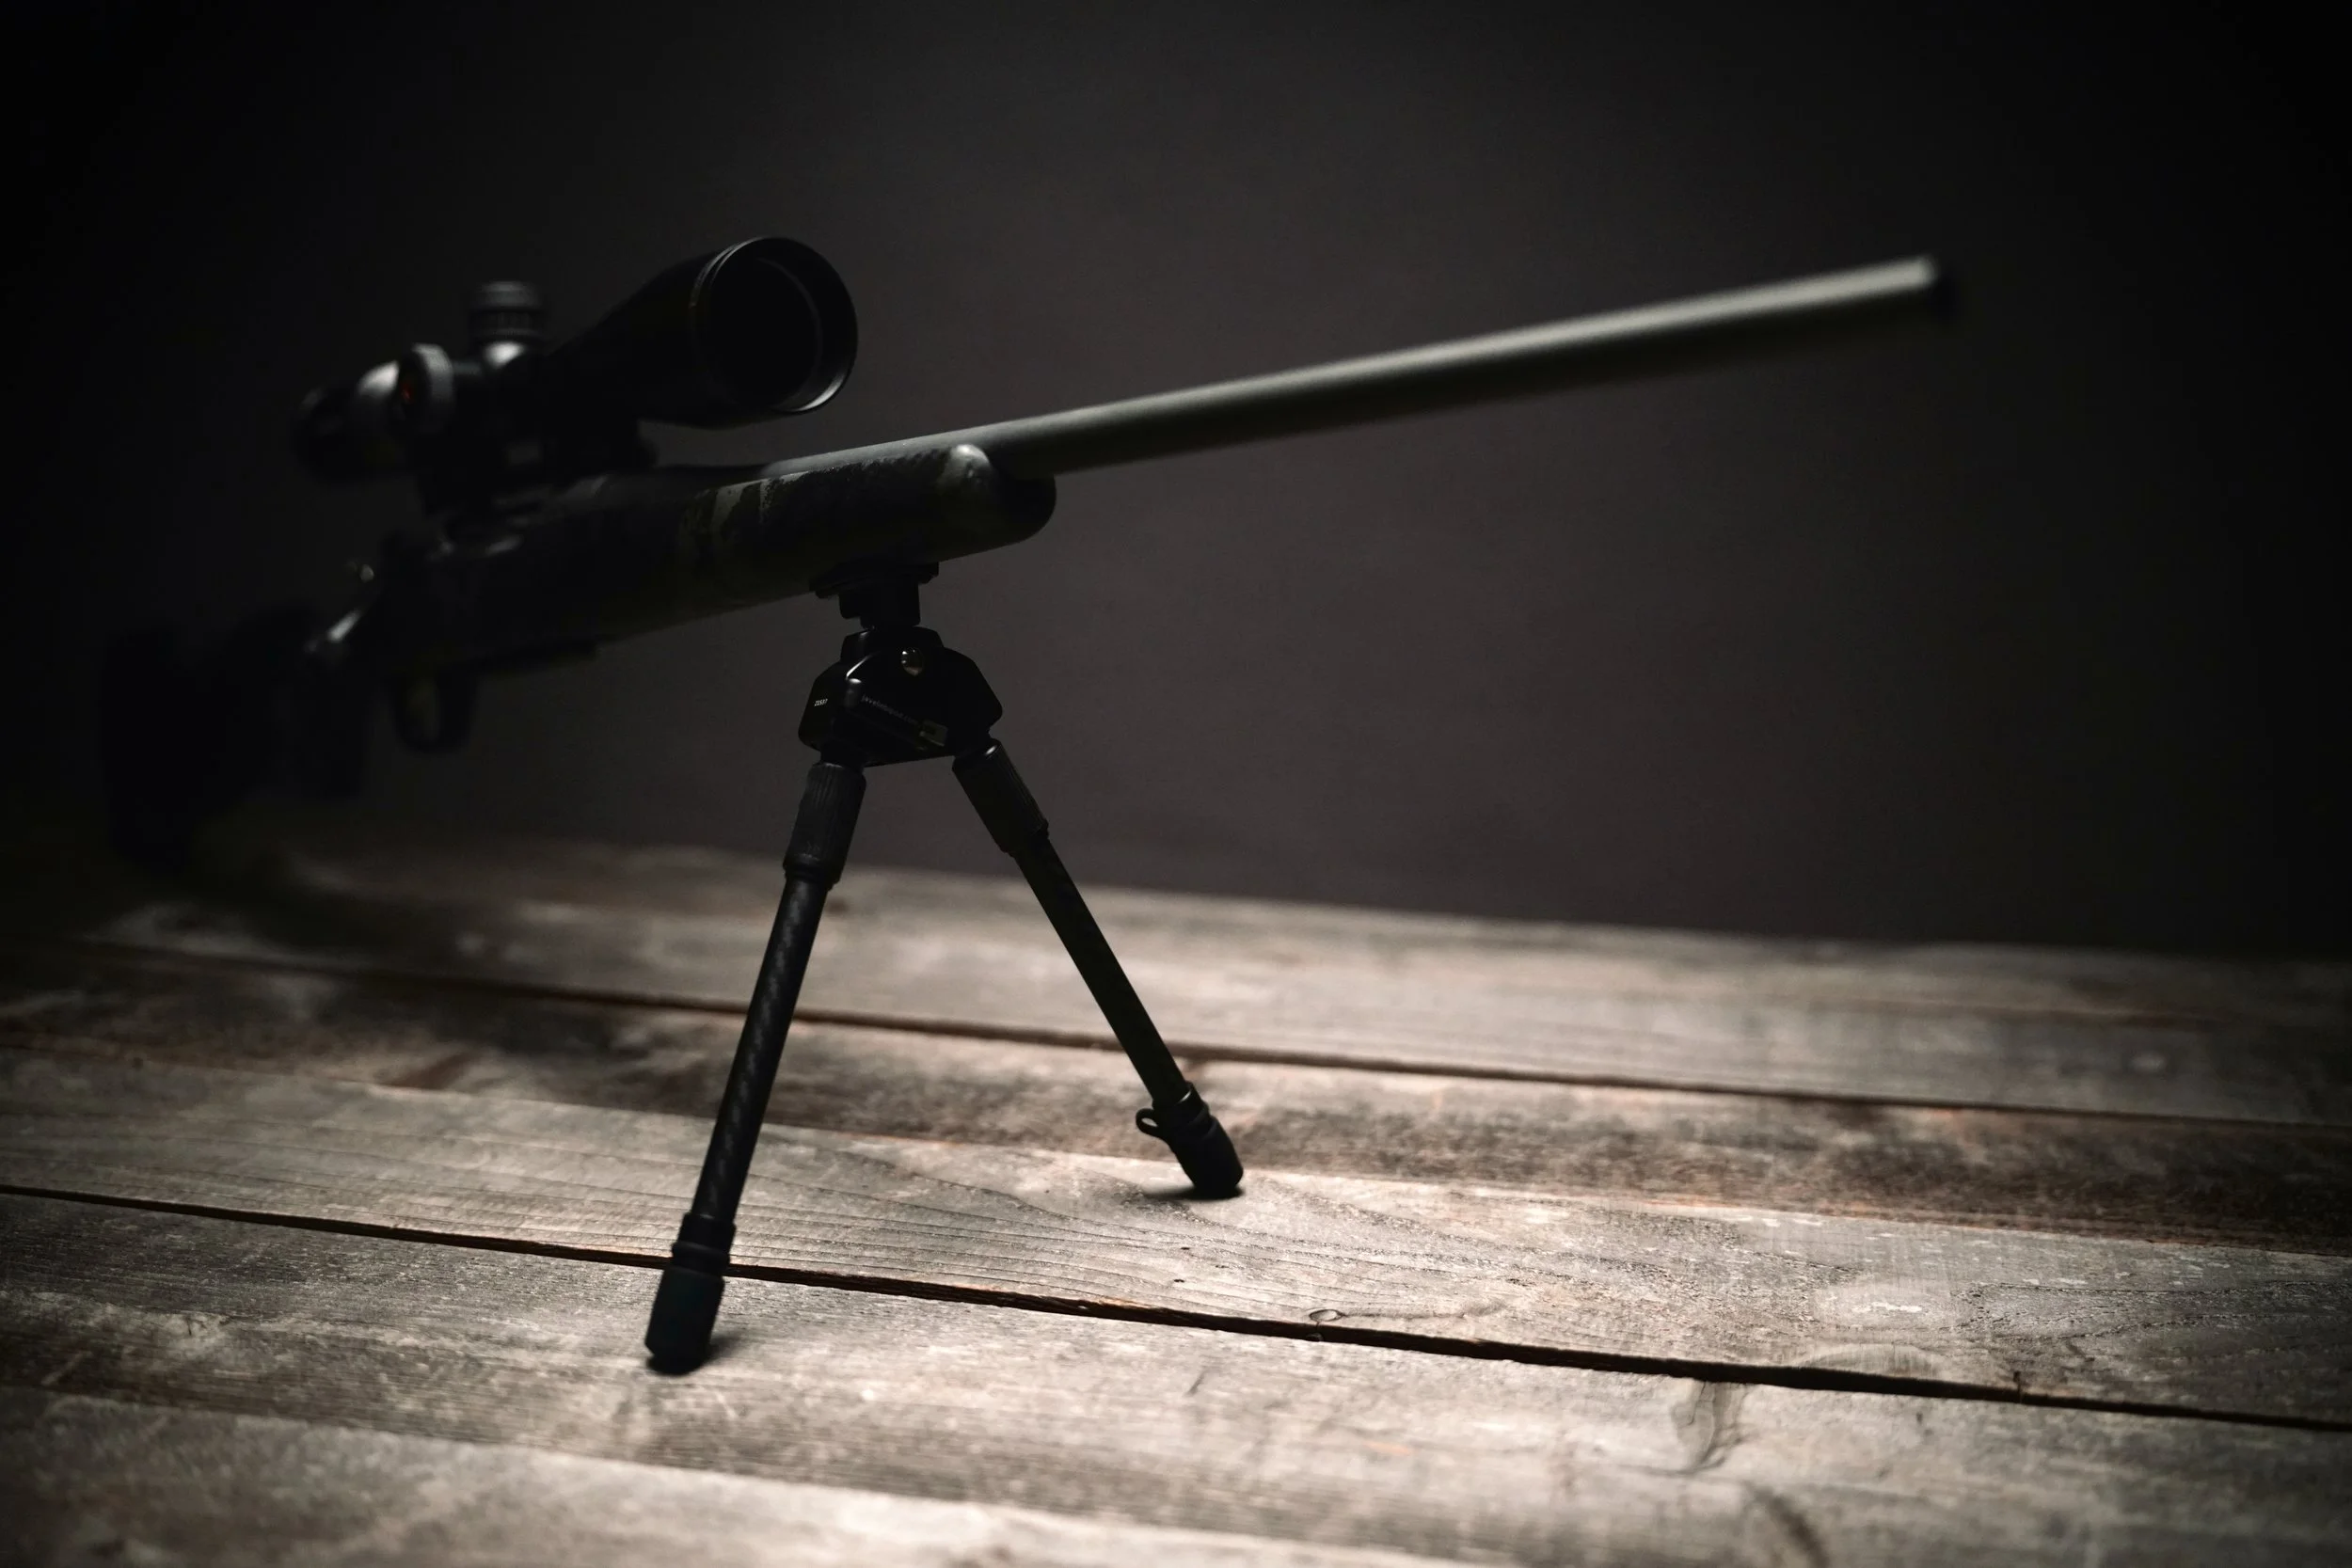
Now, I’m no bipod expert, and I tried not to go too far down that rabbit hole, but I will tell you that the Spartan Precision Javelin Pro Hunt Bipod has been everything I’ve needed.
It’s lightweight and compact, with a magnetic attachment system that makes it easy to install and remove. The connection is strong enough to keep it securely attached during normal use without making removal unnecessarily difficult. It’s just a well-built tool for the backcountry.
The mounting hardware is barely noticeable, and the bipod is small and light enough that I almost always carry it.
One of my favorite things about having a bipod is simply being able to set my rifle down. In the past, I was always looking for a tree, stump, or something else to lean my rifle against. Now I just pull out the bipod, attach it, and set the rifle down.
Simple.
The bipod is there when you need it and gone when you don’t.
Using the Spartan Bipod
To deploy the bipod, you insert it into its mounting socket, spread the legs, and adjust the height as needed. The legs use a twisting mechanism for adjustment, which works better than I expected.
Collapsing the bipod is easy. I usually remove it from the rifle, fold the legs, and put it away. Done.
The only improvement I can think of would be a folding mechanism that lets the legs rotate forward and out of the way while staying attached to the rifle. That would make it easier to leave the bipod installed while moving through brush, but that’s a minor complaint because, more often than not, I keep the bipod in my pack until I need it.
I appreciate the Spartan bipod for what it is: a lightweight, functional piece of equipment that works when I need it and stays out of my way when I don’t. Also, I can easily buy additional mounting hardware for my other rifles and swap the bipod between them, so I don’t have to buy an entirely new kit.
Performance at the Range
Full disclaimer up front: I am not a range nerd.
I spent enough time at the range in the Marine Corps to know that I don’t enjoy spending my free time there. I get in, do what I need to do, and get out.
Guns don’t turn me on.
They’re tools I use to do a thing, and that’s about it. I want them to work well, handle well, and look good. I don’t spend much time measuring shot groups or chasing tiny improvements in accuracy.
Should I spend more time behind the rifle? Of course.
But I also know my capabilities, and I’m not interested in taking shots at animals beyond those capabilities. I want a rifle that shoots consistently, holds its zero, and lets me place shots accurately at the distances I’m comfortable hunting.
And that’s exactly what this setup does.
How the Finished Rifle Shoots
With the MDT HNT26 chassis, Maven RS.5 scope, and Spartan bipod installed, the rifle was an absolute pleasure to shoot.
The ergonomics were noticeably better for me. The pistol grip felt natural, the cheek rest allowed me to settle comfortably behind the scope, and the bipod made everything feel stable.
At 100 yards, I was producing groups with shots touching or landing within roughly an inch of each other, which is plenty good for my purposes.
I’m by no means a sniper, but I was a multiple-award Expert Marksman in the Marine Corps and went through Marksmanship Coach training at one point, so I know the fundamentals, and when I do my part, this rifle does the rest.
In fact, this was the best performance I’d personally seen out of my Mountain Rifle up to that point.
I’d read some discussions saying that replacing a factory stock could potentially affect accuracy, but that hasn’t been my experience. Of course, changing a stock doesn’t automatically make a rifle more accurate. Fitment, installation, ammunition, and the shooter all play a role.
But in my case, the HNT26's ergonomics made the rifle significantly more comfortable to shoot, and I think that comfort contributed to my results.
I sent some rounds downrange, checked my groups, and packed up.
Mission accomplished.
Three Years of Performance in the Field
Note to the Reader: From here on out, I’m talking about the rifle in its final configuration: the Bergara Mountain Rifle 2.0 with the MDT HNT26 chassis, Maven RS.5 scope, and Spartan Precision bipod. I’ve used this setup since the project was completed.
Range performance is great. Looks are great. Product packaging is great.
But none of that matters if your equipment doesn’t work when you actually need it. I’ve developed a personal theory about gear over the years: “The best gear disappears when you leave the trailhead.”
Think about that for a minute.
If you’re constantly fiddling with your equipment, wondering how it’s holding up, or thinking about how uncomfortable something is, your gear isn’t really working for you. Whether it’s a backpack, water filter, boots, gloves, or a fully outfitted hunting rifle, I want equipment that doesn’t need my attention.
I want to spend my mental bandwidth thinking about what I’m doing, not what I’m carrying. The best equipment lets me do that. It essentially disappears. And that’s exactly what this rifle has done for me.
Over the past three years, I’ve rarely thought about it while hunting unless it was something like, “Damn, that’s a good-looking rifle.”
The Folding Stock: A Backpack Hunter’s Dream
The folding stock is easily one of my favorite features of the HNT26.
For backpack hunters, it solves a problem you don’t think about until you’re doing it. When you strap a rifle to the side of a backpack, it often sticks up well above your shoulders. That creates a problem when you’re moving through timber, ducking under branches, navigating brush, or squeezing through tight spaces.
The HNT26 lets the stock fold, making the rifle much more compact. Instead of having a long rifle sticking up above your pack like a windsock, you can keep it tucked closer to your body. It’s a much cleaner way to carry a rifle, and I’ve found it particularly valuable in rough country.
My first real test came almost immediately after completing the build.
And it was one heck of a test.
P.S. I wish I had a picture of my rifle attached to my pack. I just had too much going on to really care about fancy photos.
The Idaho Motorcycle Adventure
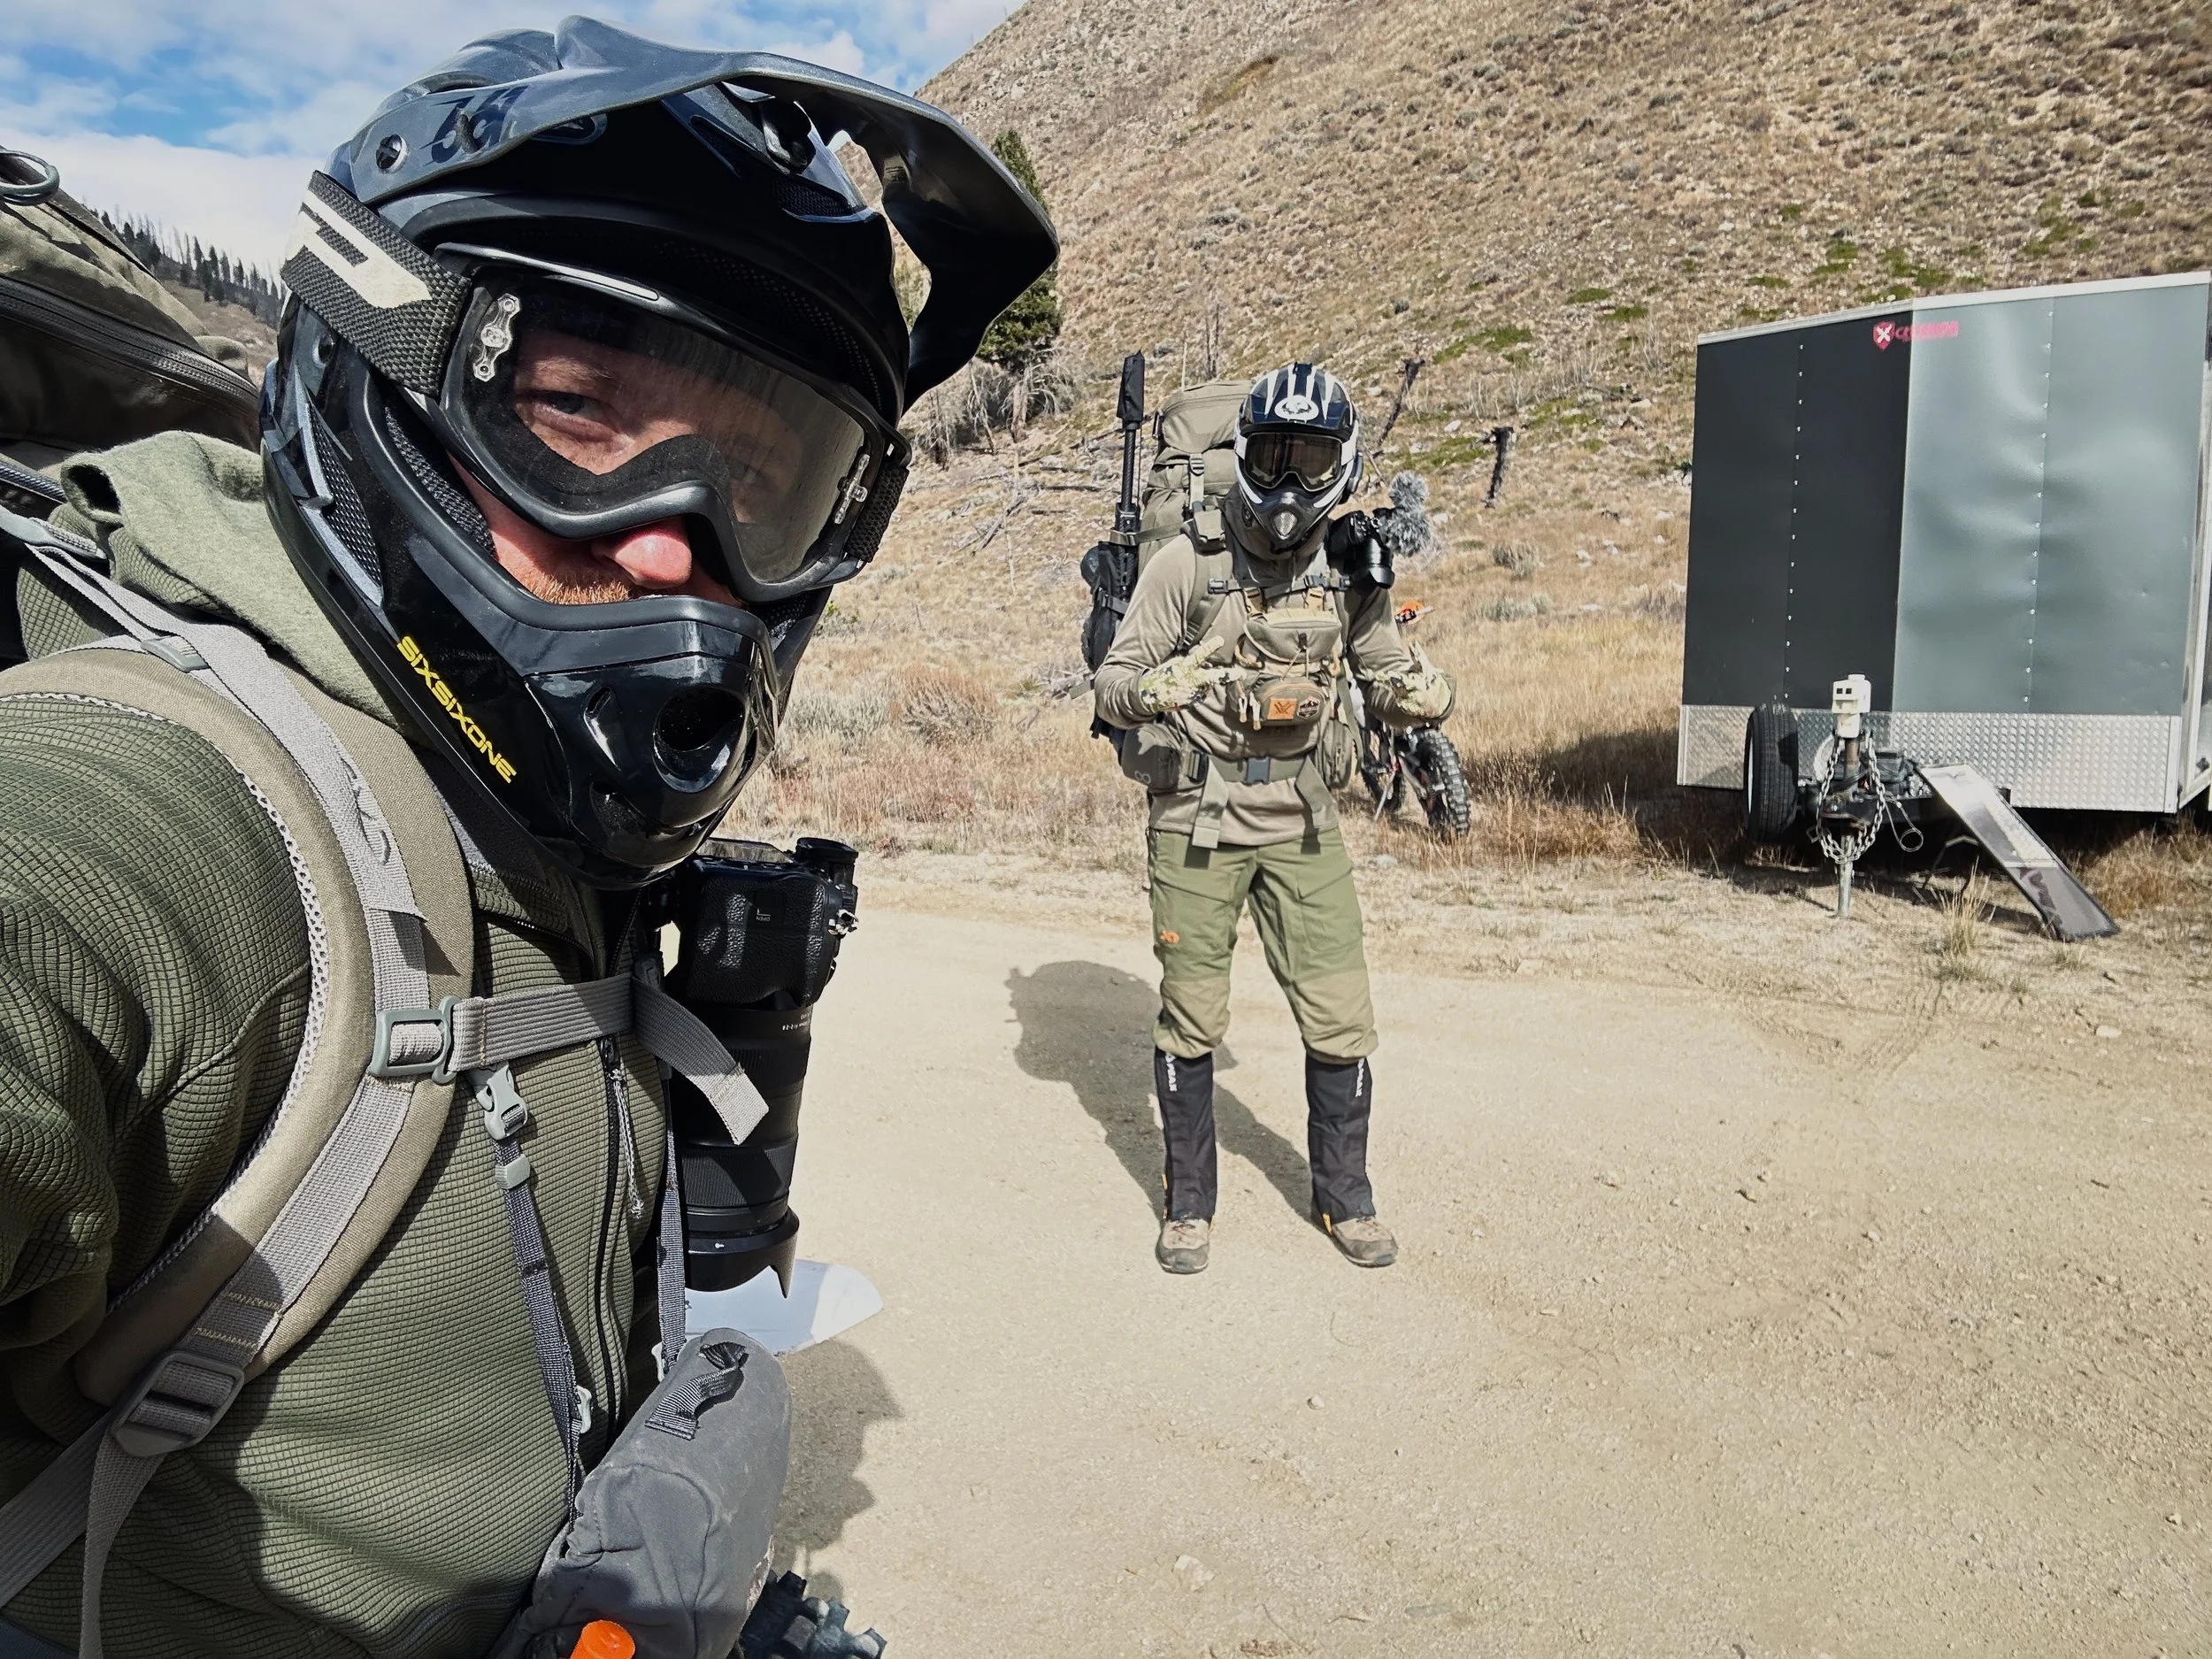
Shortly after putting everything together, I headed to Idaho for a hunting trip. We planned to ride dirt bikes about ten miles into the backcountry, mostly on single-track trails, and spend a few days hunting in the mountains. This deserves its own story, but needless to say, things got a little western.
I had my rifle strapped to the side of my backpack while riding, and thank baby Jesus it had a folding stock. I genuinely don’t know how many times I fell off that motorcycle, got tangled in brush, banged into trees, or ended up on the ground. It was ridiculous.
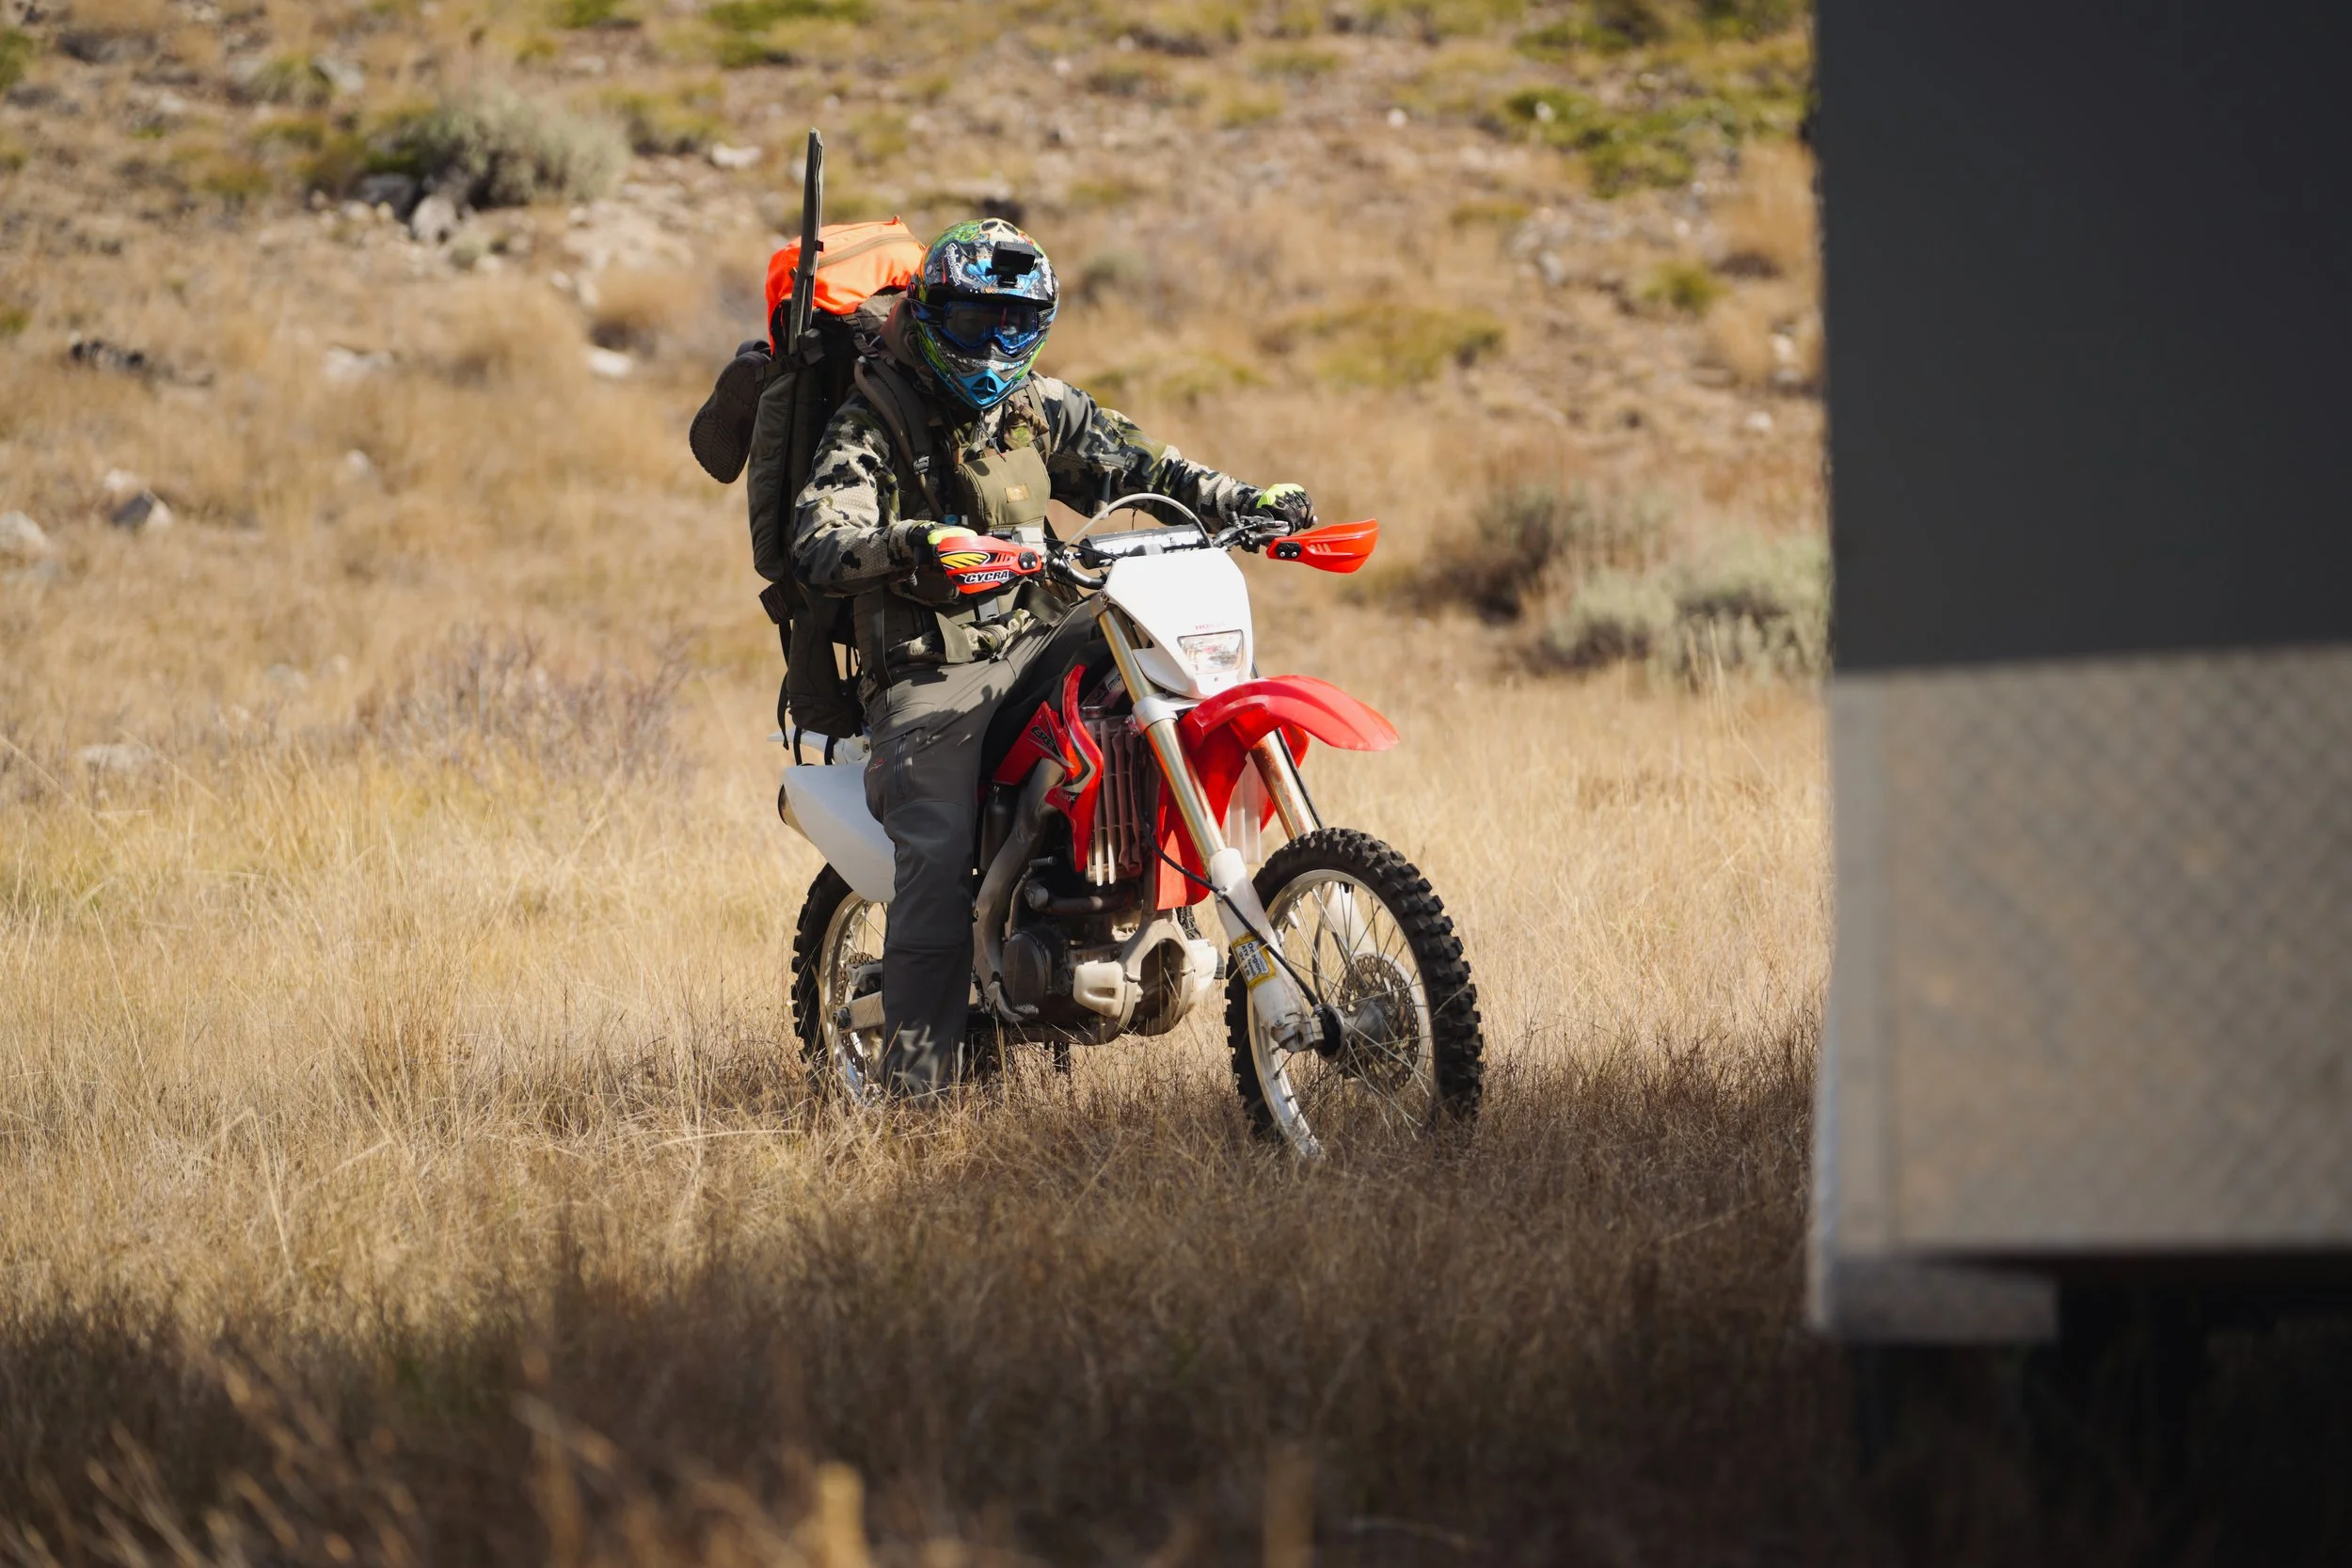
This is not me, not my rifle, and not THE folding rifle stock this article is about. However, I did take this photo and am using it as an example of what we were doing. I have no pictures of me riding with
At one point, I remember thinking I might have to accept the possibility of breaking my rifle before the trip was over because I was rolling down hillsides, dropping my pack, and generally having a pretty rough go of it riding these backcountry trails as a non-dirt-bike rider.
But the rifle stayed tucked against my backpack.
Because the stock was folded, far less of the rifle stuck out to catch on branches or get hung up when I fell. I even managed to roll down part of a hillside like a log, rifle attached to my pack. And wouldn’t you know it, the thing came out unscathed.
No scratches, dings, or obvious signs of damage from that adventure.
I was shocked.
That experience alone convinced me that the folding stock was worth having. Not because I expected to spend my hunting seasons tumbling down mountainsides, but because it showed me how useful a compact rifle can be when you’re moving through difficult terrain.
The stock kept the rifle tucked away and out of trouble. And in my case, that made a huge difference.
General Handling and Carrying Comfort
After three seasons with this configuration, I can happily report I have zero complaints about how the rifle handles.
It’s extremely well balanced. The larger Maven scope pairs nicely with the slightly more substantial HNT26 chassis, and the finished rifle feels great in my hands. I don’t wish it were lighter, smaller, or shaped differently.
It just works.
I also enjoy pulling it out before hunting season, cleaning it up, and getting everything ready for the year. There’s something nice about owning equipment you genuinely enjoy using. The rifle has spent plenty of time in the Pacific Northwest, where hunting season can mean days of rain, wet brush, wind, and cold. The last couple of seasons have felt like hunting in a monsoon, but the rifle has held up nicely.
And the best part is that I don’t spend my time worrying about it. I strap it to my pack, head into the woods, and go hunting.
That’s exactly what I wanted.
What I Like About the Finished Rifle
I like that it just works. That’s the best way I can describe it. I’ve stopped thinking about what I could upgrade, change, or do next.
I’m simply happy with it. The rifle is comfortable to shoot, easy to carry, accurate enough for anything I’m likely to ask of it, and durable enough to handle the conditions I hunt in.
The HNT26 delivers the ergonomics I wanted. The folding stock makes the rifle easier to carry. The Maven scope delivers excellent glass and a useful illuminated reticle. And the Spartan bipod is there whenever I need it. Everything just works together really well.
I look at this rifle as something I’ll probably own for a very long time.
What I Don’t Like
The magazine. That’s pretty much it.
I still want a polymer magazine designed specifically for my .270 that works with this chassis. The metal magazine is functional and reliable, but it’s louder and bulkier than I’d prefer; it’s not a deal breaker. It’s just one of those things I wish were a little different.
The other thing I occasionally think about is the scope. The Maven RS.5 is a big boy. It’s an excellent optic, but there’s no denying that it’s larger and heavier than what I probably need for most of my hunting. A smaller scope would make the rifle lighter and more compact overall.
But then I look through the RS.5 again and remember why I like it so much. That glass is incredible. In the dim fall light of the Pacific Northwest, I really appreciate a bright, clear sight picture.
Could I save a few ounces? Sure. Would it be worth giving up a scope I genuinely enjoy using? I’m not convinced it would.
So until something changes, I’m leaving it alone.
Finding Success With the Rifle
Sadly, I don’t have a pile of filled tags to show for my time with this rifle, but I do have one, and the rifle did exactly what it should.
The story goes like this.
It was late buck season here in Washington, and I headed into an area I’d never hunted before. I had a gut feeling that if I hiked down a particular logging road, there was a chance I’d bump into something. And I did.

Late buck here in Washington. You pretty much take what you can get, with so few days available for hunting. Fresh venison regardless!
Not long after getting into the area, I bumped a few deer that disappeared into the treeline. I went after them, looked around for a while, and eventually decided to settle in near a logging landing. I climbed onto a brush pile along the treeline that gave me a decent view of the open area.
I hadn’t even finished getting myself situated when I spotted two bucks chasing a doe roughly 150 yards away. Things happened quickly. I settled in, aimed, fired, and missed.
Completely my fault.
I was excited and rushed the shot, so I took a moment to settle down, got back on target, and squeezed off another round.
I made my way down to where I’d last seen him, found the deer, confirmed the shot placement was good, and got to work.
As for the rifle, it performed flawlessly. I was the one who missed the first shot, and that’s on me. I regrouped, corrected my mistake, and made the second shot count.
And I’ll tell you something else. While I didn’t have a situation where I could use it for the shot, that darn Spartan bipod really came in handy while I was dressing the deer.
Being able to set the rifle on the ground next to me rather than leaning it against a tree was a small thing, but I appreciated it. It’s funny how some of the simplest features end up being the ones you enjoy most.
Final Thoughts: Three Years Later
Three years after completing this project, I’m happy to say I have no desire to make any significant changes to this rifle. It’s exactly what I need.
Durable, functional, comfortable, and easy to handle in the field.
It shoots great, looks great, and has proven itself through several hunting seasons in conditions that aren’t always forgiving. I can’t think of much I could do to improve it without compromising something.
The foundation is still the Bergara Mountain Rifle 2.0, which I thought was an excellent rifle to begin with. The MDT HNT26 chassis gave me the ergonomics and folding stock I wanted. The Maven RS.5 significantly improved optical quality. And the Spartan Precision bipod rounded everything out with a simple, useful addition I hadn’t realized I’d appreciate so much.
Together, they make a rifle that covers nearly every hunting scenario I’m likely to encounter. From thick, dark timber to open country, I’m comfortable with this setup.
And that, my friends, is a proper mountain rifle.
Could it be lighter? Sure.
I could replace the scope with something smaller or shave weight elsewhere, but I’ve learned over the years that lighter isn’t always better if you’re giving up something useful. Weight matters, particularly when you’re carrying everything on your back, but so do comfort, durability, balance, and function.
Right now, this rifle strikes a balance that works extremely well for me.
Maybe one day I’ll get the itch to trim a few ounces or make another change. If I do, I’ll update this article and let you know how it goes. For now, I think this project is complete.
It’s time to hunt.
Emory, By Land
Thanks for stopping by! If you enjoyed this post, have questions or want to connect, leave a comment below or shoot me a note here.
If you have a rifle build of your own that’s worth sharing, please do! Leave a long-winded comment below.