
Welcome to Backpacking
Start Here: How to Begin Your First Backpacking Adventure
Backpacking can look complicated from the outside. In reality, it’s simple—walk with what you need, spend a night out, come home with a story to tell (or not). The biggest hurdle to backpacking is starting because until you’ve spent a night in the backcountry, it feels like a lot. But, once you do it, you’ll find that it’s not as complicated as you once thought.
This guide gives you the foundations, the mindset, and a clear first-trip plan so you can get outside sooner rather than later.
Contents
What Is Backpacking (Really)?
Why Backpacking Matters
The Hardest Part: Starting
Safety Basics You Should Actually Use
The Big Three: Food, Water, Shelter
Finding (and Choosing) Your First Trail
Simple First-Trip Action Plan
Common Mistakes to Skip
Final Nudge
What Is Backpacking (Really)?
At its core, backpacking is hiking with your overnight gear and sleeping outside. There’s no mileage minimum and no “right” style. If you hike into the backcountry, spend the night, and return—congrats, you backpacked. How you do it is up to you to decide.
Style is personal. Go light or bring comforts. Chase lakes or ridgelines. That’s the great thing about backpacking: It comes in a wide array of styles and types, so there’s really no way to get it wrong. Big miles or small, it’s all backpacking, and the only real mistake you could ever make is never starting.
Why Backpacking Matters (and why we need it)
Backpacking has a way of unplugging you from the noise and plugging you back into yourself and the world around you (not the fabricated one). Whether your “why” is photography, birding, hunting, big miles, or just breathing different air for a night, the effect is the same: you feel grounded. And yeah, it sounds cliché, but it’s true. I’ve yet to meet anyone who feels worse off after a trip than before one.
For me, I was drawn to backpacking through hunting. I wanted a more wild experience than what I was having at the time. That pull led to backpacking the Pacific Crest Trail, solo hunts, taking my family backpacking, and a deeper peace with being alone in the mountains. I’ve found the more I spend time backpacking, the better I am at being me.
But that’s my story. Yours will be different—and that’s the point. Regardless of why you get into backpacking, you’ll be better for it.
The Hardest Part: Starting
Everyone has a “first trip” story. My first real one? A flop. I bit off too much, misunderstood the conditions, and didn’t manage my energy. I nearly swore off backpacking altogether. But something in me knew it could be better. So I licked my wounds and dedicated myself to learning how to do it better. I did it on my own without a dedicated mentor to help, and you can too.
Just know that you won’t have every answer before you go. Stop watching videos and just do it. The only way to learn is by doing.
Don’t wait to “know it all.” Pick a small, honest objective, go have the experience, then improve the next time. If you need help, don’t hesitate to reach out to me directly.
Safety Basics You Should Actually Use

Image courtesy of Iliya Jokic
Mother Nature doesn’t care about who you are, where you’re from, or how much money you have. That’s what’s so great about it. It’s neutral. Good decisions stack the odds in your favor, and bad ones do the opposite. The idea is to make more good decisions than bad, to think ahead, plan, and prepare as much as you can, knowing that when you’re out there, anything can happen. Your success is on your shoulders, and that is what makes it so rewarding.
Use this pre-trip sanity check:
1) Route & Communication
Do you have a map (digital and/or paper) and know the route?
Is there cell service? If not, who has your plan and return time?
Identify bailout points and alternate trailheads.
2) Weather
Check the forecast daily in the week leading up to your trip.
Pack for the worst reasonable scenario (rain layer, warm layer).
3) People & Skills
Does the plan match the least-experienced person’s comfort level?
Any known red flags (river crossings, exposure, snow)?
4) Food Storage (Bears & Critters)
Know local rules (bear canister required or not).
Have a storage plan (canister, hang, or lockers).
5) Emergency Comms
Consider a satellite communicator if you’ll be out of service.
6) Navigation
Carry at least two of: map/compass, GPS unit, phone app (and power).
Know how to use what you carry.
7) First Aid & Water
Pack a basic kit you actually understand.
Bring enough water and a way to treat more.
There’s a lot to consider and if you’re feeling overwhelmed, do less.
The Big Three: Food, Water, Shelter
The only difference between hiking and backpacking is these three items. Make sure you have enough food to fuel you through your trip, water to stay hydrated, and a shelter to keep you out of the weather at night. Outdoor stores are littered with gear you could bring, but it’s very overwhelming at first, so don’t overcomplicate it beyond what you need to survive. Take one item at a time and dial it in as you go. And yes, you’ll buy gear many times over before you finally land on what works for you, but that’s part of the fun of it!
Food: Fuel the Machine
A simple baseline:
Every ~5 miles ≈ 500 calories + 1 liter of water
Eat at least once every 2 hours of hiking (100-200 calories even if you’re not hungry).
Before a climb, eat quick energy; after, shift to more fats. Preferences and restrictions are personal—pick foods you’ll actually eat. If you have health concerns, talk to your doctor first.
Water: Carry or Find (Usually Both)
Water is heavy, so carry the minimum you need between sources and plan to treat when you can. For me, I always carry 2 liters so I’m not worried about carrying too much or too little.
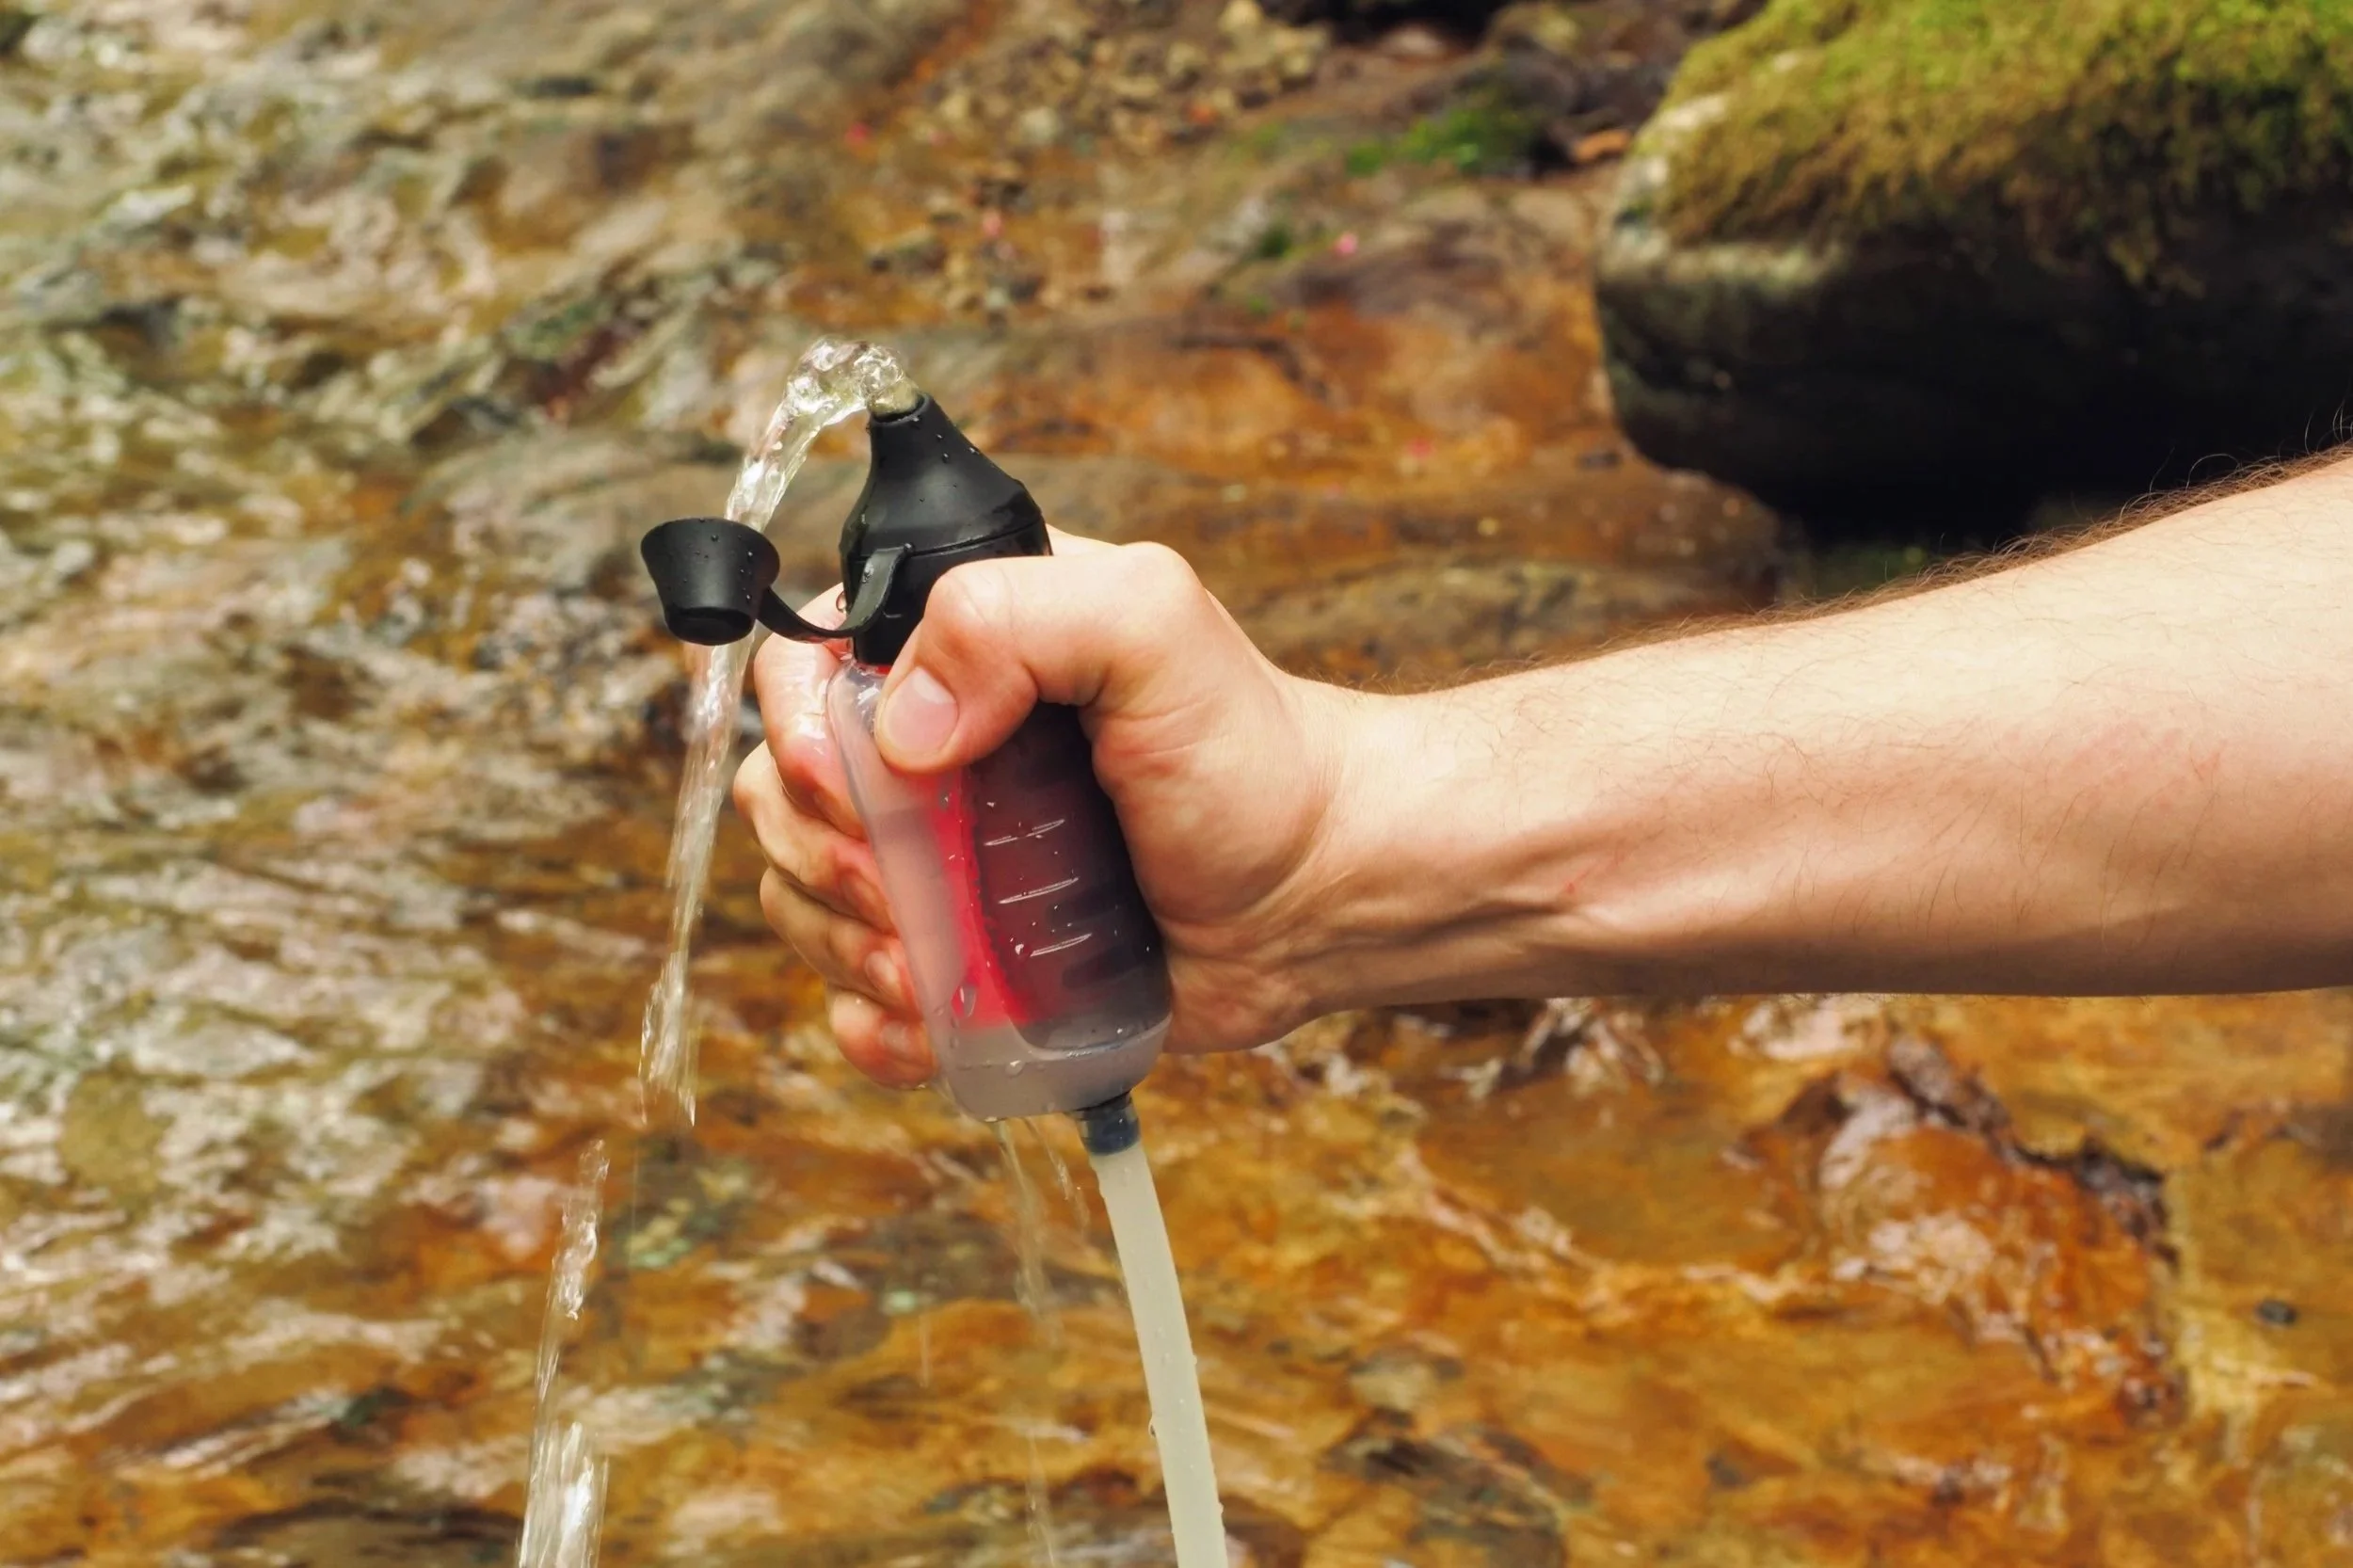
Common options are:
Filters: e.g., squeeze filters (simple, light) or pump filters (good for silty pools).
Purifiers: UV pens or chemical drops/tablets (great, but pre-filter sediment if needed. Better used as a backup device).
Have a plan based on your route and season. Don’t gamble on untreated sources. If you’re not sure what kind of water filter you should use, contact your local outdoor store or ranger station and ask if there’s a specific style that works better for your region or the region you’re headed into.
Desert dwellers tend to use pumps because running water is more scarce, whereas backpackers in the mountains tend to use squeeze-style filters because running water is easier to come by. The only wrong answer is not filtering at all.
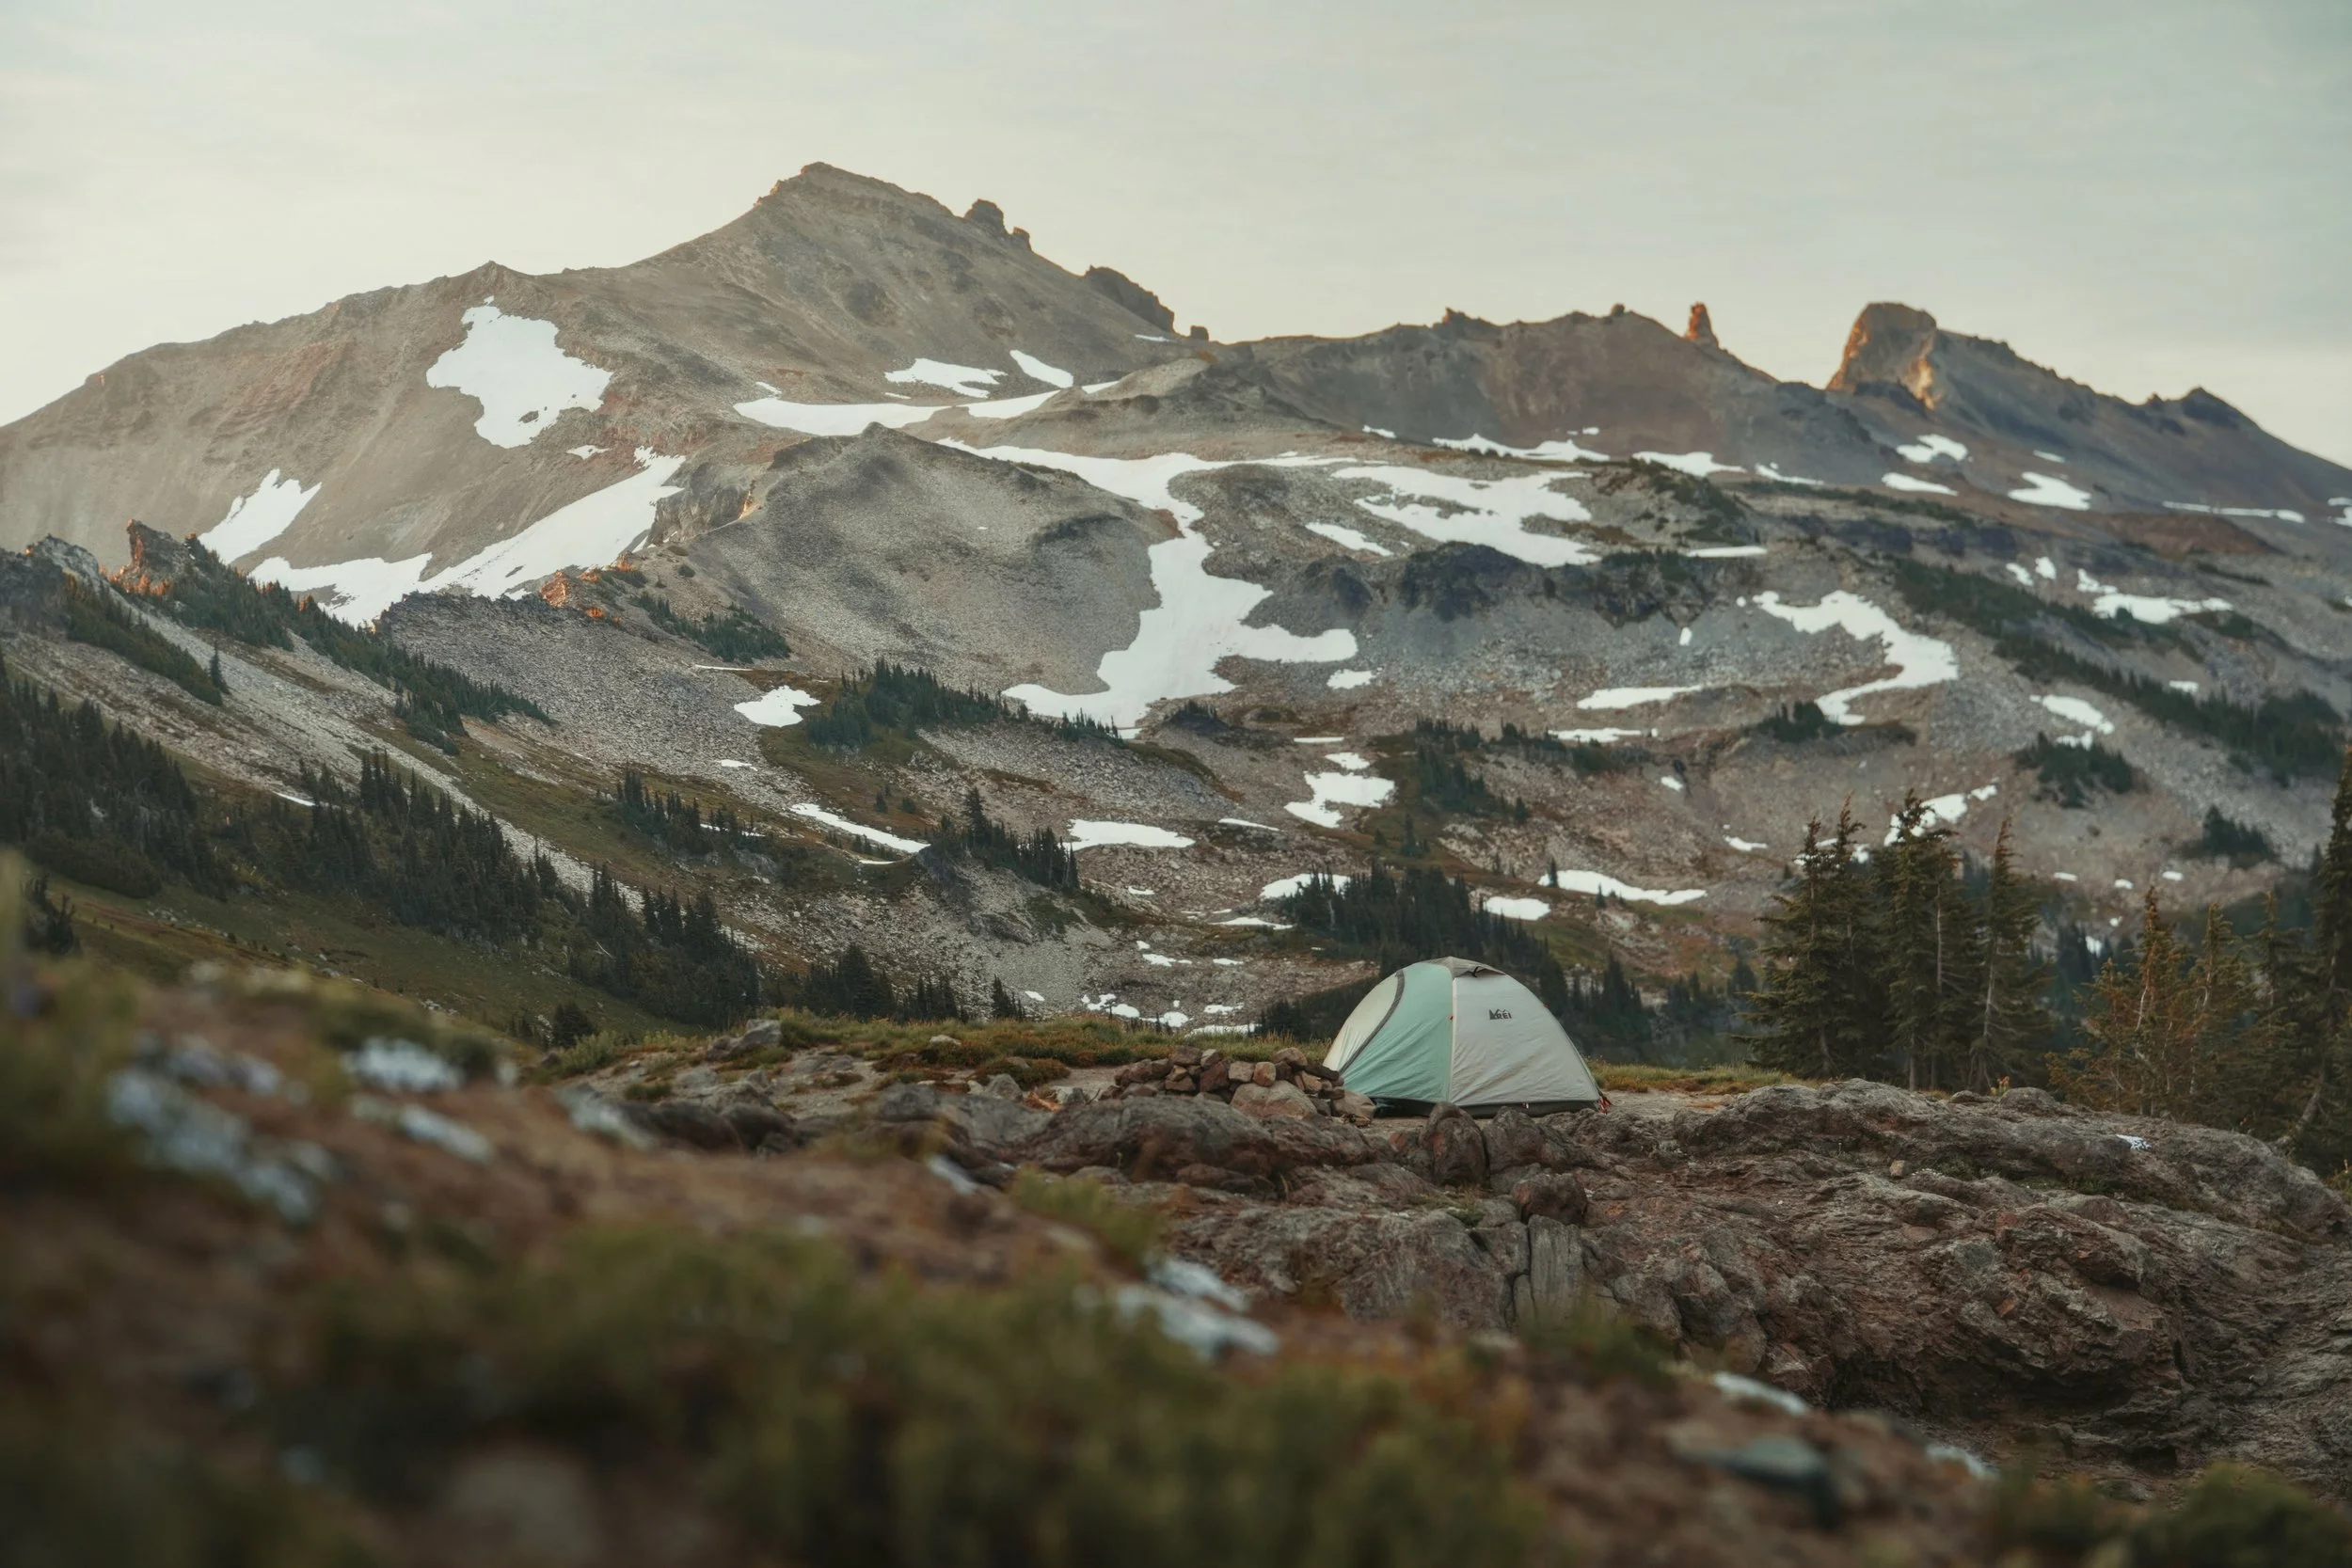
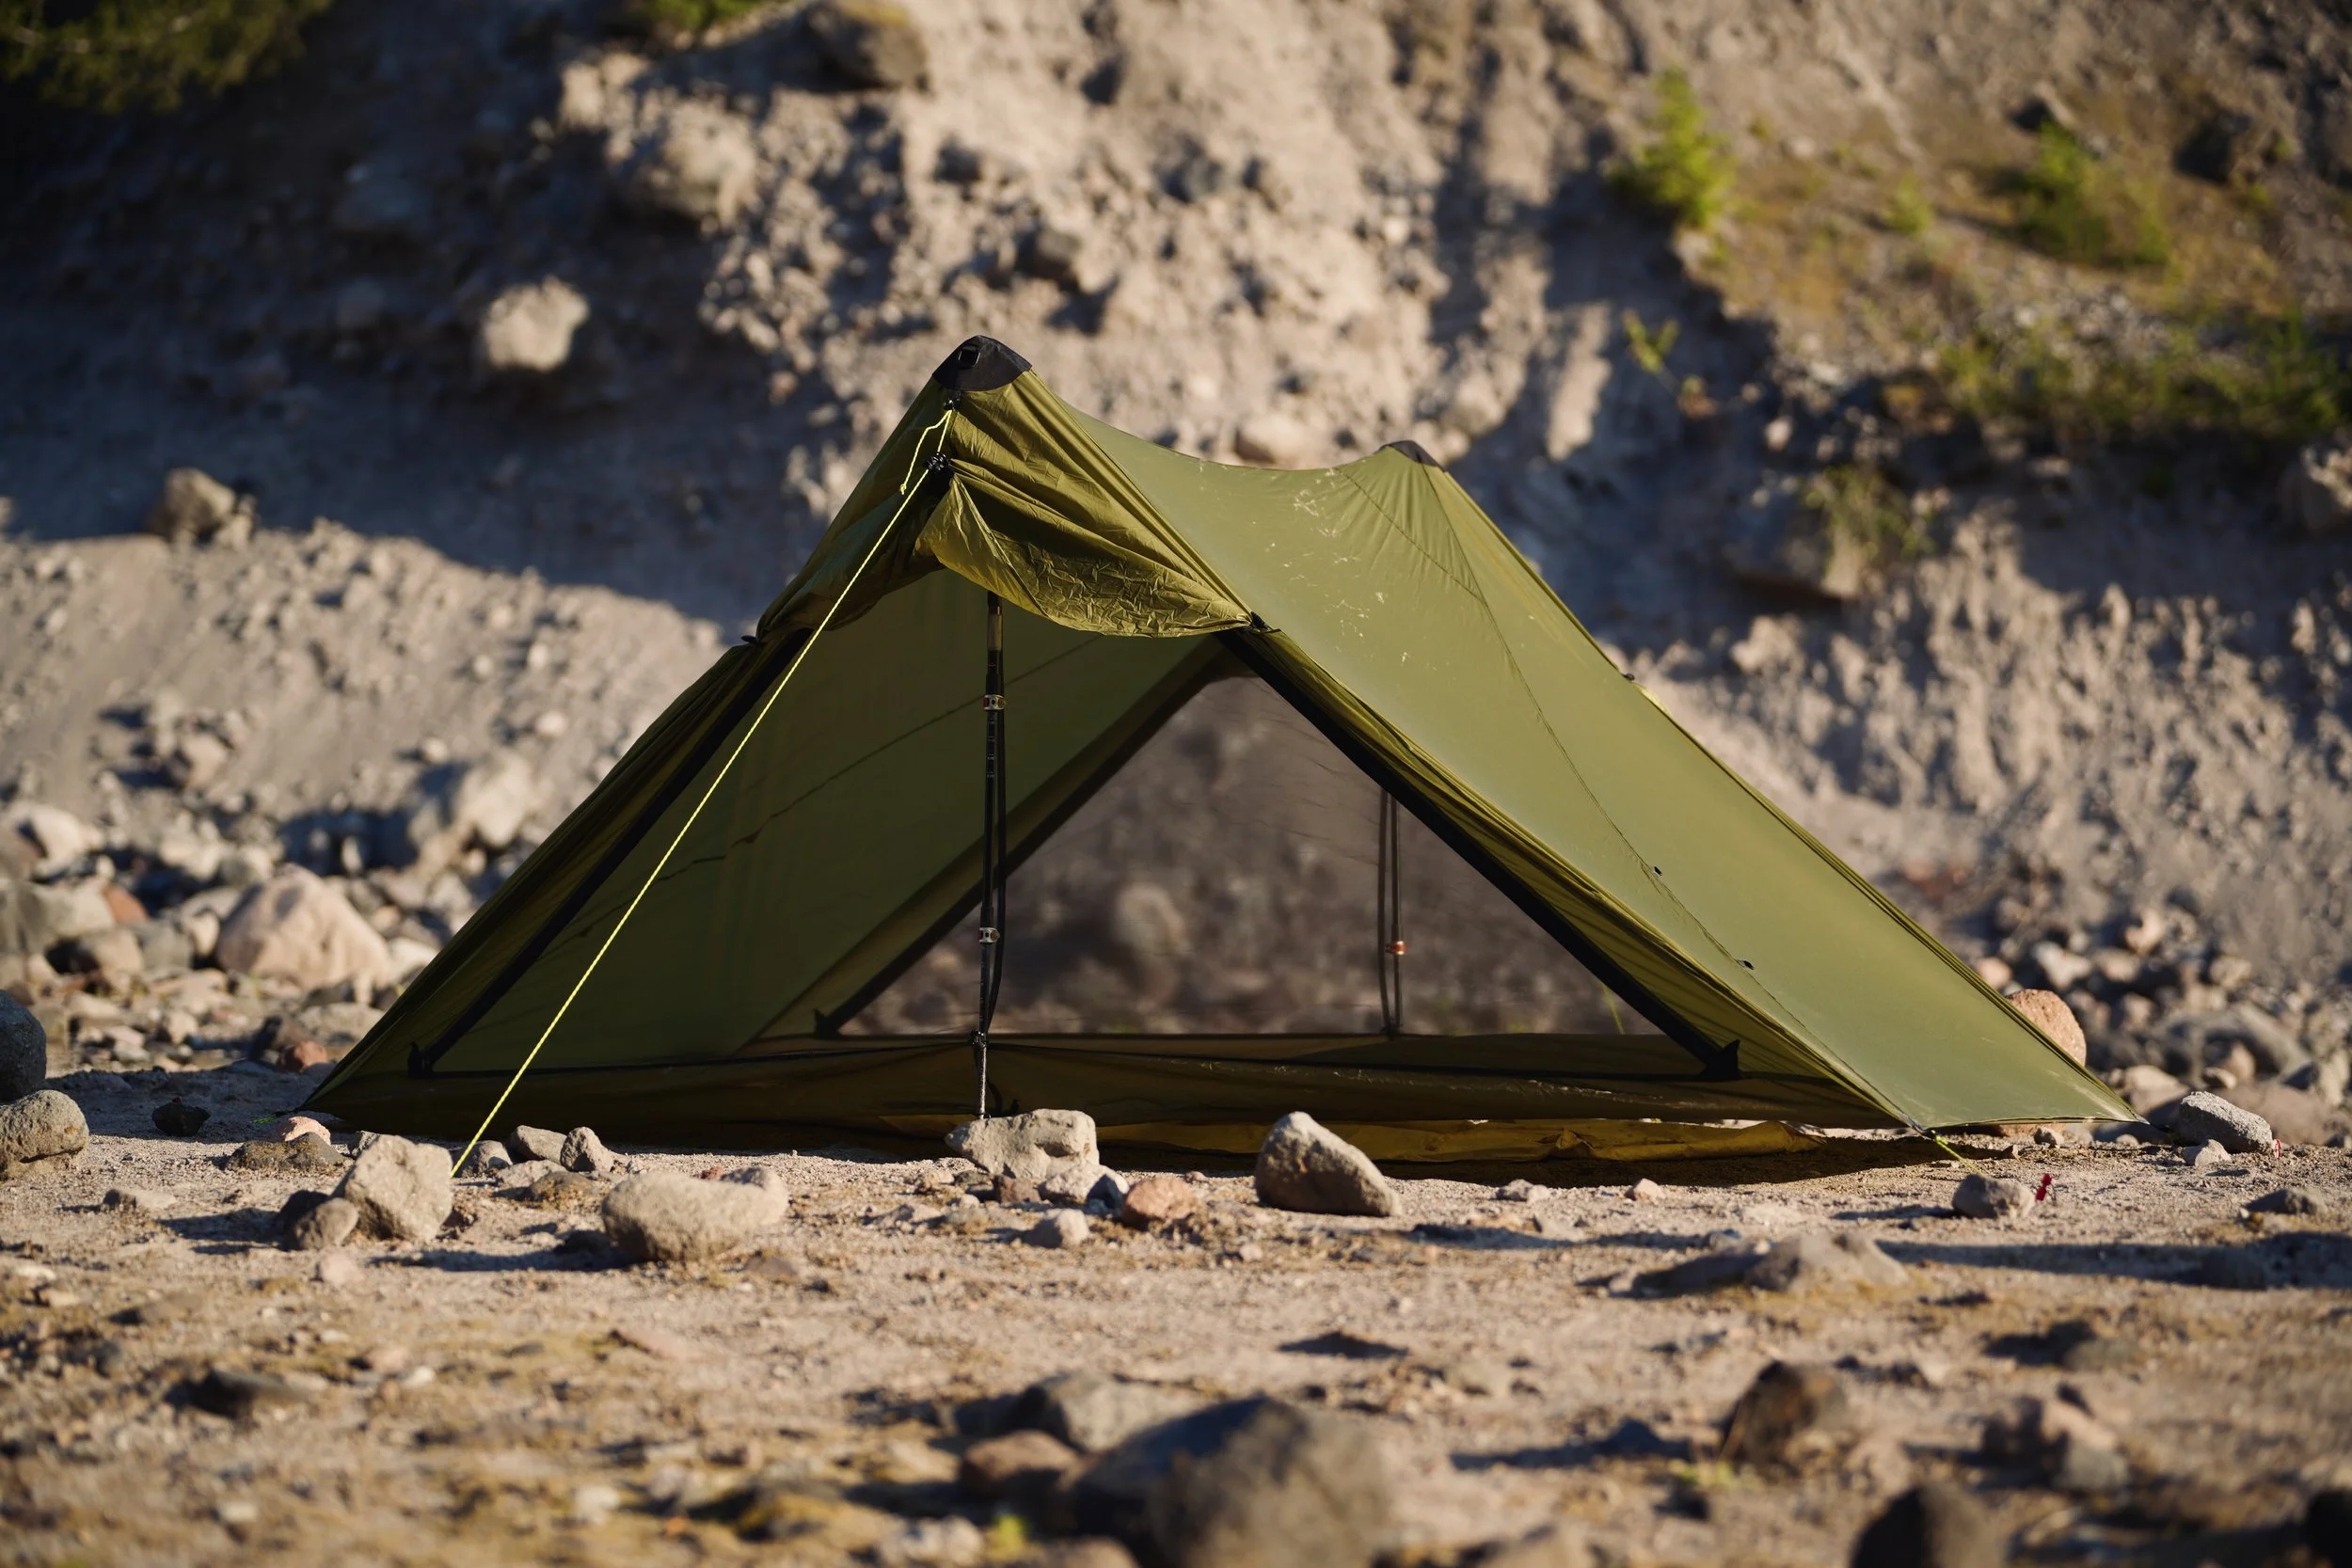
Shelter: Fit It to Your Season and Style
Your shelter is important, and there is a wide range of styles to choose from. Start with a tent that’s easy to pitch and go from there. It may not be the lightest of the light, but it’ll work, pitch perfectly every time, and won’t frustrate you.
Most beginners: a 3-season semi-freestanding tent from a reputable brand is a safe start (Nemo Equipment is a great option).
Save the niche cottage gear for after you learn your preferences.
Match shelter to conditions (don’t take a summer mesh tent into winter snow). Most backpackers are backpacking during the summer and shoulder seasons, so start there and buy your winter gear separately if/when you get into it.
Note: Your tent is one of the heaviest items you’ll carry, so choose it carefully. If you’re solo, buy a single-person tent unless you want more room for yourself, then get a 2-person. If you’re buddied up, buy a 3-person with two doors so you’re not crawling over each other. If you have more than 2 people in a tent, bump up to a pyramid-style shelter with a center pole. They’re lighter than their counterparts and have much more livable space.
Finding (and Choosing) Your First Trail
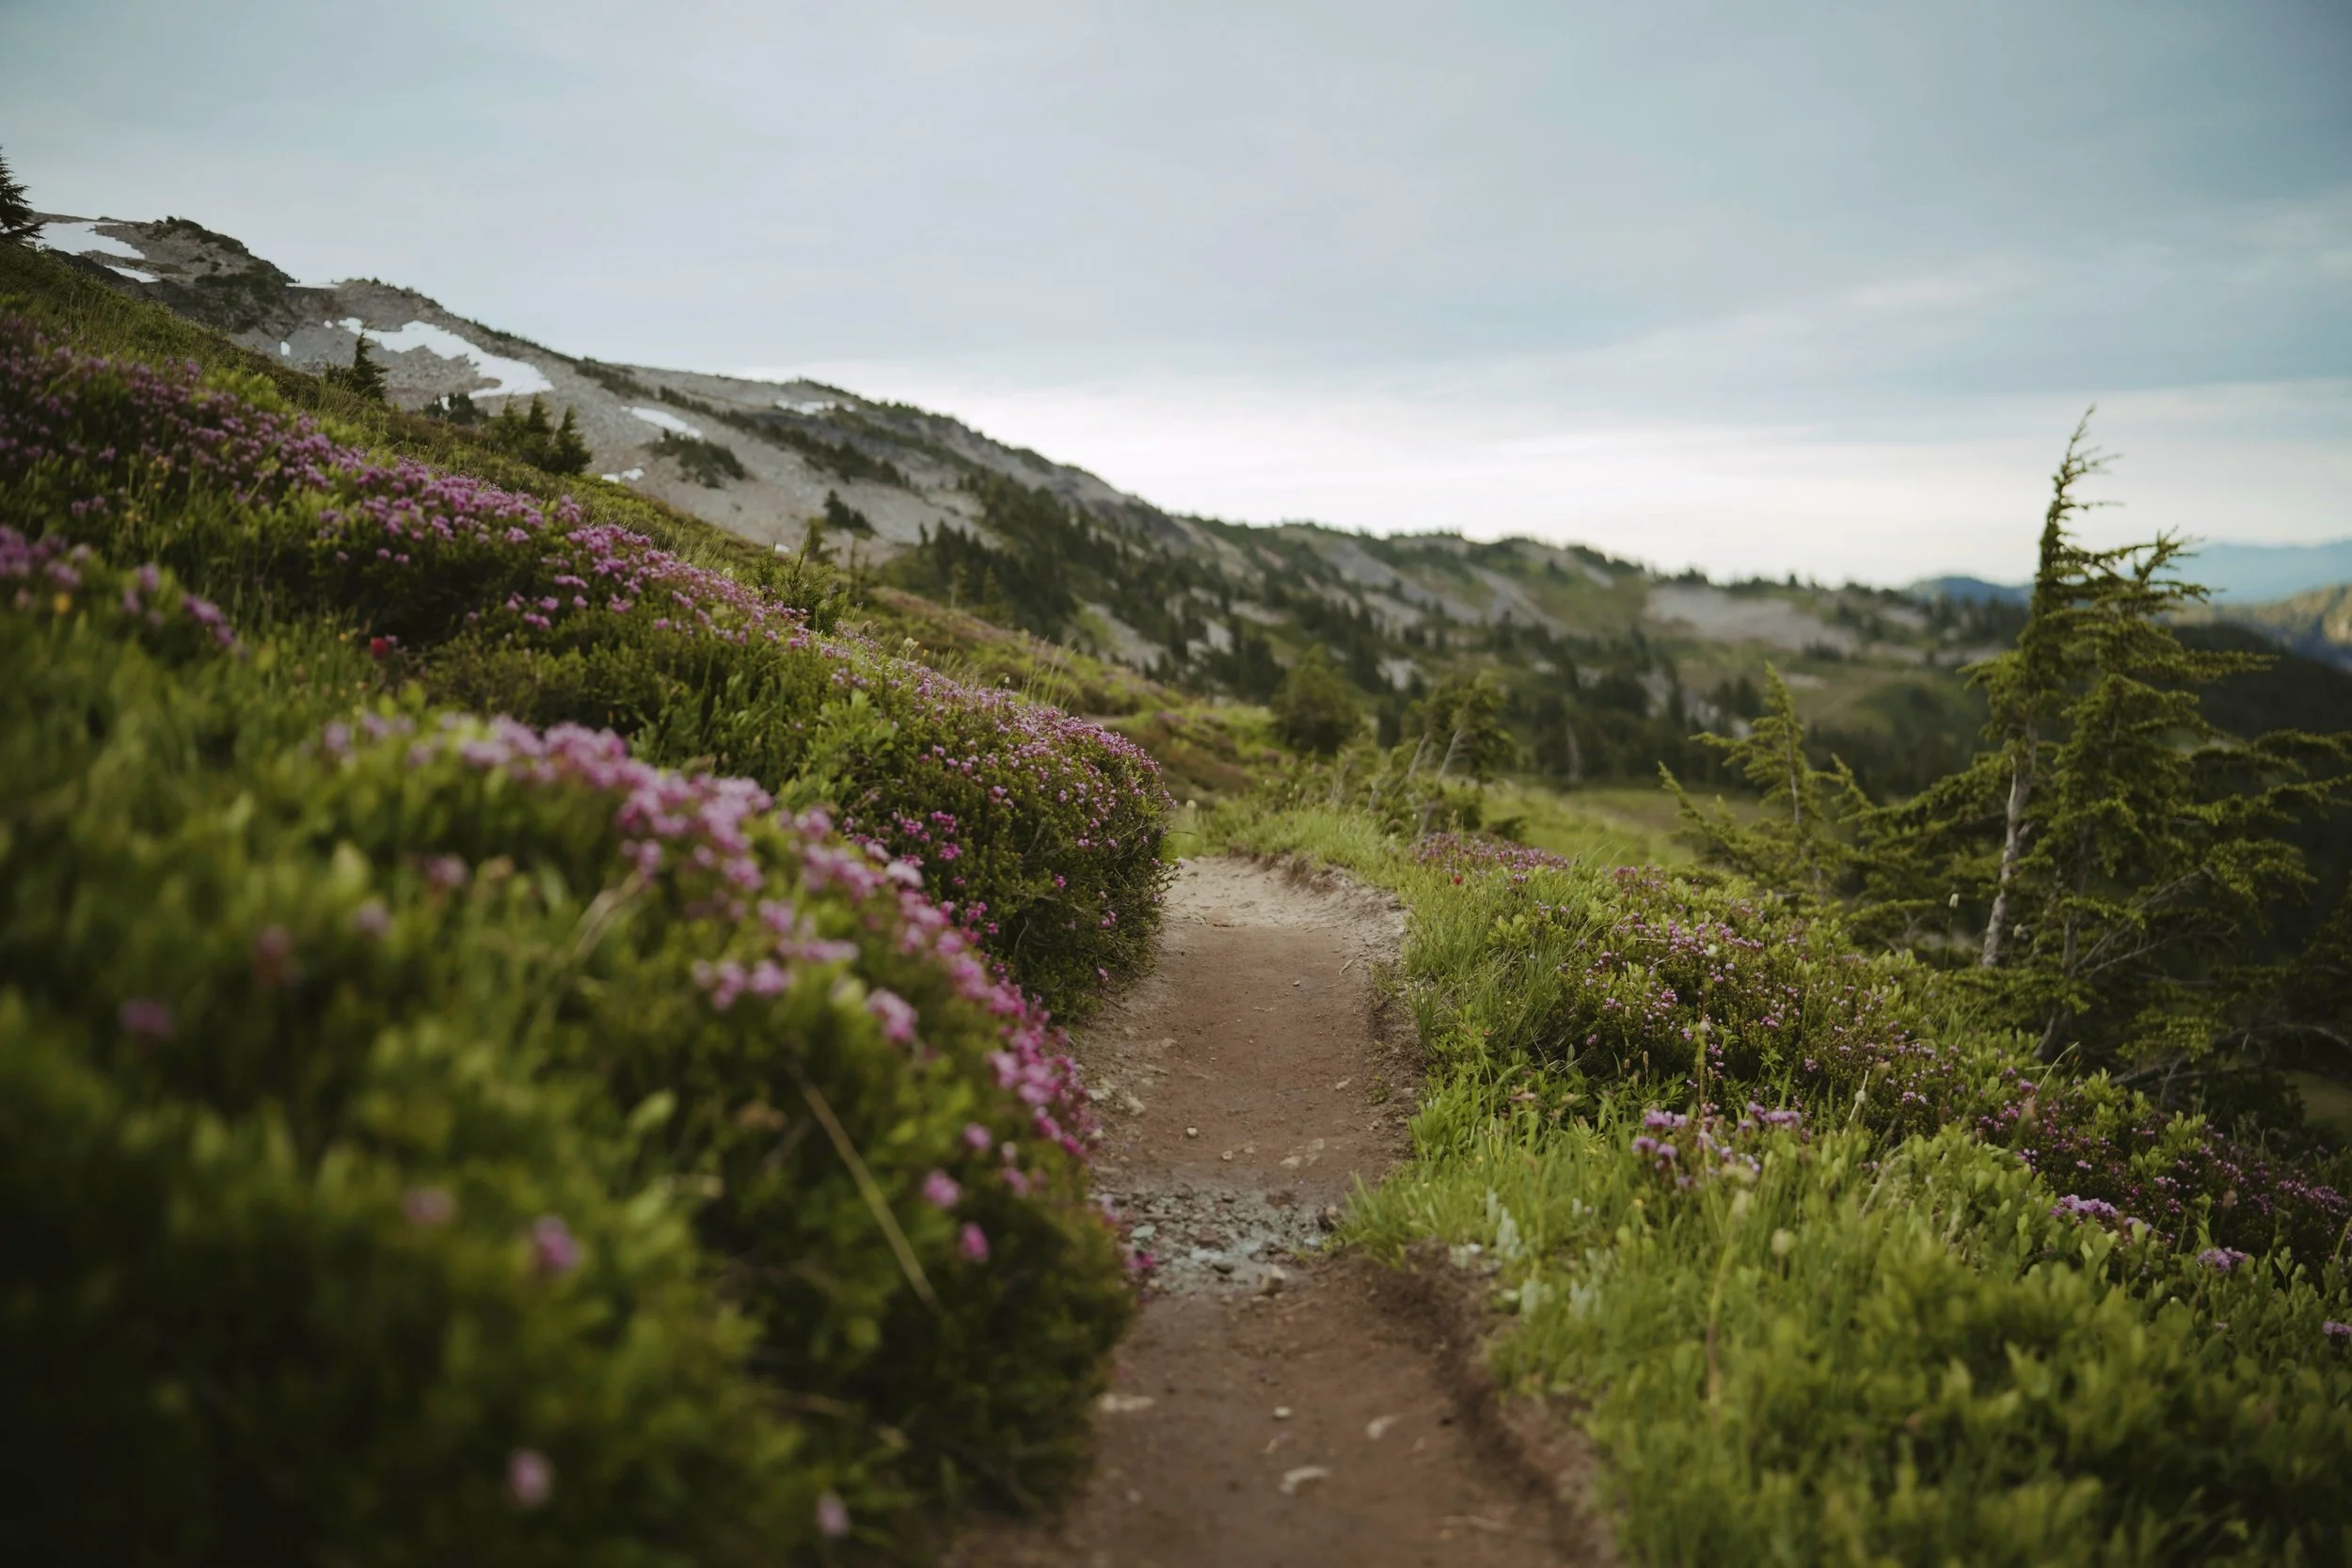
Be honest about your starting point. Choose terrain and distance that match your current fitness and comfort. If you’re a runner who’s fit and capable of more miles and more elevation, great, but if you’re using backpacking as a way to get more active, don’t go crazy right off the bat.
There’s a chance you already have a spot picked out, so start there. Whatever it is, do what you want to do, not what you think a “backpacker” should do. Start small and build up to more miles and more days when you’re ready. The thing you want to avoid is what happened to me, where I bit off more than I could chew and hated life for a solid 36 hours.
Ask yourself:
What do I want to see? (forest, lake, mountain views, desert)
How many nights do I have? (1 night = go shorter and simpler)
What season is it? (snow, high water, heat, wildfire smoke?)
How far do I want to drive? (local hikes get you out more often)
What does my gear allow? (don’t take summer gear into shoulder-season snow. No rain gear yet? Plan for a dry weather window.
Where to research:
Google “best beginner backpacking trails near ___”
National Park/Forest websites, local ranger stations
Your state’s Trail Association (mine is Washington Trail Association)
Facebook Groups (These can come in one big group, or can be broken out into states, regions, or any kind of sub-group. They’re a gold mine for ideas).
Guidebooks and physical maps
Trail apps: Gaia GPS, OnX Backcountry, AllTrails, FarOut
Local outdoor stores and outfitters
Google Earth for scouting camp spots and terrain
Do a little homework, then go see it for yourself. That’s the fun part.
Simple First-Trip Action Plan
For your first-ever backpacking trip, keep it easy, keep it close, keep it short. Do that, and then do it again.
Trip Profile
Nights: 1
Distance: 3–6 miles each way
Elevation: modest (skip sketchy exposure and snow)
Destination: lake, river, or meadow (water nearby)
Gear & Packing
3-season tent, sleeping bag appropriate to forecast, sleeping pad
Rain jacket, warm layer, hiking layers, extra socks
Headlamp, first aid, map/app + backup battery
Food for lunch, dinner, breakfast + snacks for every 2 hours
2–3 liters capacity + treatment method
Bear canister or hang kit if required/appropriate
On-Trail Routine
Start early, pace easy.
Snack every 60–90 minutes; sip water often.
Take a real break before climbs to fuel up.
Make camp with daylight to spare.
In the morning, leave no trace—pack it all out.
Common Mistakes to Skip
Over-ambitious routes on Trip #1 (save the “epic” for later).
Not eating/drinking enough because “I don’t feel hungry.” Eat anyway (trust me…).
Ignoring the forecast or packing for best-case only.
New boots + big miles (blister city). Break them in first if you’re going with boots. If you’re wearing trail runners, wear them out once or twice first.
Gear that doesn’t match the season (summer kit in shoulder-season conditions).
No exit plan if weather/conditions change.
Next Steps: Go and Do It!

You won’t learn backpacking from watching other people do it online—you’ll learn it one night outside at a time. Start small, take notes, adjust. After a few trips, you’ll wonder why you waited so long. If you’re still feeling overwhelmed and want step-by-step instructions, take a look at my beginner backpacking course. It’s designed for people like you who want to know before they go. It’s self-paced, comprehensive, and if you need help along the way, I’m there to answer questions.
Be safe out there!
-Emory, By Land
